


Understanding how to replace a wax ring on toilet can be handy, for taking care of your home home. This step-by-step tutorial will take you through the procedure smoothly and affordably. A top-notch wax ring means no leaks and a spick and span bathroom, for you.
Let's begin with our easy-to-follow guide on fixing your toilet to ensure it stays in working order for longer periods of time. It starts with straightforward steps and helpful advice on effectively replacing wax ring on your own!

Understanding the Wax Ring
What Is a Wax Ring?
Now that you know the basics, let's talk about a wax ring. A wax ring is a seal for your toilet. It keeps water from leaking out where the toilet meets the floor. This ring fits around the bottom of the toilet and attaches to the flange on your bathroom floor.
There are many kinds of wax rings. Some have extra seals or sleeves that make them better at stopping leaks. Over time, these rings can break down or get damaged, which might cause leaks in your bathroom.
That's why it's important to pick the right one and know how to replace wax ring on toilet.
Different types of wax rings
Before knowing how to replace wax ring on toilet, we should understand wax rings first. Wax rings play a key role in sealing the connection between your toilet and the floor. They come in different styles to fit various toilet designs.
Standard wax rings: These are the most common type. They fit most toilets and floor flanges, making them a solid choice for many homes.
Wax rings with flange: These have an extra plastic or rubber flange attached. This helps create a tighter seal and is great for floors that are uneven.
Extra-thick wax rings: If your toilet flange is below the level of the floor, an extra-thick ring is needed to ensure a good seal.
Reinforced wax rings: These have mesh inside the wax. The mesh strengthens the ring, providing extra durability against pressure and movement.
Wax-free seals: Not all seals are made of wax! Some are rubber or foam which can be better for certain situations, like when you need to reposition the toilet multiple times.
Microbial resistant rings: These are designed to fight against bacteria and mold growth, ensuring a cleaner seal around your toilet.
Each type has its specific use depending on your toilet's installation requirements and the condition of your bathroom floor. When deciding on a replacement, it’s essential to understand how to replace wax ring on toilet properly to ensure a tight and lasting seal.
Why the wax ring deteriorates over time?
The wax ring under your toilet can break down over time. This happens for a few reasons. First, constant water exposure softens the wax. Then, room temperature changes make the wax expand and contract.
Over years, this up-and-down size change damages the seal. Also, if your toilet moves even a bit when you sit on it, this movement further harms the wax ring. The key to longevity is regular checks and maintaining a stable environment.
Knowing how to replace wax ring on toilet when it’s worn out is crucial for preventing future leaks.
How to replace the wax ring on toilet?
Shut Off Water Supply and Empty the Toilet
First, you need to stop the water. This is key before starting any toilet repair. Here’s how you can shut off the water supply and empty your toilet:
- Find the water valve. It’s usually right behind or near the toilet.
- Turn the valve to the right, tightly. This stops water from flowing into your toilet.
- Flush the toilet. Hold down the flush lever until most of the water leaves the tank.
- Use a sponge or rag to soak up any remaining water in the tank.
- For water left in the bowl, use a sponge or cup to remove it.
- Make sure both the tank and bowl are dry before moving on.
This prepares your toilet for how to replace wax ring on toilet by making sure everything is dry and ready for work.
Disconnect the Toilet
Disconnecting the toilet is a crucial step before replacing the wax ring. This process helps prevent leaks and ensures a clean work area.
- Turn off the water valve behind the toilet to stop water flow.
- Flush the toilet to empty water from the bowl and tank.
- Use a sponge or towel to soak up any remaining water.
- Detach the water supply line from the toilet base using a wrench.
- Find the bolts on either side of the toilet base.
- Use a wrench or pliers to loosen these bolts.
- Carefully rock the toilet side to side to break its seal with the floor.
- Lift the toilet straight up and move it aside onto towels or cardboard.
- Cover the drain hole with a rag to block sewer gases.
This prepares your bathroom for how to replace wax ring on toilet without mess or stress!
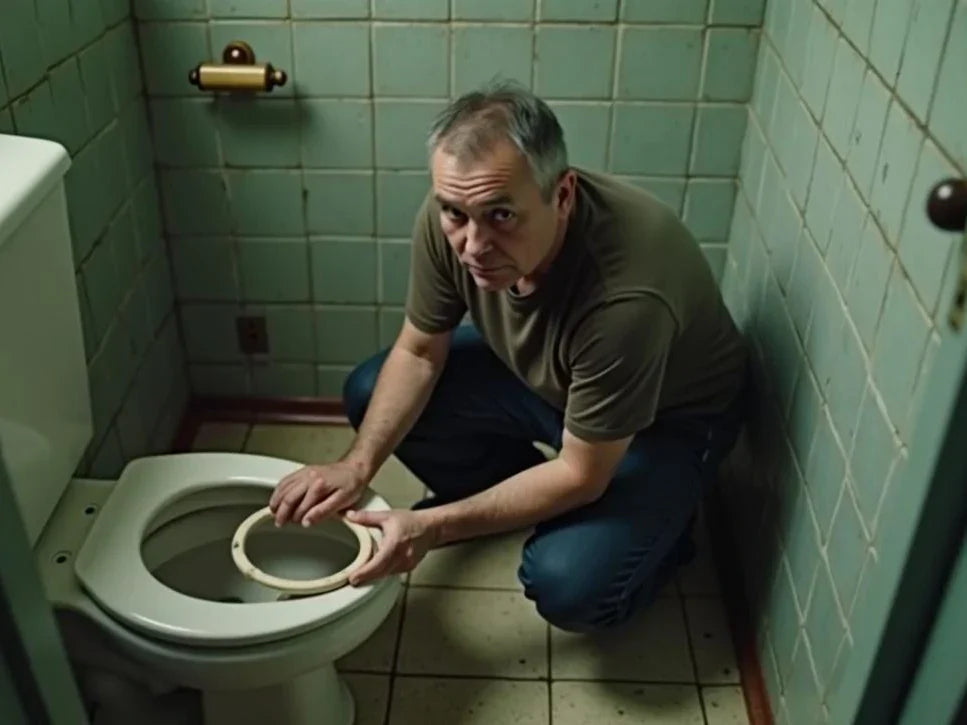
Remove the Old Wax Ring
Removing the old wax ring is a key step in toilet wax ring replacement. It ensures a clean surface for the new ring and prevents leaks.
- Put on gloves to keep hands clean. The wax is messy.
- Use a putty knife to scrape off the old wax ring. Start from the edge and work inwards.
- Take out any leftover pieces of wax from the toilet flange.
- Throw away all old wax immediately to avoid messes.
- Clean the flange area with a rag. Make sure it's free of debris and old wax.
- Check the flange for damage or cracks. Fix it if needed before installing a new ring.
- If bolts hold down the toilet, inspect them too. Replace if they are rusty or damaged.
This process prepares your toilet base for a fresh seal, avoiding potential leaks and odors from improper installation of the new wax ring.
Install the New Wax Ring
After removing the old wax ring, it’s time to put in a new one. This step is crucial for preventing leaks and ensuring your toilet functions well.
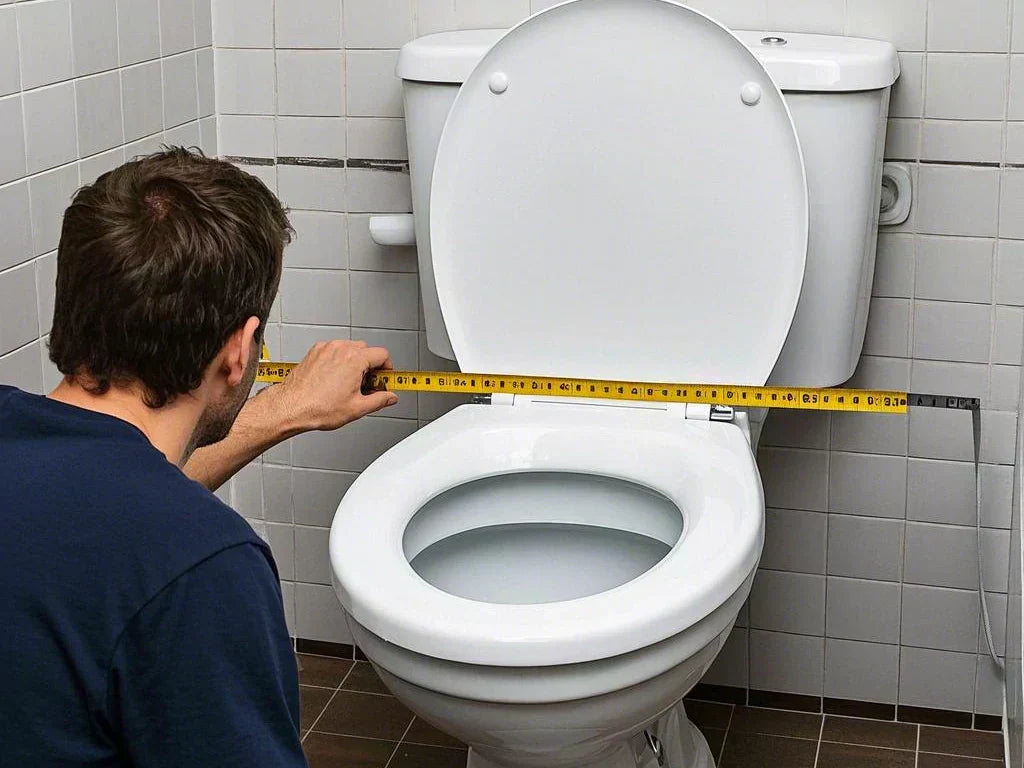
- Check the flange for damage. It should be clean and level on the floor.
- Buy the right size wax ring. They come in different sizes, so get one that matches your toilet.
- Remove the new wax ring from its package. Be careful not to deform it.
- Place the new wax ring on the flange, not on the toilet. Make sure it's centered.
- Press down slightly on the wax ring to stick it to the flange. This makes installation easier.
- Lift the toilet straight up and align it over the bolts and wax ring.
- Lower the toilet gently so that the holes in its base line up with the bolts sticking out from the floor.
- Apply pressure evenly down onto the toilet to form a good seal with the wax ring without rocking or moving.
Make sure you see no gaps between the toilet base and bathroom floor once seated.
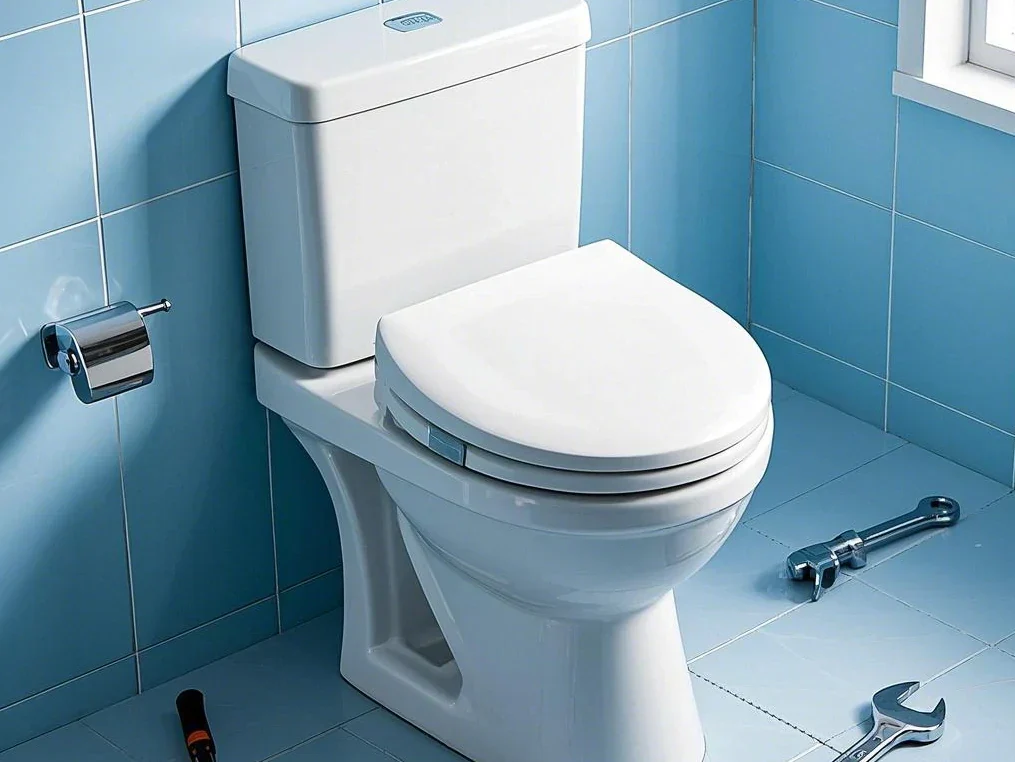
Reinstall the Toilet
Putting the toilet back in place is a key step. Do it right, and you’ll avoid leaks and damage.
- Lift the toilet carefully and align it over the new wax ring.
- Gently lower the toilet so the bolts stick through the holes.
- Press down on the toilet to seal it against the wax ring.
- Put washers and nuts back on the bolts. Tighten them, but do not do it too hard.
- Use a level to check if the toilet is sitting flat. If not, adjust by tightening or loosening the nuts.
- Cut off any extra bolt length with a hacksaw.
- Snap cap bases, washers, and caps over bolts.
- Reconnect the water supply line to fill up the tank.
- Flush several times to check for leaks around the base.
Reconnect the Water Supply and Test
After replacing the toilet wax ring, the next step is to reconnect the water supply. This ensures everything is working properly.
- Turn on the water supply valve behind the toilet. This valve controls water flow to your toilet.
- Wait for the toilet tank to fill with water. You will hear it stop when full.
- Flush the toilet to check for leaks around its base. No water should appear outside.
- Look at the connection between the toilet and water supply line. Make sure there's no drip.
- If you see leaks, tighten connections slightly more but don’t overdo it.
- Check the function a few times by flushing again and watching for leaks or unusual sounds.
Testing and ensuring the seal is intact is crucial when learning how to replace wax ring on toilet.
Common Mistakes to Avoid
Over-tightening bolts
Over-tightening bolts can lead to big problems. It might crack the toilet’s base or damage the flange. This mistake means more work and possibly buying a new toilet. So, always tighten bolts just enough to keep the toilet steady.
Be careful with how hard you turn those wrenches. Too much force won’t make things better. It's about finding that sweet spot where everything is snug but not too tight.
Skipping the cleaning of the flange area
Just like over-tightening bolts can cause issues, not cleaning the flange area well is a big mistake. The flange is where the toilet and floor meet. Dirt and old wax there can stop the new ring from sealing right. This might lead to leaks later on.
Make sure to clean off all the old wax from the flange and around it. Use a putty knife or something similar. It should look almost new before putting on a new wax ring. This helps make sure your toilet fits tight and doesn’t leak.
Using the wrong type of wax ring
Choosing the incorrect wax ring may result in leaks as they are available, in thicknesses and sizes to suit toilet types. Some require thicker rings when the flange is, below floor level while others function well with standard sizes.
If you make a mistake with this task, you might find water seeping out from the bottom of the toilet bowl, which could result in damage over time. Such leaks are known to harm floors and promote the growth of mold. It's advisable to verify the type of wax ring required by your toilet prior to making a purchase. This precautionary measure can prevent leaks and ultimately save you money on repairs.
Not ensuring a proper seal before reinstallation
Making sure the seal is right before putting the toilet back is key. If the seal isn't tight, water might leak and damage your floor. A good seal stops leaks and odors from coming back up. Check that the wax ring fits well on the flange.
Leaks can happen if everything isn’t lined up right during reinstalling. Make sure to place the toilet straight down onto the new wax ring to avoid shifts or gaps. This helps prevent future problems with leaking or smell from the toilet area.
To avoid these, ensure you’re clear on how to replace wax ring on toilet based on the specific needs of your toilet.
Why Choose a Quality Toilet for Easy Maintenance?

Knowing how to replace a wax ring on toilet is essential for preventing leaks and maintaining your toilet’s functionality. Choosing a quality toilet means less trouble later. Good toilets don't break or leak as much. They keep their shine and don't get dirty quickly. This saves you time and money on repairs.
HOROW toilet can last many years without problems. You will not be concerned about how to replace wax ring on toilet. Also, HOROW toilets use less water per flush. This is better for the planet and your bills. With easy steps to fix things like the wax ring, you won’t need to call a plumber often.
HOROW T0338W

The HOROW T0338W toilet is designed with easy installation in mind, making the process, of how to replace wax ring on toilet simpler compared, to other models. Its floor-mounted, one-piece configuration reduces the complexity of aligning components, ensuring a more seamless replacement experience.
With its ADA-compliant height and super-quiet siphon dual flush system, the T0338W provides not only comfort and efficiency but also convenience during maintenance. Its self-cleaning glazed surface and skirted trapway design further simplify cleaning, ensuring that the toilet remains in top condition even after replacing the wax ring.
HOROW 8733N

The HOROW 8733N toilet offers an easy and efficient solution when it comes to how to replace wax ring on toilet due to its plumber-friendly design. With large installation access points, it ensures a smoother, hassle-free replacement process compared to other models.
Its compact, one-piece structure also reduces the complexity of aligning and sealing, making the replacement of the wax ring more manageable. The fully glazed bowl and efficient siphon flush system ensure that once the wax ring is replaced, the toilet remains easy to maintain and operates efficiently, saving both time and water.
HOROW T05

The HOROW T05 smart toilet’s one-piece design simplifies the process of how to replace a wax ring on toilet. With fewer parts to manage, installation is quicker and less prone to errors, making it easier, for homeowners to replace the wax ring themselves without complications.
Moreover, the T05’s advanced features, such as its automatic lid and deodorizer, do not interfere with the process of replacing a wax ring on the toilet, ensuring that maintenance tasks remain hassle-free. This design makes the T05 a convenient option, for anyone looking, to upgrade their bathroom while still keeping repairs simple.
HOROW T38

The HOROW T38 bidet toilet’s one-piece design simplifies maintenance, including how to replace wax ring on toilet. With its skirted trapway and sleek construction, there are fewer gaps and hard-to-reach areas, making the replacement process smoother compared to traditional models.
In addition, the built-in water tank of the T38 offers stability during installation, reducing the chances of misalignment that could complicate tasks like how to replace wax ring on toilet. This thoughtful design makes it easier, for homeowners to perform necessary maintenance while maintaining the toilet’s functionality.
FAQ
1. How do I know if my wax ring needs replacing?
If you notice leaks around the base of your toilet or an unpleasant odor, it’s likely that your wax ring has deteriorated. These are clear signs that the seal has been compromised, and replacing the wax ring is essential, to prevent further issues.
2. How to replace wax ring on toilet?
Start by taking out the wax ring and clearing off any leftover residue from the surface area, around the flange area where the toilet sits. The next step is to position the ring in the same spot as the old one so that it fits securely around the flange. Lastly, After that reattach your toilet back in place, with care to avoid causing any harm to your seal.
3. Can I do this myself or should I hire a professional?
While replacing a wax ring isn’t overly complex, if you’re not comfortable with DIY projects or don’t have all necessary tools at hand - getting help, from a professional might be wise!
4. What happens if I over-tighten the toilet bolts during installation?
Over-tightening the bolts can crack the toilet base or damage the flange, leading to leaks. It’s important to tighten the bolts just enough to secure the toilet without overdoing it. A snug fit is all you need, to prevent future problems.

Leave a comment
This site is protected by hCaptcha and the hCaptcha Privacy Policy and Terms of Service apply.