



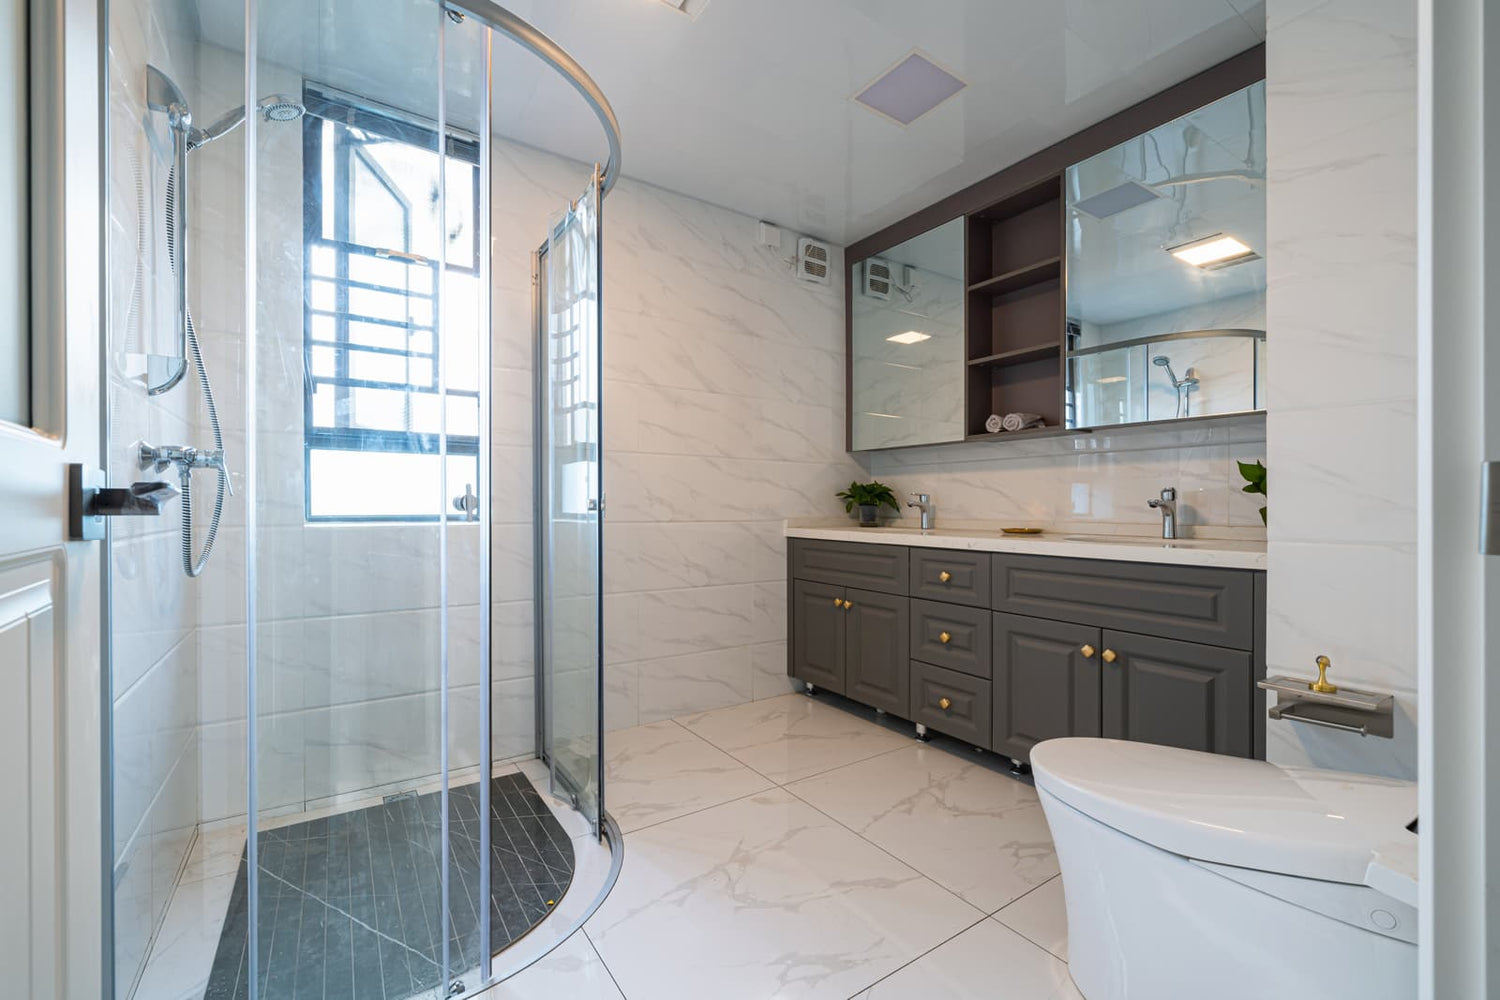
An inline shower enclosure places the door and any adjacent fixed glass panels on the same straight line. It is commonly used across wider shower openings between two walls, especially when a single large door would be difficult to operate or when fixed glass can create a better entry position.
Inline glass can create a bright, uncluttered bathroom, but the decision should not be based on appearance alone. The opening must suit a straight glass run, the door needs room to operate, and the walls must accommodate the specified attachment hardware. Shower depth, spray direction, entry width, finished-wall alignment, and preparation costs also affect whether the enclosure will work well.
The key question is whether a straight glass layout matches your shower shape, daily use, and available space. This inline shower enclosure guide explains how inline, fixed-panel, and return-panel layouts differ—and what to check before ordering.
Is an Inline Enclosure Right for You?
Decision Snapshot: Choose or Skip
An inline enclosure is a strong candidate when:
- The shower has a straight opening, often between two walls.
- The opening is wider than the door needs to be.
- A door and one or more fixed panels can share the same plane.
- The planned door has safe clearance inside or outside the shower.
- The showerhead and curb geometry support effective water control.
- Suitable attachment points can be provided for the specified hardware.
- Final measurements can be taken after tile and finished surfaces are complete.
Compare another enclosure when:
- The glass must turn a corner to close an exposed side.
- A hinged door would hit a toilet, vanity, cabinet, or bathroom door.
- The walls or curb are too irregular for the selected standard system.
- Broad, low-obstruction access is more important than enclosing the opening.
- The budget or site conditions favor a framed, semi-frameless, sliding, or prefab design.
- The project is a simple replacement and structural or tile work is not practical.
The short version: choose inline glass for a wide, straight opening with a workable entry and door path. Choose a return panel if the glass must turn a corner, or consider another door type when swing clearance, access, or fitting tolerance is the primary concern.
Best Fits for Straight, Wider Showers
A common inline glass shower enclosure combines a hinged door with one fixed panel. Both pieces sit on the same glass line. Wider openings may use fixed panels on both sides of the door.
Dividing the span has practical advantages. The fixed glass fills width that does not need to move, while the door can remain a manageable part of the opening. The panel can also reposition the entry so that the door is easier to approach, farther from direct spray, or closer to the shower controls.
Inline layouts are particularly well suited to alcove showers enclosed by a wall on the left, a wall on the right, and glass across the front. They may also work on a long open side when the rest of the shower is already enclosed by walls.
When Another Enclosure Works Better
A sliding door may be more practical when there is no safe swing area. A fixed walk-in panel may suit a sufficiently deep shower where spray can be kept away from the opening. Framed or semi-frameless systems can be worth comparing when the budget is limited or the opening needs the adjustment offered by the selected product.
If two adjoining sides are open to the bathroom, an inline-only layout will not close the space. That arrangement normally needs a return panel to create a corner.
Household needs also matter. Users who need extra entry space, caregiver assistance, or fewer obstacles may benefit from a different shower configuration. When accessibility is a central goal, evaluate the complete bathroom—including the threshold, floor, controls, support features, and approach space—rather than treating the glass as a separate decision.
HOROW Shower Door Options to Compare
If a hinged inline door does not have a workable swing path, other shower door configurations may be worth comparing. These HOROW models provide different sliding, finish, and door-design options to review alongside your finished opening, clearance, and installation requirements.
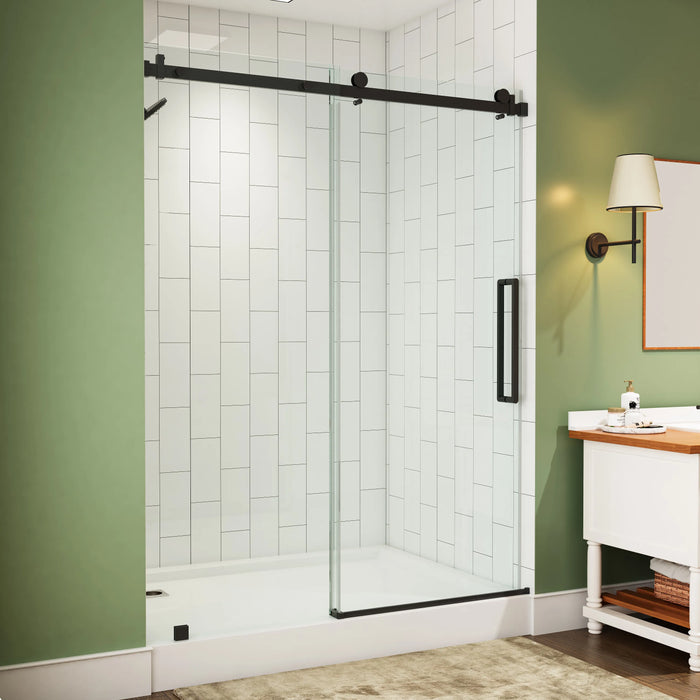
HOROW TE6076-MB
A black frameless sliding shower door listed as a 60-inch model. It is an option to compare when a sliding configuration is preferable to a hinged door that would require additional swing clearance.
View TE6076-MB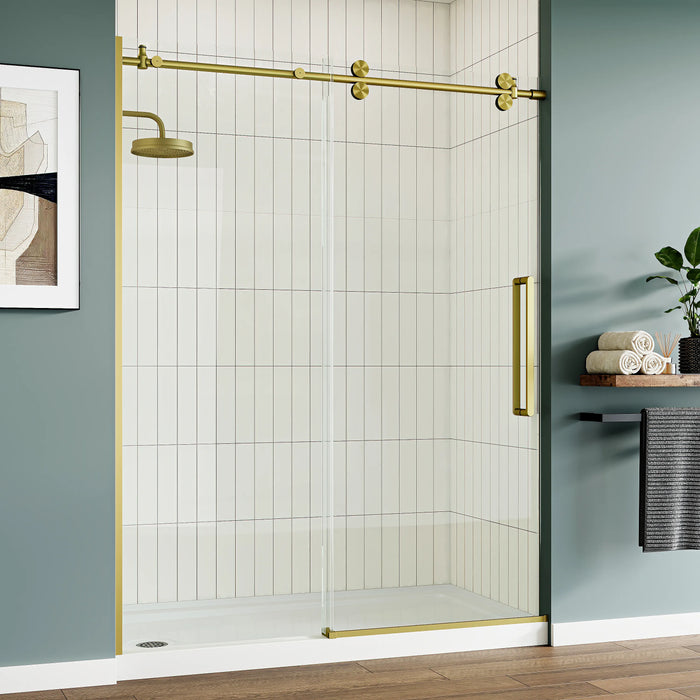
HOROW MI6076-SG
A brushed gold frameless sliding shower door with 8 mm glass. It provides another sliding configuration to compare when the bathroom layout makes a hinged door swing difficult to accommodate.
View MI6076-SG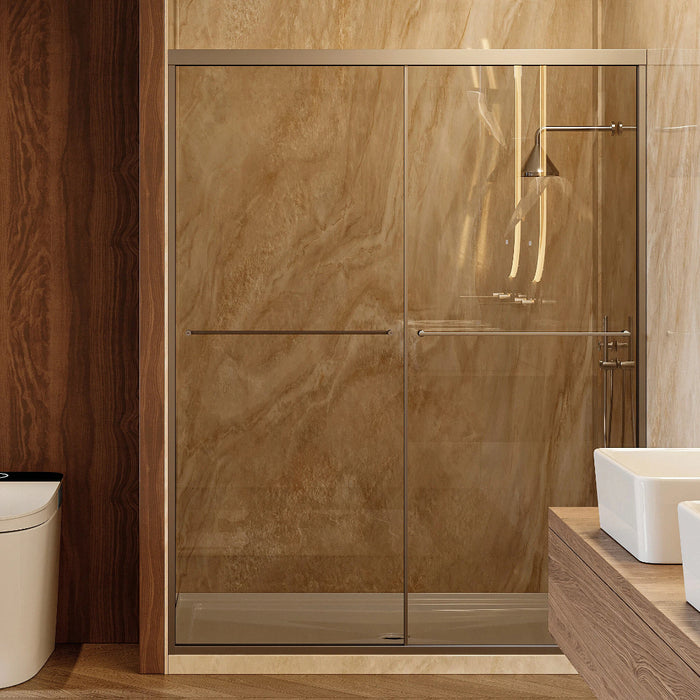
HOROW K2-BN
A brushed nickel HOROW shower door with an ultra-narrow design. Compare its finished-opening fit, door operation, and installation requirements with the conditions of your bathroom before ordering.
View K2-BNBefore ordering, confirm the finished-opening requirements, door operation, mounting conditions, and other installation requirements for the exact model.
Will It Work in a Small Bathroom?
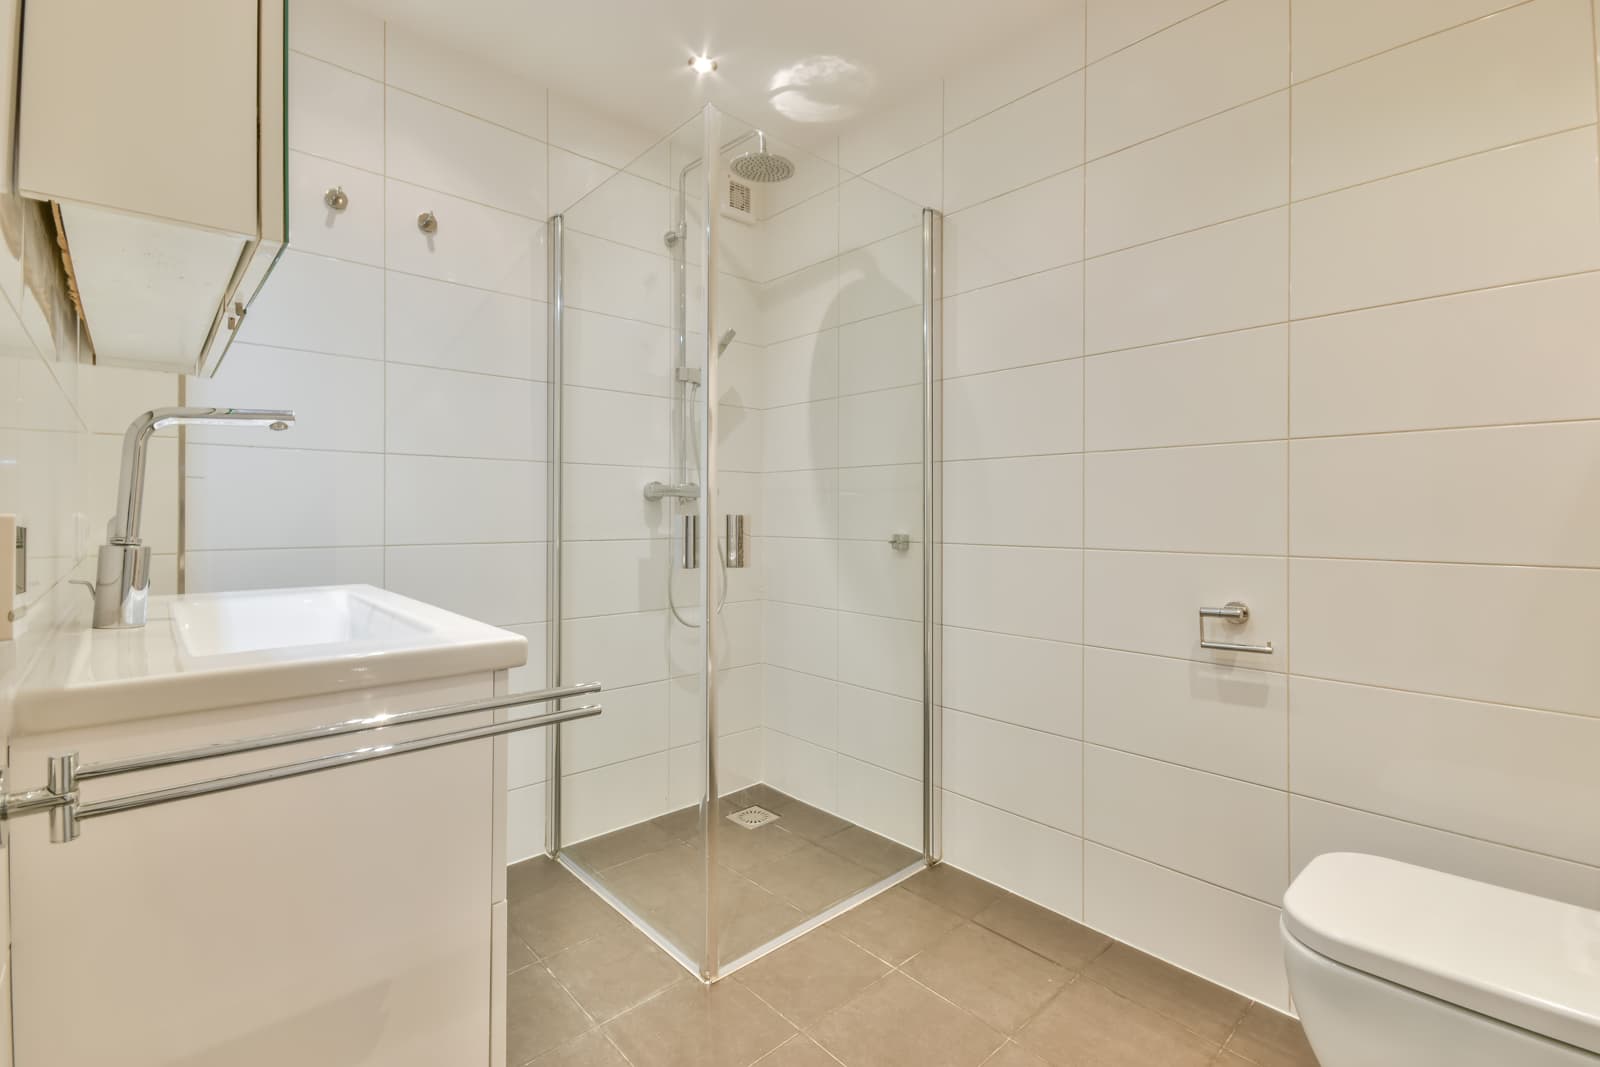
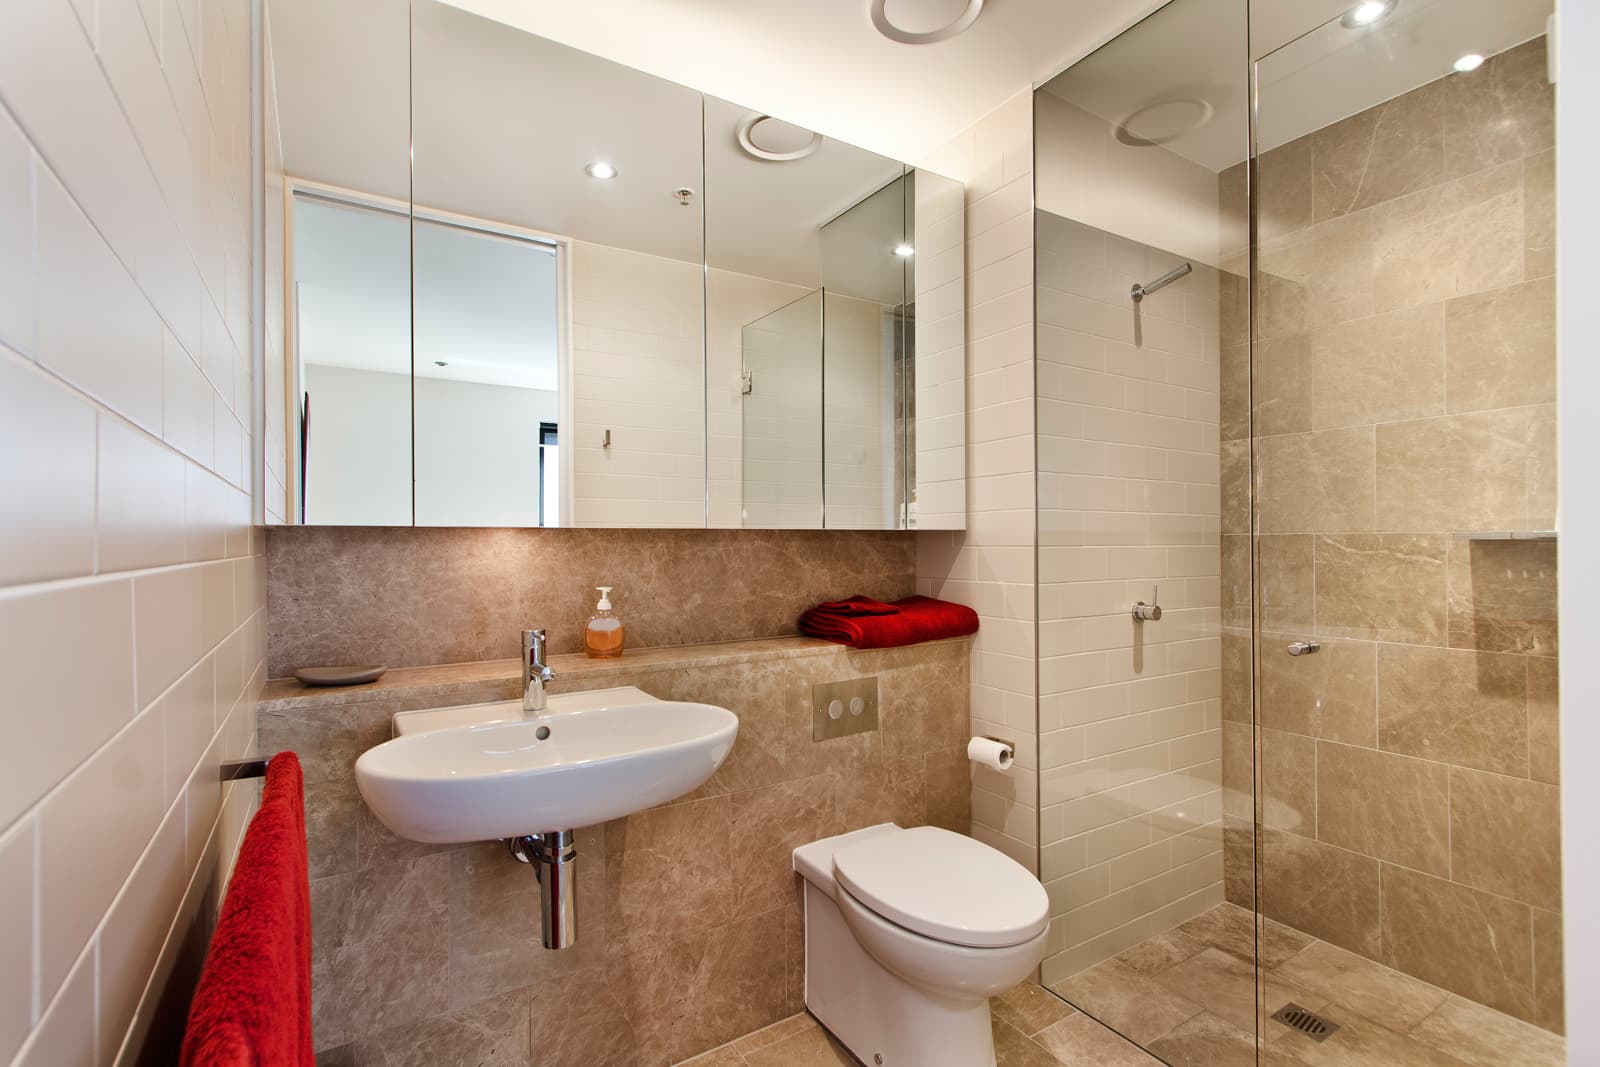
It can, but visual openness is not the same as functional space. Clear glass may make a small bathroom feel less divided, yet the door still needs room to operate without trapping the user or striking nearby fixtures.
Mark the proposed door width and swing path on the floor. Then open the vanity drawers, cabinet doors, and bathroom entry door. Check whether someone can comfortably approach and pass through the shower entry.
An inward-operating door may reduce conflicts in the bathroom but can reduce maneuvering and cleaning space inside the shower. Door operation should be matched to the enclosure design, room conditions, supplier instructions, and any requirements applicable to the project.
Inline Shower Enclosure Guide: Key Trade-Offs
Open Design Versus Water Control
Minimal framing and clear glass improve sight lines, but they do not guarantee a dry bathroom floor. Water containment depends on the entire shower layout:
- Showerhead position and direction
- Distance between the spray and entry
- Location of door gaps and panel joints
- Shower depth
- Curb or floor geometry
- Bottom sweep and seal placement
- Drainage and inward slope of the wet area
A door located directly across from strong spray faces a harder containment task than one positioned in a lower-splash area. Handheld sprays and body-directed outlets can also send water toward gaps that would otherwise remain relatively dry.
Plan the spray path before ordering glass. Hardware, seals, and glass thickness cannot compensate for a layout that routinely directs water at the opening.
Door Access Versus Fixed Glass
Adding fixed glass reduces the portion of the opening that moves. That can make a wide enclosure more practical, but every additional inch of fixed panel also affects the clear entry.
Do not evaluate entry width only on an elevation drawing. Consider whether users can:
- Enter without turning awkwardly
- Reach the controls without stepping into cold spray
- Bring in a shower seat or cleaning equipment
- Assist a child or another household member
- Reach the floor and wall behind the fixed panel
Use removable tape to mark the proposed panel edges and walk through the remaining opening. The goal is not necessarily the largest possible door. It is a comfortable entry paired with a door and support arrangement suitable for the enclosure.

Inline Versus Return-Panel Layouts

The difference is the direction of the glass:
- An inline shower door and its adjacent panels follow one straight plane.
- A fixed panel shower door layout uses nonmoving glass beside or around the door to fill part of that plane.
- A return panel turns away from the front glass line to close an exposed side.
A shower door with a return panel is common when the shower occupies a corner and two sides are open. Viewed from above, the front glass and return form an L shape. The front may contain a door and inline fixed panel, while the return runs toward the back wall.
A return panel can provide better enclosure around a corner, but it adds another glass face, joint, and support decision. The two planes must meet accurately and follow the finished curb or floor.
Simple rule: if all the glass follows one straight opening, use an inline layout. If the glass must turn a corner, the design needs a return panel.
Is Frameless Glass Worth the Premium?
Frameless glass is primarily an appearance and hardware choice. It reduces the amount of visible framing and may eliminate some tracks where residue accumulates. It does not mean the enclosure is unsupported, gap-free, or automatically easier to install.
Depending on the design, frameless glass may still require hinges, wall clips, channels, connecting hardware, a stabilizing bar, or other support specified for the system. Because there is less framing to conceal uneven surfaces, finished-opening accuracy becomes especially important.
Framed and semi-frameless designs may offer better value when fitting flexibility, simpler installation, or a lower project cost matters more than minimal metal. Compare glass shower door options by configuration, adjustment range, and installation requirements—not only by appearance.
What Will the Full Project Cost?
Standard Versus Custom Glass Costs
A standard enclosure is usually the lower-cost direction when the finished opening falls within the product’s stated fit range. This approach works best in predictable openings that match the intended configuration.
Custom glass raises the project cost because panels are measured and fabricated for the completed space. It may become necessary when the opening is unusually shaped, walls are visibly out of plumb, the curb varies, or the design includes return panels, notches, angles, half-walls, or glass-to-glass hinges.
One width measurement is not enough to determine whether a standard product fits. The top, middle, and bottom of the opening may differ. Confirm all required measurements and the permitted adjustment range in the instructions for the enclosure under consideration.
Hidden Preparation and Installation Costs
The glass price may represent only part of the project. A complete quote can also include:
- Removal and disposal of the old enclosure
- Tile or finished-wall repair
- Correction of existing water damage or waterproofing defects
- Curb or shower-base preparation
- Wall opening and reinforcement work
- Relocation of towel bars or other obstructions
- Custom glass fabrication
- Upgraded handles, finishes, or glass treatments
- Professional measuring or templating
- Installation and post-installation adjustment
Retrofit conditions can be especially important. During a full remodel, attachment locations can be planned before the walls are closed and tiled. In an existing shower, the installer must determine whether the finished walls and underlying structure are suitable for the selected hardware.
Cost Drivers and Add-On Checklist
|
Cost factor |
Lower-cost direction |
Higher-cost direction |
|
Glass sizing |
Standard fit range |
Made-to-measure panels |
|
Layout |
Straight, simple opening |
Return, angle, notch, or half-wall |
|
Enclosure style |
Framed or simpler system |
Minimal-hardware frameless system |
|
Site condition |
Sound, suitable surfaces |
Wall, tile, or curb correction |
|
Hardware |
Standard finish and handle |
Specialty finish or upgraded hardware |
|
Installation |
Predictable approved layout |
Heavy, irregular, or complex assembly |
|
Glass options |
Plain clear glass |
Decorative or treated glass |
Ask each supplier to separate preparation, glass, hardware, measurement, removal, and installation in the quote. This makes it easier to identify whether one bid excludes work included by another.
Where Spending More Prevents Regret
Prioritize accurate measurement, appropriate attachment conditions, reliable hardware, and effective water management. These factors determine whether the door stays aligned, operates smoothly, and contains water as intended.
Decorative finishes and glass treatments may be worthwhile, but they cannot correct a poor door location, inadequate support, or an opening measured before the finished surfaces were complete.
During a remodel, resolve wall and curb problems before tile whenever possible. Corrective work is more disruptive after the enclosure has been fabricated.
Which Layout Fits Your Bathroom?
Straight Runs Suit Inline Glass
Inline configurations include:
- A single door between two finished walls
- A door beside one fixed panel
- A door between two fixed panels
- A fixed panel with an open walk-in entry
The last option uses inline glass but is not a fully closed enclosure. Its success depends heavily on shower depth, spray direction, and floor design.
Use fixed panels to solve a layout problem, not merely to add glass. A well-positioned panel can control where the door sits, protect a nearby fixture, move the opening away from spray, or fill a wide span without requiring an oversized moving section.
Corner Turns Need Return Panels
Choose a return-panel layout when an exposed side must be enclosed. The door normally sits along the front, while the return glass extends toward a side or back wall.
The corner connection may contribute to the overall stability of the assembly, but it does not eliminate the need for suitable attachment and support. The enclosure designer or fabricator should determine how the panels connect and whether the layout needs channels, clips, braces, a header, or other specified hardware.
Pay particular attention to a curb that changes direction. The finished corner must allow the front and return panels to align without excessive or uneven gaps.
Fixed Panels Manage Wider Openings
A fixed panel is useful when the overall opening is wider than the required entry. It can also move the door closer to the controls, farther from direct spray, or away from a toilet or vanity.
Test the arrangement as a user would. Can you reach the control before entering the shower? Will an open door block that reach? When the wet door opens outward, where will runoff land? Can you clean the wall and floor beside the panel?
These daily actions often reveal problems that are not obvious in a product image or floor plan.
What Happens With Irregular Walls?
Finished walls and curbs are not always square, level, or plumb. A standard enclosure may tolerate limited variation if its instructions provide an adjustment range. Channels and framed components may also offer fitting flexibility, depending on the system.
More pronounced irregularities can require custom-cut glass or corrective construction. Shower enclosure glass should follow applicable safety glazing requirements and manufacturer specifications for the selected enclosure system. The type of safety glazing used should follow applicable building requirements and manufacturer specifications rather than being modified during installation.
Measure only after the shower base, curb, tile, and other finished surfaces are complete. Large gaps should not automatically be treated as a sealant problem; correcting the underlying wall or curb may produce a better result.
Can Your Space Support Safe Installation?
Measure Width, Height, and Plumb
For preliminary planning, measure the opening at the top, middle, and bottom. Check the intended enclosure height and note soffits, sloped ceilings, trim, benches, half-walls, or other interruptions.
A level or laser can help identify leaning walls and changes across the curb or floor. Record these conditions rather than assuming that a product’s adjustment will accommodate them.
Preliminary measurements are useful for comparing layouts. For final ordering, follow the selected enclosure’s measuring instructions or use professional templating when required.
Check Door Swing and Clearances
Mark both the door edge and its full operating path. Check for conflicts with:
- Toilets and vanities
- Faucets, handles, and controls
- Towel bars, hooks, and shelving
- Cabinet doors and drawers
- The bathroom entry door
- Benches or fixtures inside the shower
- Low trim, soffits, or sloped ceilings
Also consider water carried by the door. An outward-opening wet door may drip onto the bathroom floor. The appropriate sweep, threshold, or seal arrangement depends on the enclosure and should follow its installation requirements.
Plan Reinforcement Before Tiling
Hinges, clips, channels, and braces must attach as specified for the enclosure and wall construction. Do not assume that the finished tile alone provides an appropriate attachment point.
During a remodel, give the glass layout to the builder before the wall is closed. This allows attachment locations to be coordinated with the planned door, fixed panels, and support hardware.

In an existing bathroom, the installer may need to identify suitable framing or use another attachment method permitted by the enclosure instructions. If the required attachment cannot be achieved, the practical choices may include moving the door, changing the panel arrangement, opening the wall, or selecting another enclosure.
Additional support may be required when fixed panels are large, a door hinges from another glass panel, wall attachment is limited, or an inline run connects to a return panel. The fabricator or enclosure supplier should confirm the mounting approach for the complete enclosure rather than evaluating each panel separately.
When Professional Templating Becomes Necessary
Professional templating is a sensible choice when:
- Panels are made to measure.
- Walls are noticeably out of plumb.
- The design includes a return or angled panel.
- Glass must fit around a bench, curb, or half-wall.
- The door hinges from fixed glass.
- The layout includes notches or unusual ceiling conditions.
- A measuring error would require remaking custom glass.
Templating should occur after all surfaces that affect the glass dimensions are finished. Later changes to tile, curbs, or wall caps can invalidate the measurements.
Before deciding whether to install the enclosure yourself, review the glass shower door installation process. Standard framed products and large custom frameless assemblies involve different levels of measuring, drilling, handling, and alignment. Professional installation is the more practical choice when the glass is heavy, the opening is irregular, or the support arrangement is complex.
How Will It Work Day to Day?
Entry Width and Household Mobility
The useful measurement is the clear opening after fixed glass, hardware, and surrounding fixtures are considered. An enclosure can fit the wall yet still provide an uncomfortable entry.
Think about current and likely future users. Limited balance, assistance from another person, a shower seat, or planned support features can change the amount and location of space required.
A frameless appearance does not make a shower accessible by itself. Access depends on the complete layout, including the approach, threshold, floor, controls, door operation, and any support features. Seek qualified design guidance when accessibility is a primary project requirement.
Splash Control Depends on Geometry
Good water control starts by keeping the entry and door gaps away from direct spray. Shower depth, outlet direction, user habits, curb or floor geometry, and the location of panel joints all contribute.
Draw an imaginary line from each water outlet toward the enclosure. If it points directly at the door edge or an open entry, discuss changing the door position, panel size, or spray direction before ordering.
A deeper shower may work with a fixed panel and open entry. A shallower shower generally presents a greater containment challenge, particularly when water outlets face the opening.
Will It Support Accessible Entry?
An inline enclosure can provide a comfortable entry if the fixed panels and door are positioned appropriately, but it is not automatically a barrier-free solution. A curb, narrow approach, restricted door operation, or badly placed controls may remain an obstacle even when the glass looks open.
If broad access is essential, compare the proposed clear opening with an open shower, sliding arrangement, or another layout. Plan any seating, assistance space, or support features at the same time as the enclosure—not after the glass dimensions are finalized.
Applicable accessibility and building requirements vary by project and location. A qualified bathroom designer or relevant local professional should confirm requirements before construction.
Door Choice Affects Cleaning Access
A hinged door offers full access through its opening and avoids an overlapping lower track, but it requires operating clearance and suitable hinge support.
A sliding door avoids the swing path, although overlapping panels and tracks can be harder to reach. A fixed walk-in panel has few moving components but may provide less splash containment and allow more air through the opening.
Also check access behind the glass. Narrow spaces between a fixed panel and a wall, fixture, or cabinet can collect residue simply because a hand or cleaning tool cannot reach them.
What Will Long-Term Ownership Require?
Glass Cleaning and Limescale Control
Frameless glass may have fewer frame edges, but clear glass still shows soap film, water spots, and mineral residue. A squeegee or wipe after use can reduce droplets left to dry.
Use cleaning products appropriate for the glass, seals, and hardware finish. Follow the glass manufacturer’s recommended cleaning methods to help protect glass surfaces, coatings, and hardware finishes. Using unsuitable abrasive cleaners or harsh chemicals may affect certain finishes or protective coatings. Abrasive products may affect some surfaces, while protective glass treatments can have their own care instructions.
If mineral residue is a recurring problem, prioritize easy access to both sides of every panel. A surface treatment does not remove the need for regular cleaning.

Seals, Hinges, and Hardware Wear
Sweeps and seals can loosen, discolor, stiffen, or stop meeting adjacent surfaces correctly. Hinges and handles may also require service if a door begins to sag, rub, drift, or close differently.
Do not ignore a sudden change in door movement. The cause may involve a worn seal, loose hardware, alignment, or an attachment point. Because the glass is heavy and hardware adjustments affect alignment, contact the installer when the cause or correct procedure is unclear.
Before buying, ask whether replacement seals are available and who will handle future adjustments.
Water Leaks and Floor Damage
Repeated water outside the enclosure can affect nearby flooring, trim, cabinetry, and concealed materials. Check door corners, bottom sweeps, panel joints, and wall or curb connections if water appears after showering.
Find the water path before applying more sealant. The cause may be direct spray, a damaged sweep, an enclosure gap, an uneven curb area, or another part of the shower design. A targeted correction is preferable to sealing openings that may be intended to remain clear.
Which Design Is Easiest to Maintain?
A simple fixed panel has the fewest moving parts. An inline hinged door with limited hardware can also be straightforward when both sides of the glass are reachable. Sliding systems introduce overlapping surfaces and tracks, while return-panel layouts add another glass face and corner connection.
The easiest design is not necessarily the one with the least glass. Choose the least complicated layout that still provides comfortable entry, workable cleaning access, and sufficient water containment for the shower.
Before You Buy
- Confirm whether the glass follows one straight line or turns into a return.
- Measure the opening at multiple points and check plumb and level.
- Mark the actual clear entry and full door path.
- Test access to the shower controls.
- Identify likely spray paths and door gaps.
- Confirm attachment requirements before walls are closed or glass is ordered.
- Compare standard fit ranges with the finished opening.
- Request an itemized quote for preparation, glass, hardware, and installation.
- Delay custom measuring or templating until finished surfaces are complete.
- Ask about replacement seals, hardware service, and cleaning access.
Questions Homeowners Ask
What is an inline shower enclosure?
An inline shower enclosure uses a door and fixed glass panels arranged on the same straight plane. It works best when the shower opening is wide enough for a front-facing glass layout. The design is common in alcove showers between two walls. The final fit still depends on door clearance, wall conditions, and installation requirements.
How do fixed and return panels differ?
A fixed panel stays in place, while a return panel turns away from the main glass line to close an open side. A return panel is usually used for corner showers, but a fixed panel can also be used alone without creating a corner enclosure.
When does an inline enclosure need additional support?
An inline enclosure may need extra support when it includes large glass panels, glass-to-glass hinges, limited wall attachment points, or a connection to a return panel. The required hardware depends on the enclosure design, glass size, and installation conditions. A qualified installer or supplier should confirm the support method before installation.
Can I install an inline shower door myself?
You may be able to install some standard inline shower doors yourself if you have the proper tools and experience. However, large frameless glass panels require careful measuring, handling, drilling, and alignment. Professional installation is usually the safer choice for heavy glass, uneven openings, or complex layouts.
Should I choose an inline or return-panel layout?
Choose an inline layout when all glass can stay on one straight plane across the shower opening. Choose a return-panel layout when the glass needs to turn a corner and close another exposed side. Inline designs are often simpler for straight openings, while return panels are useful for corner showers. The better option depends on the shower shape, available space, and entry requirements.
References
https://glassed.vitroglazings.com/clarity-on-proper-glass-cleaning


Leave a comment
This site is protected by hCaptcha and the hCaptcha Privacy Policy and Terms of Service apply.