


A lot of people ask about how to install a walk in tub in an existing bathroom as if it is mainly a product choice. In real homes, it is more often a fit, utility, and disruption problem.
The tub itself is rarely the hardest part. The hard part is what happens around it:
-
removing the old bathtub often leads to exposed hidden structural and pipeline damage
-
The drain is not where the new tub needs it
-
the floor is out of level, so the door seal is harder to keep dry
-
The breaker panel has no room
-
the bathroom becomes tighter after install
-
the bather hates waiting inside for the tub to fill and drain
This is where most people get it wrong: a walk-in tub can be the right aging-in-place upgrade, but only when the house, bathroom, utilities, and daily routine all support it.
Quick Answer
A walk-in tub fits your home with ample alcove space, easy delivery access, sturdy flooring, sufficient hot water, functional drain lines and dedicated power for electric features. It won’t work properly if fixtures get blocked, delivery paths are too narrow, water circulates slowly or users get stuck during fill and drain cycles. Always inspect layout, plumbing, wiring and floor quality instead of only checking tub dimensions ahead of purchase.
Decision Snapshot
Use these practical benchmarks to judge if your home suits this upgrade.

Best fit: limited mobility, suitable layout
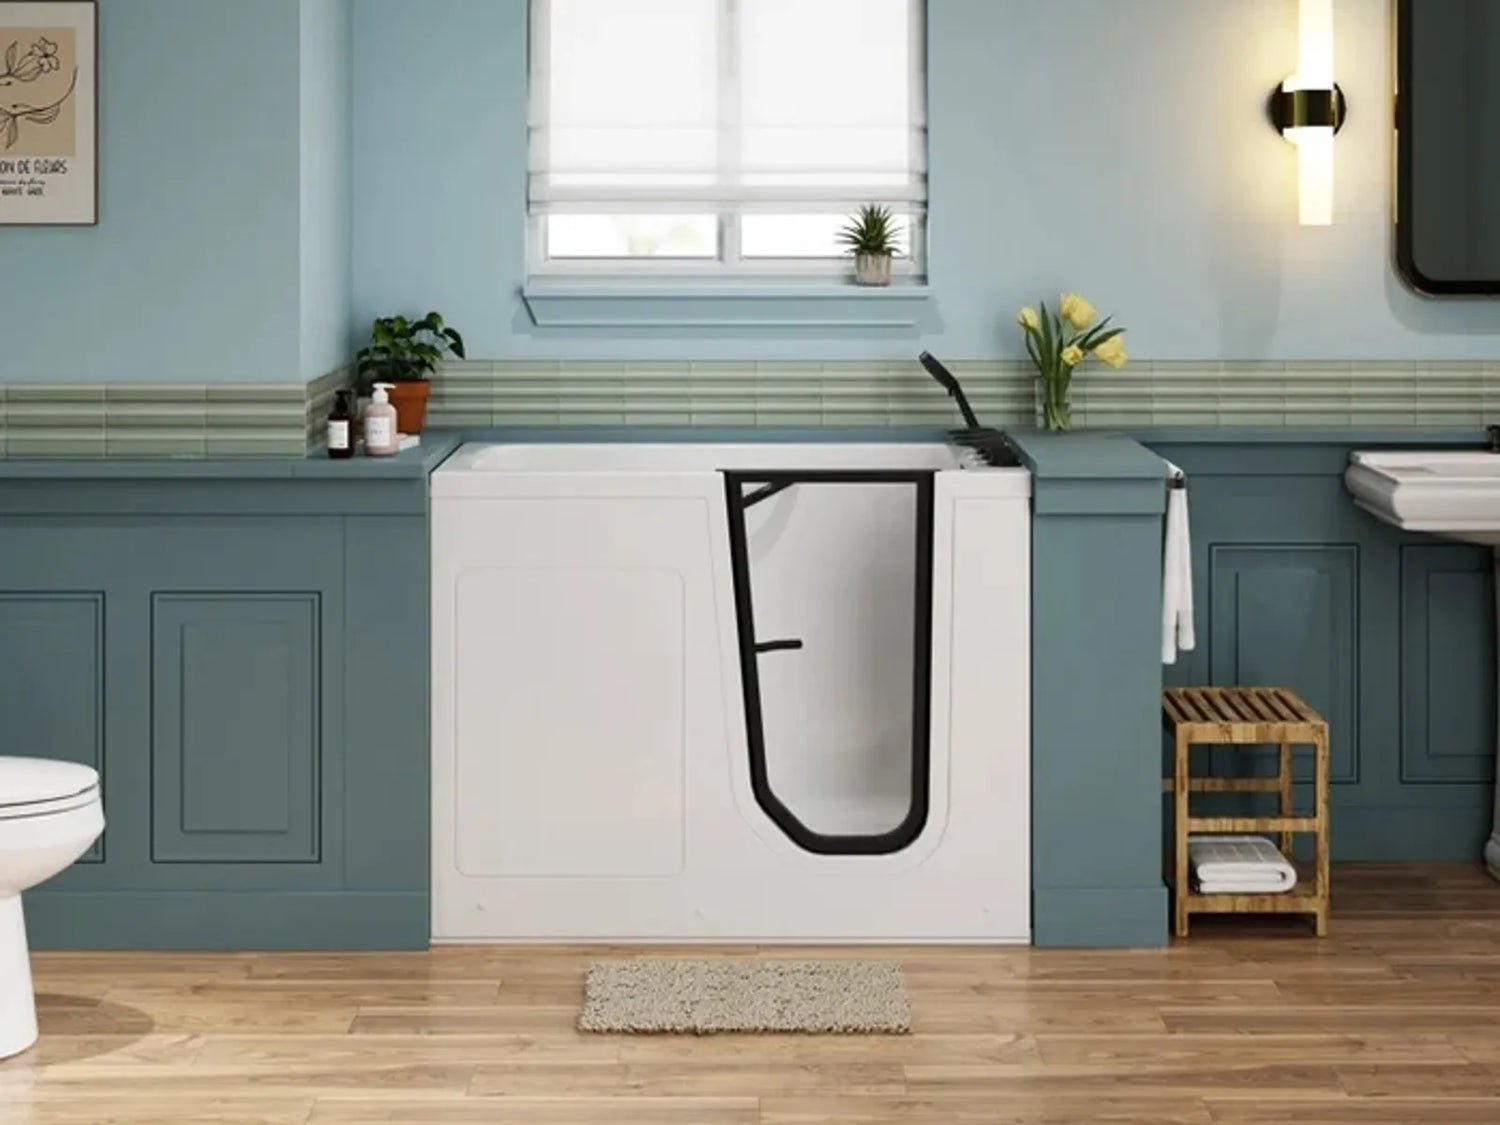
This works best for someone who has trouble stepping over a standard tub wall, still wants soaking instead of shower-only use, and has a bathroom that can handle the tub without stealing critical floor space.
A strong fit usually looks like this:
-
first-floor or structurally sound bathroom
-
spacious front space to use the walk-in bathtub comfortably
-
direct access for delivery
-
modern plumbing nearby
-
electrical capacity for pumps or heater if included
-
household understands fill and drain wait times
Avoid if a one-bath home needs uptime
If you only have one bathroom and need it available every day, this upgrade can become a major headache. Even when sales talk says one-day install, old homes often stretch longer once demo begins.
If your setup looks like this, it may not work well:
-
one bathroom only
-
older pipes or previous leak history
-
no backup bathing option
-
occupants cannot tolerate several days of disruption
Reconsider with low pressure or old wiring
This becomes a problem when the home has weak water flow, undersized supply lines, an older water heater, or dated electrical service. The tub may physically fit and still perform badly.
A walk-in tub with jets, heated seat, or inline heater may need dedicated electrical circuits with GFCI protection. If your panel is full or the wiring is old, costs rise fast.
Regret triggers: tight space, long fill waits
Many owners do not regret the idea of the tub. They regret the daily use reality:
-
closing the door and waiting to fill
-
sitting while it drains before getting out
-
using more hot water than expected
-
losing open floor area in a small bathroom
-
more cleaning around seals and jets
Unsuitable Scenarios
In some homes, a safer shower is the better option.
Better choice: safer shower, less disruption
In many homes, a curbless shower fitted with comfortable seats, practical shower heads and anti-slip grab bars is a more practical alternative. It creates less waiting, less cleaning, less water demand, and often less remodeling.
This is especially true when the person does not take baths now, needs caregiver help, or wants the quickest daily bathing routine.
Unnecessary in low-risk households
If no one in the home has mobility limits, balance issues, or a medical reason to soak, this can be an expensive solution to a problem you do not have. A regular tub or a better shower setup often makes more sense.
Poor fit for frequent quick bathing
If the user wants a fast in-and-out bath, this is usually the wrong choice. The door has to be closed before filling, and opened only after draining. That changes the whole routine.
Daily Usage Impacts
Once you confirm your home qualifies for installation, it is essential to learn how this fixture alters daily bathing habits and hidden usage drawbacks in advance.
Door lock-in changes bathing routine
A walk-in tub is not used like a normal tub. You step in first, shut and latch the door, then fill it. After bathing, you drain it and wait to exit.
That means the user sits in the tub while clothed lightly or uncovered during fill and drain. Some people are fine with that. Others hate it after a week.
This is one of the biggest negatives of a walk-in tub, and many buyers do not fully picture it before purchase.
Fill and drain time limits comfort
Fill and drain time depend on water pressure, valve size, drain setup, and tub volume. In real homes, five to fifteen minutes each way is common enough to matter.
This becomes a problem when:
-
the user chills easily
-
The home has low pressure
-
The drain line is slow
-
The tub is deep and high-capacity
-
The bather needs quick exit ability
Low threshold still leaves trip risk
The threshold is lower than a regular tub wall, but it is not no-risk. Wet feet, soap, limited balance, and a narrow landing zone still create fall risk.
A walk-in tub is safer only when the whole setup is safe:
-
grab bars in the right places
-
non-slip floor outside the tub
-
enough turning space
-
secure seat height for transfer
-
clear path to and from the tub, following fall prevention guidance from the CDC STEADI program.
Wet surfaces need transfer support
The low entry often gets all the attention. The real issue is transfer in a wet room. If the user pivots poorly, needs caregiver support, or uses a walker, the area around the tub matters as much as the tub itself.
Core Installation Requirements
Master all core installation conditions, covering plumbing, electricity and floor structure, to avoid unexpected renovation troubles and extra costs.
Plumbing must align or walls open
Installing a walk-in bathtub seems straightforward, but exact alignment is rare. Drain and supply positions often need adjustment. Once the old tub is removed, walls may need opening to move valves, supplies, or drains.
For hard retrofit difficult scenarios such as solid slab concrete floors, underground embedded pipelines and closed wall hidden water pipes, drain and water pipe relocation construction difficulty will rise sharply.
Clear judgment threshold: When the drain position deviation exceeds about 8 inches (or cannot be corrected with flexible connectors or minor wall adjustments), a full plumbing modification is often required, which may significantly increase renovation scope and disruption.
In older homes, this is where the cost starts climbing:
-
galvanized or corroded supply lines
-
old shutoffs that fail when touched
-
drain size or location mismatch
-
venting issues
-
rotted framing around prior leaks

Electrical loads may need dedicated circuits
Do you need an electrician to install a walk in tub? If the tub has any powered features, often yes.
Most walk-in tubs are designed for standard residential electrical systems, although electrical requirements vary by model and region.
Basic soaker models may avoid much of this, but many units need power for:
-
pumps
-
air systems
-
heaters
-
lights
-
control panels
Many powered walk-in tub models require a dedicated circuit with GFCI protection, or equivalent ground-fault protection required by local electrical codes. Always follow manufacturer installation requirements and applicable local regulations before installation.
Possible upgrade items: Main breaker panel full load needs subpanel expansion; old low-capacity home wiring needs whole-house electrical service upgrade; multi-function jet and heating combo tubs need separate independent circuit layout. Walk in tub installation requirements for plumbing and electrical systems usually include GFCI-protected circuits and enough panel capacity. Plumbing and electrical work should be completed by qualified professionals in accordance with applicable local building regulations and manufacturer guidelines.
Floor strength and level matter
Do you need to reinforce the floor for a walk-in tub? Sometimes, yes.
Practical self-screening load judgment framework: Calculate total load including full water weight of walk-in tub plus daily user weight; if the local bathroom floor has obvious hollow sound, sagging deformation or long-term water soaking marks, you may need a dedicated circuit depending on the model and local code to review floor bearing capacity in advance.
A filled walk-in tub plus bather can put a lot of weight on a small area. The exact load depends on tub size, water capacity, and user weight, but the point is simple: a deep tub full of water weighs much more than an empty shell in a showroom.
Second-floor bathrooms, older homes, mobile homes, and bathrooms with prior water damage deserve a floor check.
Clear level deviation risk trigger: Minor floor unevenness can affect installation performance. In many retrofit cases, a deviation of around 1/4 inch may require leveling adjustments, while larger deviations approaching 3/8 inch can increase the risk of sealing or drainage issues if not properly corrected during installation. Levelness matters too. If the tub sits out of level, door sealing and drainage can suffer. Even a small slope can create nuisance leaks or puddling.

Old homes trigger hidden retrofit work
How much bathroom remodeling is needed for walk in tub installation depends mostly on the age and condition of the bathroom.
In a newer home with an alcove that almost matches, decent access, and good utilities nearby, remodeling may stay limited.
In an older bathroom, demo often uncovers:
-
soft subfloor
-
mold
-
old tile backer failure
-
pipes that are not worth reconnecting
-
wall framing that needs repair before setting the tub
Fit and requirement summary
Before buying, confirm these basics:
| Check | What to confirm | Acceptable range / Stop if | Why it matters |
| Tub space | Alcove width, depth, and finished wall dimensions | Keep 2–3 inches extra margin beyond tub catalog size; stop if less than 1 inch buffer left | “Standard tub space” does not guarantee fit |
| Delivery path | Door widths, hall turns, stair landings | Min 32in clear width; stop if below 30in, tight sharp turns block transport | Tub may not reach the bathroom intact |
| Front clearance | Space to approach and transfer safely | Min 30in usable space; stop if under 24in | Tight rooms become hard to use |
| Water supply | Pressure, line size, shutoff condition | 6+ GPM steady flow; stop if below 5 GPM | Slow fill and poor performance |
| Drain | Drain location, size, slope, venting | Match standard tub drain specs; stop if offset over 8 inches | Slow drain and standing water |
| Electrical | GFCI, dedicated circuits, panel capacity | 15/20A dedicated GFCI circuit required; stop if no spare panel space | Safety and code compliance |
| Water heater | Tank size or recovery rate | Heater volume ≥ 1.2x tub water capacity; stop if recovery rate is too low | Bath may go lukewarm before full |
| Floor | Level, sound, and strong enough | Level deviation ≤ 1/4 inch; stop if slope over 3/8 inch or floor flexes | Prevents settling and seal problems |
If even two or three of these are weak, the tub may still be installable, but not at the price or timeline you expect.
Bathroom Compatibility Check
Check room dimensions, delivery access and floor conditions one by one to confirm if your bathroom is perfectly suitable for installation.
Can it fit a standard tub alcove?
A walk-in tub can sometimes fit a standard bathtub alcove, though nominal space size does not guarantee a successful fit. Industry guidelines commonly suggest keeping 2 to 3 inches of extra clearance beyond the tub’s official listed dimensions for hassle-free installation. If available space sits within just 1 inch of the tub’s measurements, consult an installer to assess potential wall trimming and space modifications.
Most standard alcoves average 60 inches long. Actual fit relies on finished wall width, protruding fixtures, service panel access, front open space, and size differences between the new and old tub.
Installers note doorways with a clear width over 32 inches and mild turns support easy delivery. Openings ranging 30 to 32 inches often require temporary trim removal, while widths under 30 inches demand professional on-site evaluation. Even with matching floor dimensions, the bulkier design of walk-in tubs reshapes bathroom usage space. Always have a licensed installer inspect the site to confirm compatibility.
Small bathrooms lose critical floor clearance
Can a walk in tub be installed in a small bathroom? Physically, sometimes. Functionally, not always.
A small bathroom may allow the tub to fit and still become worse to use. Toilet clearance shrinks. The turning room disappears. Caregiver access becomes awkward. A walker may no longer pivot well.
This is where installation fails on paper versus real life. The tub fits the wall opening, but the bathroom stops working.
Doorways and corners block tub delivery
This is one of the most missed issues. People measure the tub alcove and forget the path from truck to bathroom.
Check:
-
exterior doors
-
interior doors
-
hallway width
-
stair width and headroom
-
corner turns
-
bathroom doorway
-
whether rails, trim, or temporary wall cuts are needed
If the tub cannot be maneuvered through the home, the install becomes much more invasive.
Uneven floors create sealing problems
A walk-in tub depends heavily on a good door seal and proper drainage. If the floor beneath the tub is uneven, installers may shim and adjust, but there are limits.
This becomes a problem when the floor is sloped, damaged, or flexes under load. The tub may still set in place, but long-term leaks and door issues become more likely.
Typical Renovation Scope
Learn about common renovation scope and potential hidden construction issues, so you can reasonably arrange time and budget ahead of time.
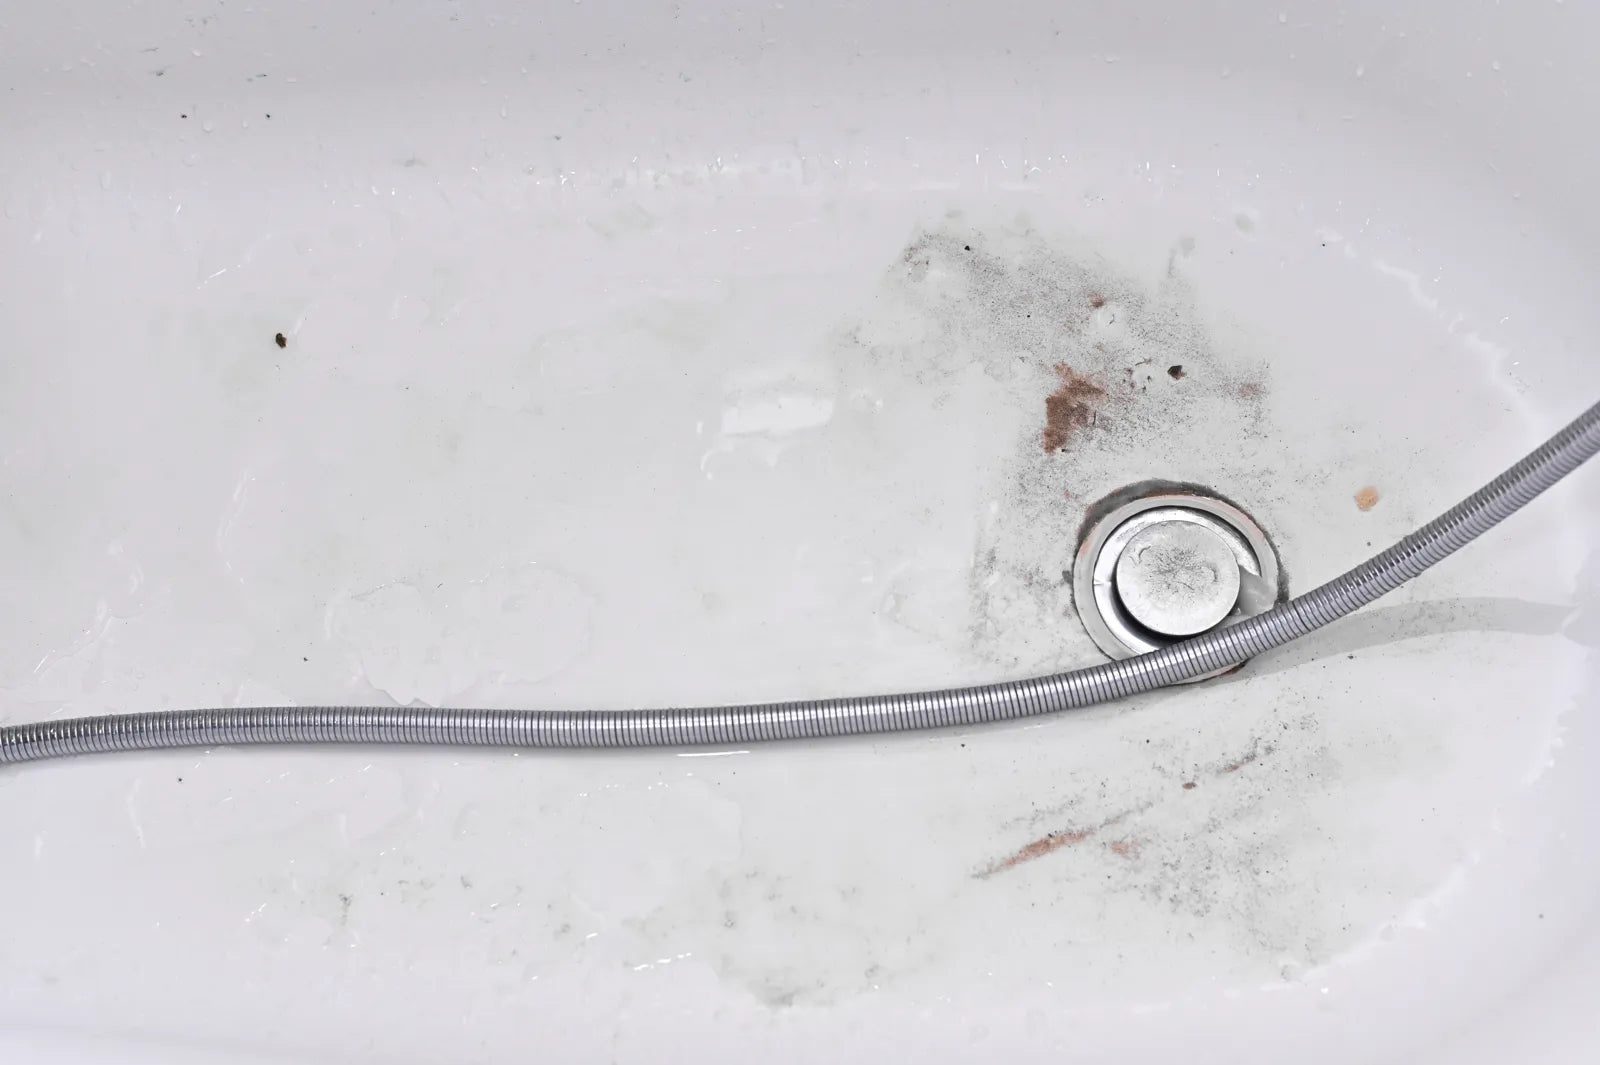
Old tub removal exposes hidden damage
How to remove an old tub before installing a walk in tub is not just a demolition question. It is the point where hidden conditions show themselves.
Expect possible discovery of:
-
rotten subfloor at the drain side
-
wall damage from old splash leaks
-
mold behind tile
-
rusted traps
-
old valves that should not be reused
If the old tub was installed before current methods or has leaked before, this stage often expands the scope.
Existing plumbing rarely matches perfectly
Walk in tub installation with existing plumbing sounds attractive because it suggests a simpler swap. In reality, exact alignment is uncommon.
Minor changes are normal. Bigger changes are common in older homes. Drain offset, valve height, and supply line routing often need rework.
One-day installs miss critical corrections
How long does walk in tub installation take? In clean retrofit conditions, a straightforward install may be completed quickly. But “quick” is not always “right.”
One-day installs become risky when they skip:
-
floor correction
-
wall repair
-
proper electrical additions
-
pressure testing
-
drain performance checks
-
waterproofing repairs around the opening
This is usually where installation fails: the crew forces the project into a sales timeline instead of the house’s actual condition.
Retrofit timelines stretch in older homes
For an existing bathroom in an older home, a more realistic range is several days to over a week when plumbing, electrical, flooring, or wall repair is needed.
If you have one bathroom only, plan for the possibility that the room is out of service longer than promised.
Complete walk-in tub installation process step by step
Follow this complete step-by-step installation guide to carry out every construction procedure in order for smooth and standard installation.
Step 1: Validate the user need
Before measuring anything, confirm that the user actually needs a walk-in tub rather than a safer shower or other accessibility changes.
If the person does not take baths now, this may not solve the real problem.
Step 2: Measure the room and path
Measure the alcove, front clearance, toilet spacing, doorway widths, hall turns, and delivery route. Do not rely on old listing dimensions or rough estimates.
Step 3: Check utilities
Confirm water pressure, drain location, water heater capacity, breaker panel space, and whether a new circuit is needed.
This step answers two major questions:
-
walk in tub installation requirements for plumbing and electrical
-
walk in tub installation and hot water heater requirements
Step 4: Inspect structure
Check floor condition, levelness, signs of prior leaks, and whether the subfloor or joists need repair or reinforcement.
Step 5: Remove the old tub
Demo should be controlled, not rushed. The goal is to expose conditions cleanly and avoid damaging what you still need.
Step 6: Correct hidden problems
Repair rot, update bad shutoffs, move pipes, add framing support, fix electrical, and level the floor before the new tub goes in.
Step 7: Set and connect the tub
The tub is placed, leveled, connected, sealed, and tested. Access panels must remain serviceable.
Step 8: Test everything under load
Run fill and drain cycles. Test the door seal, overflow, drain speed, pump function, GFCI protection, and any heater or control system.
Step 9: Finish surrounding surfaces
Close walls, patch flooring, seal transitions, and make sure moisture-prone joints are properly finished.
Step 10: Train the user
Show the user how long fill and drain take, how to latch the door, how to clean seals and jets, and what not to do.
Common Installation Failures
Know common installation errors and risky operations in advance to avoid quality flaws and hidden safety hazards after construction.
Poor sealing causes early leaks
A walk-in tub can leak even when the shell is fine. Most early leaks come from bad sealing, poor leveling, drain connection mistakes, or door alignment issues.
This is where speed hurts quality. A rushed installation may look finished and start causing trouble within weeks.
Missing GFCI protection creates shock risk
Powered tubs in wet rooms need proper protection. Unsafe wiring is not a small mistake. It is a serious hazard.
If your installer brushes off electrical additions or says existing power is “close enough,” stop there.
Rushed drain setup slows emptying
A badly connected or undersized drain setup creates long drain times and leaves the user trapped waiting longer than expected.
This is more than annoyance. For someone with pain, circulation issues, or temperature sensitivity, long drain times can make the tub unusable.
DIY attempts stall on nonstandard layouts
Professional walk in tub installation vs DIY is not mainly about skill with tools. It is about handling plumbing, electrical, leveling, waterproofing, code, and hidden conditions.
Can you install a walk-in tub yourself? In a very simple basic model, with advanced plumbing and construction ability, maybe. In most existing bathrooms, it is not a good DIY project. Too many failures happen at the interfaces: drain, seal, wiring, and floor prep.
Post-Installation Issues
Review frequent daily faults and maintenance tips to handle problems timely.
Jets and lines need frequent cleaning
Jets and internal lines can trap residue, soap film, and biofilm. If cleaning is skipped, odors and clogging can follow. This is one reason some owners stop using the therapy features they paid for.
If low maintenance matters to you, this is not a small issue.
Hot water capacity limits actual use
Walk in tub installation and hot water heater requirements are often underestimated. A deeper tub can need much more hot water than a standard bath.
If your tank is small or recovery is slow, the bath may fill tepid before it reaches a comfortable level. In practical terms, that means the tub “works” but disappoints every day.
Common Failures Caused by Poor Maintenance
Improper upkeep rarely leads to shell damage first. Wear and faults typically emerge on accessory components instead.
-
Door seals
-
Latches and caulked joints
-
Pump-associated parts and controls
-
Serviceable fittings
-
Sluggish drainage from accumulated dirt
-
Dirty nozzles and unpleasant odors
-
Mold growth in humid areas
-
Gradually degraded pump efficiency
-
Water leakage due to worn seals
Door seals are particularly vulnerable to misalignment, dirt accumulation, abrasion and improper door operation. Though walk-in tub shells boast long service life, auxiliary parts and seals degrade at a faster pace, relying on correct installation and regular maintenance to extend overall service time.
Cost and disruption reality
What’s the average cost of installing a walk-in tub? In many markets, the installed project often lands well above the tub-only price once plumbing, electrical, demo, wall repair, flooring patching, and finish work are included.
A simple replacement may stay closer to the lower end. A realistic retrofit with corrections often costs far more than people expect. Broadly, many homeowners see:
-
tub-only pricing in the lower thousands and up
-
installed projects commonly much higher
-
older homes driving major overages
The biggest cost drivers are not usually the tub color or trim. They are:
-
electrical upgrades
-
plumbing relocation
-
floor repairs
-
water damage repair
-
access difficulty
-
finish restoration
If your quote seems surprisingly low, ask what is excluded when hidden damage or utility changes appear.
Installation for aging in place
Walk in tub installation for aging in place makes sense only when it supports the user’s future condition, not just today’s condition.
Think ahead:
-
Will the user still transfer in safely two years from now?
-
Will they need caregiver help?
-
Will the bathroom still allow walker or wheelchair approach?
-
Would a shower with seated bathing be easier later?
A walk-in tub is sometimes the right aging-in-place move. But it is not automatically the most future-proof one.
Before You Buy
Use this checklist before you commit:
-
Confirm the user truly wants bathing, not just safer washing.
-
Measure the tub alcove exactly on finished surfaces.
-
Measure every doorway, hall, and turn from entry to bathroom.
-
Check front clearance so the room still works after installation.
-
Inspect the floor for soft spots, slope, or old leak damage.
-
Confirm drain location and whether plumbing changes are needed.
-
Confirm water pressure and ask how long fill and drain will take.
-
Check your water heater capacity and recovery rate.
-
Verify electrical needs, GFCI protection, and panel space.
-
Ask what happens if rot, mold, or old pipe failure is found.
-
Get in writing who handles wall repair, flooring patch, and finish work.
-
Ask how access panels remain reachable for future service.
-
Ask how the door seal is tested before sign-off.
-
Understand cleaning needs for seals, jets, and lines.
-
Plan for bathroom downtime longer than the sales estimate.
-
If you have one bathroom, decide how you will manage during delays.
-
If the room is small, test the space with tape on the floor first.
-
If you expect a quick daily routine, reconsider whether this is the right choice.

FAQs
Can a walk-in tub go where my old tub is?
Sometimes, but only if the alcove, delivery path, plumbing, clearance, and electrical setup all work. You must measure the existing alcove dimensions carefully beforehand. Check the full indoor route to ensure smooth tub delivery. Confirm drain alignment and sufficient front space for safe entry. Match home electrical conditions to prevent unexpected remodeling.
Do I need an electrician to install a walk-in tub?
Usually yes if the walk-in tub has pumps, heaters, lights, or electronic controls. Basic soaking-only designs need no electrical service. Powered models require dedicated home circuits. Wet-area GFCI protection is mandatory for safety compliance. Certified electricians should complete all related wiring work.
How long does walk-in tub installation take?
A simple retrofit may take a day or two, but older bathrooms often take several days or longer. Hidden plumbing flaws, damaged flooring and worn wall structures extend construction time. Electrical upgrades and waterproofing work also add to the overall installation timeline.
What are the biggest negatives of a walk-in tub?
Long wait times occur while the tub fills and drains. It uses far more hot water than conventional bathtubs.The bulky design reduces available bathroom floor space. Seals and jet components need consistent routine cleaning.
Do floors need reinforcement?
Not always, but older homes, second-floor bathrooms, mobile homes, or floors with prior water damage should be checked before installation. A filled tub plus a person’s weight creates heavy localized pressure. Unstable flooring can gradually sag or warp over time. Professionals can assess structural strength and add reinforcement to avoid safety hazards.
References


Leave a comment
This site is protected by hCaptcha and the hCaptcha Privacy Policy and Terms of Service apply.