



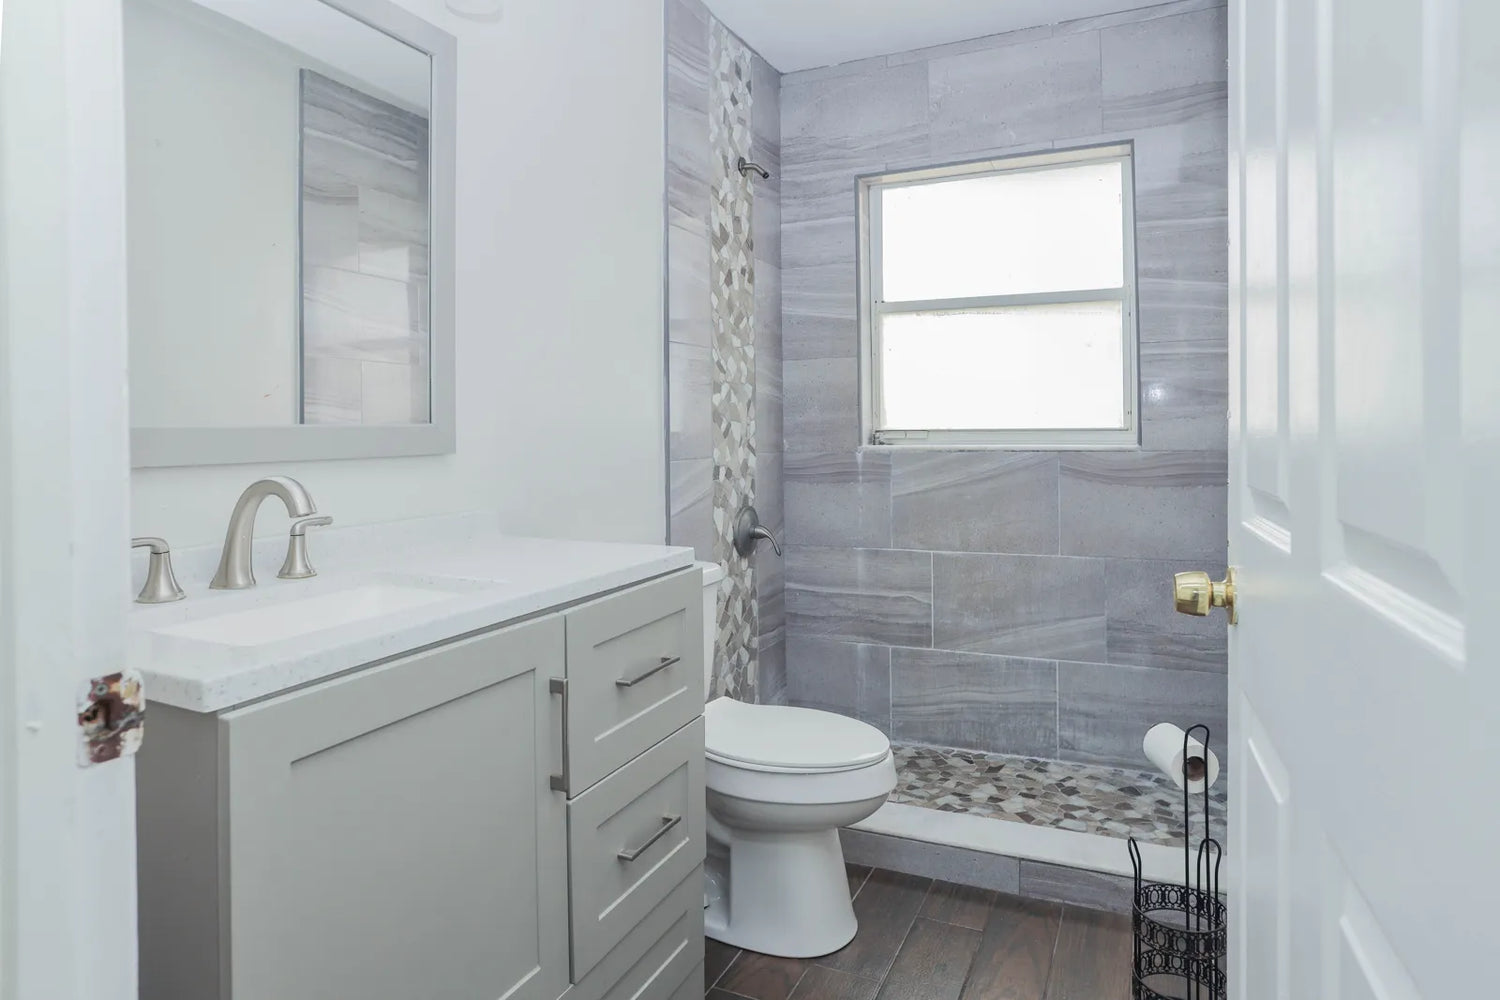
Can you install a smart toilet yourself? Sometimes. DIY is a reasonable option when the bathroom is already ready for the exact toilet, the existing plumbing and electrical setup do not need modification, you can safely remove and position the fixture, and you can follow the model-specific installation manual without improvising. If the project requires plumbing repair, electrical work, structural floor repair, or changes to make the toilet fit, stop treating it as a simple DIY replacement.
This guide focuses on the DIY-versus-professional decision. For the complete bathroom readiness review, including rough-in, flange, floor, clearance, water, power, shutoff-valve access, and handling, use the main smart toilet installation checklist before starting work.
Quick Answer: When Is DIY Smart Toilet Installation Reasonable?
DIY makes the most sense when you are replacing an existing toilet in a bathroom that already meets the installation requirements for the exact smart toilet you selected. The job should not require moving the drain, repairing damaged plumbing, adding electrical service, correcting a damaged floor, or forcing the fixture around an obstruction.
Your role as a DIY installer is to confirm that the room is already suitable, follow the exact model instructions, use the required tools correctly, handle the fixture safely, and stop when the work moves beyond a straightforward replacement.

DIY Is a Good Fit When the Bathroom Is Already Ready
A straightforward DIY replacement usually starts with a bathroom that does not need repair or modification. The existing toilet comes out without revealing damage, the selected smart toilet is confirmed to fit, the shutoff valve works, the fixture can be moved into position safely, and the required utilities are already available.
You should also be comfortable working slowly and following the installation manual exactly. Smart toilets can use model-specific mounting parts, water connections, electrical requirements, setup procedures, and testing steps. A technique that worked for another toilet should not be substituted for the instructions supplied with the model in front of you.
DIY requires practical tool skills, not just confidence
You do not need to be a professional tradesperson to complete every straightforward replacement, but you should be comfortable with basic hand tools, careful measurement, controlled lifting, shutting off and reconnecting an existing water supply, following a sequence of model-specific instructions, and checking your work before regular use.
The exact tools and hardware vary by model and bathroom conditions. Use the tool list in the current installation manual instead of assuming that a generic smart toilet tool list applies to every installation.
Handling the fixture can be the hardest part
A smart toilet can be awkward to lift and position because the bowl, housing, bidet system, and electronic components are integrated into one fixture. If you cannot safely control the unit while lowering and aligning it according to the installation instructions, get another person to help or use a professional installer.
Stop DIY When the Bathroom Needs Repair or Modification
The most important DIY skill is knowing when not to continue. Stop when the work changes from installing the toilet to repairing or altering the bathroom around it.
- Stop for plumbing work if the drain, flange, shutoff valve, supply piping, or other plumbing components need repair, relocation, or modification.
- Stop for electrical work if the required power setup is not already available or wiring, receptacles, circuit work, or other electrical changes are needed.
- Stop for floor problems if removing the old toilet exposes a soft, damaged, unstable, or significantly uneven installation surface.
- Stop for fit problems if the selected toilet interferes with the wall, vanity, door, plumbing, power connection, or another fixed part of the room.
- Stop for drainage problems if the existing toilet already shows persistent slow drainage, backup, or other symptoms that should be diagnosed before installing a new fixture.
- Stop when the manual and the site disagree rather than improvising adapters, connections, mounting methods, or installation steps.
If you have not yet confirmed whether the bathroom itself is ready, return to the complete smart toilet installation checklist. This DIY guide does not duplicate that full compatibility review.
Do Not Turn a DIY Install Into Electrical Work
A DIY toilet replacement and a bathroom electrical modification are different jobs. If the exact smart toilet requires an electrical condition that your bathroom does not already provide, stop before installation and have the electrical work evaluated by a qualified professional.
Do not use this page as a substitute for model-specific electrical specifications. Power requirements, grounding instructions, protection requirements, cord length, outlet placement, circuit considerations, and other electrical details should be checked for the exact model.
For the detailed electrical planning process, use the Smart Toilet Electrical Requirements guide.

Know When Plumbing Work Is No Longer DIY
Removing an old toilet can reveal problems that were hidden while the fixture was in place. A damaged flange, leaking or inoperable shutoff valve, questionable drain condition, damaged floor, or plumbing that does not match the selected toilet changes the scope of the project.
Do not use generic flange-height thresholds, repair-ring instructions, water-pressure ranges, valve sizes, hose specifications, or other one-size-fits-all rules to force the installation forward. The correct response is to compare the site with the exact product documentation and bring in a plumber when plumbing repair or alteration is required.
Call a plumber when the project involves more than reconnection
A plumber should take over when the work involves repairing or relocating the drain, correcting flange problems, replacing or moving plumbing that cannot be handled as a straightforward connection, diagnosing existing drainage problems, or resolving leaks and plumbing conditions that remain unclear.
If the bathroom requires plumbing changes and electrical work, coordinate both before installing the smart toilet. Finishing the toilet installation first can make later access harder.
Check Your Ability to Move and Position the Toilet
DIY can fail even when the room itself is compatible. Before removing the old toilet, make sure you can move the new fixture through the delivery path and control it during placement. Doorways, tight turns, stairs, narrow bathrooms, and limited working space can make a one-piece fixture difficult to handle.
Do not twist, drag, or force the toilet into position to compensate for limited access. Follow the handling and placement instructions for the exact model and get help when the fixture cannot be controlled safely by one person.

Follow the Exact Model Manual During Installation
This page does not provide a universal smart toilet installation sequence because mounting hardware, sealing methods, water connections, electrical requirements, backup-flush components, remote setup, and final testing can differ by model.
Once the bathroom has passed the main installation checklist and you have decided that DIY is appropriate, use the current Product Page and installation manual for the exact toilet. Do not copy a water connection, battery step, flange procedure, tightening instruction, or electrical setup from another model.
Common DIY Mistakes to Avoid
Continuing after the shutoff valve does not work correctly
If the existing shutoff valve does not reliably stop the water or shows signs of leakage, do not treat that as a minor inconvenience. Resolve the plumbing issue before removing or reconnecting the toilet.
Trying to fix poor fit by tightening harder
Fasteners cannot correct an incompatible rough-in, interference with a wall or valve, a damaged flange, or an unstable floor. If the toilet does not sit as the model instructions and product drawing indicate, stop and identify the cause rather than forcing the fixture into place.
Improvising connections or adapters
Do not assume that an adapter, alternate hose, different fastener, added sealant, or another model's installation technique is appropriate. Use only the connections and methods supported by the documentation for the exact product and the conditions in the bathroom.
Skipping the final checks in the manual
After installation, complete the model-specific startup and inspection steps in the manual. Check accessible water connections for signs of leakage and make sure the fixture remains stable. If a problem appears that involves hidden plumbing, electrical safety, drainage, or an internal smart component, stop troubleshooting beyond your skill level.

When to Call a Plumber, Electrician, or Both
Call a plumber
- The flange, drain, shutoff valve, supply piping, or other plumbing needs repair or modification.
- The existing toilet has persistent drainage problems that have not been diagnosed.
- You find water damage, leakage, or plumbing conditions that you cannot confidently identify.
- The selected toilet cannot be connected according to its installation instructions without changing the plumbing.
Call an electrician
- The bathroom does not already provide the electrical setup required by the exact toilet.
- A receptacle, wiring, circuit, grounding, or other electrical component needs to be added, relocated, repaired, or evaluated.
- The existing electrical setup is questionable or does not match the model documentation.
Use a qualified electrician and follow applicable local requirements for electrical work. For detailed planning, see the Smart Toilet Electrical Requirements guide.
Call both
Use both trades when the bathroom needs plumbing changes and electrical work before the toilet can be installed. Complete those changes first, then return to the exact model installation instructions.
What If You Mainly Want Bidet Features?
If your existing toilet works well and your main goal is washing, seat heating, or other bidet functions, compare the work required for a complete smart toilet replacement with the requirements of a compatible bidet seat. Keeping the existing toilet may reduce the amount of plumbing and fixture replacement involved, but the seat must still be compatible with the toilet and any required utilities.
DIY vs Professional Installation: Final Decision
Choose DIY when the bathroom is already ready, no plumbing or electrical modification is required, you can handle the fixture safely, you have the basic tool skills needed for a careful replacement, and you can follow the exact model manual from start to finish.
Stop DIY when you discover damaged plumbing, floor problems, drainage issues, electrical work, fit conflicts, uncertain connections, or any situation that requires you to invent a solution not supported by the product instructions.
The goal of DIY is not to avoid a professional at any cost. It is to complete a straightforward replacement yourself while recognizing the point where the project becomes plumbing, electrical, structural, or diagnostic work.
FAQs
1. Can I install a smart toilet myself?
You may be able to install a smart toilet yourself when the bathroom already meets the requirements for the exact model and the work is a straightforward replacement. DIY is a poor choice when plumbing repair, electrical work, floor repair, drainage diagnosis, or other modifications are required.
2. What skills do I need for DIY smart toilet installation?
You should be comfortable using basic hand tools, following detailed instructions, shutting off and reconnecting an existing water supply, measuring carefully, handling the fixture safely, and checking your work. The exact tools and steps should come from the installation manual for the model you are installing.
3. When should I stop a DIY smart toilet installation?
Stop when you find damaged plumbing, a floor problem, a fit conflict, existing drainage trouble, electrical work that still needs to be completed, or any condition that cannot be resolved using the exact product instructions. Do not improvise a repair simply to finish the installation.
4. Do I need an electrician for a smart toilet?
You need professional electrical help when the bathroom does not already meet the electrical requirements for the exact smart toilet or when wiring, receptacles, circuits, grounding, or other electrical components need to be changed or evaluated. Use the Smart Toilet Electrical Requirements guide for detailed planning.
5. When should I call a plumber?
Call a plumber when the installation requires drain, flange, shutoff-valve, supply-piping, or other plumbing repair or modification, or when existing drainage or leakage problems need diagnosis. Correct those conditions before the smart toilet is installed.


Leave a comment
This site is protected by hCaptcha and the hCaptcha Privacy Policy and Terms of Service apply.