



-
Clear pros and cons in plain language
-
How acrylic compares to fiberglass, tile, stone resin, and solid surface bases
-
Common sizes, shapes, and drain layouts
-
A step-by-step buyer’s checklist so you can choose the right base the first time
-
Key installation and waterproofing basics
-
Real-world cost ranges, lifespan, and market trends through 2033
-
Simple cleaning, care, and repair tips to keep your shower looking new
At‑a‑Glance: Is an Acrylic Shower Pan Right for You?
Quick pros and cons summary
-
Lightweight: Easy to carry upstairs and set in tight spaces; lower weight than tile or stone.
-
Non‑porous surface: Resists mold, mildew, and stains because water cannot soak in.
-
Budget‑friendly: The price is usually lower than tile or stone bases, and easy installation can cut labor costs.
-
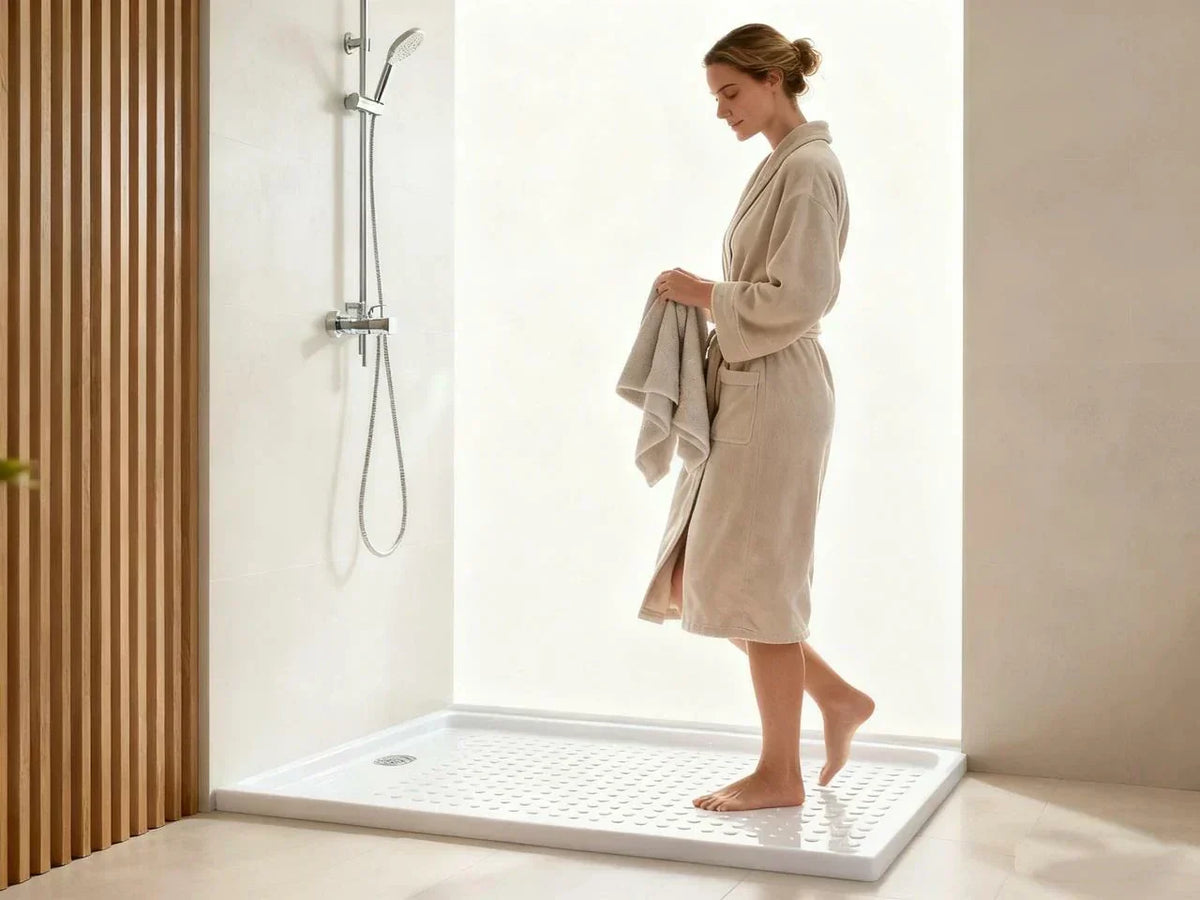
Good design range: Many sizes, shapes, drain locations, textures, and colors, including walk in shower base styles.
-
Easy cleaning: Smooth surface means soap scum wipes off with mild cleaners; no grout lines to scrub.
-
Scratches: The surface can scratch if you use abrasive pads or harsh tools.
-
Heat sensitivity: Very hot items or tools can warp or damage the acrylic base.
-
Flex if poorly supported: If the mortar base or foam bed under the pan is weak or missing, you can get flex, squeaks, or even cracks.
-
Quick to install
-
Safe and non‑slip underfoot
-
Easy to clean
-
Not as expensive as custom stone
Best use cases for acrylic shower bases
-
Residential remodels: Updating old tubs to walk‑in showers, or replacing stained fiberglass surrounds.
-
Multifamily units: Apartments and condos where you need the same product in many units with simple installation and reliable waterproofing.
-
Hotels and rentals: Places that see daily use, need easy cleaning, and must stay open with minimal downtime.
-
Accessible bathrooms: Low‑threshold or barrier‑free acrylic shower pans with seats, grab‑bar backing, and textured floors for safety.
Key decision summary: when acrylic is NOT ideal
-
You are building a very high‑end luxury bathroom and want the feel and look of real stone or a thick solid surface base.
-
You need extreme customization of shape, slope, or linear drain placement that goes beyond what acrylic molds allow.
-
The shower is in a high‑abuse commercial space like a locker room where heavy impacts and constant foot traffic are common.
-
The room has major structural movement (for example, some older attic floors) and you need extra‑rigid stone resin or poured systems.

Decision matrix
| Factor | Acrylic | Fiberglass | Tile | Solid Surface | Stone / Onyx-type |
| Relative cost | Low–mid | Low | Mid–high | Mid–high | High |
| Durability | Good | Fair–good | Very good (if installed well) | Very good | Very good–excellent |
| Maintenance | Easy | Easy–moderate | Higher (grout cleaning) | Easy | Easy–moderate |
| Style range | Good | Basic–good | Excellent (many tiles) | Very good | Very good |
| Accessibility | Very good (low thresholds) | Good | Varies by build | Very good | Very good |
| DIY-friendliness | Moderate | Moderate | Low–moderate | Low–moderate | Low |
Construction 101 – What Is an Acrylic Shower Pan?
-
A top acrylic sheet for the surface you see and touch.
-
A backing layer, often fiberglass or another composite, to add strength.
-
A support structure under the floor area, which may include ribs, foam, or extra thick zones that sit in a mortar base or support pad.
Acrylic vs. fiberglass shower pans
-
Keeps its gloss and color longer
-
Feels a bit warmer and smoother underfoot
-
Resists cracking and crazing better under normal use
-
Is easier to repair small scratches with polish kits
| Feature | Acrylic Shower Base | Fiberglass Shower Base |
| Typical weight | Light | Very light |
| Surface thickness | Thicker top layer | Thinner gelcoat surface |
| Gloss retention | Very good | Fair–good |
| Typical lifespan | 15–25 years (with good care) | 10–20 years (with good care) |
| Common warranty | 10‑year to limited lifetime | 1–10 years |
Acrylic shower pan vs. tile, stone resin, and solid surface
-
A tiled shower pan can look amazing and gives you nearly endless design freedom. You can match any style, from rustic to ultra‑modern. But tile has grout lines that can stain and grow mold if not sealed and cleaned. It also needs more skill and time to build.
-
A stone resin or solid surface shower base is heavier and more rigid than acrylic. It feels solid underfoot and often has a more elegant, stone‑like look. These bases can be expensive and harder to move and install, especially in tight old homes.
-
Acrylic sits in the middle. It is lighter, easier to install, and kind to your budget, while still looking clean and contemporary. It might not match the natural beauty of real stone, but for most bathrooms it gives a seamless and neat finish.
Types, Sizes & Design Options for Acrylic Shower Bases
Standard shapes, sizes, and configurations
| Shape / Type | Common Sizes (inches) | Notes |
| Square | 32 x 32, 36 x 36 | Good for small corner showers |
| Rectangular (alcove) | 48 x 36, 60 x 32, 60 x 36 | Most common for tub‑to‑shower swaps |
| Neo‑angle corner | 36 x 36, 38 x 38 | Fits small bathrooms, angled front |
| Large walk‑in | 60 x 42, 60 x 48, 72 x 36+ | For roomy, walk in shower pans |
-
Center drain (common in square pans)
-
Left or right drain (for tub replacements)
-
End drain or linear drain styles (often in larger, modern showers)
Shower Base Size and Drain Matrix
A shower base must fit the finished opening and place the drain where the plumbing can connect without forcing the assembly out of alignment. Compare the exact base drawing with field measurements; nominal size alone does not establish fit.
| Decision point | Confirm for the exact project | Why it matters |
|---|---|---|
| Finished opening | Width, depth, wall finish, and threshold conditions | The finished space—not the framing estimate—determines whether the base can be installed as designed |
| Base dimensions | Overall footprint, flange or tiling edge, and threshold profile | These details affect wall-board, tile, and enclosure interfaces |
| Drain location | Drain center measured from the reference edges shown in the product drawing | A nominal base size does not guarantee alignment with the existing drain |
| Subfloor and support | Opening, support surface, and fastening requirements in the installation instructions | The base must be supported and secured according to its own system |
| Enclosure interface | Usable curb or threshold area, finished opening, and wall condition | Door and panel hardware need compatible mounting surfaces and clearances |
Use the current drawings for the shower base, wall system, and enclosure together. If one component does not document the required interface, verify compatibility for that exact combination before ordering.
Modern design trends: walk‑in, low‑threshold, and curbless pans
-
Low‑threshold or low‑profile entries that make it easier to step in and out.
-
Extra‑wide walk in shower base styles for two‑person showers.
-
Textured, anti‑slip floors that boost safety without feeling rough.
-
Built‑in seats or ledges to hold bottles or support people who need to sit.

Custom and made‑to‑measure acrylic shower trays
Color, finish, and accessory options
-
Soft greys
-
Deeper charcoal tones
-
Even black options for bold designs
-
Tiling flanges along the sides, which help lock in the wall system and stop leaks.
-
An apron or front skirt that finishes the exposed edge in alcove setups.
-
Matching acrylic wall surrounds or panels for a full entire shower enclosure solution.
How to Choose the Right Acrylic Shower Pan
Step‑by‑step buyer’s checklist
-
Measure the space. Measure the length and width of the alcove or corner where the shower will sit. Check both top and bottom in case the walls are not square.
-
Locate the drain. Measure from the back and side walls to the center of the existing drain. This tells you if you need a center, left, right, or end drain pan.
-
Check subfloor and structure. Look for soft spots, old water damage, or sag. The floor must support the weight of the pan, the water, and people.
-
Think about who will use the shower. Do they need a low threshold, seat, or wider entry? Are there kids or older adults who need a safer floor?
-
Match the height to the walls. If you plan tile or panel walls, make sure the pan has the right tiling flange and fits the planned wall height and shower door style.
-
Plan for codes. Check local rules and any ADA or accessibility needs for threshold height, slope, and shower size.
-
Set a budget range. Decide how much you can spend on the base, then add rough installation and glass door costs.
Key specs to evaluate (beyond size and color)
-
Pan thickness and backing: A thicker acrylic layer with solid reinforcement feels more solid and resists cracks.
-
Support requirements: Check if the pan needs a full mortar base, a foam support, or can sit on level framing alone. Full support often means less flex and noise.
-
Anti‑slip texture: Look for a textured floor with a tested slip rating, especially for kids or older users.
-
Threshold height: Lower thresholds are easier to step over and often needed for accessible acrylic shower pans.
-
Drain hardware compatibility: Make sure your chosen drain cover and assembly match the pan’s hole size and depth.
-
Warranty: Read what the warranty covers, for how long, and what actions (like using strong chemicals) can void it.
Matching an acrylic shower base to glass doors and walls
-
Door type: Bypass sliders, hinged doors, and open walk‑in glass all need different curb widths and clearances.
-
Curb design: Check that the pan’s front edge is level and wide enough to hold the door track or frame if you plan one.
-
Wall flanges: The pan should have flanges on sides that meet walls so water cannot slip behind. Your installer will tie these into tile backer or wall panels.
-
Wall material: If you plan tile, make sure the backer board overlaps the pan flange and that a proper waterproof membrane runs behind. For acrylic or fiberglass surrounds, use products tested together when possible.
Door and Enclosure Compatibility
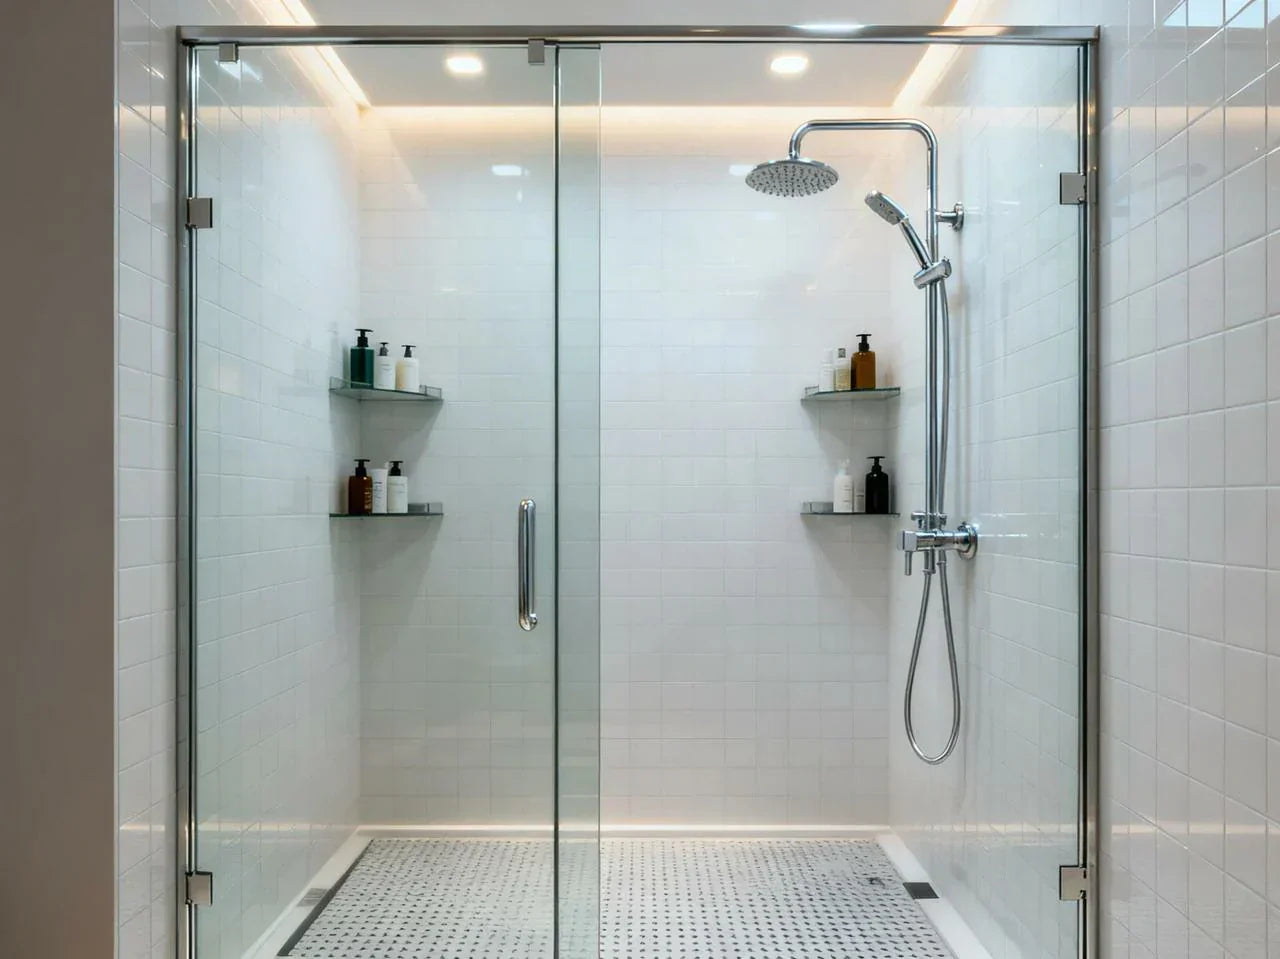
Treat the shower base, finished walls, enclosure, and door as one system. Confirm the finished opening, threshold or curb geometry, glass and hardware requirements, door movement, and drain position for the exact components being combined.
Do not choose a door from the base’s nominal width alone. Use the current drawings for every component and confirm that the installation sequence leaves the required mounting and service access.
Code, ADA, and barrier‑free considerations
-
Threshold height: Many accessibility guidelines limit this to a small step, often 1/2 inch for roll‑in showers.
-
Interior space: Enough room to turn and transfer, sometimes 36 x 36 inches minimum or more, depending on rules.
-
Seat and grab‑bar support: If you add a seat or grab bars, framing behind the wall must be strong enough to hold a person’s weight.
Installation & Waterproofing Basics for Acrylic Shower Bases
Can you install an acrylic shower pan yourself?
-
You are moving the drain to a new spot.
-
The floor has serious rot or needs structural work.
-
You are not used to how to create a shower pan level and solid with mortar.
Step‑by‑step installation overview
-
Subfloor prep and leveling. Remove the old pan or tub. Clean the area down to the subfloor. Repair any damaged wood and make sure the surface is flat and strong.
-
Dry fit the pan. Set the acrylic shower base in place without mortar to check fit and drain alignment. Mark the drain location and check that the walls are plumb and square.
-
Prepare the support bed. Mix mortar (or set a foam support if the maker allows it) in the area where the floor of the pan will sit. Spread it evenly with a trowel. This helps prevent flex and squeaks.
-
Set the pan. Lower the pan gently onto the mortar bed, pressing down evenly. Use a level to confirm the slope to the drain is correct and the threshold sits flat. Adjust lightly if the maker allows it.
-
Connect the drain. From above or below, install the drain assembly, seals, and drain cover as the instructions say. Tighten but do not over‑tighten.
-
Secure flanges and walls. Fasten the pan’s flanges to the wall framing (without cracking them) using proper screws. Install tile backer or wall panels so they overlap or align with the flanges, with waterproofing behind.
-
Seal all joints. Use high‑quality sealant where the pan meets walls and corners, and around the drain if required. Let it cure fully before use.

Common installation mistakes and how to avoid them
| Symptom | Likely Cause | Fix / Prevention |
| Pan flexes or squeaks | No full mortar bed; uneven support | Reset pan with full, level support bed |
| Water pools away from drain | Pan not level; wrong slope direction | Re‑level subfloor and reset pan |
| Leak at ceiling below shower | Poor drain seal; gaps at flange | Re‑do drain assembly; reseal wall‑to‑pan joints |
| Cracks near drain or corners | Movement from below; heavy impact | Repair or replace pan; improve floor framing |
| Musty smell, mold at walls | Weak waterproofing behind wall finish | Remove finishes, re‑waterproof, re‑tile/panel |
Waterproofing and compatibility with wall systems
-
Hang a suitable backer board that laps over the pan flange.
-
Apply a continuous waterproof membrane over the board, tying it into the pan area as the maker suggests.
-
Leave a small gap between the bottom tile edge and the pan, then fill it with flexible sealant, not grout.
Cleaning, Care & Long‑Term Maintenance
Daily and weekly cleaning routines
-
Use a soft sponge or cloth and a mild, non‑abrasive cleaner. Dish soap or a bathroom cleaner made for acrylic is fine.
-
Rinse with warm water and dry with a towel or squeegee after showering. This cuts soap scum and hard water spots.
-
Avoid steel wool, rough scrub pads, or powdered cleaners. These can leave scratches that are hard to fix.
Preventing stains, scratches, and yellowing
-
Ventilation: Run a fan or open a window to reduce moisture and limit mold growth.
-
Water treatment: If you have very hard water, a water softener or filter can reduce mineral stains.
-
No harsh chemicals: Avoid strong bleach mixes or solvent cleaners unless the pan maker says they are safe.
-
Use mats carefully: If you use a bath mat, choose one without suction cups that can stress the surface. Lift and clean under it often.

Repairing minor damage to an acrylic shower base
-
Fine scratches: Many can be buffed out with special acrylic polish kits, following the directions carefully.
-
Small chips or hairline cracks: Some can be filled with acrylic repair kits that match the color and texture. These work best on light damage in low‑stress areas.
-
Deep cracks, soft spots, or leaks: These are serious. They often mean the support under the pan has failed or the pan has aged out. In such cases, a full replacement is usually safer than patching.
Costs, Lifespan, Market Trends & Value
How much does an acrylic shower pan cost?
-
Budget pans (small, basic): Lower price range for simple 32 x 32 or 36 x 36 square pans.
-
Mid‑range pans: Medium price for common 60 x 32, 60 x 36, and better textures or low profile thresholds.
-
Premium acrylic pans: Higher price for large, walk in shower pans, built‑in seats, special drain layouts, and stylish colors.
-
How much demo and prep is needed
-
Whether the drain must be moved
-
If new walls and shower doors are also part of the job
Lifespan, warranties, and cost of ownership
-
Solid support under the pan
-
No major structural movement in the floor
-
Reasonable cleaning habits with gentle products
-
You spend less on early installation.
-
You spend less time cleaning grout or fixing cracked tiles.
-
There is less risk of slow leaks from grout or caulk failures at the floor, if the pan is installed correctly.
Global market size, growth, and key drivers (2025–2033)
-
Around $1.5 billion global market value in 2025
-
Expected growth to about $2.5 billion by 2033
-
A compound annual growth rate (CAGR) of around 6%
-
More bathroom remodels as homes age and people want walk‑in showers instead of tubs.
-
Strong building growth and rising middle‑class spending in parts of Asia‑Pacific.
-
A push toward accessible, safer bathrooms for aging populations.
-
Demand for products that balance style, durability, and cost without heavy construction work.
Real‑world case studies and user experiences
-
New York brownstone remodel: A couple turned a narrow, old tub space into a low‑threshold walk in shower base. They chose a 60 x 32 acrylic shower pan with a right‑side drain to match the old plumbing. A glass door and tiled walls finished the look. The low step made it easier for an older parent to shower safely, and cleaning time dropped because there was no more moldy caulk around a tub.
-
Tokyo business hotel renovation: A small hotel replaced aging fiberglass units with acrylic shower bases that had textured floors and built‑in seats. Housekeeping staff reported faster cleaning and less back strain, since smooth surfaces wiped clean quickly. Guest reviews mentioned the sleek, contemporary look and safe, non‑slip floors.
Accessibility, Sustainability, Health & Code Compliance
Accessibility features of acrylic shower pans
-
Low or ramped thresholds for easy entry
-
Built‑in seats or benches
-
Extra‑wide shapes to allow helpers or mobility devices
-
Textured, non‑slip floors for safer footing
Environmental impact, VOCs, and recyclability
-
Emissions from materials
-
Recycling or reuse of waste from factories
-
Expected product lifespan
Health benefits: hygiene and non‑porous surfaces
Standards, regulations, and authoritative resources
-
National or local building codes for shower sizing, threshold height, and drain rules.
-
ADA or similar accessibility guidelines if you are building for someone with mobility needs.
-
Public health guidance on indoor moisture and mold risks.
Expert tips to get the most from your acrylic shower pan
-
Before you buy: Focus on support, slope, and warranty more than fancy looks. A simpler pan that is solid and well‑made is better than a flashy one that flexes.
-
During install: Always use the full support bed the maker asks for, and follow the specific drain assembly steps. Small shortcuts can lead to big leaks.
-
After install: Dry the pan after showers, use mild cleaners, and check caulk lines each year so small gaps do not become big water problems.
FAQs
1. Is acrylic good for a shower pan?
2. What is the best material for a shower pan?
3. Are acrylic shower bases better than fiberglass?
4. What are the standard sizes for shower pans?
5. Can I create a tiled shower pan instead of using acrylic?
6. How long does an acrylic shower pan last?
-
It is supported by a full mortar base or approved support
-
The drain is sealed well
-
You clean it with gentle products
References


Leave a comment
This site is protected by hCaptcha and the hCaptcha Privacy Policy and Terms of Service apply.