


The Complete HOROW T37 Smart Toilet Manual: Installation, Functions, and User Tips
If you’ve recently purchased the HOROW T37 Smart Toilet, you’ve made a high-tech investment in bathroom comfort and hygiene. This advanced bidet toilet is packed with features, but to get the most out of it, you need to understand how it works. In this blog, we break down the HOROW T37 Smart Toilet Manual into simple, user-friendly guidance covering installation, key functions, troubleshooting, and care tips.
Whether you're installing it yourself or just want to know what every button does, this post is your go-to guide.
What is the HOROW T37 Smart Toilet?
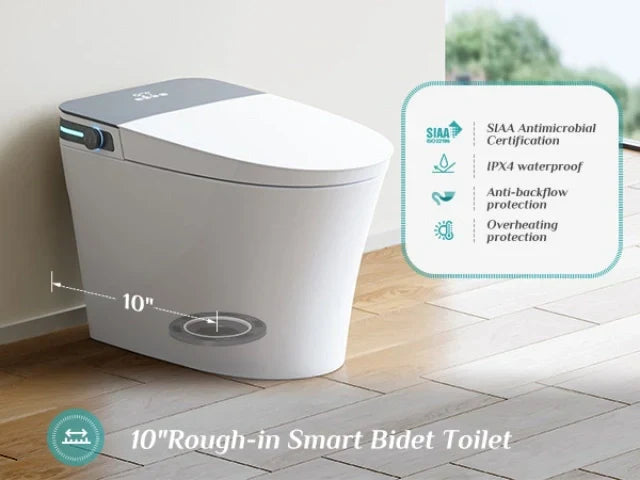
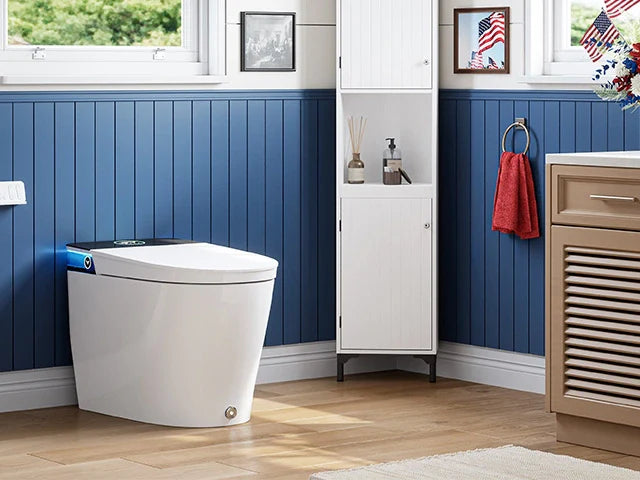
The HOROW T37 is a one-piece, tankless smart bidet toilet known for its modern design, water efficiency, and hygienic features. It combines traditional toilet functionality with cutting-edge technology, including:

- Heated seat
- Front and rear wash with adjustable pressure and temperature
- Warm air dryer
- Self-cleaning stainless steel nozzle
- Energy-saving mode
- Instant warm water
- Soft-closing lid
- Remote and side control panel
- Night light
- Automatic deodorizer
The T37 is especially suitable for 10-inch rough-in spaces, making it a compact yet feature-rich solution for modern bathrooms.
Unboxing & What’s Inside the Box
When you unbox the HOROW T37, you should find the following components:
- Main smart toilet body
- Wireless remote control
- Side knob (pre-installed)
- Installation bolts and wax ring
- Water filter
- Manual (printed)
- Quick-install guide
- Power cord (attached)
Make sure all components are accounted for before beginning installation.
Step-by-Step Installation Guide
1. Check Plumbing Requirements
- Ensure your bathroom has a 10-inch rough-in from the wall to the floor flange.
- A GFCI electrical outlet should be available within 4 feet.
- Confirm water pressure is within 0.07–0.75 MPa.
2. Turn Off Water Supply
Shut off the existing toilet's water supply, remove the old toilet, and clean the flange area.
3. Install Wax Ring
Place the included wax ring onto the flange to create a watertight seal.
4. Place the Toilet
Lower the T37 onto the flange bolts and tighten them securely.
5. Connect Water Supply
Connect the water filter and hose to the toilet and your supply line.
6. Power On
Plug into a GFCI outlet. The toilet will initialize automatically and show a status light.
Pro Tip: Never use an extension cord. Always use a grounded outlet.
How to Use the HOROW T37 Smart Toilet
1. Remote Control Functions
The remote offers full access to all features, including:
- Rear/Front Wash
- Adjust Pressure & Temp
- Dryer
- Stop
- Auto Mode
- Energy Saver
2. Side Knob Backup
The side control knob allows you to activate basic wash and flush functions without the remote.
Cleaning and Maintenance
- Self-Cleaning Nozzle: Activates before and after each use.
- Manual Cleaning: Use a soft cloth and gentle cleaner.
- Replace Filter: Every 6–12 months.
- Descale: Use vinegar every few months in hard water areas.
Troubleshooting Common Issues
No Water Spray
- Check water supply
- Ensure seat sensor is activated
- Inspect hose for kinks
No Power
- Check outlet and GFCI
- Unplug and replug
Weak Water Pressure
- Clean or replace filter
- Increase pressure setting
Remote Not Responding
- Replace batteries
- Re-pair remote using sync button
Best Practices
- Always sit fully on the seat to activate functions
- Teach guests how to use the wash and dry features
- Turn off power if away for extended time
Download the HOROW T37 Manual (PDF)
Need the digital version of the manual?
👉 Visit: www.horow.com/pages/manuals and look for HOROW T37 under Smart Toilet section.
Final Thoughts
The HOROW T37 Smart Toilet offers unmatched hygiene, comfort, and smart features for modern homes. With the right installation, regular maintenance, and this user-friendly manual, you’ll enjoy a luxurious and worry-free bathroom experience every day.
Call to Action
Looking to upgrade or need accessories for your HOROW T37?
🛒 Shop Now: www.horow.com
🎁 Use Code: SUMMERSALE20 to get 20% OFF during our Summer Sale!


Leave a comment
This site is protected by hCaptcha and the hCaptcha Privacy Policy and Terms of Service apply.