
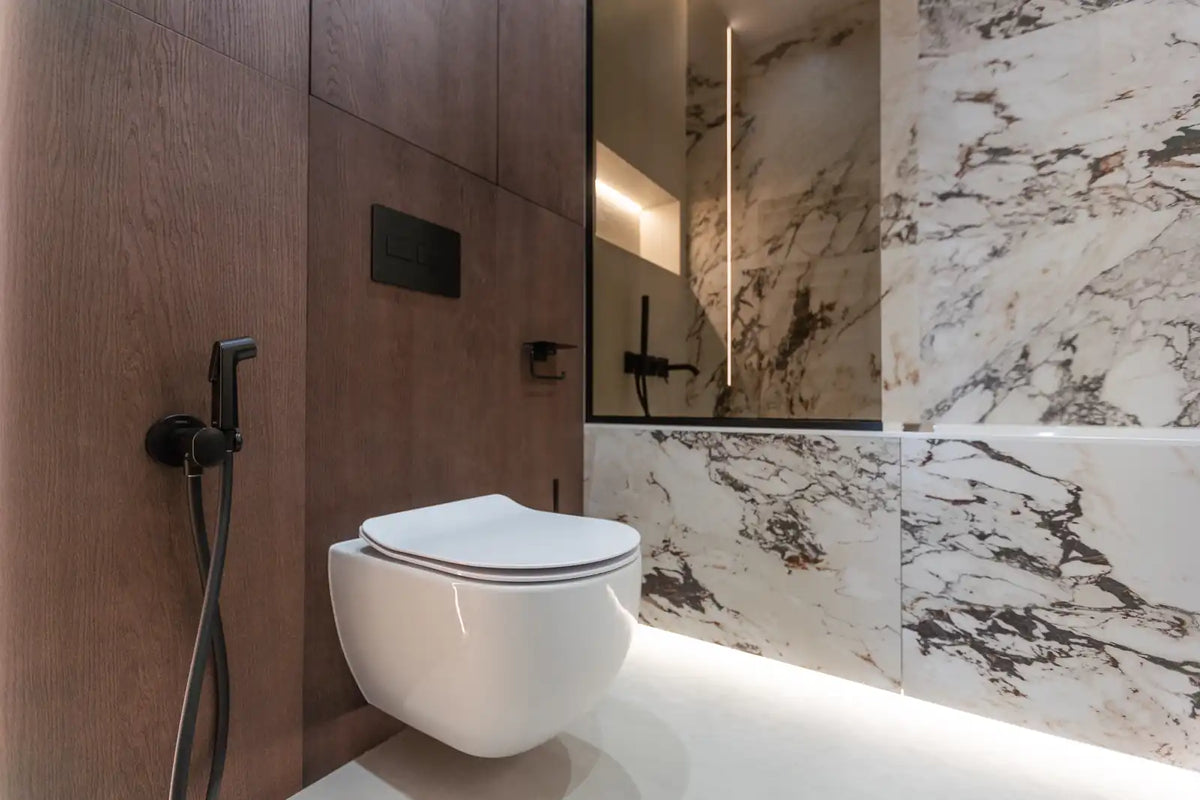
Wall-hung toilet clearance from the floor is the vertical gap between the finished floor and the lowest part of the bowl. It is not the ceramic rim height, installed seat height, or carrier mounting height.
There is no single standard floor gap for every wall-hung toilet. The gap depends on the bowl’s underside shape, its permitted installation height, and the finished floor beneath it. Any stated minimum or mounting limit must come from the exact bowl and carrier instructions.
Start with a comfortable seat height for the intended users, then determine the under-bowl gap that the selected bowl provides. This guide is a measurement-planning worksheet—not confirmation that a particular bowl and carrier will fit your bathroom.
Measure the Floor Gap Before Choosing an Installation Height
Separate floor gap, rim height, seat height, and mounting height
“Suspended toilet installation height” can refer to several different measurements. Identify the reference points before discussing rough-in dimensions with an installer.
| Measurement | Starting reference | Ending reference | What establishes it |
|---|---|---|---|
| Under-bowl gap | Finished floor directly beneath the relevant bowl surface | Bowl underside | Exact underside profile and selected installation height |
| Rim height | Finished-floor reference | Top of the ceramic rim | Bowl drawing and mounting position |
| Seat height | Finished-floor reference | Top of the installed seat | Rim height plus the installed seat’s rise above the rim |
| Mounting height | Finished-floor reference | Mounting point identified in the manual | Exact bowl and carrier instructions |
| Side clearance | Toilet centerline | Adjacent side wall or obstruction | Final room layout and applicable requirements |
| Front clearance | Front edge of the bowl | Opposing obstruction | Final room layout and applicable requirements |
Mounting-rod height is not interchangeable with seat height. The distance between the rods, rim, and underside depends on the bowl.
For a level floor, using one common finished-floor datum, the planning relationships are:
Rim height = intended seat height − installed seat rise above the rim
Floor gap = rim height − vertical bowl depth from the rim to its lowest underside point
Combined:
Floor gap = intended seat height − installed seat rise − bowl depth below the rim
Use dimensions from the exact product drawing or physical measurements of the intended bowl and installed seat. Do not estimate bowl depth from a photograph or treat the seat’s overall thickness as its installed rise.
These relationships help compare bowl shapes at the same seat height. A bowl with less depth below the rim can provide more under-bowl space without requiring a higher seat, provided the complete assembly is compatible and its mounting position is permitted.
Establish the finished floor first
Set the carrier’s elevation against the planned finished-floor level, not an assumed bare-subfloor level.
Include the actual floor assembly: leveling material, underlayment, waterproofing where used, adhesive, and finish flooring. The flooring contractor and carrier installer need the same elevation reference.
If flooring is added after the bowl position is fixed, the new floor reduces both the under-bowl gap and the seat height measured from that surface. Correcting an incorrect floor reference may require reopening finished work.
Check sloped or uneven floors locally
The calculation above does not establish the smallest gap over a sloping floor.
Check the floor elevation beneath several parts of the intended bowl footprint. A higher floor area can become the controlling clearance even if it is not beneath the bowl’s lowest underside point.
For an uneven floor, record the local vertical gap between each relevant underside surface and the floor directly below it. Use the smallest usable gap for the cleaning-access assessment. Do not average the readings or rely only on the front lip.
The bowl’s installed position must follow the exact system instructions; tilting it to follow the floor is not a clearance solution.
Measure front and side space from the correct points
Keep room clearances separate from the under-bowl gap:
- Side clearance begins at the toilet centerline, not the edge of the ceramic.
- Front clearance begins at the bowl’s front edge and extends to the opposing obstruction.
- Seat and rim heights begin at the finished-floor reference, not the subfloor.
- Under-bowl clearance is checked locally, particularly where the floor or bowl profile changes.
Record these dimensions on the final room plan. A generous floor gap does not compensate for insufficient space in front of or beside the toilet.
Balance Cleaning Access With Seat Comfort
Raising the same bowl also raises the seat
With the floor unchanged, raising the same bowl and seat increases the under-bowl gap and seat height by the same amount.
That makes cleaning clearance and user comfort linked decisions. A position that helps a mop pass beneath the bowl may leave a shorter user unable to place their feet comfortably.
Agree on the intended seat height first, using a safe height mock-up where useful. Then calculate the gap provided by the selected bowl. If it is inadequate, examine another compatible underside shape rather than automatically moving the carrier higher.
Minimum permitted room clearances and comfortable knee room are also different. Consider how users sit, stand, turn, dress, or assist a child—not just whether the ceramic fits within a room outline.
Can your cleaning tool reach the whole space?
Wall-hung toilet cleaning clearance is about the tool’s complete path, not visible daylight under the front.
A flat mop may pass beneath the leading edge but catch on a lower rear contour. A brush head may fit while its angled handle hits the bowl. A cleaning robot may clear the front and contact the underside farther in.

Test:
- The tallest rigid part of the tool, not just its cloth or bristles.
- The handle angle needed to reach the rear wall.
- Rear connection covers, trim, and nearby boxing.
- The space needed to turn and withdraw the tool.
A cardboard underside profile and a height mock-up can reveal access problems before installation. Use them to test cleaning reach, not as substitutes for product dimensions or mounting instructions. Avoid forcing a tool through a barely fitting opening.
Check Bathroom Feasibility Before Ordering
A new build or stripped bathroom lets the carrier, wall, and drainage be planned together. A finished bathroom imposes more constraints.
Proceed when the support arrangement, wall space, drain route, and final layout are established. Pause when those items remain assumptions. A concealed carrier cannot be approved simply because there is an unobstructed patch of drywall.
A wall-hung conversion may be hard to justify if easier mopping is the only benefit and the existing toilet works well. The advantages and limitations of wall-hung toilets are worth considering before committing to demolition.
Confirm wall depth and hidden obstructions
A thin partition is not automatically unsuitable, and a substantial-looking wall is not automatically suitable. The selected carrier needs its specified support and installation space.
Check both sides of the proposed wall for:
- Pipes, cables, ducts, and other services.
- Pocket doors and recessed cabinets.
- Framing or masonry that conflicts with the carrier.
- Restrictions on opening or anchoring into the structure.
Where the system cannot fit within the existing wall, a service-wall build-out may be necessary. Account for that added depth in the final room calculation below.
Trace the complete waste route
A wall-hung bowl connects behind the fixture, but the existing floor-mounted toilet drain still matters.
Have the plumber show how the new outlet will reach the existing drainage system. The route may require opening the floor, modifying branches, or using space within a service wall. Any abandoned connection also needs an appropriate treatment determined for the installation.
The practical question is: “Can you show the complete waste route?” A marked route is more useful than an assurance that the old drain is nearby.
Resolve joist and slab conflicts before purchase
A feasible-looking route can intersect a joist, beam, slab, or foundation element. Establish whether the proposed route is practical and whether structural review is needed before ordering.
Do not base the layout on an assumed permission to cut structural members. Rerouting may require more space, while some existing conditions can make conversion impractical.
Stop the purchase if the waste route depends on an unresolved structural alteration.
Include demolition and reinstatement in the quote
A conversion is more than a fixture swap. The quote should identify:
- Investigation and demolition.
- Carrier support and framing.
- Drain and water-supply alterations.
- Electrical work, if needed.
- Wall closure, waterproofing where applicable, and finishes.
- Repair of the floor where the previous toilet stood.
- Testing, inspections where required, and final installation.
Agree on responsibility for concealed conditions and inspection scheduling. A plumbing-only quote may exclude substantial finish work.
An installer unfamiliar with the selected system should review its instructions with the framer before rough-in. Generic wall-hung mounting dimensions are not a carrier-specific plan.
Verify the Complete Assembly and Final Layout
Use exact HOROW documentation for compatibility
When comparing HOROW wall-hung toilets, identify the exact bowl, carrier, and seat before committing to rough-in.
Appearance, brand, or mounting-hole spacing alone does not establish compatibility. Use this worksheet to collect the dimensions and approvals needed for a meaningful comparison.
| Item to compare | Required dimension or confirmation | Verification source |
|---|---|---|
| Bowl and carrier | Approved pairing or documented interface compatibility | Exact bowl and carrier documentation |
| Selected installation height | Permitted mounting position and finished-floor reference | Installation instructions for both components |
| Seat, rim, and floor gap | Installed seat rise and bowl depth below the rim at the selected position | Dimensioned drawings or physical measurements |
| Carrier and wall | Width, depth, framing arrangement, anchors, substrate, and finish-thickness limits | Exact carrier instructions |
| Flush and waste connections | Connection dimensions, offsets, preparation, and installation method | Exact system instructions and plumbing layout |
| Seat or bidet accessory | Mounting fit, bowl shape, and rear clearance | Exact accessory and bowl documentation |
| Service access | Removable components, shutoff access, and replacement-part identification | Exact cistern and actuator service instructions |
If the drawing gives rim height but no underside dimension, request a dimensioned drawing or arrange a physical measurement. Without that dimension, the floor gap is not established.
Likewise, the absence of a stated floor-gap minimum is not permission to choose any height. The bowl, carrier, connections, and user requirements still need to work together.
HOROW Wall-Hung Models to Compare
If you are considering a wall-hung toilet, these two HOROW models offer different features. Before choosing either one, confirm its carrier requirements, intended seat height, and resulting clearance above the finished floor.
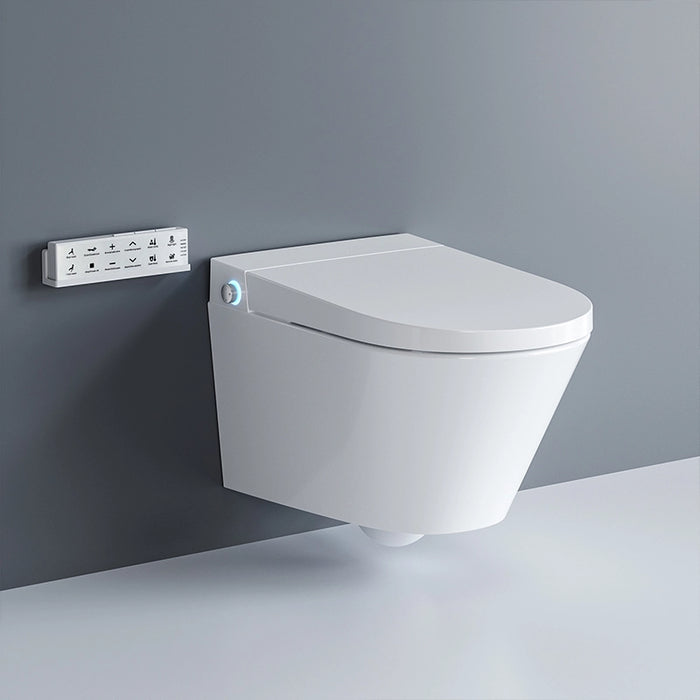
HOROW G10 Wall-Hung Smart Bidet Toilet
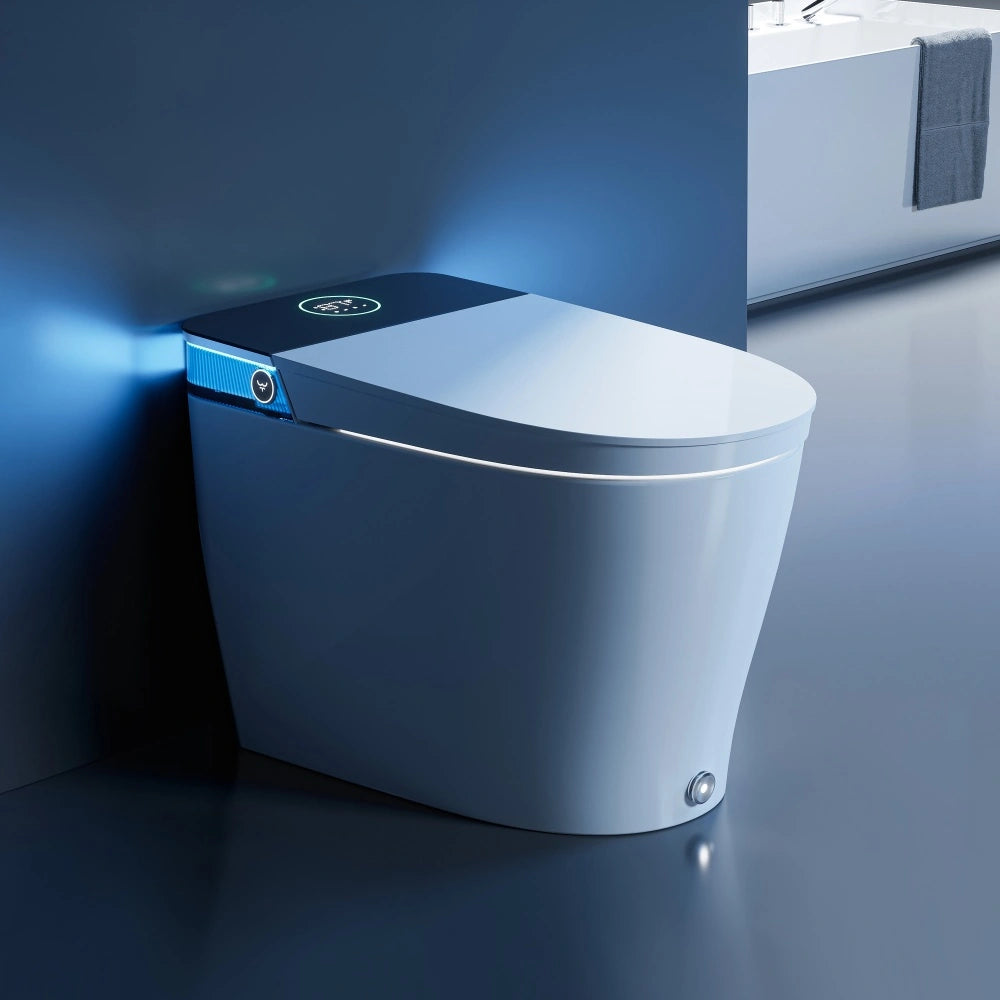
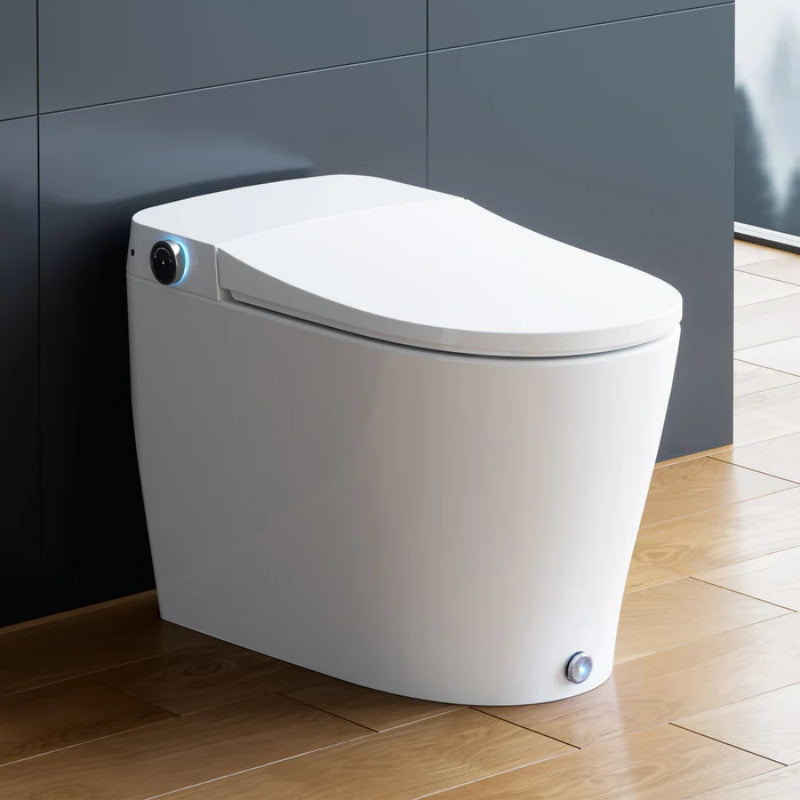
A wall-hung model with an integrated bidet, adjustable washing functions, and a heated seat. The standalone toilet does not include the in-wall carrier frame or concealed tank.
Check before ordering: Carrier compatibility, installation height, and the clearance beneath the bowl.
View G10 Details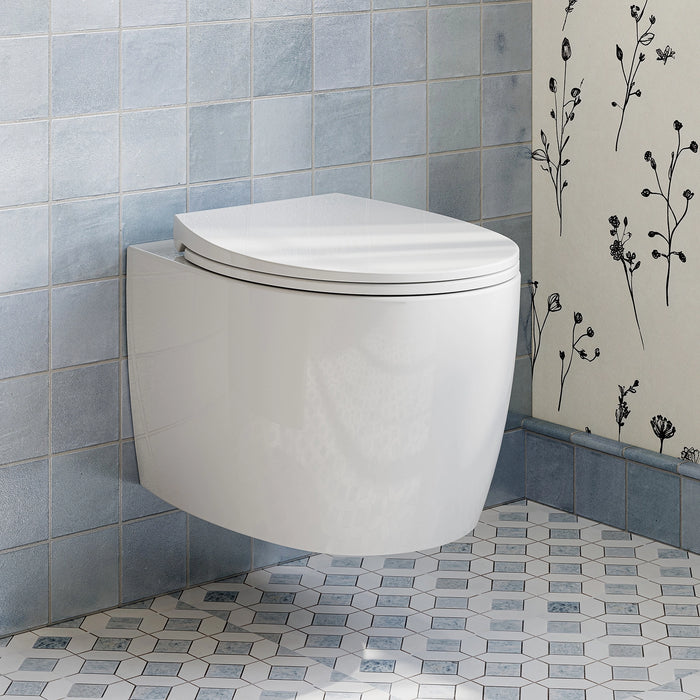
HOROW TG04W Wall-Hung Dual-Flush Toilet
A wall-hung toilet with a rimless bowl and dual-flush design. Compare its installation drawings and tank requirements when planning the final layout.
Check before ordering: Compatible carrier and tank, finished-floor reference, and cleaning access beneath the bowl.
View TG04W DetailsMatch support and plumbing to the selected system
The support plan should identify the carrier’s required framing, anchor locations, and permitted substrates. Drywall and tile are finishes; their presence does not establish adequate structural support.

The plumbing plan should show the specified connection sizes and offsets, along with the route to the drainage system. Have a qualified plumber confirm the applicable drainage, slope, and venting requirements. Parts appearing to join is not proof that an adapter arrangement is suitable.
Calculate room intrusion from one fixed reference
A shorter bowl does not necessarily create a larger bathroom. If the carrier requires a new service wall, that wall moves the bowl toward the room.
When measuring from the existing room-side wall surface:
Final room intrusion = net wall build-out + bowl projection from the new finished wall
“Net wall build-out” is the distance between the existing and new finished wall planes. It already includes the new assembly’s effect on the room, so do not add those same finish layers again.
When measuring from exposed framing, include the finish layers needed to locate the new finished wall.
Use the resulting bowl-front position to check front clearance. Then plot door swings, vanity handles and drawers, shower doors, radiators, and other projections. Test the intended user position with the bathroom door closed.
Separate product limits, local rules, and accessibility requirements
“How much clearance do you need to install a toilet?” has several parts:
- Manufacturer requirements establish the exact system’s permitted installation.
- Locally adopted requirements determine what applies at the property.
- Accessibility requirements, where applicable, add their own fixture and user-space conditions.
A general bathroom layout is not proof of compliance. Confirm the applicable requirements with the local authority or a qualified designer rather than treating one published front or side clearance as universal.
Plan bidet provisions before finishes
A bidet seat can change the seating position and rear clearance. Confirm physical compatibility and the intended water-supply arrangement before choosing it.
For powered accessories, have an electrician establish the appropriate supply, outlet position, circuit provisions, and applicable protection. Resolve access to the plug and shutoff as part of the layout rather than relying on an extension cord or inaccessible connections.
Check the Installation Before the Wall Closes
While the carrier and connections remain accessible:
- Mark the finished-floor and finished-wall references. Confirm that everyone is working from the same surfaces.
- Confirm the intended seat position. Use the exact bowl drawing and installed seat dimensions.
- Verify support and anchorage. Compare the completed arrangement with the selected carrier instructions.
- Check mounting and connection alignment. Account for finish thickness and specified connector preparation.
- Complete required plumbing tests and inspections. Follow the exact product instructions and applicable local requirements before concealment.
- Recheck the final layout. Confirm front and side space, door movement, and the cleaning approach.
- Record concealed work. Keep photographs, component details, manuals, and relevant inspection records.
Take tolerances from the exact instructions
There is no universal allowance for mounting error, connector length, wall gap, or finish thickness.
An adjustment available during rough-in may no longer be practical after tiling. A carrier’s installation-height adjustment also does not mean the finished toilet can later be raised without disturbing connections or finishes.
Resolve alignment errors using the system’s specified procedure—not improvised packing or sealant intended to hide a mismatch.
Keep Repairs and Cleaning Accessible
Understand the flush opening’s limits
The actuator opening is an intended service route on many concealed systems, but it does not expose everything behind the wall.
Before installation, identify which mechanisms can be removed through it and how the shutoff is reached. Shelves, cabinets, and trim must not prevent plate removal or the intended service procedure.
A failed connection outside that service area may require separate wall access. Consider whether a practical access location can be provided from the bathroom or an adjacent space. Keep exact component details so replacement parts are not ordered by appearance alone.
Investigate movement rather than tightening harder
If the bowl moves, have the support and installation checked before treating it as a loose-bolt problem.
Possible causes include anchorage, carrier support, connection alignment, mounting hardware, or the bowl’s seating against the finished wall. Excess tightening can damage porcelain without correcting the cause.
Moisture, staining, or separation at the wall also warrants prompt investigation rather than cosmetic sealing.
Avoid new cleaning traps
A service-wall ledge or a narrow slot beside a vanity can offset the cleaning benefit beneath the bowl.
Before approving finishes, check whether a hand or tool can reach the new horizontal surfaces and corners. A clear floor is less useful if the build-out creates an inaccessible shelf behind the fixture.
Before You Buy
- The exact bowl, carrier, seat, and any accessory are documented as compatible.
- The intended seat height and resulting floor gap are established.
- The actual cleaning tool can reach beneath the bowl.
- Finished-floor and wall buildup are included in the layout.
- Support, drainage, and final room clearances are resolved.
- Water, power where needed, and service access are planned.
- The quote includes reinstatement, and a pre-closure check is scheduled.
If the unresolved issue is the drain route, support, mounting height, or wall depth, the installation is not ready to order.
Common Installation Questions
Can I raise a wall-hung toilet after installation?
Possibly, but it may involve more than adjusting the carrier. Mounting points, flush and waste connections, and the finished wall must still work at the new position. Treat height as a pre-installation decision unless the exact system documentation confirms a practical later adjustment.
Does a wall-hung toilet need a load-bearing wall?
Not necessarily. It needs the support arrangement specified for its carrier. An appropriate partition or service-wall installation may be possible, but that does not make every existing wall suitable. Confirm the framing, substrate, and anchorage for the selected system.


Leave a comment
This site is protected by hCaptcha and the hCaptcha Privacy Policy and Terms of Service apply.