


Quick Answers: Cost, Value, and Who Should Choose a Shower Tub Combo
Current installed costs (what most homeowners actually pay)
- Basic prefab swap: $1,500–$3,000 (standard alcove, acrylic or fiberglass/gelcoat, curtain-ready).
- Mid-range: $3,500–$7,000 (better finishes, wall panels, niche storage, glass doors).
- Luxury/custom: $8,000–$15,000+ (tile + glass surrounds, frameless doors, premium valves, smart controls).
- Walk-in tub shower combo: Unit $2,500–$6,000; $6,500–$16,000 installed; high-end accessible units can reach $15,000–$20,000 with extra features.
- Labor share: Expect 30–50% of total cost if your project is more than a direct replacement.
Is a combo good for resale and long-term value?
- Yes—keep at least one tub in the home. A shower tub combo preserves broader buyer appeal, especially for households with kids, pets, or multigenerational needs.
- Families and pet owners want the option to bathe in a tub. A combined bathtub in shower keeps daily life simple.
- Add WaterSense fixtures to boost sustainability and comfort while lowering utility bills.
Who should pick a tub-shower unit vs. separate tub and shower?
Choose a shower tub combo if:
- You have one full bath, or limited space.
- You have kids or pets.
- You plan to sell within 5–10 years.
- You want a space-saving unit that handles different bathing preferences.
Choose separate fixtures if:
- You have ample space and want a spa feel in a primary suite.
- You already have another full tub elsewhere in the home.
- You want a freestanding tub plus a walk-in shower as distinct zones.
Considering a wet-room layout? This can deliver a luxury look in a small bathroom by placing a tub inside a larger walk-in shower zone with shared drainage.
What’s the most common size for a bathtub shower combo?
The most popular alcove sizes are 60" x 30" and 60" x 36".
Verify rough-in before you buy:
- Drain side (left or right)
- Valve location and wall studs
- Doorway/hallway clearance to get the unit into the bathroom

Types and Materials: How They Differ and Why It Matters
Tub-shower types explained
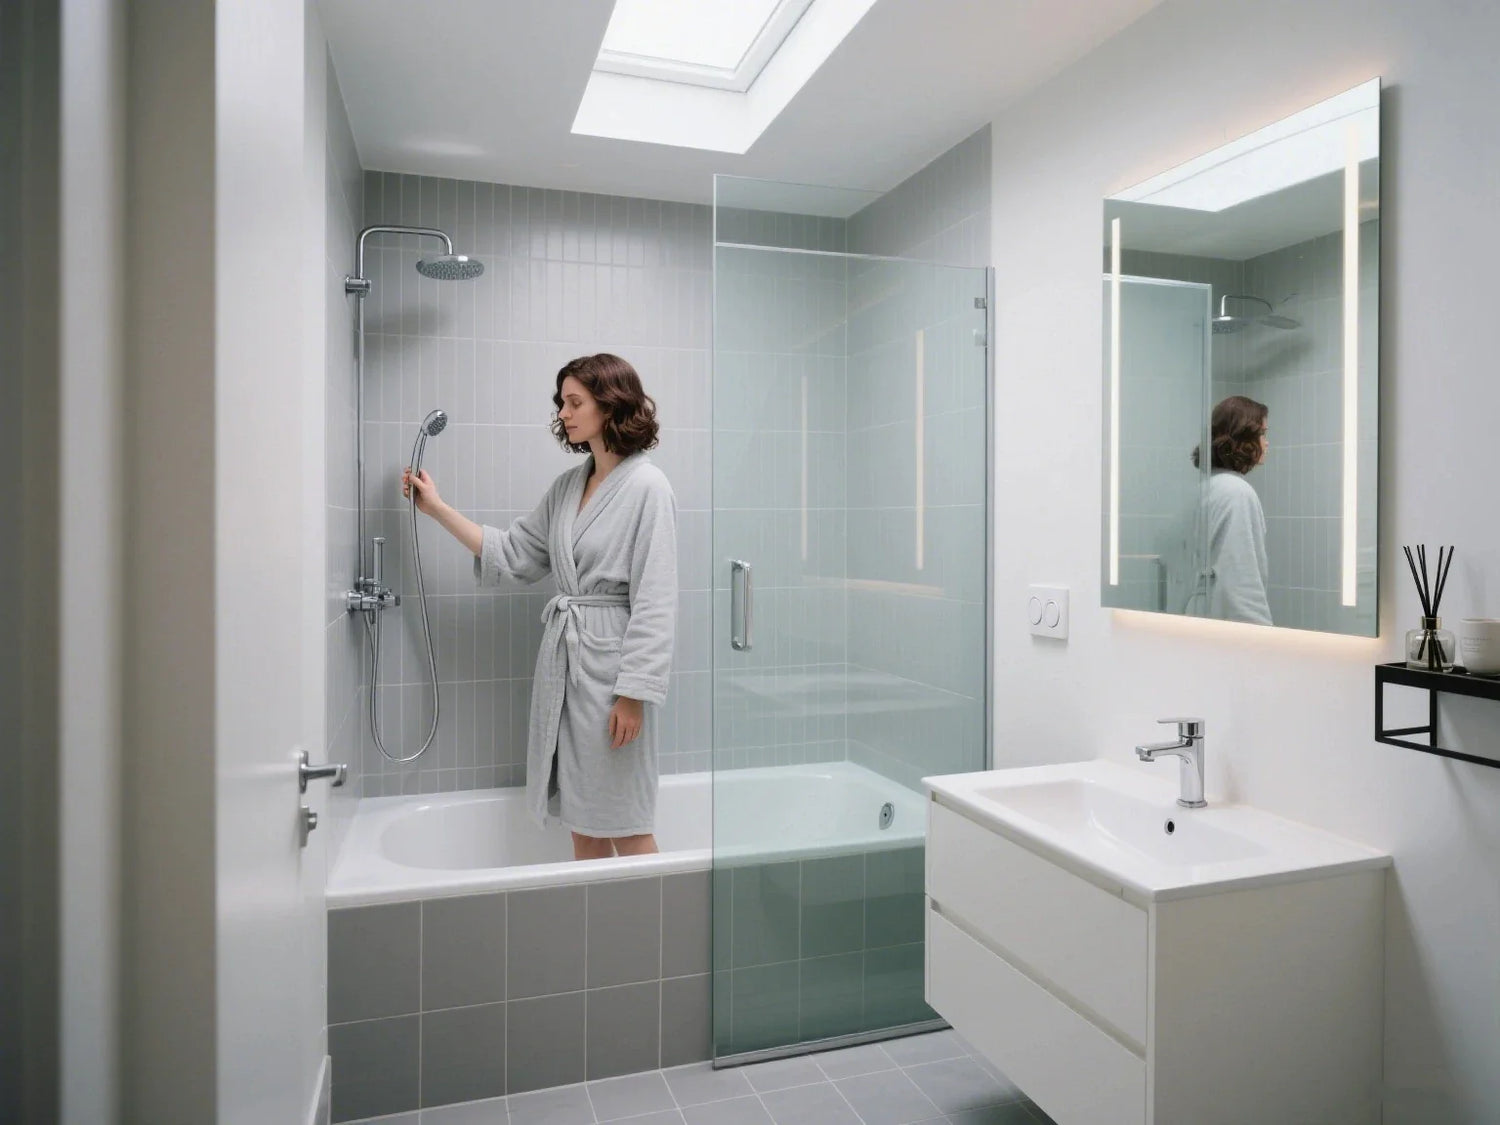
Alcove tub shower combo
- Fits standard 60" openings
- Best value and simplest replacements
- Works with shower curtains or glass doors
Corner combo
- Space-saver for tricky layouts
- Shorter soaking length than an alcove
- Good for smaller bathrooms
Materials: acrylic, fiberglass/gelcoat, tile + glass, composite/stone
Acrylic
- Light, warm to the touch, easy to clean
- Good value and common in prefab units
- Works with one-piece or multi-piece surrounds
Fiberglass/gelcoat
- Often the lowest cost
- Can show wear sooner than acrylic
- DIY-friendly installs due to lighter weight
Tile + glass surrounds
- Premium look, fully customized to fit
- Higher cost, needs skilled waterproof methods
- Glass shower door adds light and style
Composite/stone
- High-end feel and durable
- Heavier and pricier
- Great as wall panels with minimal grout
Pros/cons and lifecycle (cleaning, repairs, longevity)
Acrylic + gelcoat
- Use mild, non-abrasive cleaners
- Repair kits can handle minor scratches
- Good 10–20+ year lifespan with care
Tile
- Plan for grout upkeep and periodic sealing
- Highest mold risk if ventilation is poor
- Can outlast 20 years when waterproofing is solid
Glass
- Squeegee daily to limit water spots
- Protective coatings can reduce upkeep
- Frameless glass looks clean and spacious
Comfort and savings tip
- Pair a WaterSense showerhead with an anti-scald mixing valve for better comfort, water savings, and safer temperatures.
Material Pros and Cons Table
| Material | Pros | Cons | Care Notes |
| Acrylic | Warm touch, good value, easy to clean | Can scratch with abrasives | Mild, non-abrasive cleaners |
| Fiberglass/Gelcoat | Light, budget-friendly, DIY-friendly | Dulls/crazes sooner than acrylic | Gentle cleaners; avoid harsh pads |
| Tile + Glass | Premium look, custom fit, bright and open | Higher cost, grout maintenance | Seal grout; squeegee glass daily |
| Composite/Stone | Durable, fewer seams, upscale aesthetic | Heavier, higher price | Simple wipe-down, avoid harsh acids |
What is the difference between acrylic vs fiberglass tub-shower units?
- Acrylic: Thicker surface, more scratch-resistant, richer finish, often mid-range price.
- Fiberglass/gelcoat: Lighter and cheaper, can dull or craze sooner, quicker for DIY fits.

Shower Tub Combo Buying Guide (Measure, Features, Budget, Fit)
Measure twice: fit, plumbing, and door swing checklist
- Alcove width/length/height (common: 60" wide, 30" or 36" deep)
- Stud locations and valve height
- Drain side: left or right
- Doorway and hallway widths: can the unit turn corners to reach the bathroom?
- Turning radius: especially in tight hallways
- Door swing and glass clearance: will doors collide with vanities or toilets?
- Ceiling height vs. showerhead height and curtain rod/glass height
- Exhaust fan capacity and vent path for moisture control
Safety and comfort features worth paying for
- Non-slip flooring in the tub and shower area
- Grab bars (horizontal and vertical) at entry/exit points
- Anti-scald mixing valves to stabilize temperature
- Built-in seating or a bench for rest and shaving
- Handheld shower on a slide bar for kids, pets, and seated use
- Deeper soaking depth, lumbar shaping, and insulated tub shells
- Quiet fill valves and quick-drain features
- Niche storage to keep bottles off the rim
Budget tiers: what you get at each level
Basic prefab swap ($1.5k–$3k)
- Standard size acrylic or fiberglass/gelcoat
- 3-piece wall surround
- Shower curtain or basic sliding door
- Minimal plumbing changes
Mid-range ($3.5k–$7k)
- Upgraded acrylic or composite wall panels
- Built-in niches, better trim, handheld shower
- Sliding glass or semi-frameless door
- Minor layout tweaks possible
Luxury/custom ($8k–$15k+)
- Tile + glass surrounds, frameless doors
- Premium valves and thermostatic controls
- Smart features or jetted tub options
- Custom niches, seating, and linear drains
Can I install a tub-shower myself or do I need a pro?
DIY is possible for a direct swap with the same size and drain side.
Hire a pro for:
- Moving plumbing or changing layout
- New valves and anti-scald upgrades
- Any tile waterproofing
- Electrical work for jets or smart features
Risk: Mistakes with waterproofing can cause mold and expensive rework. Labor often runs 30–50% of the project.

Design and Layout Ideas: Make Small Bathrooms Feel Bigger
Wet-room concepts for a spa look in small spaces
Combine a soaking tub with a walk-in shower zone for a dual-purpose setup This combination maximizes the use of your space while offering both a luxurious soaking experience and a convenient shower area. Alternatively, a tub inside shower setup provides an efficient use of space, where the soaking tub is integrated directly within the shower zone.
Use a linear drain and gentle floor slope for shared water control
According to the American National Standards Institute (ANSI), wet-room setups need to ensure proper drainage and waterproofing to prevent water damage. A linear drain allows for efficient water drainage, preventing the water from pooling around the shower or tub area, while the gentle slope in the floor ensures that water flows seamlessly towards the drain, maintaining a dry and safe environment.
Choose full glass, half-walls, or open partitions to share light Full glass panels create an illusion of more space by letting natural light flood the room, while half-walls or open partitions maintain the feeling of openness without sacrificing privacy or functionality.
Keep one space visually calm by limiting patterns and using light colors Light colors, such as soft pastels or neutrals, can make the space feel larger and more inviting. By limiting patterns, the space remains visually calm, contributing to a serene atmosphere ideal for relaxation and rejuvenation in a spa-like environment.
Visual tactics: doors, panels, and storage that scale
- Frameless glass doors increase the sense of space, creating a seamless flow between the shower and the rest of the bathroom.
- Pivot doors feel open; sliding glass can save swing space, making the bathroom feel more spacious without sacrificing style.
- Built-in niches and corner shelves reduce clutter, keeping toiletries organized while maintaining a clean and streamlined look.
- Large-format wall panels or large tile reduce grout lines, creating a sleek and modern appearance that is easy to maintain.
- Vertical patterns can make ceilings feel taller, adding an illusion of height and making the room appear more expansive.
Hardware and finish coordination for a cohesive look
- Align finishes across valve trim, shower head, grab bars, and accessories Ensuring a harmonious match between these elements creates a polished, well-designed look that ties the entire bathroom together.
- Pick easy-clean glass coatings These coatings reduce the effort needed for maintenance, keeping glass surfaces sparkling and clear with minimal cleaning.
- Add WaterSense showerheads for comfort and savings WaterSense showerheads provide a luxurious shower experience while reducing water usage, helping to lower your utility bills and conserve water.
Design and Layout Ideas for Bathroom Remodels
Compact 60" x 30" tub shower combo
- Acrylic alcove tub with 3-piece surround
- Sliding glass door, anti-scald valve
- Niche storage and handheld on slide bar
Roomier 60" x 36" combo
- Deeper soaking tub, hinged door with drip seal
- Corner seat, grab bar along long wall
- Dual showerhead setup: rain + handheld
Wet-room with tub in walk-in shower
- Linear drain along back wall
- Half-wall for privacy, fixed glass panel
- Freestanding tub inside shared waterproof area

Installation: Timeline, Steps, and Pitfalls to Avoid
Typical timeline and phases
- Planning and ordering: 1–3 weeks
- Demo and prep: 1–2 days
- Plumbing/valves: 1–2 days
- Tub set + wall surround: 1–3 days
- Glass door lead time: add 1–2 weeks
- Tile waterproofing cure time: add 1–3 days if custom
Step-by-step overview
- Shut off water and demo the old unit Begin by shutting off the water supply to avoid any leaks or accidents during the installation process. Then, carefully demo the old unit, removing it from your bathroom space to prepare for getting a tub that fits your updated design.
- Assess framing/subfloor for moisture damage and fix as needed Inspect the framing and subfloor for any signs of moisture damage or mold, which could affect the stability of the new tub. Repair any issues to ensure a solid foundation for the tub in your bathroom space, preventing future damage.
- Set the new tub level; secure flanges to studs Properly level the new tub to avoid water pooling or shifting over time, which could lead to leaks. Secure the tub’s flanges to the studs in the wall for a stable installation that ensures your new tub will be firmly in place.
- Install the valve, spout, and shower arm to spec heights Install the valve, spout, and shower arm at the correct heights to match your shower or tub setup. This ensures a comfortable experience when using the tub or shower, making the most of your bathroom space.
- Install surround or waterproofing for tile; seal seams Install the wall surround or apply waterproofing if you're using tile to prevent moisture from damaging your bathroom. Seal seams thoroughly to create a waterproof barrier that will keep the space dry and maintain the integrity of your new tub.
- Set door or curtain rod Install the shower door or curtain rod, ensuring that it fits well within your bathroom space and allows for easy entry and exit. A proper setup will not only enhance the functionality of your tub but also contribute to the overall aesthetic.
- Silicone and test all lines and drains Apply silicone around the edges of the tub and other fittings to create a waterproof seal. Finally, test all the lines and drains to ensure there are no leaks, ensuring your new tub functions properly and stands the test of time in your bathroom space.
Common mistakes and how to prevent them
- Skipping flood tests on waterproofed areas before tile
- Poorly supported tub floor causing flex and cracked caulk
- Wrong valve height or spout diverter issues leading to drips or backflow
- Mismeasuring drain side and door swing, causing returns or collisions
How much does it cost to convert a tub to a shower or vice versa?
- Tub-to-shower: $1,500–$8,000, depending on size, tile, and glass
- Shower-to-tub (adding a combo): similar range; plumbing moves and tile push costs higher
- Accessibility add-ons: plan +$600 for grab bars, handheld, seating, and non-slip upgrades
Accessibility and Family-Friendly Options
Walk-in tub shower combo: who benefits and what to look for
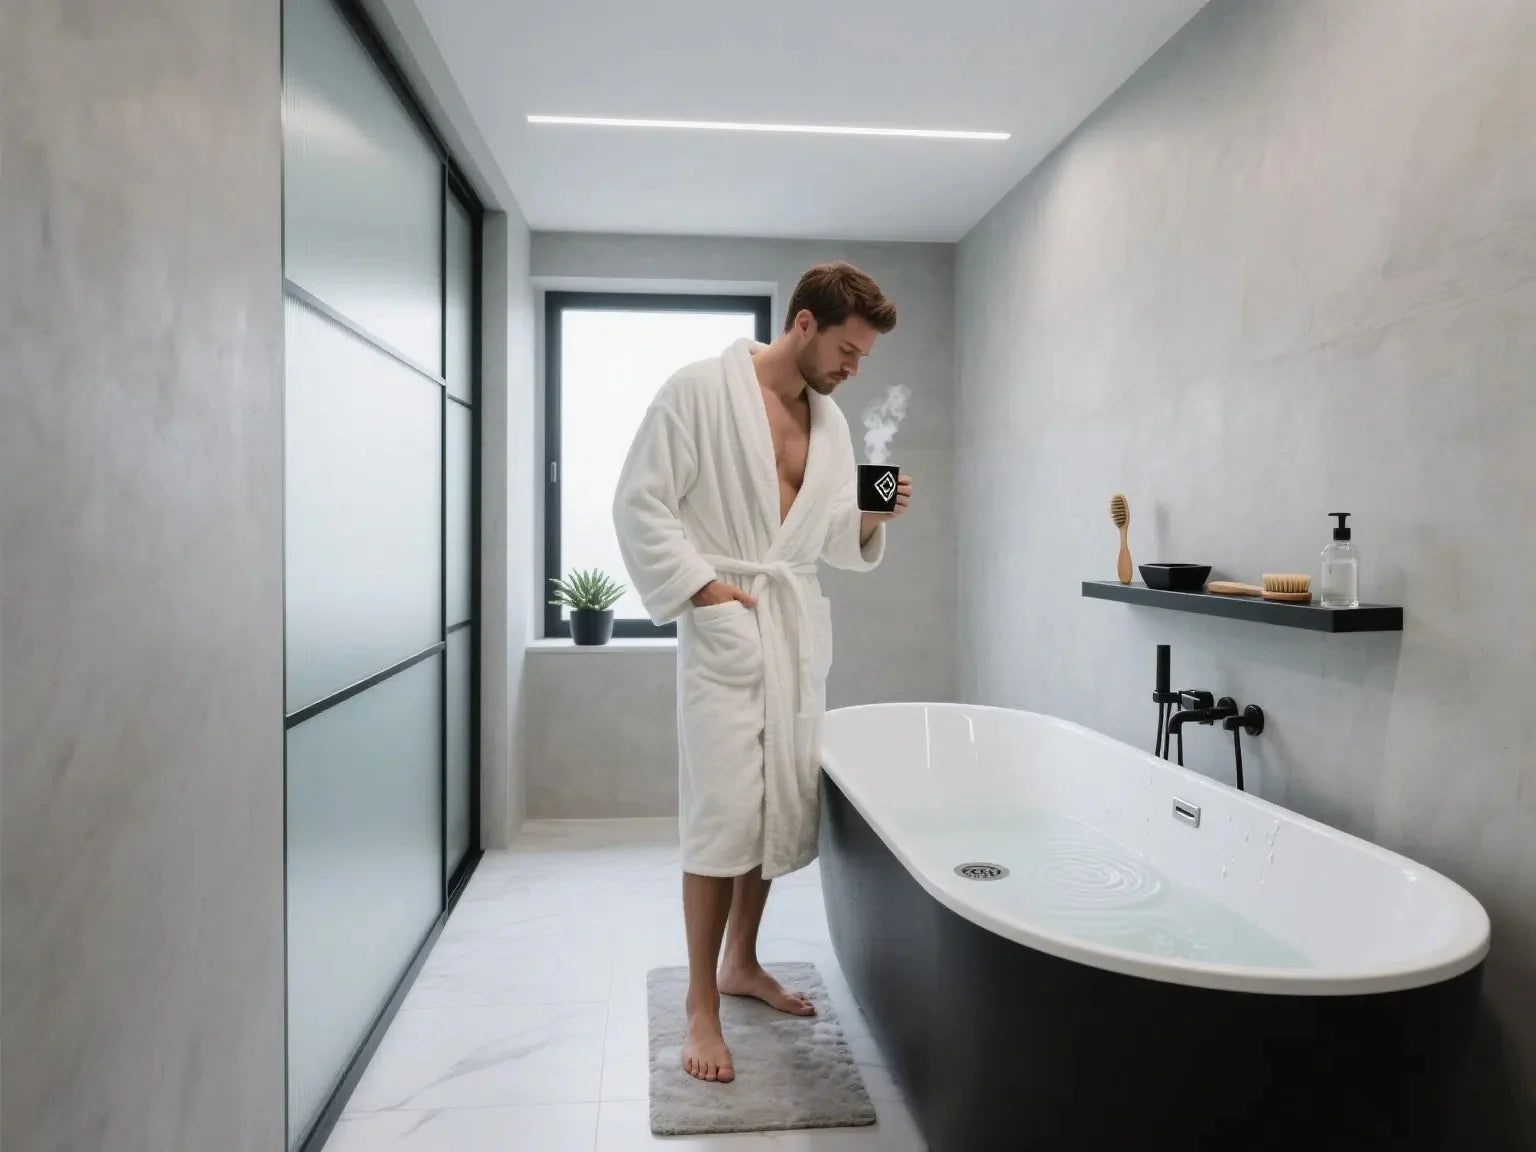
Ideal for seniors, caregivers, and those with limited mobility, the walk in shower with tub provides the perfect blend of safety and functionality, allowing users to enjoy both a comfortable shower and a relaxing soak.
Features to seek tub in walk in shower:
- Low threshold door and built-in seat
- Easy-reach controls
- Quick-fill/quick-drain hardware
- Anti-slip floors and grab bars
- Handheld shower on a slide bar
ADA-aligned features and placement tips
- Grab bars: horizontal and vertical at common entry and transfer points
- Lever handles for easier grip
- Contrast edges for low vision
- Seating height around 17–19" helps many users
- Non-slip surface ratings and adequate clear floor space
Family-first details for kids and pets
- Handhelds with slide bars for lower heights
- Anti-scald valves for safer temps
- 60"x36" footprints improve elbow room for helpers
- Lower apron profiles reduce step-over height
- Curtain can be more flexible than a rigid door for bathing kids
Are walk-in tub shower combos worth it?
- For many households, yes. They can increase independence and comfort.
- Focus on leak warranties, clear drain/fill times, and installer reputation.
- Try controls and seating in a showroom if you can.

Maintenance, Cleaning, and Longevity
Weekly and monthly routines that prevent mildew and wear
- Squeegee glass after each shower
- Run the exhaust fan 20–30 minutes after bathing to vent humidity
- Wipe acrylic/gelcoat with mild, non-abrasive cleaners
- Avoid harsh solvents on seals and silicone
- Re-seal tile grout as needed; inspect caulk lines every few months
Troubleshooting common issues (drips, grout cracks, flex)
- Spout diverter leaks or drip at the showerhead: inspect the cartridge and diverter; replace worn parts
- Hairline grout cracks: address movement; check backer board and thinset; re-grout and seal
- Tub flex or creaks: base may be under-supported; may need mortar or foam re-bed
How long will a tub-shower unit last?
- Acrylic/gelcoat units: commonly 10–20+ years with proper care
- Tile and glass: 20+ years is possible; quality of waterproofing is critical
- Maintain and replace cartridges and gaskets on a schedule to extend hardware life
PAA: What cleaners are safe for acrylic or fiberglass tubs?
- Use non-abrasive, pH‑neutral cleaners
- Avoid scouring pads and solvent-based products
- Test new products on a small, hidden area first
Expert Insights and Case Studies on Bathtub and Shower Combos
Social/testimonial highlights
- A family added a walk-in tub shower combo to support an aging parent. Independence improved and daily care got easier. The install cost was higher than first thought due to plumbing changes, but they rated the outcome as worth it.
- Contractor walk-throughs often show 60"x30" and 60"x36" as the top sizes. The biggest cost drivers are plumbing moves and waterproofing for tile.
- A couple replaced a stand-up shower with a tub and shower combo to bathe their toddler and wash the dog. They chose a 60"x36" acrylic unit with a handheld and sliding glass. Cost landed mid-range. Their routine got easier overnight.
Installer/designer takeaways you can apply
- Plan the glass first. Hinge clearance, door swing, and a slight pitch toward the drain prevent leaks.
- Upgrade the valve now. Opening walls later to fix old valves costs more than paying for a quality trim today.
- Mock up niche and control placement. Use tape or cardboard templates to confirm reach and sight lines.
Wet-room design guidance in practice
- Shared slope with a linear drain for a tub inside a walk-in shower space
- Partition strategy: full-height glass for light, or half-walls for privacy
- ADA-conscious choices can look modern with the right finishes and layout
PAA: What are the biggest mistakes people make with shower tub combos?
- Ordering the wrong drain side or size
- Mismeasuring door clearance and hitting vanities or toilets
- Underestimating waterproofing needs; skipping pro help for tile/glass
- Picking high-maintenance materials without a care plan
Budgeting, ROI, and Smart Upgrades That Pay Back
Where to spend vs. where to save
Spend on:
- Waterproofing (membranes, proper backer, quality sealants)
- Valve quality and reliable cartridges
- Glass hardware and sturdy rollers/hinges
- Safety features: grab bars, non-slip floors, anti-scald valves
Save on:
- Standard sizes (60" alcove)
- Acrylic surrounds instead of full tile in budget projects
- Simple trims over complex multi-function systems
- Phasing glass (use a curtain rod short-term, add glass later)
- WaterSense fixtures reduce water use while keeping pressure comfortable.
Financing and phasing options
Common sequence:
- Rough-ins and valves
- Set tub
- Walls or tile
- Glass door (can be delayed; use a curtain in the meantime)
Ask about installer packages and labor/material warranties if you split DIY and pro tasks.
Resale signals that matter to buyers
- One tub minimum per home appeals to families; a tub and shower combo checks that box
- Clean, bright finishes and niche storage photograph well in listings
- Accessibility upgrades broaden your buyer pool without an institutional look if integrated cleanly

Tools, Checklists, and Next Steps
Interactive tools
Quiz: Who will use the bath (kids, pets, limited mobility), how often do you bathe vs shower, and how soon will you sell? Your answers steer you to the right combo type.
Measurement + install prep checklist:
- Alcove width/length/height
- Drain side, valve location, stud map
- Doorway/hallway clearance and turning radius
- Door swing vs vanity/toilet
- Ventilation fan capacity and timer setting
How to vet contractors and products
- Verify license and insurance
- Ask for the waterproofing method (e.g., membrane over proper backer)
- Request itemized bids and written warranties for labor and materials
- Check third-party reviews and ask to see project photos
- Confirm lead times for glass and special-order parts
Useful Resources and Expert References
- Costs and features: Use estimates from licensed contractors in your area for current pricing
- Design/layout: Study wet-room guides and code basics for clearances and ventilation
- Safety and sustainability: See ADA guidance and EPA WaterSense specs
- Falls and injury prevention: Public health resources outline best practices
Actionable Takeaways
- Confirm size, drain side, and valve specs before you shop your tub surround or shower walls.
- Choose standard sizes to control budget; invest in waterproofing and safety.
- Keep at least one tub for resale; a well-planned shower and tub combo satisfies most households.
- Use WaterSense fixtures and ADA-informed features for comfort, savings, and a wider buyer pool.
Practical Tips You Can Use Today
- Ventilation matters: Run your fan 20–30 minutes after each shower or bath to cut mildew.
- Glass clarity: Keep a squeegee in the shower; one quick pass saves deep cleaning later.
- Think through reach: Mock up niche height and control location with painter’s tape.
- Support the base: Ensure the tub floor is fully supported to avoid flex and cracked caulk lines.
- Plan for pets and kids: A handheld sprayer on a slide bar is a small cost with big daily benefits.

Leave a comment
This site is protected by hCaptcha and the hCaptcha Privacy Policy and Terms of Service apply.