



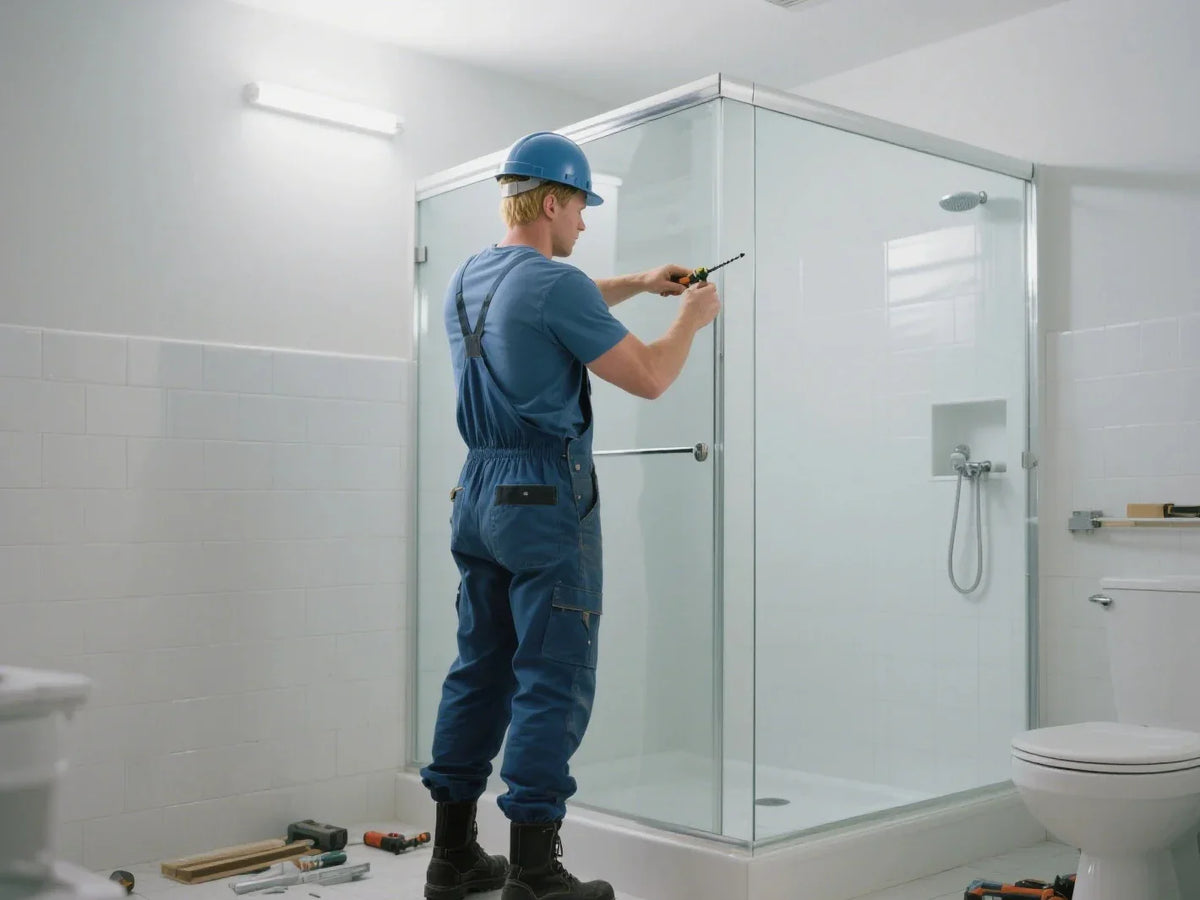
Shower door installation starts with choosing a door that matches the finished opening, mounting surfaces, threshold, and available door clearance. Framed, frameless, sliding, hinged, and other systems can use different hardware and installation sequences, so the installation manual for the exact product should guide the work. This guide explains the main preparation, installation, maintenance, and DIY-versus-professional decisions without applying one installation rule to every shower door.
Understanding the Basics of Shower Door Installation
A successful shower door installation depends on more than attaching glass to the opening. The door must match the finished dimensions, mounting conditions, door movement, hardware requirements, and installation instructions of the exact product.
What Is a Shower Door and Why Does Installation Matter?
A shower door forms part of the enclosure around a bathtub or shower area. Depending on the design, it may use tracks, hinges, guides, brackets, seals, fixed glass panels, or other components to control how the door operates and how water is contained within the enclosure.
Correct installation helps the door open and close as intended and allows the seals, tracks, and other components to work according to the product design. Poor fit or incorrect alignment can create operational or water-containment problems.
Because shower door systems vary widely, installation decisions should be based on the exact product rather than on general assumptions about framed, frameless, sliding, or hinged doors.
Types of Shower Doors You Can Install
Common shower door categories include framed, semi-frameless, frameless, sliding, hinged, pivot, and folding designs. The amount of visible framing and the way the door moves affect the hardware, clearance checks, and installation process.
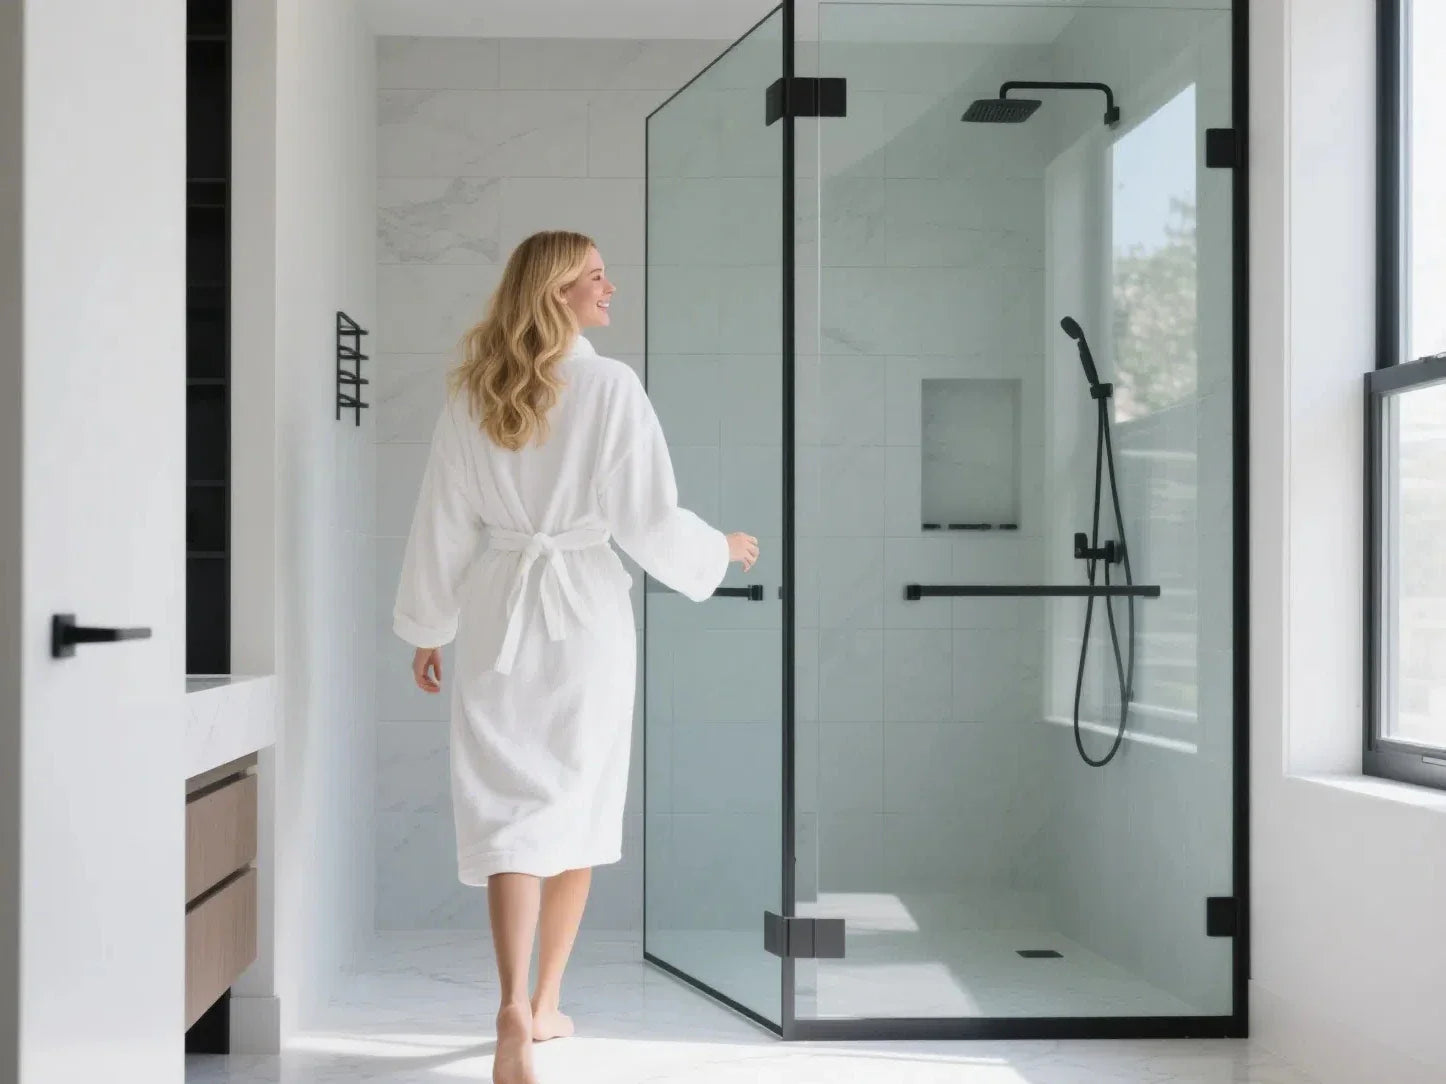
Framed systems use more perimeter framing, while frameless systems minimize visible framing around the glass. Neither category has one universal installation method, so review the components and mounting instructions supplied with the exact door.
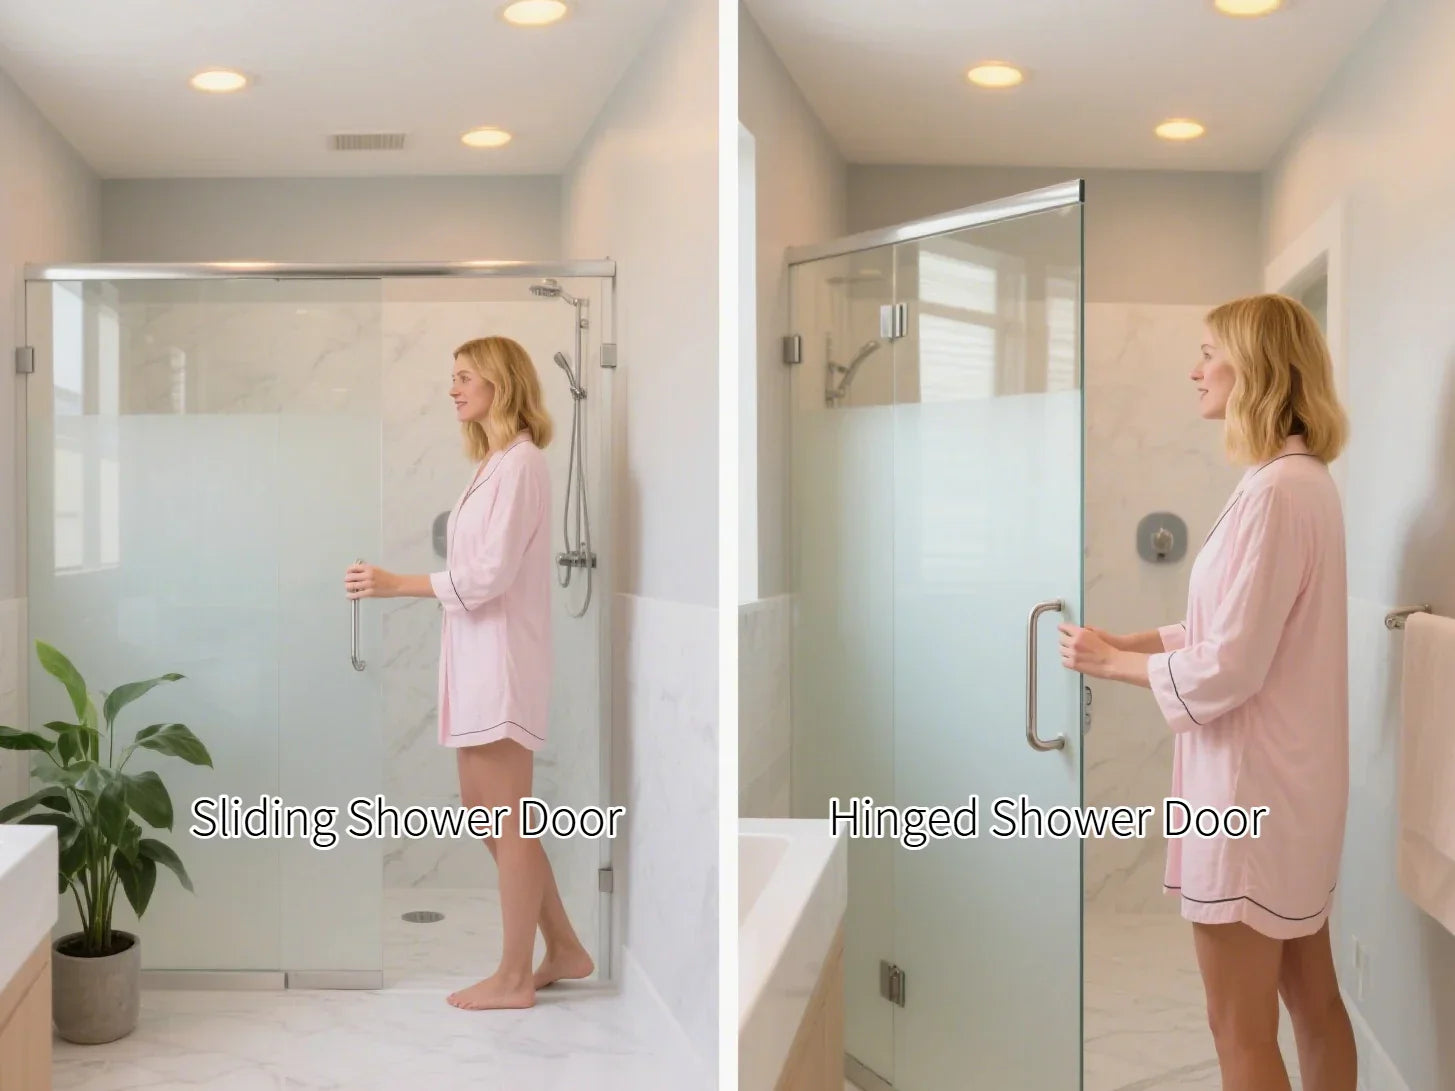
Sliding doors move along a track or guide system and do not require the same outward swing space as a hinged or pivot door. Hinged and pivot systems require a clearance check around nearby walls, vanities, toilets, towel bars, and other fixtures.
Bathtub Doors vs Walk-In Shower Doors
Shower doors can be designed for bathtub-shower combinations or walk-in shower enclosures. The correct choice depends on the finished opening, mounting surface, tub ledge or shower threshold, surrounding clearance, and compatible door configuration.
For a bathtub installation, check that the door and its track or hardware are designed for the available tub ledge and wall conditions. For a walk-in shower, check the shower curb or threshold, wall surfaces, door movement, and any fixed glass panels required by the system.
A sliding shower door can be useful when outward swing space is limited, but the compatible opening range and installation conditions still need to match the exact model.

Preparing for a Shower Door Installation
Preparation should happen before drilling, mounting, or positioning glass. Confirm the finished dimensions, wall and threshold conditions, required hardware, installation sequence, and all parts listed in the product manual.
Confirm the Finished Shower Measurements
Measure the finished shower opening before installation and compare the results with the compatible opening range for the exact door. Do not rely only on a nominal label such as 48 inch or 60 inch when deciding whether a product fits.
Record variations in the opening instead of assuming the walls are perfectly plumb or the threshold is level. The amount of adjustment available depends on the specific door and hardware system.
For the complete measuring process, including top, middle, and bottom widths, left and right heights, threshold measurements, wall plumb, and swing clearance, use the dedicated shower door measuring guide.
Check the Required Tools, Hardware, and Materials
The tools and materials required for shower door installation vary by model. Before beginning, compare the installation manual with the tools you have available and identify any product-specific requirements for drilling, leveling, mounting, sealing, or handling the glass.
Open the package and confirm that the required tracks, guides, brackets, hinges, fasteners, seals, handles, and other listed components are present before installation. Do not substitute mounting hardware without confirming that it is appropriate for the product and mounting surface.
Keep the installation manual available throughout the project. Product diagrams and installation videos can also help clarify the sequence when the manufacturer provides them.
Select the Door Style Before Planning the Installation
Door style affects how the installation needs to be planned. Framed, frameless, sliding, hinged, pivot, and other systems can use different mounting points and clearance requirements.
Consider the glass appearance and hardware finish only after confirming that the product fits the finished enclosure and can be mounted according to its instructions.
Check how the door opens before installation. A swinging panel should not interfere with nearby fixtures, while a sliding system needs enough room for its track, guides, and overlapping panels.

Shower Door Installation Process: General Sequence
The exact installation process varies by product. Use the following sequence as a planning overview, then follow the installation manual for the actual mounting locations, hardware, sealing instructions, adjustment procedure, and curing requirements.
Step 1: Inspect the Opening and Mark the Required Locations
Clean the installation area and compare the finished opening with the product specifications one final time. Confirm that the intended mounting surfaces and threshold conditions match the requirements shown in the installation instructions.
Use the supplied components and product diagrams to identify the correct positions for tracks, jambs, hinges, brackets, guides, or other hardware before making permanent changes to the surface.
Any drilling or fastening method should follow the product instructions and be appropriate for the actual wall or threshold material. Do not assume that one type of anchor or fastener is suitable for every installation.
Step 2: Install the Required Tracks, Jambs, or Mounting Hardware
Install the frame, track, jambs, hinges, brackets, or other mounting components in the order specified by the product manual. Check alignment as each component is positioned rather than waiting until the entire system is assembled.
Sliding doors may use upper and lower tracks or guides, while hinged and frameless systems can use different mounting hardware. Follow the instructions for the exact model instead of transferring steps from another shower door type.
Before installing the glass, confirm that the mounted components are positioned and aligned as required by the product instructions. Incorrect alignment can affect door movement, panel overlap, or sealing.
Step 3: Position the Glass and Complete Product-Specific Adjustments
Position and secure the glass panels according to the manufacturer's sequence. Because glass size, weight, hardware, and attachment methods vary, use the handling and fastening instructions supplied with the exact product.
For hinged, pivot, sliding, or other movable doors, complete the alignment and movement adjustments specified in the manual. Confirm that the door operates correctly before applying any final seals or finishing materials required by the product.
If sealant is required, use the locations and curing time specified by the shower door manufacturer and the sealant instructions. Do not apply one universal curing time to every installation.
Shower Door Installation Cost: What Affects the Total?
The total cost of a shower door installation varies with the door system, glass configuration, hardware, installation conditions, labor, shipping, customization, and any preparation or repair work required in the bathroom.
Product and Hardware Costs
Framed, semi-frameless, frameless, sliding, and custom shower doors can have different price structures. Compare actual products rather than assuming a universal price range for a door category.
Glass configuration, number of panels, door size, hardware, finishes, and customization can all affect the product price. Installation requirements can also change the overall project cost.
Handles, towel bars, brackets, guides, tracks, and other accessories may be included with the product or priced separately depending on the model.
DIY vs Professional Labor Costs
Professional installation pricing depends on the local market, door system, glass handling requirements, bathroom conditions, and scope of work. DIY installation can reduce labor charges, but it should only be considered when the project matches your tools, experience, and the manufacturer's installation requirements.
When requesting installation quotes, compare the scope carefully. Ask whether removal of an existing enclosure, surface preparation, installation materials, cleanup, and other work are included.
Before choosing DIY solely to reduce cost, consider the difficulty of handling the glass, working with finished tile or wall surfaces, aligning the system, and following the product-specific sealing and adjustment requirements.
Additional Project Costs to Consider
Additional costs can come from removing an old enclosure, repairing mounting surfaces, addressing damaged tile or wall materials, changing the shower threshold, or completing other preparation work discovered before installation.
Project requirements can vary by location and by the extent of the renovation. If the shower door project is part of broader structural, plumbing, or bathroom work, check the requirements that apply to the complete project in your area.

DIY vs Professional Shower Door Installation
Whether a shower door installation is suitable for DIY work depends on the exact product, glass configuration, mounting surfaces, tools, installation instructions, and your experience with similar bathroom projects.
When DIY May Be Reasonable
DIY may be worth considering when the product manual clearly describes an installation process that matches your skills, tools, and bathroom conditions. A familiar door style should not automatically be treated as easy to install because hardware and mounting requirements vary by model.
Before beginning, review the complete instructions and confirm that you can safely handle the supplied components, work with the mounting surfaces, maintain alignment, and complete the required sealing and adjustments.
If any required step falls outside your experience, consider using a qualified installer rather than improvising a different mounting or installation method.
When Professional Installation May Make More Sense
Professional installation may be useful when the project involves large glass panels, difficult mounting surfaces, unusual opening conditions, custom components, or installation steps that require experience you do not have.
Before hiring an installer, ask about the scope of work, relevant experience with the door type, cleanup, follow-up service, and whether any workmanship terms are included in the quote.
For frameless or custom systems, compare the installation requirements with your own experience carefully before deciding whether to complete the project yourself.
Safety and Warranty Considerations
Shower door panels and hardware should be handled and installed according to the manufacturer's instructions. The size and weight of components, mounting requirements, and installation sequence can vary significantly by product.
Do not assume that DIY or professional installation automatically changes warranty coverage in the same way for every product. Review the warranty terms for the exact shower door before beginning installation.
If the warranty includes installation conditions, keep the installation documentation and follow those requirements when planning the project.

Maintenance and Long-Term Care of Shower Doors
Regular cleaning and inspection can help keep the glass, tracks, hinges, seals, and other hardware in usable condition. Always follow the care instructions for the exact door and its finishes.
Cleaning Shower Glass and Hardware
Clean the glass often enough to prevent visible soap residue and mineral buildup from becoming difficult to remove. The appropriate cleaner depends on the glass treatment and hardware finishes used on the product.
Removing water from the glass after showering can help reduce visible spotting. Before using homemade or commercial cleaning solutions, check whether the manufacturer provides restrictions for coated glass, seals, tracks, or metal finishes.
Avoid abrasive methods or cleaning products that the manufacturer advises against because they may damage coatings, seals, or hardware finishes.
How to Prevent Common Shower Door Problems
Periodically inspect tracks, hinges, handles, guides, fasteners, and other moving components. If the manufacturer specifies lubrication or adjustment, use the recommended method and product rather than applying a universal lubricant to every shower door.
Check seals and any required sealant for visible wear, gaps, or damage. Use the replacement and maintenance instructions provided for the exact system.
Good bathroom ventilation can help manage moisture around the enclosure. Maintain the bathroom ventilation system according to the requirements of the room and home.
Address changes in door alignment, movement, seals, tracks, or hardware before they develop into larger operating problems.
Managing Mineral Buildup and Hardware Wear
Water conditions and cleaning habits can affect how quickly residue appears on glass and hardware. Use cleaning and maintenance methods that are compatible with the specific glass treatment and metal finish.
Inspect seals, tracks, hinges, and other hardware periodically and replace worn components with compatible parts when necessary. Follow the product instructions when renewing any required sealant.
Consistent care makes it easier to identify changes in operation or water containment before they become more difficult to address.
Conclusion
Shower door installation works best when the finished opening, door style, mounting conditions, hardware, and installation instructions are considered together. Do not assume that framed, frameless, sliding, or hinged doors use the same mounting sequence or adjustment rules.
Start by confirming that the exact door fits the finished shower. Then review the installation manual, prepare the correct components and tools, and decide whether the work matches your DIY experience or is better handled by a qualified installer.
If you have not measured the finished opening yet, complete that step before ordering or installing the door. Once the dimensions are confirmed, compare shower door options that match the space and installation conditions.
FAQ About Shower Door Installation
1. How long does it take to install a shower door?
Installation time varies by door type, opening condition, glass configuration, hardware, installer experience, and whether old components must be removed first. Review the exact installation steps before estimating how long the project will take.
2. Can I install a shower door on a bathtub?
A shower door can be used with some bathtub-shower combinations when the specific product is designed for that application. Confirm the compatible opening range, tub ledge or mounting surface requirements, wall conditions, and installation instructions before purchasing.
3. Do I need a permit to install a shower door?
Requirements vary by location and by the scope of the overall bathroom project. If the shower door installation is part of structural, plumbing, or other renovation work, check the requirements that apply to your project with the appropriate local authority.
4. What should I check before installing a frameless shower door?
Check the finished opening, mounting surfaces, compatible opening range, hardware requirements, glass configuration, door clearance, and installation manual for the exact frameless door. Do not assume that all frameless shower doors use the same glass, mounting method, or adjustment range.
5. How much clearance is needed for a swinging shower door?
There is no single clearance measurement that should be applied to every swinging shower door. Check the swing path of the exact door and confirm that it can operate without contacting nearby walls, toilets, vanities, towel bars, or other fixtures.
6. Can I replace only the glass panels without changing the frame?
That depends on whether compatible replacement glass is available for the existing system and whether the frame, tracks, seals, and hardware are suitable for reuse. Check the manufacturer or replacement-part information for the exact enclosure before ordering glass separately.


Leave a comment
This site is protected by hCaptcha and the hCaptcha Privacy Policy and Terms of Service apply.