


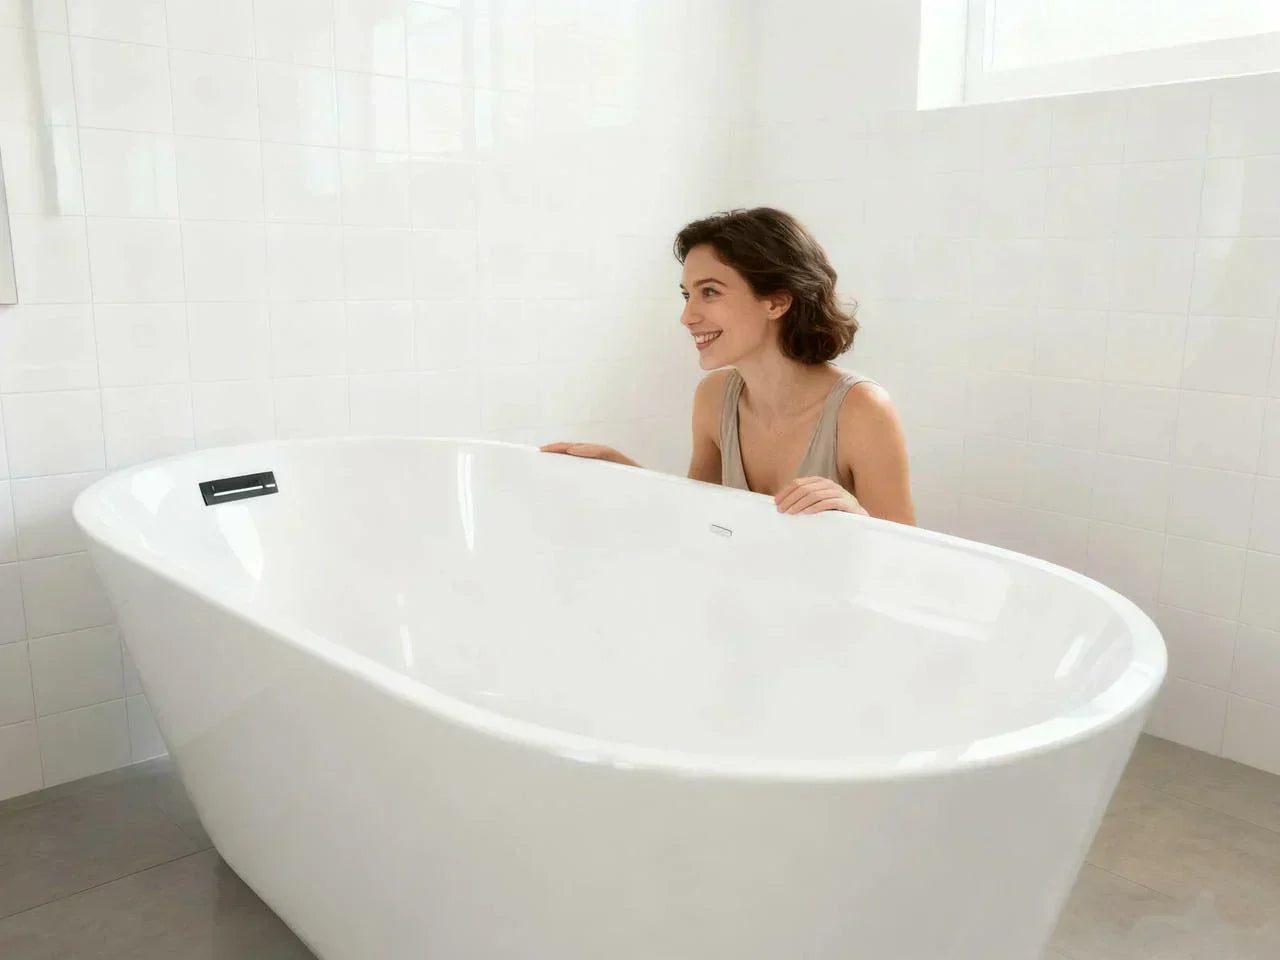
If you’re weighing whether to resurface tub instead of replacing it, here’s the quick take: refinishing restores a worn bathtub for a fraction of replacement cost, updates color, and extends lifespan. In 2025, most standard tubs reglaze for $335–$630, cure in 24–48 hours, and last 7–15 years with proper care. Learning how to resurface a bath tub properly ensures a smooth, durable finish, whether you choose a professional or a DIY approach. With the right prep, repair, and coating steps, even an old acrylic or cast iron tub can look brand new.
Quick Answer: Why and When to Resurface Tub in 2025
Resurfacing a tub (also called tub refinishing or bathtub reglazing) puts a fresh, durable coating over your existing tub after proper prep and repair. It makes an old tub look bright and clean again, fixes chips and stains, and lets you choose a modern color without demolition.
why many homeowners choose it in 2025
-
It’s about 60–80% cheaper than replacing your bath tub. A standard tub runs about $335–$630 to refinish versus $1,200–$2,000+ to replace once you add demolition and plumbing.
-
It’s fast. Most jobs take one day to coat and 24–48 hours to cure.
-
It transforms the look and feel. You can go from beige or almond to bright white, or even modern black or matte finishes.
-
It’s sustainable. You keep the existing tub out of a landfill.
Best candidates for a bathtub resurface include porcelain, cast iron, fiberglass, and acrylic tubs. Cast iron and porcelain bond well and tend to last longer after refinishing. Acrylic tub refinishing is common too but may have a shorter lifespan.
Good use cases:
-
The tub surface is dated, stained, or dull, but the body is in good shape.
-
Chips or hairline cracks need repair.
-
You’re prepping to sell and want a clean, bright bathroom fast.
-
You own a high-quality or antique cast iron tub you want to preserve.
When to replace instead:
-
The tub has serious structural issues, rust-through, or a flexing shell.
-
There’s a failing subfloor, damaged drain or overflow assembly, or plumbing that needs rework.
-
The tub is a thin, low-quality acrylic shell that flexes a lot.
-
You’re changing the footprint, re-plumbing, or doing a full bathroom renovation.
In these case, refinishing won’t solve the core problem, and investing in a high-quality replacement bathtub—like those available from HOROW—ensures durability and long-term performance.
How to Resurface Tub: Step-by-Step (Pro vs DIY)
Resurfacing a bathtub follows a clear system. The bathtub refinishing process focuses on prep and adhesion at each layer so the new coating can last. Many pros spray the coatings. DIY kits may use a roll-and-tip method. Either way, strong prep is what makes a refinished tub look like a new tub.
Step-by-step overview:
Prep and masking
- Remove old caulk and silicone with a sharp blade or putty knife. Scrape away debris and vacuum any dust.
- Mask off tile, walls, fixtures, and floors to prevent overspray or roller splatter. Cover the drain and vent paths you don’t want to coat.
- Deep-clean and degrease the tub. Remove soap scum, body oil, and grime. Rinse and dry well.
Repairs
- Fill chips, small cracks, and pitted areas with a tub repair compound or filler. Let it cure.
- Sand repairs smooth so the new finish lays flat and the look is even.
Etch and bond
- Etch the surface to create “tooth” for adhesion. Pros may use a chemical etch or a combination of sanding grits.
- Apply a bonding agent across the tub. This links the old surface to the new refinishing coatings.
Prime and topcoat
- Apply primer designed for tubs and the chosen coating chemistry.
- Apply multiple thin coats of the topcoat. Pro-grade systems are often acrylic or epoxy-based, sometimes hybrid blends. They can be sprayed for a very smooth, glossy finish. DIY kits may be rolled with foam rollers and tipped with a brush.
- Follow the product’s recoat windows. Thin coats reduce runs and sags.
Cure and re-caulk
- Let the coating cure for 24–48 hours before use. Good ventilation helps.
- After full cure, remove masking and re-caulk the tub to keep water out of the joints.
Important notes for both pro and DIY:
-
Ventilation is key. Set up a fan that vents fumes outdoors through a window. Keep doors closed to the rest of the home.
-
Wear a proper respirator, gloves, eye protection, and coveralls.
-
Control humidity and temperature as directed by the coating maker. High humidity or cold temps can slow cure or cloud the finish.
-
Overspray and dust control matter. Mask carefully, use clean tack cloths, and keep pets and kids away during work and cure time.
-
Color options keep growing. Black, matte, and warm off-white tones are popular in 2025.
Pros vs DIY:
-
Pros bring spray rigs, commercial-grade bonding agents, and experience so the finish lays flat and bonds well. This usually means better durability and fewer defects.
-
DIY is cheaper in cash outlay, but it takes careful prep, patience, and safety gear. Small mistakes (thick coats, poor cleaning, skipped etch) can cause peeling or dull spots.

Cost to Refinish a Bathtub in 2025
The cost to refinish a standard tub in 2025 runs about $335–$630, with a national mean around $480. Pricing varies by region, tub type, condition, and whether a prior coating must be stripped.
-
Standard built-in tub: $335–$630
-
Freestanding or clawfoot tub: $400–$1,400
-
Tub/shower combo: $800–$1,200
-
Stripping a prior failed coating: often adds 1.5–2x to labor
-
Optional add-ons: non-slip texture, color changes beyond bright white, or heavy chip repair can add to the price
Replacement comparison:
-
Replacing a tub often costs $1,200–$2,000+ after you include demolition, disposal, new tub cost, wall repair or new tile, and plumbing adjustments. If tile or surround must be redone, costs climb higher.
DIY vs pro:
-
DIY kits cost less upfront. But pro finishes tend to be smoother and last longer because of better bonding and spray application.
Simple comparison:
| Option | Typical Cost (2025) | Time to Complete | Expected Lifespan |
| Resurface (standard) | $335–$630 | 1–2 days + cure | 7–15 years |
| Resurface (prior coat) | 1.5–2x standard | 2–3 days + cure | 7–15 years |
| Replace | $1,200–$2,000+ | Several days+ | New fixture life |
Quick cost calculator (estimator you can use at home):
Start with a base price for your tub type:
- Standard alcove: $480
- Freestanding/clawfoot: $900
- Tub/shower combo: $1,000
Add for prior coating removal:
If previously refinished: multiply by 1.5 to 2.0
Add optional features:
- Heavy chip repair: +$50–$150
- Non-slip texture: +$75–$150
- Premium color (black/matte): +$50–$150
Adjust for your area:
- High-cost metro: multiply by 1.2–1.4
- Rural/low-cost area: multiply by 0.85–0.95
Example: Standard tub in a high-cost city, with non-slip texture and no prior coating
-
Base $480 × 1.3 (metro) = $624
-
Add non-slip $100
-
Estimated total = $724
This is only a guide. Always get two to three local quotes for a firm number.
Is Your Bathtub a Good Candidate? Materials, Damage, Fit
Before deciding whether to resurface or replace your bathtub, it’s important to understand which tubs respond best to refinishing. Material type, existing damage, and how your tub fits within your bathroom all affect the outcome. Evaluating these factors carefully ensures that your investment in bathtub refinishing will deliver a durable, attractive finish without unexpected issues.
Materials that refinish well:
-
Porcelain and cast iron: Strong adhesion and excellent long-term results. A cast iron tub or old porcelain bath tub often looks brand new after coating, and the finish can withstand regular use and cleaning without fading. These materials are ideal for homeowners who want a lasting, high-quality result.
-
Fiberglass: Bonds well with proper etch and bonding agents. Fiberglass tubs respond well to refinishing if cracks and scratches are repaired first, giving a smooth, refreshed surface that extends the tub’s usable life.
-
Acrylic: Refinishers can reglaze acrylic tubs, but since acrylic shells can flex, durability may be lower. Life can be closer to the lower end of the 7–15-year range, so careful handling and proper curing are especially important. Acrylic refinishing is a cost-effective option when replacement is not necessary.
Damage thresholds:
-
Minor damage like chips, light scratches, and stains is fine. A chip can be filled and sanded smooth before coating, leaving the tub surface uniform and ready for a durable finish. Small cosmetic imperfections rarely affect the overall strength of the tub.
-
Deep rust, holes, or soft spots in the tub body are warning signs. If the shell flexes or you have rust-through, it’s safer to replace. Ignoring structural damage can lead to peeling or further deterioration after refinishing.
-
If your subfloor is spongy, or the drain and overflow don’t seal, fix those first. A pretty coating can’t solve plumbing or structure issues, and resurfacing on unstable foundations can lead to costly problems down the line.
Fit and style:
-
If you have an antique or clawfoot cast iron tub, resurfacing keeps the original charm while restoring a glossy finish. This approach preserves the character of vintage bathrooms without costly removal or remodeling.
-
If your tub is an odd size that fits perfectly with your tile, resurfacing saves you from ripping out walls to fit a new unit. It allows you to maintain your bathroom layout while updating the tub’s appearance quickly and cost-effectively.
Not sure which path to take? Ask yourself:
-
Is the tub stable with no soft spots? Stability indicates the structure can support a new coating and ensures long-lasting results.
-
Are the worst issues cosmetic (stains, yellowing, minor chips)? Cosmetic problems are usually the ideal scenario for resurfacing rather than replacement.
-
Is the tile or surround in good shape you don’t want to disturb? Preserving existing tile and walls can save time, money, and the hassle of a full bathroom remodel.

DIY Tub Refinishing: Tools, Timeline, Mistakes to Avoid
You can reglaze a bathtub yourself if you’re patient, detail-oriented, and set up proper ventilation. Expect to spend more time on prep than on coating.
Tools and materials checklist:
-
PPE: VOC-rated respirator, goggles, nitrile gloves, coveralls
-
Ventilation: box fan and ducting to a window; zipper door or plastic to contain fumes
-
Masking: painter’s tape, paper/plastic sheeting, drop cloths
-
Cleaning: heavy-duty cleaner/degreaser, scrub pads, rags
-
Surface prep: sandpaper (various grits), etching solution or sanding tools, tack cloths
-
Repairs: filler/repair compound for chips and cracks, putty knife
-
Bonding: bonding agent per coating system
-
Coatings: primer and topcoat designed for tubs (acrylic, epoxy, or hybrid)
-
Application: foam rollers/brushes (for DIY kits) or spray equipment if trained
-
Finishing: caulk and caulk gun
Typical DIY timeline:
-
Day 1: Remove caulk, clean/degrease, repair chips, sand, etch, bond
-
Day 2: Prime and apply multiple thin coats of topcoat
-
Day 3–4: Cure 24–48 hours before first use; re-caulk after full cure
Common DIY pitfalls:
-
Inadequate cleaning leaves soap scum and body oils that block adhesion. If in doubt, clean it again.
-
Poor masking causes overspray or roller specks on tile and floors.
-
Thick coats lead to sags and slow cure. Thin, even coats last longer and look smoother.
-
Dust and hair in the wet coating cause bumps. Keep the area clean and vented. Wipe with a tack cloth before each coat.
-
Rushing cure time can imprint soap dishes, mats, or bottles into the finish. Let it harden before use.
Safety basics:
-
Fumes from refinishing coatings can be strong. According to the EPA, VOCs released during indoor refinishing can significantly affect air quality, so proper ventilation and using a respirator rated for organic vapors is crucial (EPA, 2025).
-
Keep kids, pets, and anyone sensitive to odors out of the area until it’s fully cured and aired out. Ensuring the area is off-limits until the tub has fully cured protects everyone’s health and prevents accidental contact with wet coatings.
-
Dispose of solvent rags and leftover materials as your local guidelines require. Many areas treat them as household hazardous waste. Always follow municipal regulations for hazardous waste collection, and store used rags in a sealed metal container until they can be dropped off at a proper facility.
Hiring a Pro: Questions, Warranties, Red Flags
When you hire a professional refinisher, ask clear questions and expect straight answers. A good contractor will explain their bathtub refinishing process and the exact steps they take for prep, repair, and coating.
Smart questions to ask:
-
Which coating chemistry do you use (acrylic, epoxy, or hybrid)? Are there low-VOC options?
-
What bonding process do you use? Do you mechanically or chemically etch the surface?
-
How many coats do you apply? What’s the recoat time?
-
What is the cure time before use?
-
How will you ventilate the bathroom during coating and cure?
-
What does the warranty cover, for how long, and what is excluded (like suction-cup mats or harsh cleaners)?
-
How do you handle tubs that were previously refinished? Do you strip old coatings?
Red flags:
-
No or minimal surface prep. If they skip cleaning, etching, or bonding, peeling is likely.
-
No written warranty.
-
Vague about chemicals and process, or unwilling to discuss PPE and ventilation.
-
Few reviews, or no before/after photos.
Practical tips:
-
Compare two to three quotes. Prices can vary with experience and coating systems.
-
Confirm color options and finish: bright white, warm white, matte, black, or custom tones.
-
Ask if non-slip texture is available; it can improve traction and reduce the chance of bathtub falls.
Maintenance & Aftercare: Make Reglazing Last 7–15 Years
Care is simple but important. A refinished tub can last 7–15 years if you treat it gently and keep the surface clean.
Cleaning:
-
Use non-abrasive cleaners only. Harsh chemicals or scrubbing tools can scratch or dull the fresh surface, reducing its lifespan. Stick to gentle liquid cleaners or mild soap solutions.
-
Avoid harsh scrub pads and steel wool. These can remove the coating or leave permanent scratches that are difficult to repair.
-
Skip acidic soaks or bleach baths. Prolonged exposure can eat away at the finish and cause discoloration.
-
Use a soft sponge or cloth and rinse well. This keeps grime from building up while protecting the coating’s gloss and smoothness.
Routine:
-
Wipe the tub weekly to prevent soap scum buildup. Quick weekly maintenance stops dirt and residue from becoming stubborn and harder to clean.
-
Do a mild deep clean monthly. Focus on corners, drains, and any textured surfaces to maintain hygiene and shine.
-
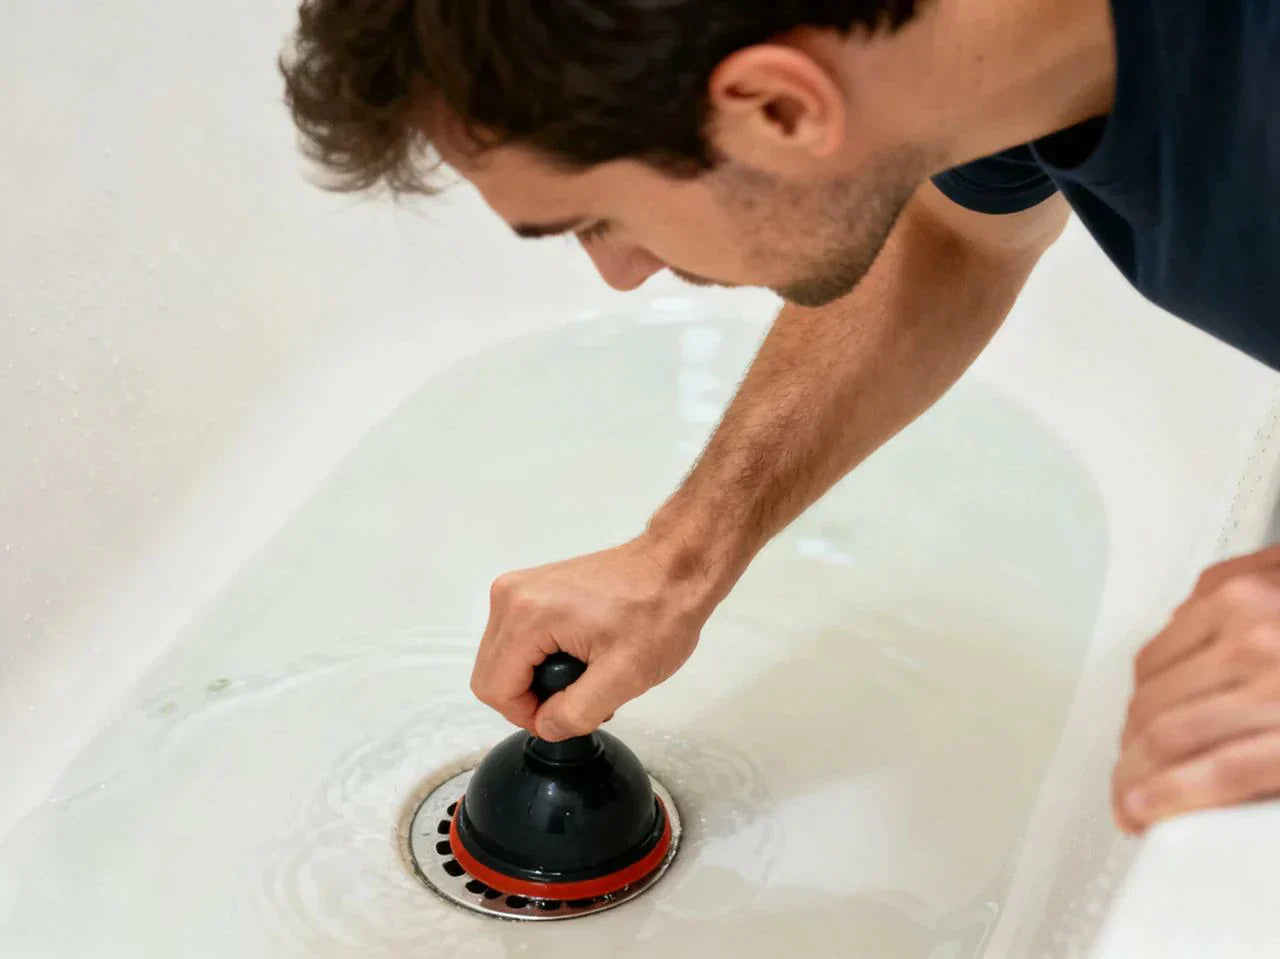
Re-caulk as needed to keep water out of joints. Well-sealed edges prevent water damage to the subfloor and prolong the life of your refinished tub.
Avoid:
-
Suction-cup bath mats. They can trap water and pull at the coating, potentially causing bubbles or peeling. Opt for mats without suction cups or ones you can remove after each use.
-
Dropping heavy or sharp objects. Even minor impacts can chip the finish, so handle bath toys, bottles, or other items with care.
-
Leaving hair dyes or colored bath bombs sitting on the surface. Strong pigments can stain or temporarily discolor the refinished coating.

Troubleshooting:
-
Minor chips: Use a color-matched touch-up kit to seal and hide small dings. Acting quickly prevents water from seeping under the coating.
-
Localized peeling: Call a refinisher for a spot repair. Professionals can fix peeling areas efficiently, which is far cheaper and faster than a full redo.
-
Dullness: A gentle buff by a pro can restore some gloss if the coating allows. Regular polishing can help maintain the tub’s bright, like-new look over time.
With these habits, your refinished tub will stay glossy and durable much longer.
Safety and Environmental Considerations
Resurfacing is a cost-effective way to refresh a bathroom, but it uses coatings and solvents that can give off fumes. Pay attention to ventilation, PPE, and disposal.
-
VOCs and fumes: Many refinishing coatings release volatile organic compounds (VOCs). Good airflow and exhaust to the outside reduce exposure. Look for lower-VOC products when possible.
-
PPE: Use a respirator rated for organic vapors, plus gloves, eye protection, and coveralls. Pros follow strict PPE rules for safety.
-
Containment: Mask off the bathroom, use a zipper door, and run a vent fan to a window so fumes leave the space.
-
Environmental angle: Resurfacing keeps your existing tub in place, so there’s less landfill waste and less demolition.
-
Local rules: In multi-unit buildings, check building policies about ventilation and work hours. Some areas have strict rules about odor control.
Real-World Results: Case Studies and Before/After
Seeing the results of bathtub refinishing in real homes can help you understand its true value. Case studies show how professional reglazing transforms worn or antique tubs, preserves original fixtures, and delivers a fresh, like-new finish at a fraction of replacement costs. These real-world examples highlight durability, visual impact, and the practical benefits homeowners experience over time.
Case study: 1930s cast iron tub
A homeowner with a 1930s cast iron tub chose professional reglazing to save time and preserve the heavy, antique fixture. The contractor repaired a few chips, etched, bonded, and sprayed multiple thin coats. The project took under two days plus cure time and cost about $400. A similar-quality new bathtub plus demolition and re-tiling would have topped $2,000. The result looked bright white and glossy, like a newly installed tub, and the original charm stayed in place.
One year later:
-
The finish still looked smooth with no peeling. Weekly wipe-downs and non-abrasive cleaners kept soap scum off.
Five years later:
-
Some dulling around the drain and the most-used end of the tub, but no major failures. A small touch-up fixed a chip from a dropped bottle. The owner felt refinishing was a clear win versus replacement.
Social proof themes from homeowners:
-
Fast turnaround.
-
Big visual upgrade.
-
Strong return on cost when prepping a home for sale.
These outcomes reflect what most people see: if the existing tub is sound, refinishing makes a big difference for a modest price.
Trends & Innovations in 2025
-
Coating tech: Faster-cure and improved-adhesion systems are more common. More options aim to reduce odor and VOCs without giving up durability.
-
Finishes: Black, matte, and warmer whites are in demand. Many homeowners pick a soft white that pairs with modern tile.
-
Slip resistance: Add-on textures that don’t look gritty are increasing, helping with traction.
-
Antique focus: Restoring clawfoot and other vintage tubs continues to grow as people preserve original fixtures and avoid demolition.
-
Whole-room refresh: More owners refinish a tub and adjacent tile together to get a unified look without a full remodel.

Conclusion: The Bottom Line—Should You Resurface Tub?
If your existing tub is in good shape but looks worn, resurfacing delivers the like-new look without major renovation. It often saves $1,000+ compared with replacing your tub, avoids demolition, and keeps waste out of landfills. Most homeowners can use the tub again in 24–48 hours, enjoy a modern color, and expect 7–15 years of service with simple care.
Who benefits most?
-
Owners with solid porcelain or cast iron tubs, especially antiques or odd sizes.
-
Sellers who want a fast, budget-friendly visual upgrade.
-
Anyone happy with their bathroom layout who wants a fresh, bright finish.
Next steps:
-
Get 2–3 quotes from vetted refinishers. Ask about their bonding process, coating type, ventilation plan, and warranty.
-
If you want to DIY, download a checklist, set up proper ventilation, and follow the steps carefully.
-
Keep your refinished tub clean with non-abrasive products so it lasts longer.
FAQs About Bathtub Resurfacing
1. Is resurfacing a tub worth it?
If your bathtub is still structurally sound, resurfacing can be a real game-changer. It’s a cost-effective way to breathe new life into an old tub without the mess and expense of demolition. You can fix stains, chips, and even update the color to match a modern bathroom design. Many homeowners find that how to resurface a tub properly, whether DIY or hiring a professional, allows them to save $1,000 or more compared with full replacement, and still achieve a finish that looks like new. Beyond money, refinishing keeps your old tub out of the landfill, which is a small but meaningful eco-friendly win. If your tub doesn’t have major cracks or rust, resurfacing is often the best option to extend its life while giving your bathroom a fresh, updated look.
2. What is the average cost to resurface a bathtub?
In 2025, most standard tubs can be refinished for roughly $335–$630, with the national average hovering around $480. Costs rise if you have a freestanding tub, a tub/shower combo, or if a previous coating needs removal, which can double the labor costs. The price also depends on whether you choose specialty colors, non-slip coatings, or additional repairs. If you hire someone professionally, you’re likely paying a bit more upfront, but the finish is smoother, longer-lasting, and the work is backed by experience. Comparing these costs to replacing a tub—which can exceed $1,200–$2,000 when you include demolition, plumbing, and wall repairs—makes resurfacing a very attractive alternative for budget-conscious homeowners.
3. Can I resurface my bathtub myself?
Absolutely—you can try DIY refinishing if you’re patient, detail-oriented, and willing to follow safety precautions. Many homeowners successfully restore their tubs using kits designed for refinishing the tub, which include cleaner, sandpaper, bonding agents, primer, and topcoat. Preparation is key: the tub must be thoroughly cleaned, all chips and scratches repaired, and the surface properly sanded and etched to ensure the new finish adheres. Ventilation is crucial because fumes can be strong. While DIY can save money, the finish may not be as perfectly smooth or durable as work done by someone professionally trained. Still, for those who love hands-on projects and have the time to invest, DIY refinishing can deliver surprisingly good results, allowing your bathtub to look almost new at a fraction of the cost of replacement, without disturbing your bathroom layout.
4. Is it cheaper to resurface or replace a bathtub?
Resurfacing a bathtub is almost always the cheaper route. Refinishing a standard tub typically costs $335–$630, depending on condition, size, and optional upgrades. By contrast, replacing your tub can quickly exceed $1,200–$2,000 when you include the new fixture, demolition, plumbing, wall repair, and disposal. Even if you only consider labor, resurfacing generally requires less time and disruption than a full replacement, making it a practical option for homeowners on a budget or those looking for a quick bathroom refresh. Additionally, resurfacing keeps your existing tub intact, which is often preferable for unique or antique tubs. Considering cost, time, and ease, many people find that refinishing is the best option for revitalizing their bathroom without breaking the bank or waiting weeks for a full remodel.
5. How long do resurfaced tubs last?
A properly refinished bathtub can last between 7 and 15 years, depending on the material, care, and usage. Porcelain and cast iron tubs usually fall on the longer end of this range because the surface is strong and bonds well with new coatings, while acrylic or heavily used tubs might last closer to seven years. Longevity also depends on maintenance habits—gentle cleaning, avoiding abrasive pads or harsh chemicals, and preventing water from seeping under caulk are essential. Regular wipe-downs and monthly deep cleans help protect the surface. For homeowners wondering about the return on investment, bathroom refinishing offers a long-lasting, cost-effective solution that maintains your tub’s aesthetic appeal without a full replacement. Properly cared-for, a refinished tub can keep your bathroom looking modern and clean for over a decade.
6. What are the cons of reglazing a tub?
While reglazing a tub is highly effective, there are a few downsides to consider. The process involves strong fumes, so proper ventilation and protective gear are critical. Surface preparation is labor-intensive, requiring thorough cleaning, sanding, etching, and bonding to ensure adhesion. The curing period typically lasts 24–48 hours, meaning the tub cannot be used during this time. Even after the cure, the finish’s durability depends heavily on proper maintenance and gentle use. Using suction-cup mats or abrasive cleaners can shorten the life of the finish. Despite these limitations, many homeowners find that refinished tubs are durable, visually appealing, and a fraction of the cost of a full replacement, making reglazing a practical, budget-friendly option for updating a worn bathroom fixture.
7. What is the difference between resurfacing and reglazing a bathtub?
In everyday conversation, people often use resurfacing and reglazing interchangeably, but there are slight nuances worth knowing. Both processes involve repairing chips and cracks, prepping the surface, applying a bonding agent, priming, and adding a new coating to restore your bathtub’s appearance. “Reglaze” is the more popular term homeowners use, especially when talking about making an old tub look brand-new with a glossy finish, but technically it doesn’t create a true porcelain enamel surface. The goal is the same: fix cosmetic damage, update color, and extend the tub’s life without replacing it. Homeowners who want to understand the bathtub refinishing process should know that either term implies careful prep, thin coat application, and curing time. Choosing a professional ensures a smoother, longer-lasting finish and avoids common DIY pitfalls like peeling, runs, or dull spots.
8. Can an acrylic bathtub be refinished?
Yes, acrylic tubs can be refinished successfully, though because the material can flex more than cast iron or porcelain, the finish may have a slightly shorter lifespan. Proper prep, careful application, and gentle maintenance help extend durability. Acrylic refinishing can cover minor chips, stains, and yellowing, giving the tub a fresh, modern look without a full replacement. Some contractors even offer minor touch-ups free of charge if covered under warranty, depending on the agreement. For homeowners with acrylic tubs, refinishing is a convenient, cost-effective way to restore the surface, improve aesthetics, and maintain the tub’s usability for several years while avoiding the disruption and expense of installing a brand-new unit.
9. How much does it cost to refinish an acrylic bathtub?
Refinishing an acrylic bathtub in 2025 typically costs about $335–$630 for a standard tub, though pricing can vary depending on size, shape, and any extra work required. If the tub has deep chips, prior coatings, or unusual contours, labor may increase, and specialty colors or textures can add $50–$150. Acrylic tubs are a bit trickier than cast iron or porcelain because they can flex, so durability may be slightly shorter. Many homeowners find that refinishing your bathtub is far more cost-effective than full replacement, which can exceed $1,200 when factoring in demolition, plumbing, and wall repair. While DIY kits are available, hiring a professional usually guarantees a smoother finish, longer-lasting adhesion, and fewer defects. Overall, acrylic refinishing is a practical way to refresh the tub, upgrade your bathroom’s look, and avoid a major remodel.
References

Leave a comment
This site is protected by hCaptcha and the hCaptcha Privacy Policy and Terms of Service apply.