



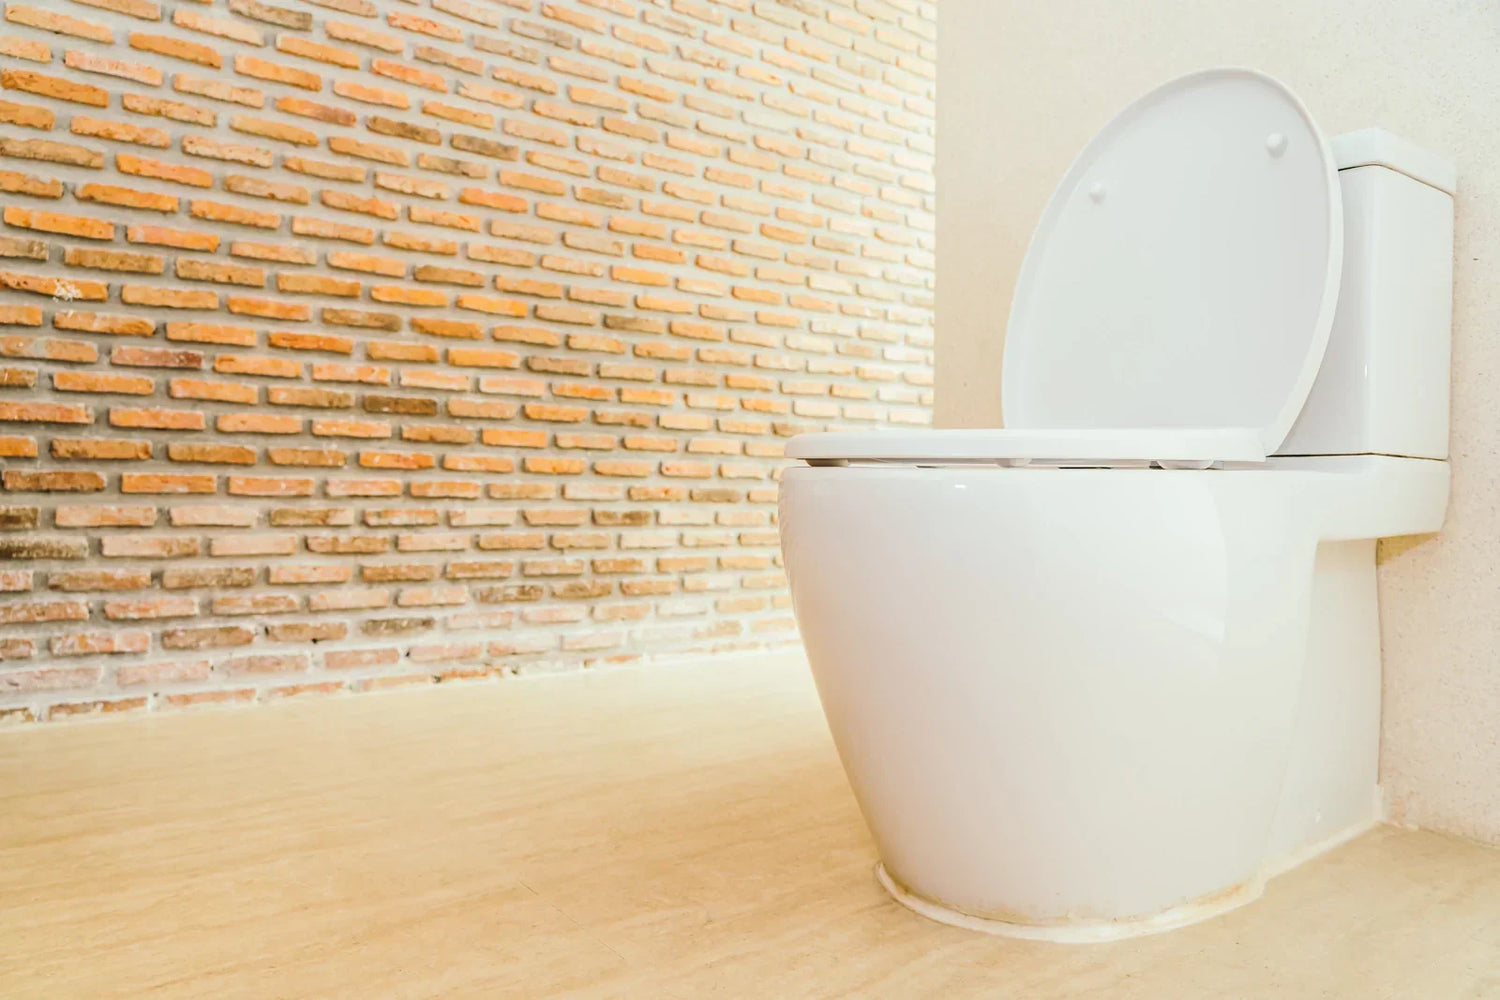
Installing a one-piece toilet successfully depends on matching the fixture to the bathroom and setting it correctly. Before removing the existing toilet, confirm the exact model's rough-in requirements, overall dimensions, mounting method, listed product weight, water-supply location, and installation instructions. Then inspect the flange and floor so you know whether the new toilet can be positioned, sealed, and secured without forcing the fit.
This guide focuses on the installation process: measuring the bathroom, checking the flange and floor, planning the handling path, dry-fitting the toilet, placing the seal, lowering the fixture, securing the base, connecting the water supply, and testing the installation before finishing the job.
Before Installation: Confirm the Toilet Fits the Bathroom
Do these checks before removing the existing toilet. The exact requirements should come from the product drawing and installation instructions for the model you are installing.
-
Confirm the rough-in. Measure from the finished wall surface, not the baseboard, to the center of the closet bolts or drain connection. Compare that measurement with the exact toilet's approved rough-in requirements.
-
Check the flange. The flange should be securely attached and free of cracks or movement. Its height must be compatible with the sealing method being used.
-
Check the finished floor. The toilet base needs a stable surface. Identify high spots, loose flooring, damaged subfloor, or conditions that could make the toilet rock after installation.
-
Review the mounting system. Confirm whether the model uses exposed closet bolts, side-access mounting, concealed brackets, or another fastening method.
-
Plan the lifting path. Use the listed product weight and dimensions to decide how the fixture will move through doors, hallways, stairs, and the final working area.
-
Check the water-supply position. Make sure the shutoff valve and supply connection can remain accessible after the toilet is installed.
How to Measure the Rough-In
Measure the bathroom before ordering or installing the toilet:
-
Locate the closet bolts that secure the toilet to the floor connection.
-
Measure from the finished wall surface to the center of one closet bolt.
-
Compare the measurement with the rough-in specification for the exact toilet model.
-
Review the product drawing for rear clearance and overall depth before assuming the toilet will fit against the wall.
Do not treat a measurement that is merely close to a common rough-in size as automatically compatible. The product drawing should determine whether the toilet can be installed in the available space.
Check the Room Around the Toilet
Overall toilet dimensions matter just as much as the drain location. Before installation, compare the product drawing with nearby walls, vanities, doors, tubs, supply valves, and other fixtures.
| Check | What to Confirm | Why It Matters |
| Side space | Confirm the installation meets the applicable room-layout requirements. | Provides usable space around the fixture and access for installation and cleaning. |
| Front space | Check the complete bowl projection against nearby walls, cabinets, tubs, and doors. | Prevents interference with normal bathroom use. |
| Door swing | Open the door fully and confirm it will not contact the toilet. | Prevents interference after installation. |
| Supply valve access | Confirm the supply line can connect without being sharply bent or trapped behind the fixture. | Makes connection and future shutoff access easier. |
| Mounting access | Check whether hands and tools can reach the model's mounting points. | Especially important for skirted or concealed-mount designs. |
Use a Footprint Mock-Up Before Installation
A simple footprint mock-up can help identify fit problems before you move the toilet into the room.
-
Find the toilet's overall width and depth on the product drawing.
-
Cut cardboard or mark painter's tape to represent the footprint.
-
Mark the drain centerline on the floor.
-
Position the mock-up according to the product drawing.
-
Check the door swing, vanity clearance, front space, supply-valve access, and installation working area.
The mock-up does not replace the installation drawing, but it can expose an obvious room-layout conflict before the fixture is lifted into place.
One-Piece vs. Two-Piece Installation: The Difference That Matters Here
Installation differs mainly in handling and positioning. A one-piece toilet is moved and set as one complete ceramic fixture, while a two-piece toilet allows the bowl and tank to be handled separately. That can affect carrying, alignment, and access around the floor connection, but actual installation difficulty depends on the exact model, listed product weight, mounting system, bathroom layout, flange condition, and installer. This guide does not rank one construction as universally easier or better. Its focus is the one-piece installation process: checking the room, preparing the flange and floor, planning the lifting path, dry-fitting, placing the seal, lowering the fixture, securing the base, connecting the water supply, and testing the installation.
For a full comparison of one-piece and two-piece construction, exterior cleaning, handling, repair structure, and installation difficulty, see the HOROW one-piece vs. two-piece toilet guide.

Plan the Carrying and Placement Path
Use the listed product weight and dimensions for the exact model instead of relying on a category-average weight. Before installation, decide how the toilet will move from the delivery location to the bathroom and where it can be safely staged while the flange is prepared.
Check:
- door and hallway width
- tight turns and stairways
- space to grip and lower the toilet
- whether the fixture can remain level during placement
- whether the mounting points can be seen or reached as the toilet approaches the floor
If the listed weight, fixture shape, or room layout makes controlled placement difficult, arrange suitable lifting help rather than forcing the toilet into position.

How to Install a One-Piece Toilet
Follow the installation instructions supplied with the exact toilet. The steps below cover the general sequence for a conventional floor-mounted one-piece toilet, but the mounting hardware,, but the mounting hardware, sealing method, water connection, and tightening procedure may vary by model.

1. Complete the Pre-Installation Check
Before removing the existing toilet, confirm:
-
The shutoff valve operates correctly and can stop the water supply.
-
The replacement toilet's rough-in and dimensions match the bathroom.
-
The required water-supply connection is understood.
-
The mounting hardware and installation method for the exact model have been reviewed.
-
The installation path and lifting plan are practical for the listed product weight.
-
Any required seal, fasteners, supply line, shims, and model-specific components are available before work begins.
2. Remove the Existing Toilet and Inspect the Flange
After the existing toilet is removed:
- Remove the old sealing material from the flange and surrounding floor.
- Check that the flange is secure and does not move.
- Inspect for cracks, corrosion, damaged fastener slots, or damaged surrounding flooring.
- Confirm that the flange height is compatible with the sealing method being used.
- Check that the mounting hardware can be positioned according to the toilet's installation instructions.
Do not use the new toilet to hide a loose flange, damaged subfloor, or unresolved drain connection. Repair the installation surface first.
3. Dry-Fit the Toilet Before Installing the Seal
A dry fit helps verify the footprint and mounting alignment before the final seal is compressed.
- Position the required mounting hardware.
- Carefully lower the toilet without the final seal installed.
- Confirm the toilet clears the wall, supply valve, vanity, door, and nearby fixtures.
- Check that the mounting points line up with the base.
- Confirm that the toilet can sit flat without rocking.
- Mark the final position with painter's tape if that will help guide the real placement.
Lift the toilet away and correct any fit, flange, floor, or mounting problem before installing the final seal.
4. Install the Correct Toilet Seal
Use a toilet seal that is appropriate for the flange condition and compatible with the toilet and seal manufacturer's instructions. Do not rely on extra sealing material to compensate for a loose flange, damaged floor, or incorrect installation height.
Before placing the seal:
- Make sure the flange and surrounding floor are clean.
- Confirm the flange is firmly secured.
- Check the seal orientation and installation instructions.
- Make sure the drain opening remains unobstructed.
If the toilet must be lifted after a wax seal has already been compressed, replace the wax before the final reset. For waxless systems, follow the seal manufacturer's reuse and reset instructions.
5. Lower the Toilet Into Position
Use the dry-fit position as your guide. Keep the toilet controlled and as level as practical while lowering it onto the floor connection.
- Align the fixture with the mounting points before the seal is compressed.
- Lower the toilet into position without dragging it across the floor.
- Avoid unnecessary twisting after the seal contacts the flange.
- Check that the base lands in the expected position and remains stable.
If controlled placement is not practical because of the fixture's listed weight, mounting design, or available working space, use suitable lifting help.
6. Secure the Toilet Without Forcing the Ceramic
The fastening method varies by model. Some toilets use conventional closet bolts, while skirted designs may use side-access hardware, brackets, or concealed mounting components.
General checks include:
- Confirm the toilet is sitting evenly on the finished floor.
- If the model and installation instructions allow shimming, correct rocking before final tightening.
- Start the fasteners before fully tightening either side.
- Tighten according to the toilet manufacturer's instructions.
- Do not use additional tightening to compensate for an uneven floor or unstable base.
Porcelain can be damaged by excessive or uneven tightening. If the toilet remains unstable, identify the cause instead of continuing to tighten the mounting hardware.
7. Connect the Water Supply
Connect the supply line according to the toilet manufacturer's instructions. The line should reach the connection without being sharply bent, stretched, or forced against nearby surfaces.
- Confirm the shutoff valve and connection are clean and in usable condition.
- Use a supply line with the correct connection type and sufficient length.
- Start threaded connections carefully to avoid cross-threading.
- Follow the specified tightening procedure for the toilet and supply components.
8. Perform the First Water and Leak Test
Test the installation before applying finishing material around the base.
- Open the water supply and allow the toilet to fill.
- Check the supply connection for seepage.
- Flush the toilet several times.
- Inspect the base and surrounding floor for moisture.
- Confirm the toilet remains stable during normal use.
- Check that the fill and flush functions operate as described for the exact model.
A dry paper towel around the supply connection can help reveal small amounts of moisture during the first inspection.

9. Complete the Final Inspection
After the toilet passes the water test:
- Recheck the base for movement.
- Confirm mounting hardware remains secure according to the installation instructions.
- Trim approved shims if they were used.
- Install the seat and any included accessories according to the exact model instructions.
- Apply any required finishing material around the base according to the installation instructions and applicable project requirements.
- Keep the shutoff valve accessible for future service.
When to Stop and Call a Plumber
Installation becomes more than a straightforward toilet replacement when the floor connection, drain, or surrounding structure needs repair. Consider professional help if you find:
- a loose, cracked, heavily corroded, or damaged flange
- an offset or modified drain connection that does not match the installation instructions
- soft, damaged, or unstable subfloor around the toilet
- a shutoff valve that does not operate correctly
- signs of an existing leak around the flange or below the bathroom
- plumbing that must be relocated for the new toilet to fit
- a fixture that cannot be safely carried or positioned in the available space
Resolve the underlying condition before installing the toilet. A new fixture should not be used to compensate for a damaged flange, unstable floor, or incompatible drain location.
Before You Buy a One-Piece Toilet
- Measure the rough-in from the finished wall to the drain or bolt centerline.
- Compare the exact toilet dimensions with the bathroom layout.
- Check door swing, vanity clearance, supply-valve access, and mounting access.
- Review the exact mounting method and installation instructions.
- Use the listed product weight to plan carrying and placement.
- Confirm the flange and surrounding floor are suitable for installation.
- Identify the required seal, supply connection, fasteners, and included hardware before starting.
If you are still deciding whether one-piece or two-piece construction is the better fit for your bathroom, use the one-piece vs. two-piece toilet comparison before choosing a model.
FAQs
1. What should I check before installing a one-piece toilet?
Confirm the exact toilet's rough-in, overall dimensions, listed product weight, mounting method, water-supply connection, and installation instructions. Also inspect the flange and finished floor before removing the existing toilet. The fixture should match the drain location and fit the room without blocking the door, vanity, shutoff valve, or required working space.
2. How do I know whether a one-piece toilet will fit my rough-in?
Measure from the finished wall surface to the center of the closet bolts or drain connection, then compare that measurement with the rough-in requirements and product drawing for the exact toilet. Do not assume a measurement that is close to a common rough-in size will work without checking the model's approved installation dimensions.
3. Should I dry-fit a one-piece toilet before installing the seal?
A dry fit can help confirm the footprint, mounting alignment, rear clearance, floor stability, and access to the mounting points before the final seal is compressed. Remove the toilet after the dry fit, correct any fit or floor problem, and then follow the toilet and seal manufacturer's instructions for the final installation.
4. Do I need a second person to install a one-piece toilet?
That depends on the listed product weight, fixture shape, access route, bathroom layout, and the installer's ability to control the toilet during placement. If the fixture cannot be safely carried and lowered into position without forcing, twisting, or losing control of the base, arrange suitable lifting help.
5. How do you reach the mounting hardware on a skirted toilet?
Check the installation manual before setting the toilet. Skirted models may use side-access hardware, concealed brackets, or another mounting system. A dry fit can help confirm where the fasteners are located and whether the required tools can reach them before the final seal is installed.
6. What should I check after installing a one-piece toilet?
Turn on the water supply, inspect the supply connection, flush the toilet several times, check the base and surrounding floor for moisture, and confirm that the fixture remains stable. Complete the finishing work only after the installation passes the initial leak and stability checks.



Leave a comment
This site is protected by hCaptcha and the hCaptcha Privacy Policy and Terms of Service apply.