


Planning to change the toilet for your home? Learn how to install a new toilet in just 1–3 hours—even if you've never tried a plumbing project before. Before you begin, when buying a new toilet, make sure it matches your bathroom's rough-in measurement, style preferences, and height requirements. Learn how to install or replace a toilet with this step-by-step guide, which simplifies the process, covers common pitfalls, and includes checklists and troubleshooting tips to ensure a leak-free, stable result. Whether you're a first-time DIYer or just need a refresher, this guide will walk you through every step, from how to remove the old toilet to tightening the last bolt on your new toilet bowl.
Quick Start: Essential Info at a Glance
Is it hard to replace a toilet? For most DIYers, it’s a moderate-level project that can be done in 1–3 hours with the right tools and instructions. Before you begin, here is a quick overview of what to expect when you replace toilet.
| Factor | Details |
| Time | 1–3 hours for a standard replacement. |
| Difficulty | Moderate DIY. You may want a helper for lifting the heavy toilet bowl. |
| Cost (DIY) | $180–$550 (materials and tools, toilet excluded). Professional installation can cost $250–$650 for labor alone. |
| What You’ll Need | New toilet, wax ring or wax-free toilet seal, closet bolts, water supply line, and basic hand tools. |
| When to Call a Pro | A damaged toilet flange, subfloor rot, or problems with the water shutoff valve. |
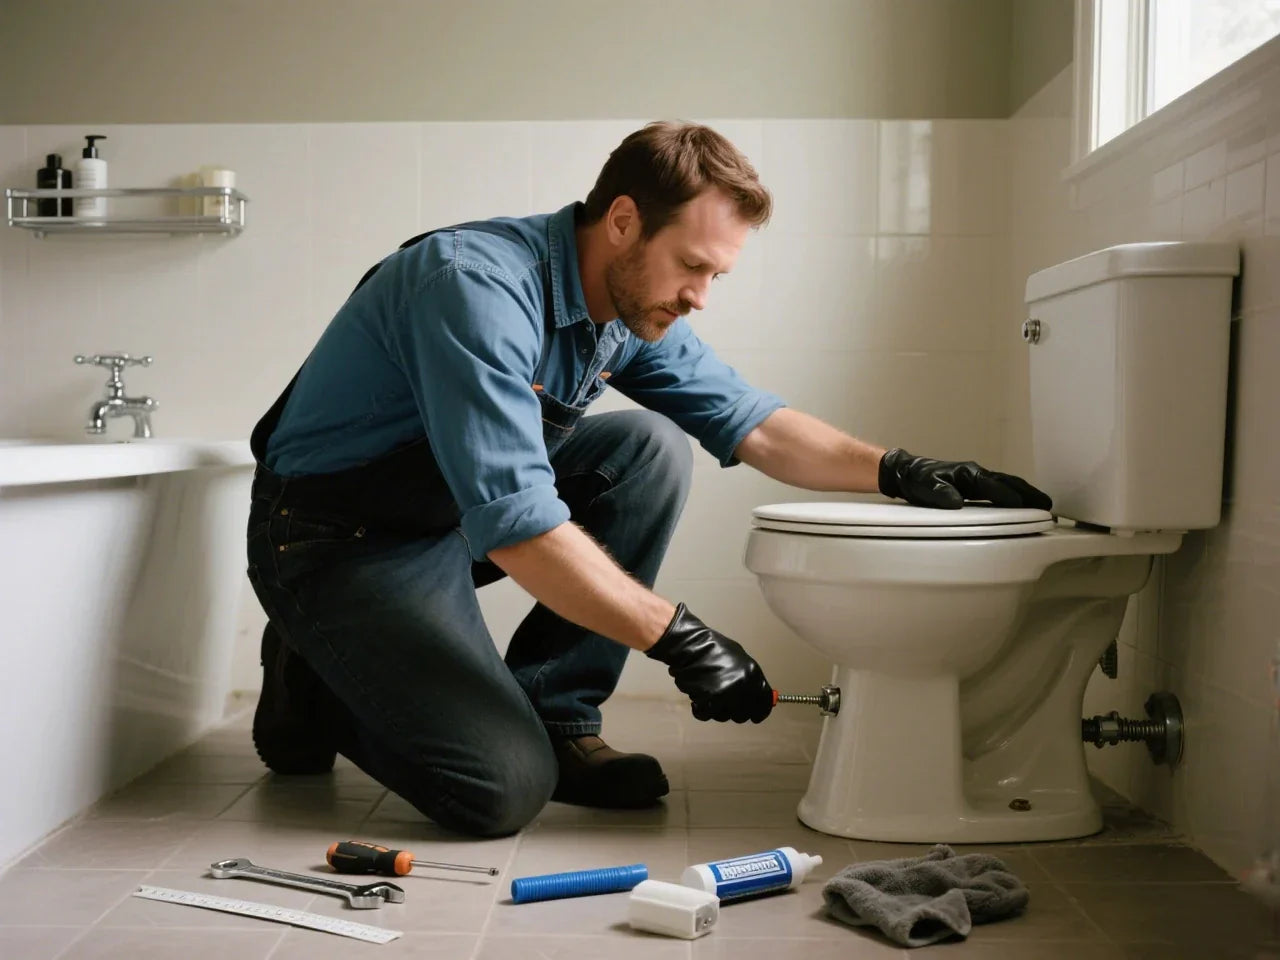
Tools, Materials & Pre-Installation Checklist
Gathering everything you need before you start is the key to a smooth toilet installation. You don't want to be mid-project and realize you're missing a critical part.
Required Tools To Install Toilet
- Adjustable Wrench (or socket set)
- Bucket and Sponge
- Putty Knife
- Hacksaw (for trimming bolts)
- Level
- Screwdriver (flathead and Phillips)
- Work Gloves
- Rags or old towels
Required Materials
- New Toilet (one-piece or two-piece toilet)
- Wax Ring / Seal (standard or extra-thick)
- Closet Bolts and Nuts (often included with the wax ring)
- Flexible Water Supply Line
- Silicone Caulk
- Shims (composite or plastic, not wood)

Pre-Installation Checklist
Before you even think about how to remove an old toilet, a few checks will save you major headaches.
Confirm Your "Rough-In" Distance: This is the most critical measurement. The rough-in is the distance from the center of the drainpipe (toilet flange) to the finished wall behind the toilet. The standard is 12 inches, but 10-inch and 14-inch models exist. Measure your existing setup before you purchase your new toilet. According to the U.S. Environmental Protection Agency (EPA), proper toilet installation requires checking the rough-in distance to ensure compatibility with standard plumbing dimensions, typically 12 inches from the wall to the center of the flange (EPA, 2024) .An incorrect rough-in means the new toilet simply will not fit.
Inspect the Closet Flange: The closet flange is the circular fitting that anchors the toilet to the drainpipe in the floor. Based on guidance from the Building America Solution Center, ensuring a secure flange and proper height prevents leaks and maintains long-term stability (BASC, 2024).
- Height: The top of the flange should be about 1/4 inch above the finished floor. If it's flush or below, you'll need an extender or an extra-thick wax ring.
- Condition: Check for cracks or breaks. The flange must be securely anchored to the subfloor. A loose flange will cause a wobbly, leaking toilet.
Check the Water Shutoff Valve: Locate the small valve on the wall or floor behind your toilet. Gently turn it clockwise to make sure it shuts off the water completely. If it's corroded, stuck, or leaks when you turn it, you must replace it before proceeding.
Verify Your Parts: Unbox your new toilet and make sure all parts are present and undamaged. Check that you have the correct wax seal, bolts, and supply line.
Step-by-Step: How to Install a New Toilet
With your preparation complete, it's time to begin the new toilet installation process. Before you can install the new toilet, you first need to carefully remove the old one. Knowing how to remove toilet bowl properly is essential to avoid damaging the plumbing or the bathroom floor.
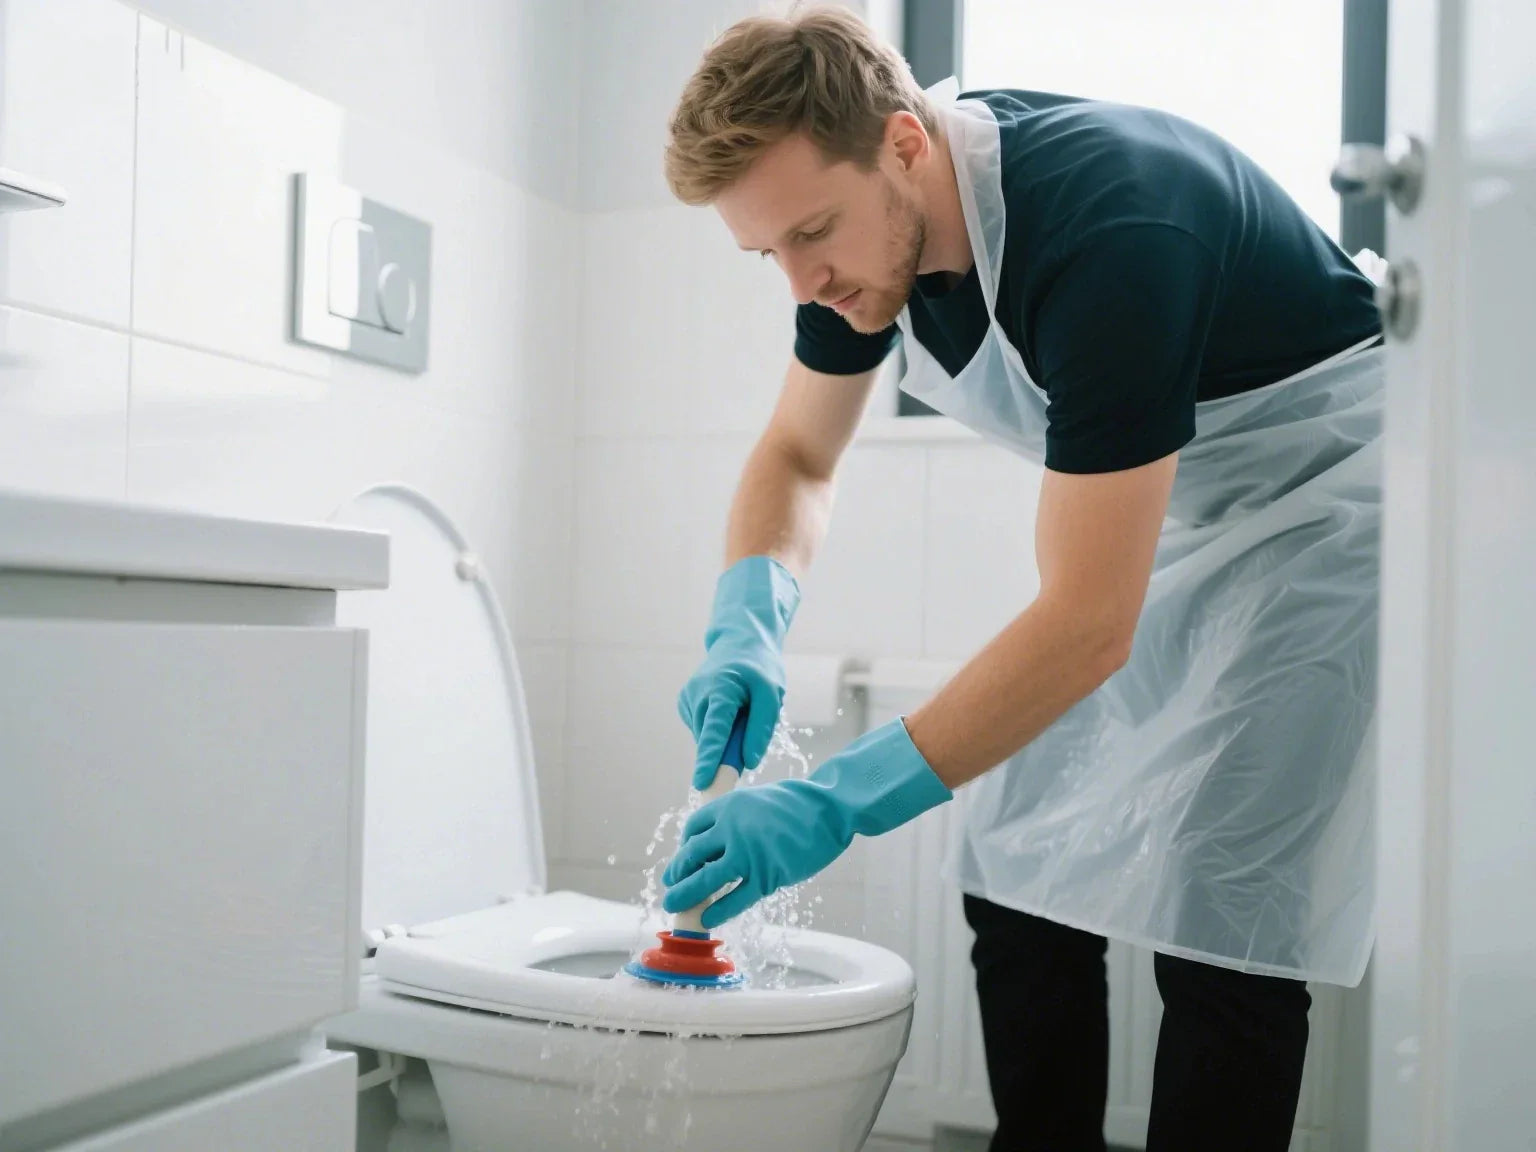
Step 1: Turn Off Water & Prep the Area
This is the first and most important step.
- Shut Off the Water: Turn the shutoff valve behind the toilet fully clockwise until it stops.
- Drain the Toilet: Flush the toilet to drain the water from the tank and bowl. There will still be water left. Use a sponge and bucket to remove all remaining water from both the toilet tank and the toilet bowl. The drier it is, the less mess you'll make. If you have a two-piece toilet, carefully remove the tank from the bowl first. This makes handling easier and reduces the risk of damage.
- Disconnect the Supply Line: Use an adjustable wrench to disconnect the water supply line from the bottom of the tank. Have a small bucket or rag ready to catch any drips.
- Plug the Drain: Once the old toilet is removed, immediately stuff a large rag into the exposed drainpipe. This blocks unpleasant sewer gas and prevents you from accidentally dropping tools or hardware down the drain.
- Remove the Old Toilet: Pry off the decorative caps at the base of the toilet to expose the nuts. Unscrew them. Cut the old caulk seal around the toilet base with a utility knife. To remove the toilet, gently move or tilt the toilet back and forth to break the old wax seal. If needed, carefully lay the toilet bowl on its side to access the base and clean off the old wax ring. With a helper, lift the toilet straight up and away. Be prepared; it's heavier than it looks.

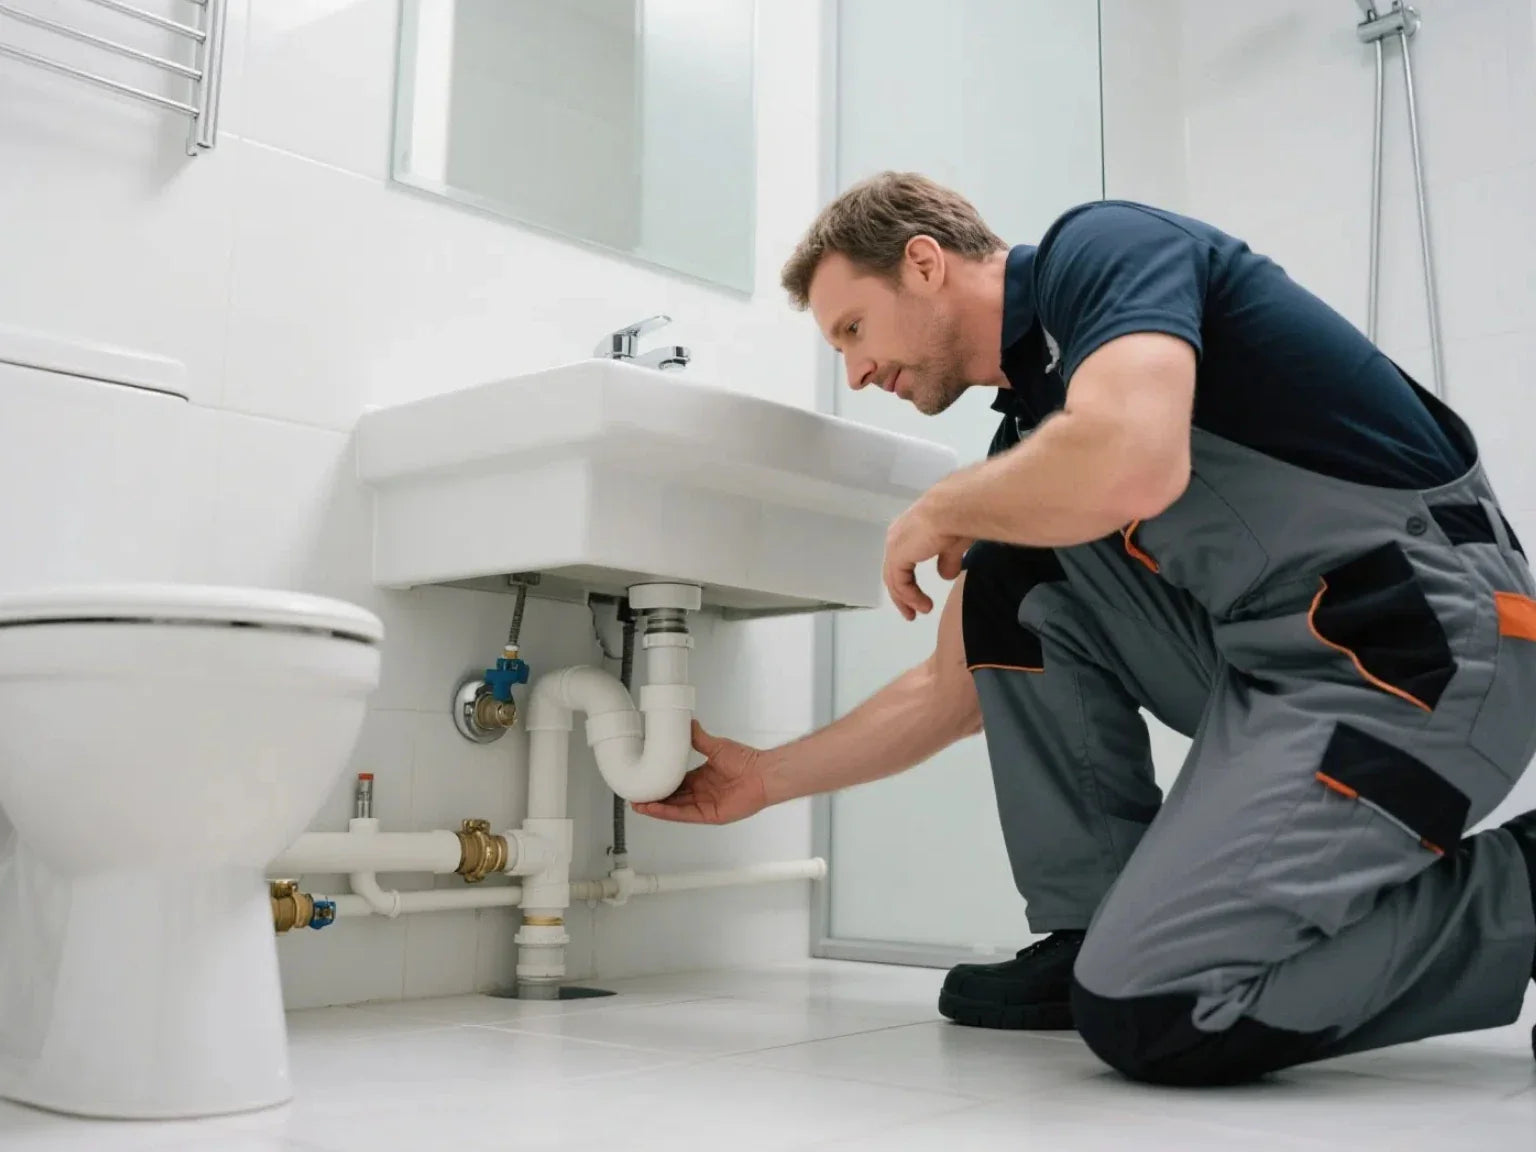
Step 2: Inspect & Repair the Closet Flange
This is a critical step that many people rush.
- Scrape the Old Wax: Use a putty knife to scrape away all of the old wax from the toilet flange.
- Inspect the Flange: Is it cracked? Is it screwed down tightly to the subfloor? A wobbly flange will lead to a wobbly toilet. If the screws are loose or the wood underneath feels soft, you must make repairs. You may need to replace the toilet flange or add new screws into a solid part of the subfloor.
- Check the Height: As mentioned, the flange should sit about 1/4 inch above the finished floor. If it's too low because of new, thicker flooring, you can use a flange spacer or extender kit. Do not stack multiple wax rings to make up for a low flange; this is a common cause of leaks.

Step 3: Set Closet Bolts & Prepare the Seal
With a clean and solid flange, you're ready to prepare for the new toilet.
Insert the Closet Bolts: Slide the new closet bolts into the slots on the flange, with the head of the bolt in the channel underneath. Position them parallel to the back wall. You can use the plastic retaining washers that come with the bolts to hold them upright.
Prepare the Seal: You have two main choices for a toilet seal or wax ring.
- Wax Ring: This is the traditional standard. For a flange that is at the correct height, a standard wax ring is fine. For a flange that is slightly below floor level, use an extra-thick version.
- Wax-Free Seal: These are made of foam or rubber and are often easier for beginners. They are more forgiving if you need to reposition the toilet and are less messy.
Do you put the wax ring on the toilet or the flange? This is a common question. While some prefer to place it on the bottom of the toilet bowl, the most common professional method is to place the wax ring directly on top of the flange. Press it down gently to create a slight seal. If using a wax-free seal, follow the manufacturer's specific instructions.

Step 4: Lower the Toilet Bowl & Seat the Seal
This step requires care and precision. Get help if the toilet bowl is heavy.
- Align and Lower: Looking down from above, carefully align the holes in the base of the toilet with the closet bolts you installed. Carefully place the toilet bowl straight down so it sits firmly over the flange in one smooth motion. Make sure that the toilet is level and aligned with the wall for a professional finish. Avoid sliding or shifting the bowl to prevent breaking the wax seal. The wax ring is typically placed directly on top of the flange or on the bottom of the bowl before lowering.
- Setting a toilet: Once the toilet is down, press on it with your body weight. You can even sit on the toilet bowl (with the lid closed if it's attached) to compress the wax ring and create a watertight seal. The goal is to have the toilet base resting flat on the floor.
- Pro Tip: As you set the toilet in place, keep it parallel to the wall behind it for a professional look.

Step 5: Bolt Down the Bowl: Even Pressure Matters
- Check for Wobble: Before you tighten anything, gently try to rock the toilet bowl. If it moves, it's not level. Slide thin plastic shims under the base of the toilet to fill any gaps. A rocking toilet will eventually fail its wax seal.
- Hand-Tighten the Nuts: Place a washer and a nut on each closet bolt. Hand-tighten them first.
- Use the Wrench: Use your wrench to tighten the nuts, alternating from one side of the toilet to the other. Tighten the left side a half-turn, then the right side a half-turn. This applies even pressure and prevents the toilet from tilting.
- DO NOT OVERTIGHTEN! This is the number one mistake people make. Tightening the nuts too much will crack the porcelain toilet base, and the damage is irreversible. The nuts should be just snug enough to prevent the toilet from moving.
- Finish the Bolts: Use a hacksaw to trim the closet bolts so they are just above the top of the nut. Snap the decorative plastic caps in place.

Step 6: Tank Installation (for Two-Piece Toilets)
If you have a one-piece toilet, you can skip this step. For a two-piece toilet, you need to attach the toilet tank.
- Install the Gasket: Place the large rubber gasket (the "tank to the bowl" gasket) over the threaded outlet on the bottom of the tank.
- Insert the Tank Bolts: Insert the tank bolts from inside the tank, making sure a rubber washer is on the inside to prevent leaks.
- Mount the Tank: Carefully lower the toilet tank onto the back of the bowl, guiding the bolts through the holes to properly connect the tank to the toilet.
- Tighten the Nuts: From underneath, attach the nuts and washers to the tank bolt threads. Tighten them by hand, then use a wrench, alternating sides just like you did with the toilet base. The tank should be stable and not rock, but again, do not overtighten.

Step 7: Connect Water Supply & Test for Leaks
You're almost done! It's time to see if your work holds up.
- Attach the New Supply Line: Connect your new flexible water supply line. The smaller end attaches to the shutoff valve, and the larger end attaches to the fill valve connection on the bottom of the toilet tank. Hand-tighten first, then give it a final quarter-turn with a wrench.
- Turn on the Water: Slowly turn the shutoff valve counter-clockwise. Listen for the tank filling and watch carefully for any drips at the supply line connections, the tank bolts, and around the base of the toilet.
- Check the Tank: Let the tank fill completely. Check that the water stops at the correct level (usually marked inside the tank). Adjust the float if needed, following your manufacturer's instructions.
- Flush and Check Again: Flush the toilet several times. After each flush, inspect every connection point and the entire toilet base for any signs of water. A paper towel is great for finding slow leaks.

Step 8: Finish: Caulk and Final Checks
The final touches make all the difference.
- Install the Toilet Seat: Install the toilet seat and lid according to its instructions. This is usually very simple.
- Caulk the Base: Apply a neat bead of silicone caulk around the front and sides of the toilet base where it meets the floor. This provides stability and makes cleaning easier.
- Should you caulk around the entire toilet? No. Leave the back of the toilet un-caulked. This creates a "weep gap." If the wax seal ever fails in the future, water will seep out from the back, alerting you to a problem. If you caulk all the way around, a leak could go undetected, causing serious damage to your subfloor.
- Clean Up: Clean up your tools and the area, and you are ready to use your new toilet!

Troubleshooting & Pro Tips
- Pitfall: Overtightening Bolts. This is the fastest way to ruin a new toilet. The goal is snug, not "as tight as it can go." A cracked toilet cannot be repaired.
- Pitfall: Flange Too Low. If your flange is below the floor, a standard wax ring will not seal properly. Use an extra-thick ring or a flange extender kit.
- Problem: Wobble After Install. If the toilet rocks after being bolted down, the floor is uneven. Do not try to fix it by tightening the bolts more. Instead, loosen the nuts, insert shims until the toilet is stable, then re-tighten the nuts and trim the shims.
- Pro Tip 1: Never Reuse Old Parts. Always use a new wax ring and a new supply line with every new toilet installation. They are cheap insurance against leaks.
- Pro Tip 2: The Food Dye Test. A day after installation, add a few drops of food coloring to the toilet tank. Don't flush. Let it sit for an hour. If any color appears in the bowl, you have a slow leak from your flapper. If any color appears around the base, you have a wax seal problem.
Special Scenarios & Safety Notes
Not every toilet installation is standard. Here are a few special cases.
- Offset or Damaged Flanges: If the drainpipe is in the wrong spot, you can use an offset flange to shift the toilet's position by an inch or two. A severely cracked or corroded cast iron flange is a job for a professional plumber.
- Skirted or One-Piece Toilets: These models often have hidden trapways and special mounting brackets. The process is similar, but access to the bolts is different. Always follow the specific instructions that come with your toilet.
- Subfloor Rot: If you remove the old toilet and find the wood floor underneath is soft, dark, or spongy, STOP. You have water damage. The subfloor must be repaired before you can safely install the new toilet.
- ADA / Universal Design: For better accessibility, consider a "comfort height" or "chair height" toilet, which has a bowl height of 17–19 inches (compared to the standard ~15 inches).
- Safety: Always wear gloves. Porcelain is heavy and awkward; practice safe lifting by using your legs, not your back. Keep the floor area dry to prevent slips.
Conclusion
How to install a new toilet? To install a toilet successfully is a project well within your reach. Success comes down to careful preparation and attention to detail during a few key moments.
By following this guide, you now know how to install a new toilet correctly. Focus on ensuring the toilet flange is at the proper height and in good condition. Select the right wax seal for the job. Apply slow, even pressure when bolting down the bowl and tank to avoid cracks. And always test thoroughly for leaks and wobbles before finishing the job. With this systematic approach to how to install a new toilet, you can achieve a secure, leak-free, professional-quality result every time.
Frequently Asked Questions (FAQ)
1. Can you install a new toilet by yourself?
You can install a new toilet yourself, with some basic DIY work and the usual tools at hand. Replacing an existing toilet is not a difficult task in home improvement, and you don't need to know anything about plumbing. The steps are actually very simple, that is, dismantle the old one, prepare the flange and wax ring, and then put the new toilet on the fixed firmly. However, the old and new toilets are really heavy and bulky, if someone to give a hand, the work can be much easier and safer, but no one to help is not impossible. As long as you look carefully at the instructions, in advance of the preparation of all the good, many homeowners can do it themselves and it is not hard. Compared with the professional master, do it yourself can save time, but also save a sum of money, especially cost-effective.
2. Do you put the wax ring on the toilet or the flange?
Most plumbers and do-it-yourselfers feel that the wax ring should go directly onto the toilet flange -- the fitting that attaches to the floor drain pipe. Putting the wax ring on the flange ensures a tighter seal once the toilet is in place and makes it easier to align the toilet bowl over the flange and the bolts. There are exceptions to this rule, and some manufacturers' instructions or specific wax ring kits may recommend installing the wax ring on the bottom of the toilet bowl. After all, installation details may be different for different toilet models and different types of wax rings. So be sure to follow the guide that came with that toilet seal kit you have on hand for the best results in terms of minimizing leaks.
3. What would a plumber charge to install a new toilet?
Labor for a plumber to put in a new toilet typically costs between $250 and $650. Exactly how much, though, depends on where you are and the complexity of the job, all of which can make a difference in price. If the original flange is broken or corroded, replacing it will cost more. There are other plumbing repairs, like fixing a water leak, upgrading a water supply line, or fixing a drainage problem, and these can also move the total cost upward. While the basic installation isn't that difficult, when these extras come into play, the amount of money you end up spending can turn out to be more. That's why it's best to ask for a detailed estimate beforehand to see what services are included and to have a good idea of what to expect.
4. What is the first step when installing a new toilet?
The first step to install new toilet is to shut off the water supply to the existing toilet. This step is critical to avoid leaks or pooling of water when you remove it and save yourself the hassle. Once you've turned off the valve, flush the toilet to get most of the water out of the tank and bowl. But there will definitely be some water left, so this is the time to use a sponge or towel to soak up the residual water and wipe it off, don't let it spill out. You must wait until the toilet is completely empty and the water supply is completely shut off before you can remove the plumbing and start removing the old toilet. Doing all these preparations will make the installation smooth, clean and especially hassle-free.
5. Should you caulk around a toilet?
Yes, caulking around the toilet is usually recommended, with one important exception. It is best to apply a layer of caulk along the front and sides of the toilet base to help stabilize the unit and prevent dirt, dust and moisture from accumulating at the bottom. However, it is best not to caulk the back of the toilet base. This purposely left gap serves a practical purpose: If the wax seal fails and a leak occurs, you can notice the leak through this gap, thus preventing hidden damage to your floor. Following this practice strikes a balance between cleanliness and early leak detection, making it a smart move for toilet installation and maintenance.

Leave a comment
This site is protected by hCaptcha and the hCaptcha Privacy Policy and Terms of Service apply.