


A clean shower head gives you strong water pressure, a steady spray, and a more hygienic bathroom. Hard water leaves behind limescale and mineral deposits that clog nozzles and slow down flow. According to the U.S. Environmental Protection Agency (EPA), high levels of calcium and magnesium in hard water can reduce the efficiency of household plumbing fixtures and appliances. Warm, damp spaces also let a thin layer of microbes—called biofilm—grow inside the head. According to the World Health Organization (WHO), biofilm in household water systems can harbor microbes, including bacteria, that may affect water quality and hygiene. The short answer to keep your shower in top shape is simple: soak in white vinegar, scrub, flush, and maintain it monthly, especially if you live with hard water.
This guide starts with a quick 5-step method, then goes deeper. You’ll learn how to diagnose issues like weak pressure and uneven spray, use natural cleaners like baking soda and hydrogen peroxide, protect delicate finishes, and set a maintenance schedule that actually works. We’ll also cover odor and leaks, safety tips, and smart upgrades like shower filters and water softeners. Whether you have a rain shower head, handheld, or dual system, you’ll learn how to descale, prevent buildup, and fix low water pressure the right way.
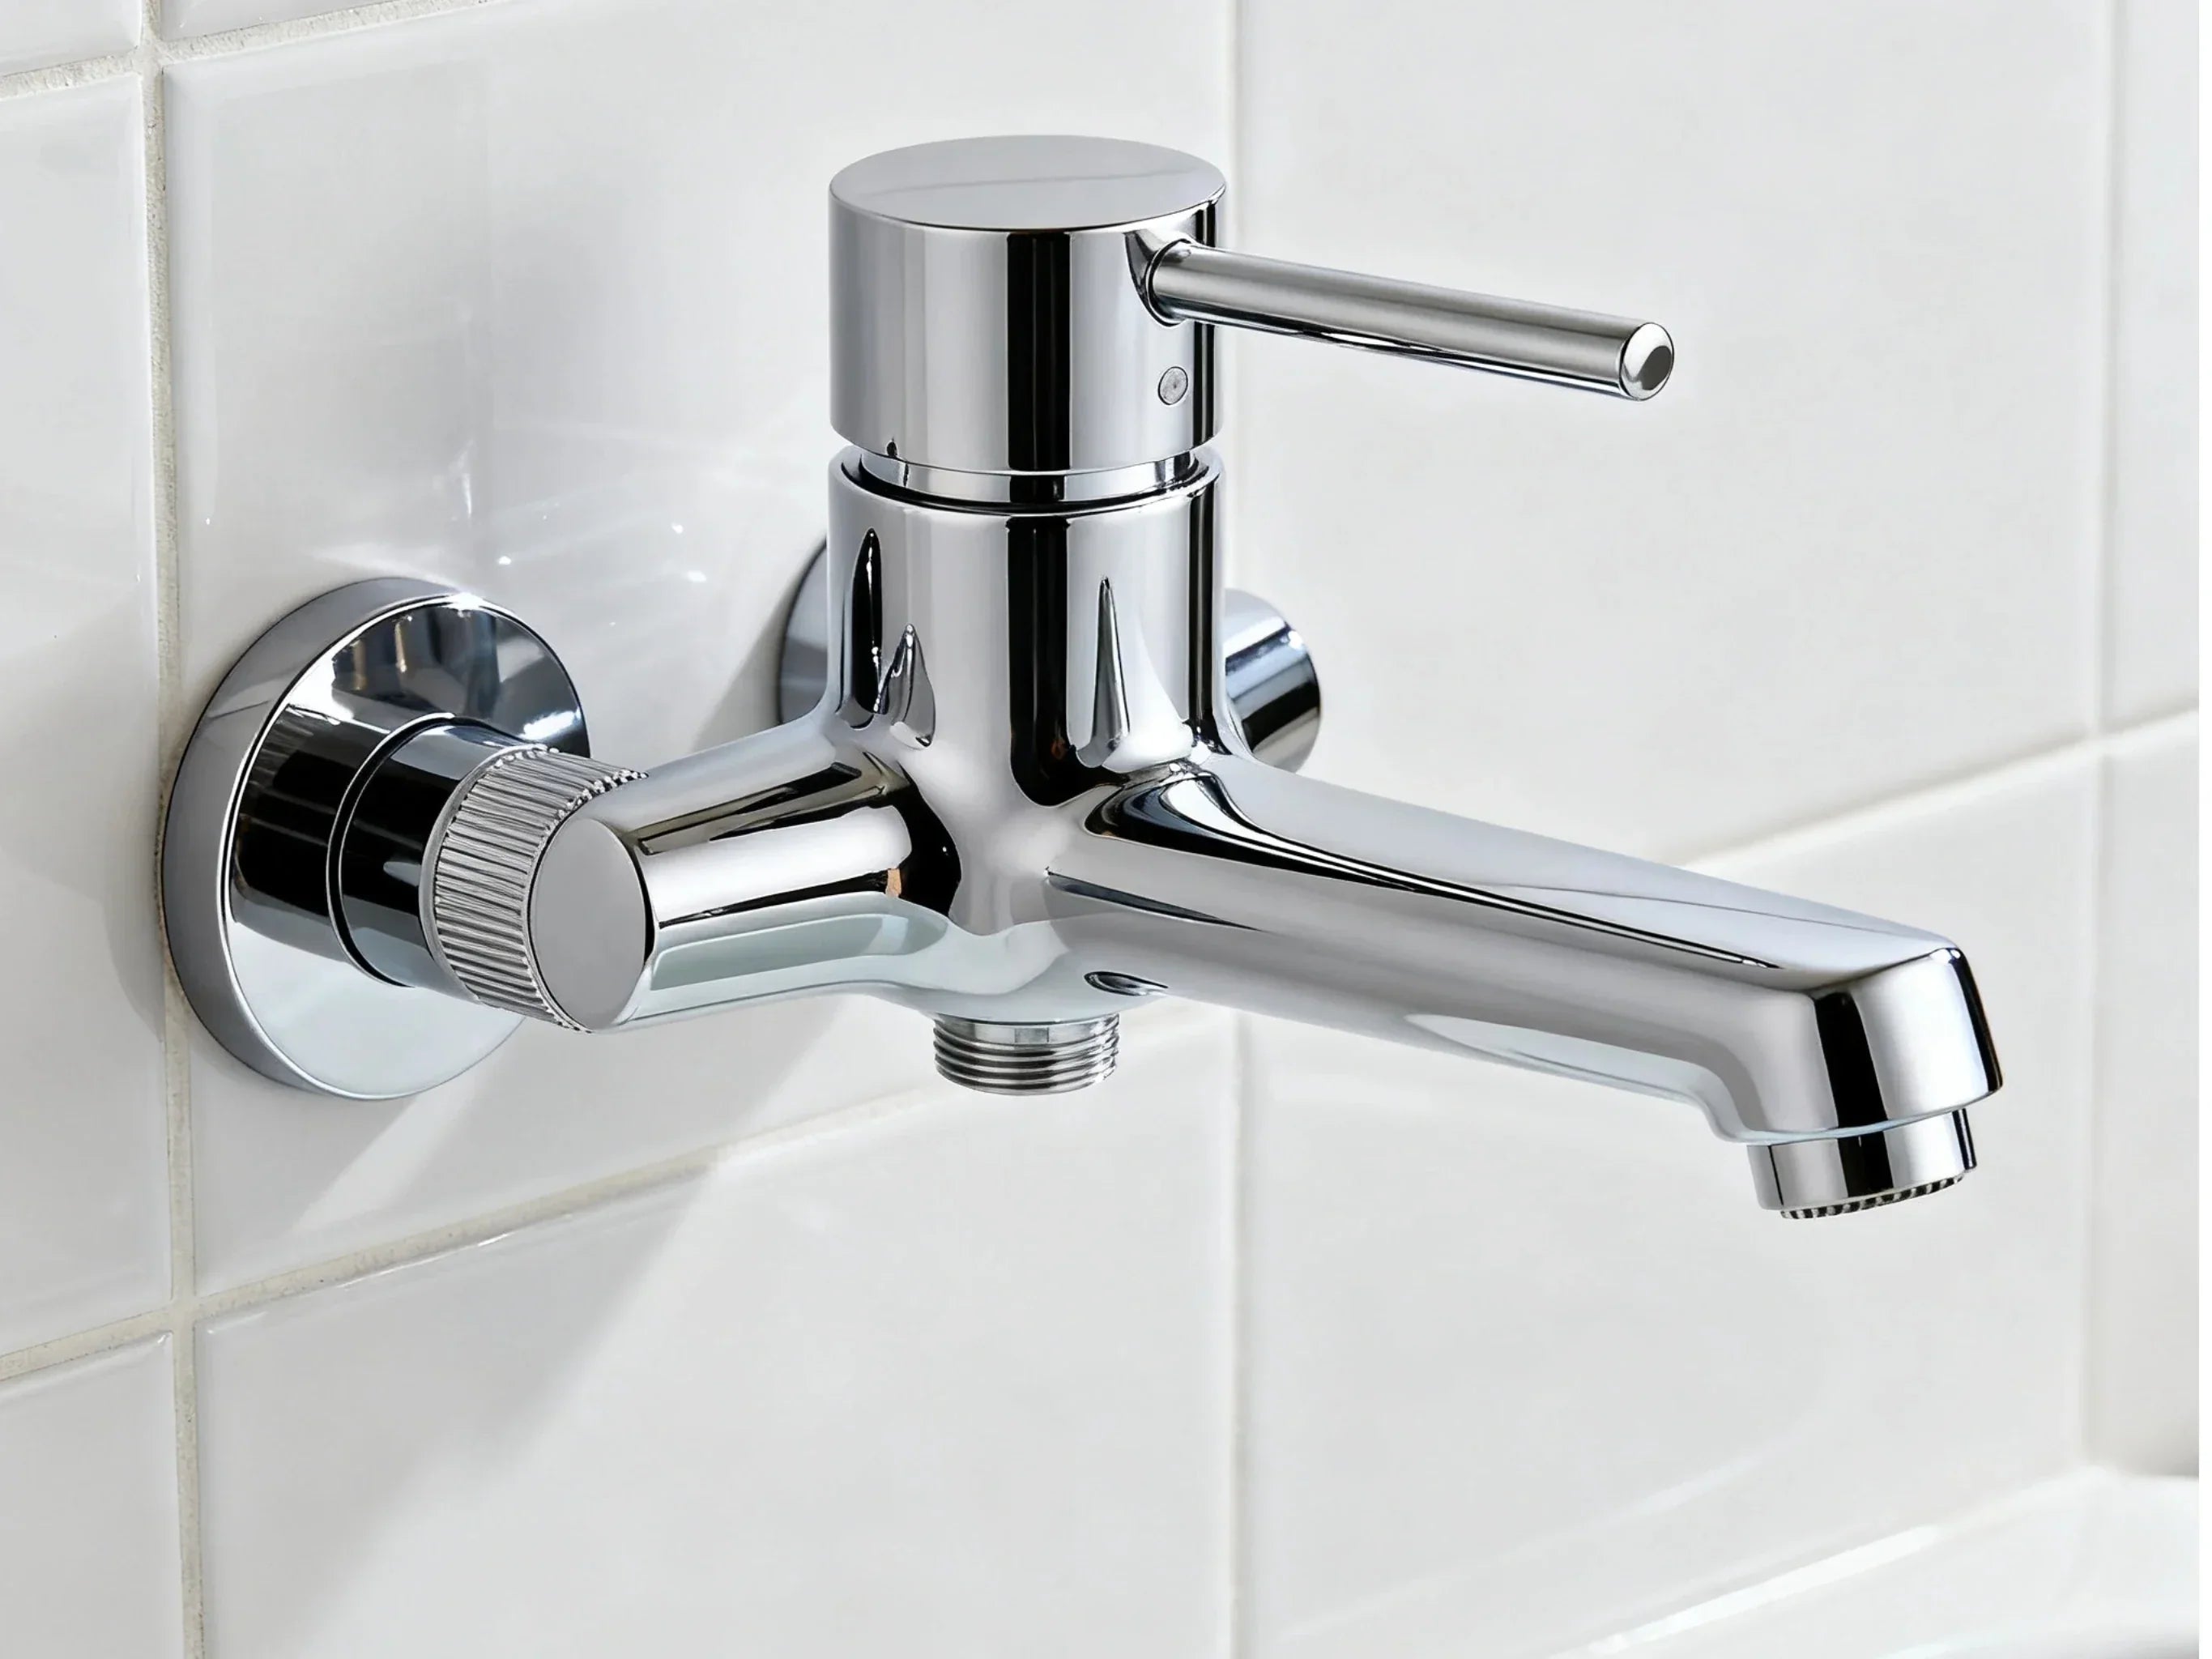
Quick Answer: Clean Shower Head in 5 Steps
Cleaning a clogged or dirty shower head doesn’t have to be complicated. With just a few household items and a little patience, you can restore strong, even water flow and keep your shower fresh. Before you start, gather everything you’ll need — it makes the process quicker, cleaner, and far less messy.
Tools and materials (simple checklist)
- Distilled white vinegar
- Optional: baking soda
- Plastic bag (sturdy, leak-free)
- Rubber bands or a twist tie to secure the bag
- Old toothbrush or soft brush
- Microfiber cloth
Optional, helpful tools:
- Adjustable wrench
- PTFE (plumber’s) tape
- Soft nylon brush
- Nitrile gloves

Step-by-Step Guide: How to Clean Your Shower Head Effectively
One of the easiest ways to remove mineral buildup is soaking shower head in vinegar:
Soak
- Fill a plastic bag with enough white vinegar to submerge the shower head. You can add 1 teaspoon of baking soda for heavy deposits.
- Slip the bag over the head so the nozzles are fully immersed. Secure the bag with a rubber band so it won’t slip.
- Let it soak.
Scrub
- Remove the bag and turn the shower on to flush out loosened debris. Then gently scrub the nozzles and crevices with a toothbrush. This helps loosen grit inside the shower head and ensures a sparkling shower head once finished.
- For silicone nozzles, massage each nipple to dislodge grit.
Flush
Run hot water through the shower head for a few minutes to flush out loosened mineral deposits and any leftover vinegar, giving your satisfying shower full pressure again.
Polish
Wipe the face and body with a damp cloth, then dry to prevent water spots.
Test
Run the shower at full pressure. Check the spray pattern, listen for sputters, and make sure there are no leaks at the connection.
Final Thoughts: How to Clean Shower Head Without Taking It Off
If you prefer not to remove your shower head, this simple vinegar-soak method works just as effectively. By soaking, scrubbing, flushing, polishing, and testing, you can deep-clean your shower head without any disassembly or special tools. It’s quick, eco-friendly, and keeps your water pressure strong—all while saving time and effort.

How long should I soak a shower head in vinegar?
- Light buildup: 60–90 minutes
- Heavy limescale: 6–8 hours or overnight
If you have a sensitive finish, reduce time and check often. You can also remove the head and soak only the internal parts to protect external plating.
Finish and material precautions
- Chrome and stainless steel: Vinegar is generally safe for short soaks. Avoid abrasives that could scratch the surface.
- Brass, nickel, matte black, and oil-rubbed bronze: Use diluted vinegar (equal parts water and vinegar) and keep contact time short. For regular care, mild soap and warm water are safer. Always test a small, hidden area first.
Shower Head Problems: How to Spot Clogs and Flow Issues
Before you start scrubbing or soaking, it helps to know what’s really going on inside your shower head. Understanding the early warning signs of buildup, testing your water flow, and spotting mineral or biofilm deposits can save you time and guesswork. Let’s look at how to recognize the problem before jumping into cleaning.
Signs you need to descale a shower head
If your shower sprays at odd angles or some jets barely flow, that’s a sign of mineral deposits clogging the nozzle holes. Chalky white or green crusts around the face are classic limescale. Brown or slimy film can signal biofilm or iron deposits. A musty smell or reduced water pressure after months of use also points to buildup inside the head, filter screen, or diverter.

At-home flow and spray pattern test
You can test flow in minutes at home. Here’s a simple, useful method:
Time-to-fill bucket test
- Put a 1-gallon container in the tub or shower and run water at your normal shower temperature. Time how many seconds it takes to fill.
- Convert to gallons per minute (GPM): GPM = 60 ÷ seconds to fill one gallon.
- Compare to your fixture’s rated GPM (many are 1.8–2.5 GPM; check the stamp or manual).
Spray pattern check
- Stand a few feet back and look at the spray disc. A healthy head shows an even, full pattern. Gaps, weak jets, and sideways streams often mean clogged nozzles.
If your measured flow is far below the rating and your home’s other faucets are fine, your shower head likely needs a deep clean.
What causes buildup: hard water deposits and biofilm
Hard water carries calcium and magnesium. When warm water evaporates, these minerals stick. Over time they form limescale that narrows channels, blocks holes, and changes spray direction. Warmth and humidity also help a thin biofilm develop—this is a mix of microbes in a slimy layer that can live on moist surfaces inside your shower head. Routine cleaning removes food sources and breaks up that film. Regular flushing with hot water after a soak helps clear both calcium buildup and biofilm fragments.
Why is my shower head water pressure low?
Low pressure can come from several common issues:
- Mineral clogging in the nozzles and internal passages
- A dirty filter screen at the inlet of the head or hose
- A sticky diverter in a tub/shower combo
- Flow restrictor blockage by grit
- Rarely: low house pressure, a failing pressure regulator, or sediment in plumbing
Quick fixes include a vinegar soak, cleaning the filter screen, and checking the diverter. If flow is still poor after a deep clean and screen rinse, it might be time to replace the shower head or look at house pressure.
Best Ways to Clean Shower Head (Vinegar, Baking Soda, Peroxide)
Once you’ve figured out what’s causing the buildup, it’s time to choose the right cleaning method. The best approach depends on how much scale or residue you’re dealing with—and what materials your shower head is made of. From gentle vinegar soaks to deeper cleaning with baking soda or peroxide, here are the safest and most effective ways to bring your shower head back to full strength.
The vinegar bag method (descale a shower head safely)
The bag over the shower head method is simple and effective. Fill the bag with distilled white vinegar and attach it so the nozzles are covered. Let it soak for the right amount of time, then remove it and scrub with a toothbrush. Finally, run hot water for a few minutes to push out debris. This is also how to clean your shower head without taking it off, which helps if the head is hard to remove or you’re a renter.
If your finish is delicate, dilute the vinegar with equal parts water, shorten the soak, and check progress. You can also wrap a vinegar-soaked cloth around the face for more control.
Baking soda and hydrogen peroxide for heavy limescale
For stubborn mineral deposits, a paste of baking soda with a small amount of hydrogen peroxide can help. Spread a thin layer on the crusted areas, let it sit for 10–15 minutes, then gently scrub away any remaining scale and rinse. This combo is eco-friendly and effective at lifting stains. Test a small section first on sensitive finishes, and avoid getting paste into delicate internal valves.
Want to use lemon? Lemon juice and baking soda can work like vinegar for a gentle clean, especially on thick scale. It’s milder and leaves a fresh scent, but it may take longer on thick scale.
Disassembly and nozzle clearing
If you can unscrew the shower head or detach a handheld, you’ll get a better clean. Turn off the water, protect the finish with a cloth, and loosen the nut with an adjustable wrench. Inside the inlet is a small filter screen—pop it out and rinse under water. Clean any grit, then soak the housing in vinegar.
Many shower heads have flexible rubber nozzles. Gently massage them, or use a soft wooden toothpick to clear stubborn holes. Avoid metal pins; they can widen holes and change the spray pattern. Check the O-ring and gasket; replace if cracked. Reassemble with a wrap of PTFE tape on the threads for a good seal.
Can I use bleach to clean a shower head?
You can, but treat it as a last resort for persistent odors or mold. Never mix bleach with vinegar or any acid; it makes toxic gas. If you choose bleach, dilute it properly and make sure the bathroom is well-ventilated. Afterward, run water for several minutes to flush all residue. For routine maintenance, stick with vinegar or mild cleaners because they’re safer for both finishes and indoor air.
How to Maintain a Clean Shower Head: Schedule & Prevention
Keeping your shower head clean isn’t just about fixing clogs — it’s about preventing them before they start. A simple maintenance routine can make a big difference, especially if you live in a hard water area. Here’s how often to descale, what quick habits help most, and which upgrades can keep your shower running strong all year.
How often should I descale a shower head?
- Soft water or light use: Every 1–3 months
- Hard water or larger households: A monthly deep clean
- After any noticeable drop in flow or changes in spray: Right away
If you wipe the face dry after each shower and massage the silicone jets weekly, you can extend the time between deep cleans.

A quick routine that prevents hard water deposits
After your shower, run warm water for a few seconds and shake the head to clear droplets. Wipe the face dry with a cloth to cut water spots. Once a week, rub the rubber jets with your thumb to knock loose any early scale. Once a month, do a 60–90 minute soak in vinegar and a quick scrub. Every 3–6 months, remove the head, rinse the filter screen, and refresh thread tape. These small steps keep your water flow stable and your shower experience consistent.
Prevention upgrades (water softeners, shower filters, self-cleaning nozzles)
If you live with very hard water, consider a water softener for the whole house. It cuts scale across all fixtures and extends the life of appliances. A shower filter can reduce sediment and some contaminants right at the shower. Many modern heads have self-cleaning or anti-clog silicone nozzles that you can squeeze to break up small deposits. These upgrades reduce how often you need a deep clean and help you hold onto a satisfying spray.
Case study: results from monthly vinegar soaks (2025)
Households in hard water regions that adopted a monthly vinegar soak reported fewer replacements and better pressure. Here’s a simple summary:
- 34% fewer shower head replacements over the year
- 38% improvement in reported water pressure after cleaning routines became monthly
These numbers reflect what many homeowners find: small, regular care beats occasional rescue work.
Troubleshooting and Special Cases (Odor, Leaks, Finishes)
Even with regular cleaning, a few stubborn issues can still show up — like odd smells, slow leaks, or finishes that react poorly to strong cleaners. These situations need a little extra care and the right approach to avoid damage. Below are some quick fixes and special tips to keep your shower head looking and working its best.
Persistent odors and microbial concerns
If you smell musty or earthy odors, clean more often and use hot flushes after the soak. For added punch, a small amount of hydrogen peroxide can help break down biofilm. Some people add a few drops of tea tree oil to a vinegar solution for the final wipe; if you try that, rinse the head well. Keep the bathroom ventilated and run the fan during and after showers to reduce moisture that feeds growth.
Leaks, drips, and weak flow after cleaning
If the head drips at the joint, remove it and check the gasket/O-ring. Replace any flattened or cracked rings. Wrap the threads with fresh PTFE tape and snug the connection. If flow is weak, re-check the filter screen for grit and look at the tub spout diverter if you have one; a failing diverter sends water back to the spout. If you live in a very old building and the problem affects other fixtures, ask about house pressure or the pressure regulator.
Care for brass, nickel, matte black, and oil-rubbed bronze finishes
These finishes need gentle care. Use diluted vinegar or mild dish soap in warm water for the exterior. Wipe with a soft cloth and dry right away. Avoid long soaks, abrasive pads, and harsh acids. If you need a deep interior clean, remove the head and soak only the internal path while keeping the finish out of the solution.
How do I clean a rain shower head or ceiling-mounted unit?
Rainfall shower heads are wide and can be tricky to soak. Support a sturdy bag under the plate and secure it well so the nozzles are immersed. If the unit allows, remove the spray plate and soak it in diluted vinegar. Afterward, run hot water for a few minutes. Polish the plate with a soft cloth to avoid streaks and water spots. Because rain heads tend to trap more water, a monthly routine makes a big difference.
Health & Safety Tips When Cleaning Your Shower Head
Understanding the health and safety aspects of your shower head goes beyond just cleaning scale. Regular maintenance not only keeps water flowing well but also limits microbial growth, protects delicate finishes, and helps you make smarter choices based on your local water quality. Here’s what you need to know to keep your shower both safe and hygienic.
Biofilm basics and hygiene benefits of regular cleaning
Biofilm is a thin layer of microbes that sticks to damp surfaces. Inside a shower head it can grow if water sits between uses. Most healthy people are not at high risk, but regular cleaning limits exposure and keeps the spray path clear. Based on CDC recommendations, routine cleaning of shower heads helps reduce microbial growth, including Legionella, which can thrive in moist environments. If anyone in your home has a weakened immune system or lung issues, keep to a tighter cleaning schedule and use hot flushes after each deep clean. Reducing biofilm improves hygiene and reduces odors.
Safety do’s and don’ts
- Wear gloves if you have sensitive skin.
- Ventilate the bathroom during cleaning and flushing.
- Never mix bleach with vinegar or with other acids; it can create toxic gas.
- Protect delicate finishes by keeping soaks short and diluted.
- Label any spray bottles or containers and keep them away from kids and pets.
- Rinse parts thoroughly and run water for a few minutes after using any cleaner.

Water quality factors and regional hard water
Water hardness varies by region. Many utilities publish water reports that list grains per gallon (gpg) or mg/L of calcium carbonate. In simple terms:
- 0–3.5 gpg is soft to slightly hard
- 3.5–7 gpg is moderately hard
- Above 7 gpg is hard to very hard
If your reading is high, expect faster limescale buildup. That means more frequent maintenance, or consider a water softener or a shower filter to slow deposits. Checking your local water report helps you set the right cleaning schedule.
Is vinegar safe for all types of shower heads?
Vinegar is safe for most stainless and chrome finishes when used for short soaks. For plated or porous finishes like brass, nickel, matte black, or oil-rubbed bronze, use a diluted vinegar solution and shorter contact times. Always test a hidden spot first. If in doubt, use warm water with mild soap for the exterior and limit acid only to internal parts you can submerge separately.
Upgrades That Reduce Buildup (Filters, Softeners, Self-Cleaning)
Beyond regular cleaning, certain upgrades can make your shower head almost “self-maintaining.” From filters and softening systems to anti-clog nozzles and self-cleaning designs, these improvements reduce buildup, extend fixture life, and make routine maintenance quicker and easier. Here’s how to choose and care for these features.
Filtered shower heads: maintenance and replacement intervals
A shower filter can catch sediment and reduce some contaminants. Filters need regular replacement. Common signs a filter is spent include: lower flow even after cleaning, a return of odors, or a change in water feel. Follow the maker’s timeline, but keep an eye on your own use and water quality. Replace sooner if you notice changes.
Anti-clog silicone nozzles and self-cleaning designs
Heads with soft silicone nozzles resist light scale and let you “massage” jets back to life. A quick thumb rub once a week helps prevent clogs. Some designs purge water after you turn off the tap, which reduces internal standing water and slows biofilm growth. These features don’t remove the need to clean, but they make cleaning faster and less frequent.
Water softeners and conditioners: impact and ROI
Softened water reduces hard water deposits in the shower, on glass, and in appliances. You’ll spend less time scrubbing and use fewer cleaners. Many homes see fewer clogs and longer fixture life. If a whole-house system isn’t practical, you can still get value from a point-of-use shower filter. Compare the cost of repeated replacements and cleaning time to the price of a softener; in many hard water areas, a softener pays off in a few years.
Choose the right head for easy cleaning (handheld vs. fixed vs. rain)
- Handheld: Easiest to soak and scrub, great for rinsing the walls and the shower drain.
- Fixed wall-mount: Simple design, easy to bag and soak.
- Rainfall: Great feel, but more surface area and more standing water inside. These benefit most from prevention and regular short soaks.
If ease of maintenance matters, a handheld with flexible rubber nozzles is tough to beat.

Key Takeaways and Next Steps
After all the tips, tricks, and troubleshooting, it helps to step back and focus on the essentials. What really works, what routines save time, and which upgrades make a lasting difference—here’s a clear summary to keep your shower head performing at its best.
The 5-step method is the gold standard for most homes
The best way to clean a shower head is still the simplest: a vinegar soak, a gentle scrub, a hot flush, a quick polish, and a test. In hard water homes, do it monthly.
Preventive care saves time and money
Short, regular soaks stop thick buildup. Homes that cleaned monthly saw fewer replacements and better reported pressure. Small routines prevent big jobs.
Upgrade strategically for long-term results
Filters, softeners, and self-cleaning nozzles reduce future limescale. Choose a head that’s easy to remove and clean. A handheld makes soaking and scrubbing simpler.
Bookmark the checklist and schedule your next clean
Set a reminder for your next deep clean. Keep notes on flow (use the bucket test). If spray gets uneven or you smell something off, bump your schedule up or do a quick vinegar refresh.
FAQs
1. What is the best thing to clean a shower head with?
White vinegar is hands-down the best all-around shower head cleaner. It naturally dissolves limescale, soap scum, and mineral buildup without harsh chemicals. It’s cheap, safe, and easy to use. Just fill a plastic bag with vinegar, tie it around the shower head, and let it soak. For heavy buildup, follow with gentle scrubbing using an old toothbrush and finish by running hot water for a minute or two to flush everything out. Save bleach for those rare cases when you’re dealing with stubborn mold or a musty odor you can’t fix otherwise—but always rinse very thoroughly afterward to protect your metal finishes.
2. How long should you soak a shower head in vinegar?
For mild buildup, soaking your shower head in vinegar for 60–90 minutes usually does the trick. If you’re dealing with thick, chalky limescale or hard water deposits, let it soak for 6–8 hours or overnight for the best results. For shower heads with delicate finishes like brass, gold, or matte black, check every 30–45 minutes to make sure the vinegar isn’t affecting the surface. You can always repeat shorter soaks instead of doing one long one—slow and steady cleaning is gentler on your fixture.
3. How do I clean the gunk out of my shower head?
Start by soaking the shower head in white vinegar to loosen the gunk. Then scrub the nozzles gently with a soft toothbrush or small cleaning brush. Turn on hot water to flush out loosened debris, mineral flakes, or small bits of buildup. If your shower head is detachable, remove it and rinse the filter screen inside—it often traps fine sediment and grit that block water flow. For rubber nozzles, lightly massage each jet with your fingers to push out any trapped particles. Finish with a final rinse and a quick wipe-down to keep it sparkling.
4. How to clean your shower head with vinegar and baking soda?
Combine vinegar and baking soda for a natural deep-clean combo. Add a teaspoon of baking soda to your vinegar-filled bag—it’ll fizz up and help loosen grime instantly. Let the mix bubble and soak for about an hour, then scrub and rinse thoroughly. For stubborn crusts or hard water stains, make a baking soda paste (3 parts baking soda to 1 part water), apply it directly to the shower head face, leave it for 10–15 minutes, scrub gently, and rinse well. This method helps both deodorize and restore shine, especially on older fixtures.
5. Is it better to soak or scrub a shower head?
Honestly—both! Soaking helps break down tough mineral deposits inside and around the jets, while scrubbing removes what’s already loosened and polishes the surface. Think of soaking as the “softener” step and scrubbing as the “finisher.” If you only soak, some residue may stay stuck; if you only scrub, you’ll be working too hard. Do both for a truly clean, shiny shower head with full, even water pressure.
6. What do vinegar and baking soda do together?
When vinegar (acid) meets baking soda (base), they fizz up and release carbon dioxide bubbles. That bubbling helps lift grime, soap residue, and mineral buildup from small crevices that brushes can’t reach. It’s satisfying to watch—and useful too! Just remember, the fizz is short-lived, so let the solution sit afterward to keep dissolving dirt. And one important tip: don’t seal the cleaning bag too tightly—the gas buildup can make it pop. Once the fizzing stops, give the shower head a light scrub and rinse to reveal a clean, fresh finish.
References
- https://www.cdc.gov/legionella/
- https://www.who.int/publications/i/item/9789241549950
- https://www.epa.gov/ground-water-and-drinking-water


Leave a comment
This site is protected by hCaptcha and the hCaptcha Privacy Policy and Terms of Service apply.