


Bath room sink choices in 2025 can feel overwhelming—types, materials, sizes, installation, and cost add up fast. This guide cuts through the noise with clear, data-backed answers so you can match the right sink to your space, style, and budget. We start with quick picks for common scenarios and move to deeper comparisons of undermount versus drop in sink styles, along with wall-mounted, vessel, and integrated options. You’ll see what materials hold up to daily use, what sizes fit most vanities, and what real installation costs look like. You’ll also get DIY vs. pro advice, warranty tips without brand hype, sustainability pointers, and social-proof case studies. Finish with an interactive quiz, a simple cost calculator, and printable checklists. Get the right basin the first time—for cleaner counters, less splash, and long-term durability.
Quick answers: best picks, sizes, and costs at a glance
Best-by-scenario recommendations (modern remodel, budget DIY, small bathroom, design statement)
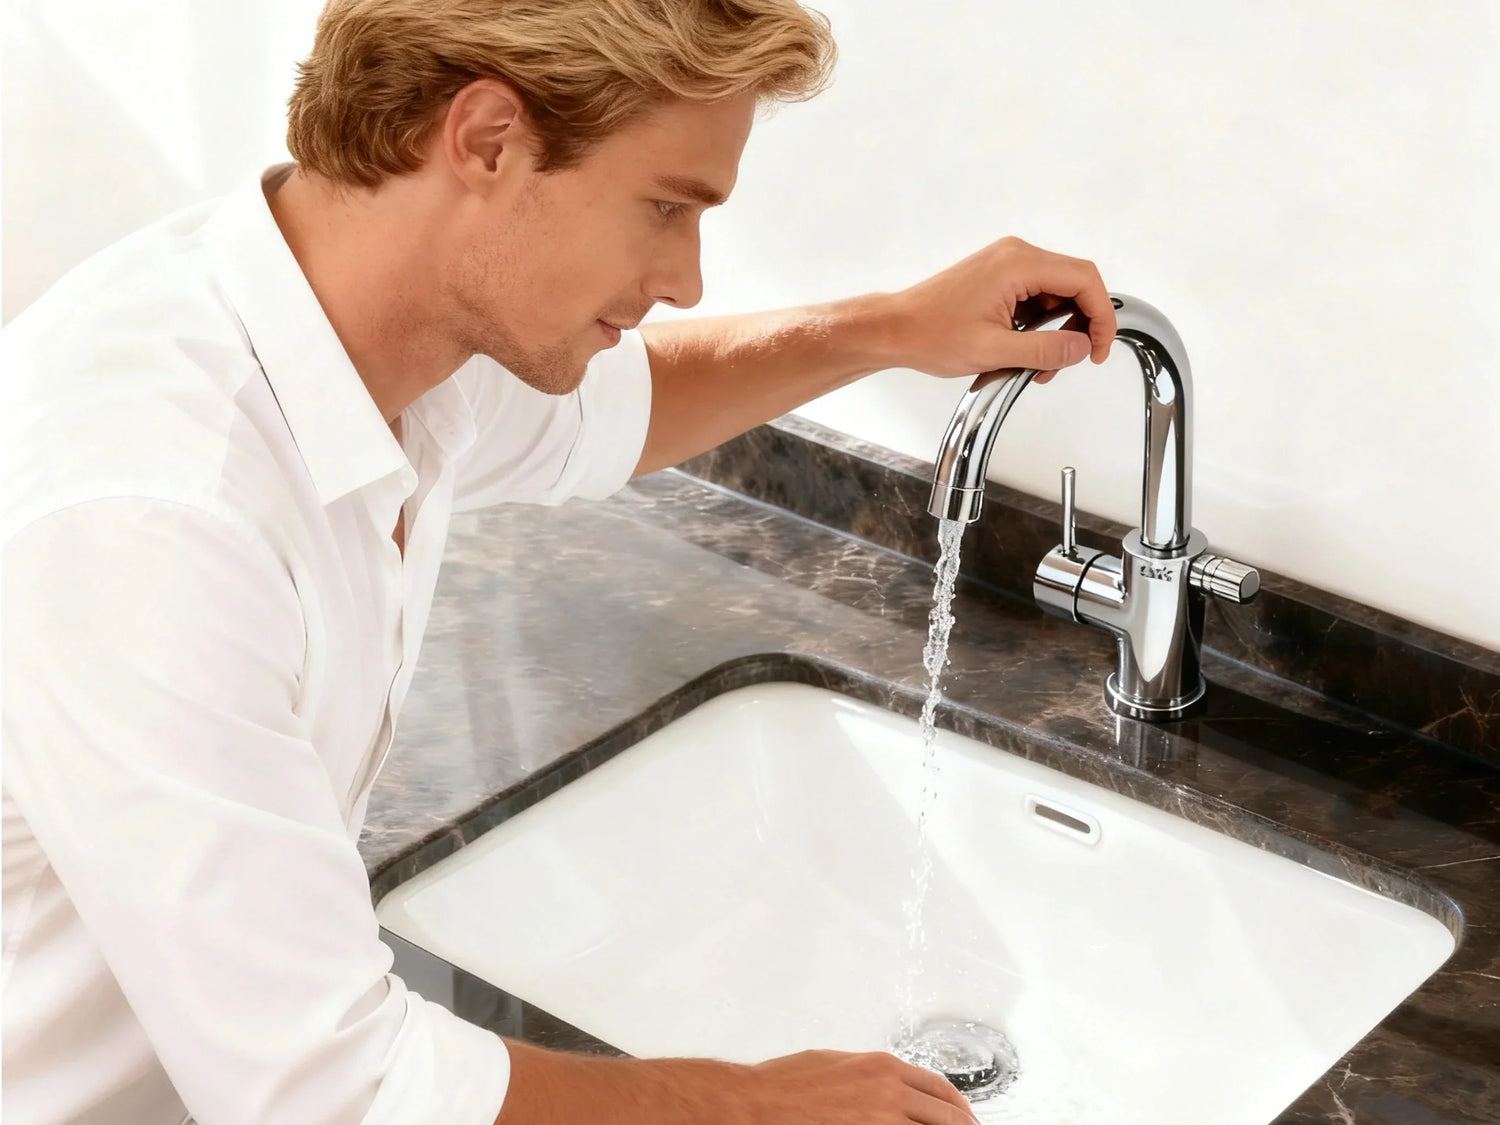
If you are planning a modern remodel and want a smooth counter line, an undermount bath room sink pairs well with a solid surface or stone resin countertop. The rim sits under the counter, so you can wipe water straight in. This is the popular “clean lines, easy wipe-down” look, and it suits a sleek vanity with a low-profile faucet and clear edges.
On a tight budget or working on a quick DIY upgrade at home, a drop-in (top-mount) sink is the fastest swap. It works with many countertop types and often fits existing cutouts. The raised rim is visible, so you’ll clean around it, but the install is simple and the change can refresh your bath room sink vanity in a single afternoon.
For a small bathroom or powder room where floor space is tight, a wall-mounted sink or compact pedestal is a space saver. The wall-mount exposes the floor below and can improve accessibility. A slim pedestal hides the trap while keeping the footprint compact. In both cases, check stud placement and plan a neat pipe cover if you want a tidy look.
If you want a design-forward statement, a vessel sink gives strong visual impact on top of the counter. Choose a faucet with the right height and reach—either a tall single-hole or a wall-mount. To control splash, use an aerated spout and a deeper bowl with a centered drain. Vessel sinks shine in powder rooms and guest baths where daily use is lighter (Angi, 2024).
In short, the right type depends on your countertops, desired look, maintenance tolerance, and whether you need a fast DIY or a long-term modern upgrade.
Size and depth cheat sheet with fit rules
Most sinks for bathroom use fall into a few simple size bands. The key is to confirm clearance for your faucet, backsplash, and P-trap, and to keep a comfortable bowl depth for washing hands without splash.
- Typical widths are 16–24 inches wide, with bowl depths around 5–8 inches.
- Round bowls are often 16–20 inches in diameter.
- Rectangular bowls can run up to 24 inches wide, depending on material and vanity size.
- Leave enough space behind the bowl for the faucet and handles if you’re not using a wall-mount faucet.
- Ensure the drain aligns with your rough-in and that the trap arm has room to slope.
If your vanity is compact, consider a narrow-depth top or a corner mount where needed. If you plan a double vanity, center each bowl and maintain spacing between drain lines and faucet holes.
Cost snapshot: product + labor ranges
Here’s a simple view of product and installation ranges you can use for planning. Local labor rates vary, and extras like faucet, valve shutoffs, and disposal can add cost.
| Sink Type | Typical Sink Price (USD) | Typical Install Labor (USD) |
| Drop-in | 60–300 | 100–250 |
| Undermount | 150–400 | 200–600 |
| Vessel | 80–400 | 120–300 |
| Integrated/Stone | 300–1,000+ | 300–900+ |
These figures reflect common projects in 2024–2025 and include basic hookup. Undermount costs trend higher because counters need a secure cutout, support clips, and careful sealing.

Bath room sink types explained: pros, cons, and use cases
Choosing between undermount versus drop in sink is the most common decision, but wall-mounted, pedestal, console, vessel, and integrated sinks all have their place. The right pick depends on your countertop, storage needs, cleaning style, and whether you want a traditional or modern visual.
Undermount vs. drop-in (top-mount): cleaning, counters, replacement
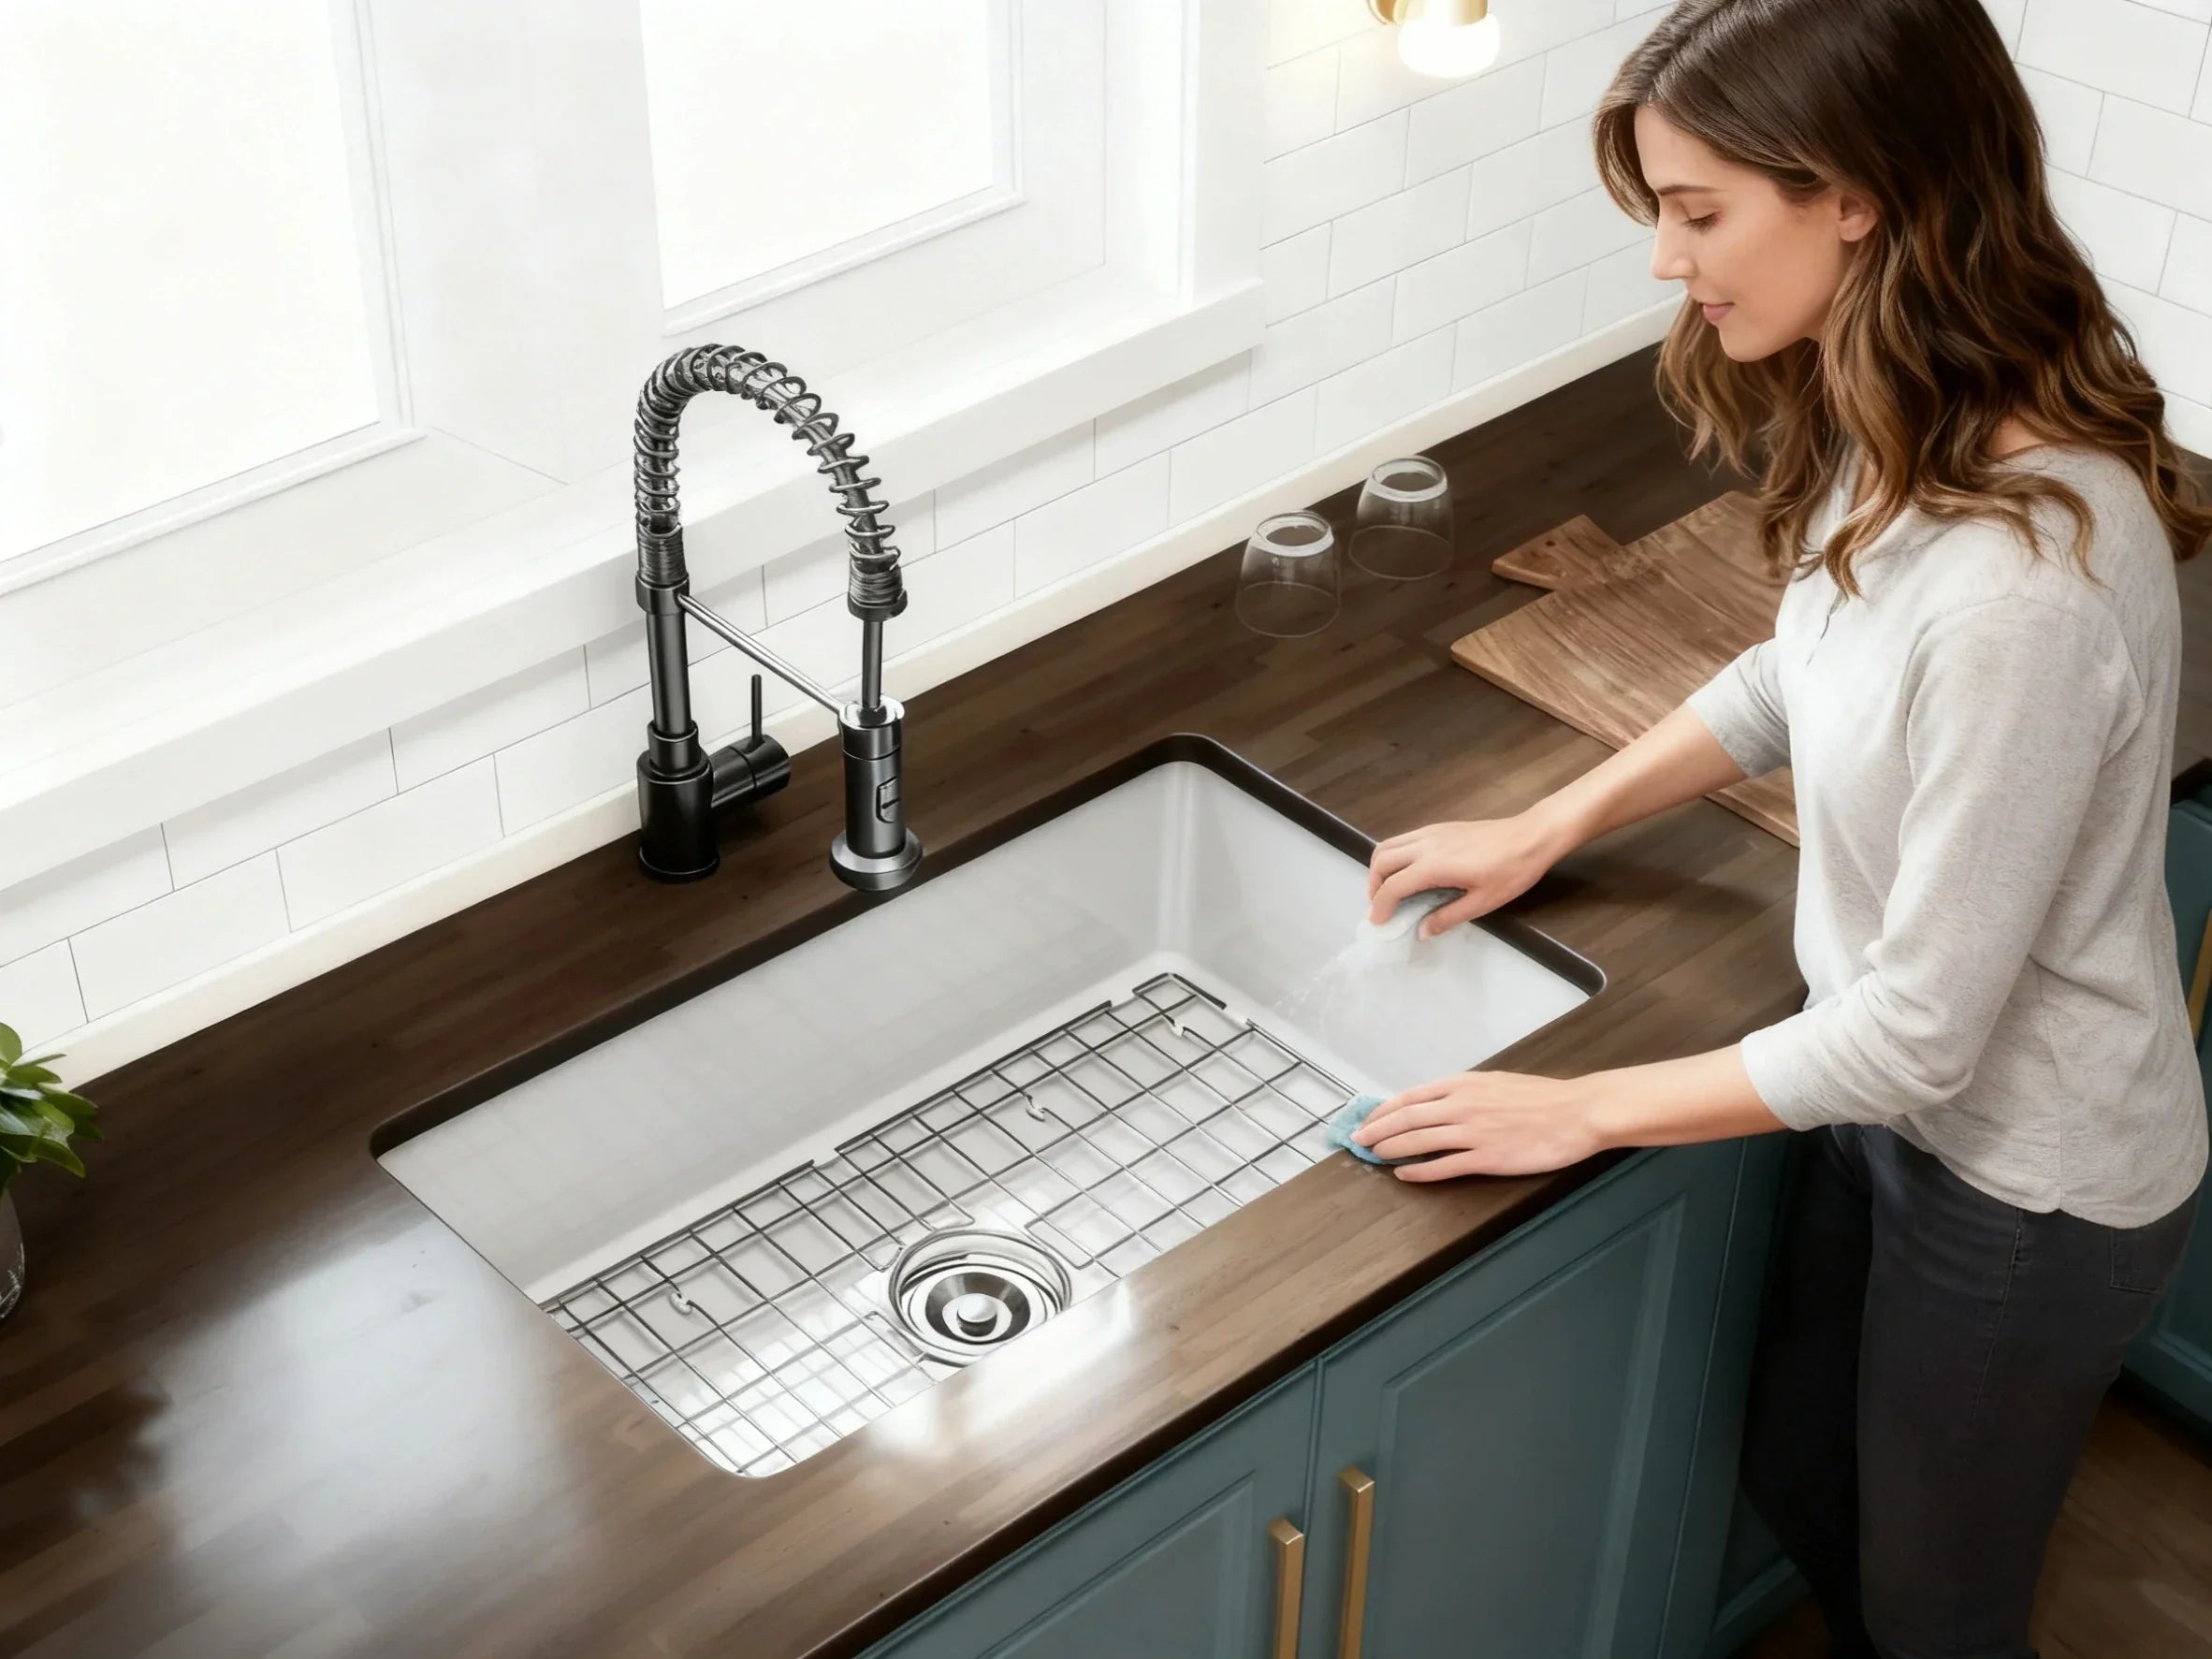
An undermount sink sits below the countertop. This makes daily cleaning feel smooth because there is no raised rim. Water, soap, and crumbs can be wiped straight into the bowl. The look is modern with a crisp edge. Because the bowl hangs from the counter, the top must be a solid surface such as stone, engineered stone, or solid surface composite. Labor is higher because the installer must support and seal the bowl from underneath and sometimes set clips or rails. Over time, the seal may need a refresh to prevent slow leaks. If you love a seamless feel and easy wipe-down, this setup is hard to beat.
A drop-in (top-mount) sink has a rim that rests on the countertop. This is the easiest DIY option and works with more countertop materials, including some laminates and wood tops when sealed ( The Spruce, 2024). You may notice more grime around the rim, so you’ll need to clean the edge now and then. The upside is that a drop-in can be swapped fast and the overall cost is usually lower. It also suits traditional styles and older vanities where the cutout may not be perfect.
If you’re asking “What is better, a drop-in or undermount sink?” the best answer is: choose undermount for a full remodel with a solid-surface counter and a modern look; choose drop-in for budget, fast replacement, or older counters. That’s the heart of the undermount sink vs drop in debate.
Wall-mounted, pedestal, and console basins: small-space and ADA advantages
Wall-mounted sinks help in small rooms because the floor stays clear. They also allow knee space, which can support accessibility when installed at the right height. You should plan blocking inside the wall so the mount is strong. Exposed plumbing can be a design feature with chrome or stainless steel, or you can add a cover for a tidy line. This option is often used in powder rooms and for kids’ baths with step stools.
A pedestal sink brings a classic feel and hides the trap in the base. It takes up little floor area and works well when you do not need cabinet storage. A console sink is a cousin to the pedestal: it places a basin on legs or a frame, giving an airy look with some space below. Both can help when a compact footprint is more important than drawer space.
Vessel and integrated sinks: design impact vs. splash and maintenance
A vessel sink sits on top of the counter, making a strong design statement. Because the rim is above the counter, you must plan the total height so the rim is comfortable for hand washing. Taller bowls may need a lower vanity or a wall-mounted faucet to get good reach. To reduce splash, pick a bowl with a deeper basin or a sloped shape, use an aerator, and aim the water stream toward the center. Materials like glass and copper look striking but need gentle care.
An integrated sink is molded as part of the countertop, so there are no joints or rims to trap grime. Cleaning is simple, and the look is seamless. You’ll pay more up front and may need custom fabrication. If you value low maintenance, this choice means fewer edges, a smooth surface, and fewer leak points.
Side-by-side matrix: type, difficulty, storage, accessibility, splash risk
| Type | Install Difficulty | Storage Impact | Accessibility Potential | Splash Risk |
| Undermount | Medium–High | Uses vanity storage | Standard | Low–Medium |
| Drop-in | Low | Uses vanity storage | Standard | Low–Medium |
| Wall-mounted | Medium | Frees floor space | High (with clearances) | Medium |
| Pedestal | Low–Medium | No cabinet storage | Medium | Medium |
| Console | Medium | Limited shelf space | Medium | Medium |
| Vessel | Low–Medium | Uses counter space | Medium | Medium–High |
| Integrated | High (custom) | Uses vanity storage | Standard | Low |
A simple diagram of counter/clearance needs per type can help you check fit before you buy. If you want guidance, try a type chooser flowchart that filters by skill level, countertop type, space, and style.

Materials that matter: performance, durability, and care
Material decisions affect daily care, weight, and long-term wear. Think about scratches, stains, heat, and whether the finish is glossy or matte. Also consider how the sink will sit in your bathroom lighting, since glossy finishes show light differently than matte.
Ceramic/porcelain vs. stone/stone resin: daily durability and weight
Ceramic and porcelain are the most common sinks for bathroom use because they are affordable, strong against stains, and easy to clean. Porcelain is a type of ceramic fired at higher temperatures, which creates a dense, smooth glaze. Both resist most bathroom products and are friendly to daily scrubbing with non-abrasive cleaners. They also stay bright for years if you avoid harsh abrasives.
Stone and stone resin give a high-end look with a solid feel. These are heavier and may need reinforced vanities. Matte stone finishes look calm and modern but can show marks from metal or hard water. Regular cleaning solves most marks, and some products benefit from periodic sealing. If you want a silky, modern look with a strong edge line, stone resin is worth a look.
Metals and glass: stainless, copper/bronze, tempered glass
Stainless steel is tough and modern, often seen in utility or minimalist spaces. It may show water spots, so a quick wipe keeps it clean. Thicker steel feels quieter; sound-dampening pads help too.
Copper and bronze have a warm tone and natural antimicrobial properties. They form a patina over time, which many people love. Use pH-neutral cleaners and avoid harsh chemicals so you do not stain the surface.
Glass (tempered) is sculptural and bright. It can scratch with abrasives, so use gentle cleaners and a soft cloth. Glass shines in a vessel form where the bowl becomes a centerpiece.
Maintenance playbook by material
Keep cleaners simple and rinse well. For stone, follow a sealing schedule if the maker recommends it. For metals, avoid bleach. For glass, skip scouring pads and pick a mild soap. If you have hard water, descaling with a gentle, approved product prevents mineral buildup around the drain and faucet. A smooth, simple routine keeps any sink looking new.
Material comparison chart
| Material | Scratch Resistance | Stain Resistance | Heat Tolerance | Weight | Maintenance Level |
| Ceramic/Porcelain | High | High | Medium | Medium | Low |
| Stone Resin | High | Medium–High | Medium | High | Medium |
| Natural Stone | Medium | Medium | High | Very High | Medium–High |
| Stainless Steel | Medium–High | Medium | High | Low–Med | Low–Medium |
| Copper/Bronze | Medium | Medium | High | Medium | Medium |
| Tempered Glass | Medium | Medium | Medium | Medium | Medium |
A close-up texture gallery—glossy glaze, matte resin, hammered metal, and honed stone—can help you picture how each finish will look next to your tile and faucet.
Sizing, ergonomics, and layout for vanities and powder rooms
What is the standard size for a bath room sink?
Most bath room sinks are 16–24 inches wide and 5–8 inches deep. Round bowls often measure 16–20 inches in diameter. Make sure your faucet has enough reach to hit near the center of the bowl, check the space to your backsplash, and confirm bowl clearance inside the vanity. The key is to keep hand washing comfortable without splash, especially if kids or guests will use the space.
Ergonomics and ADA considerations: height, reach, knee clearance
Comfort matters. Rim height near 34–36 inches works for most adults with a standard vanity and an undermount or drop-in bowl. For kids or seated users, lower heights or a wall-mount can help. If you plan an accessible bathroom, keep clear knee space under wall-mounted sinks and follow basic reach and toe clearances. Smooth, rounded edges reduce bumps, and lever handles or touchless faucets help many users.
Table: common accessibility targets for wall-hung lavatories (always verify local code)
| Feature | Typical Target |
| Rim/Counter Height | 34 inches max at front edge |
| Knee Clearance (H × W × D) | 27 in high × 30 in wide × 17–25 in deep |
| Toe Clearance | 9 in high × 6 in deep (min front approach) |
| Operable Parts | One hand, no tight grasping, low force |
These numbers reflect common guidelines and are widely used when planning accessible layouts. Local rules may vary, so confirm with your code official.
Single vs. double vanity planning: centerlines, spacing, and storage
A single sink is simple: center the bowl on the vanity and line up the drain with the P-trap. For a double sink vanity, keep fair space between bowls so two people can use the counter. Plan faucet-hole spacing to match your fixture type, and keep the counter overhang even. An integrated overflow can reduce splash and help draining. If your vanity has drawers, map the drain and supply lines so you don’t hit a drawer box with the P-trap.

Installation and compatibility: DIY vs. pro, step-by-step essentials
What to check before you buy: countertop, faucet holes, drain, P-trap
Before you buy any bath room sink, confirm a few basics. What is your counter material and thickness? Will it support an undermount? What faucet configuration do you have—single-hole, centerset, widespread, or a wall-mounted faucet? Is the sink’s overflow compatible with your drain assembly? Measure the existing cutout if you’re replacing a top-mount, and confirm supply shutoffs work. Matching these details prevents delays.
How to install: drop-in DIY, undermount professional, wall-mount blocking
Many homeowners ask, “Can I install a bath room sink myself?” If you choose a drop-in, yes, often you can. If you choose an undermount or a wall-hung sink, hiring a pro is common because support, sealing, and blocking are critical.
Step-by-step: basic drop-in replacement (DIY-friendly)
- Shut water off at the supply valves. Place a bucket under the P-trap.
- Disconnect supply lines and the P-trap. Remove the old sink.
- Dry-fit the new sink in the cutout. Check that the rim sits flat and the faucet holes line up.
- Run a thin, even bead of 100% silicone around the underside of the rim.
- Set the sink in place. Press gently to seat. Wipe away squeeze-out.
- Install the faucet, drain, and pop-up. Use plumber’s putty or silicone as required by the parts.
- Reconnect supply lines and P-trap. Open water and test for leaks.
- After 24 hours, recheck bead and tighten as needed.
Undermount installation (typically pro)
- Support the bowl with clips/rails and apply a continuous silicone bead at the counter edge.
- Align the sink to the faucet hole layout. Clamp per maker’s guide.
- Clean and smooth the silicone line from inside the bowl for a neat edge.
- Let cure as directed, then hook up drain and supplies. Test for leaks.
Wall-mounted installation (typically pro)
- Add solid blocking or use a rated carrier inside the wall.
- Level and secure the basin with the correct anchors.
- Cover or finish the P-trap and supplies, especially in guest baths.
Waterproofing and long-term care: sealing rims and resealing undermounts
A clean, continuous silicone bead keeps water out of joints. For drop-ins, inspect the rim bead each year and refresh any gaps. For undermounts, check the inside edge where counter meets bowl. If you see dark lines, cracking, or loose spots, reseal before leaks start. Leak testing is simple: plug the drain, fill the bowl, and check below for drips. For splash-heavy setups like vessels, keep a towel handy and use an aerated faucet to calm the stream.
How much does it cost to install a bath room sink?
Average labor ranges depend on type. A simple drop-in swap may be $100–250 for labor, while an undermount often runs $200–600 due to sealing and support. Vessels tend to fall in between. Integrated tops are higher because they often come with custom fabrication. Add-ons include faucet install, new trap parts, shutoff replacement, and disposal of the old unit. If you need a new cutout or counter work, ask for a separate line item.
Pre-install checklist
- Confirm counter material, thickness, and cutout size
- Match faucet hole pattern to your faucet
- Verify overflow and drain compatibility
- Check supply valve function and hose length
- Measure cabinet interior for trap and drain route
- Gather tools: wrench, silicone, tape, towels, bucket, putty
- Plan for disposal of the old sink
A simple step-by-step diagram for each type makes the job go faster. If you’re unsure about sealing or support, consider a pro for peace of mind.

Best brands and warranties: durability, design, and support
You do not need to chase names to buy smart. Focus on glaze quality, finish evenness, thickness of the bowl, and warranty terms. Ask how parts like drains and mounting clips are supported and whether you can get replacement pieces years later.
Leading makers often stand out in three ways. First, consistent glazing or surface finishing means fewer pinholes and easier cleaning. Second, strong packaging reduces damages on delivery. Third, clear instructions and hardware make installation smoother for both DIY and pros. When comparing, look for simple, plain-language manuals and full mounting kits.
Warranty terms vary. Some limited warranties cover the basin for many years but exclude labor or damage from cleaners. Service differences show up in how fast companies answer questions and ship small parts. If you value peace of mind, pick a maker with clear documentation, visible model numbers, and easy-to-reach support.
Table: simple brand scorecard (use for any maker you consider)
| Factor | What to Look For |
| Durability | Thick walls, chip-resistant glaze, solid mounting |
| Design Breadth | Sizes from 16–24 inches wide, ADA options |
| Warranty Length | Multi-year coverage on the basin |
| Parts Availability | Drains, clips, and gaskets easy to order |
| Price Tier | Clear range; no hidden “required accessories” |
| Instructions & Support | Plain-language guides and responsive support |
When buying, verify model numbers and keep proof of purchase. Shop through authorized channels. If you see claims about eco or recycled content, ask for documentation.
2025 bath room sink trends: hygiene, style, and sustainability
Easy-clean design: undermount/integrated, antimicrobial glazes, seamless transitions
Many homeowners prefer fewer edges and crevices. That means more undermount and integrated choices in remodels. Seamless transitions are easy to wipe and look calm. Some products feature antimicrobial glazes that reduce odor-causing bacteria on surfaces. The social consensus is simple: cleaner counters, less scrubbing, and modern lines that pair with simple tile.
Statement basins: vessel forms, textured stone, colored ceramics
Vessel sinks remain a favorite in powder rooms, often in matte white, warm metals, and textured stone. If you want the look without the mess, manage height, faucet reach, and bowl geometry. Use an aerator and set the spout to hit the center of the bowl. A deeper vessel or one with a sloped interior can help keep splash under control.
Eco-forward picks: recycled materials, low-VOC sealants, long-lifespan value
Low-VOC sealants and durable surfaces help indoor air quality and reduce frequent replacements. Some materials feature recycled content. Think in terms of lifespan: a sink that lasts longer and needs less cleaning product can reduce its overall environmental footprint. Choosing WaterSense-labeled faucets also reduces water use without hurting handwashing comfort.
Are vessel sinks outdated in 2025?
No. They still shine in the right setting, especially guest baths and boutique-style spaces. In a busy family bath, vessels can splash more and raise the rim height, so many households pick undermount or integrated sinks for daily use. Pick what fits your use pattern and your cleaning habits.
Real-world results: case studies and social proof
Before/after: drop-in to undermount upgrade (20% higher cost, easier cleaning)
One common remodel swaps a dated drop-in for a crisp undermount in a stone resin counter. The total cost is often about 20% higher than a simple drop-in replacement due to counter work and sealing. The payoff is daily ease: you wipe the counter into the sink, the edge stays clean, and the look reads more modern. Some homeowners also report positive feedback from real estate agents after the change.
Small-bath win: wall-mounted basin adds floor space and accessibility
A small guest bath gains clear floor area by switching to a wall-mount. Moving to a 16–18 inch wide basin can add open space below the bowl, and users can tuck a step stool under it. A simple pipe cover keeps the visual calm. The room feels larger even when the wall-to-wall dimension is unchanged.
What homeowners say: DIY ease vs. pro quality
Many DIYers choose drop-ins for rentals and quick swaps because the install is forgiving and fast. For a full remodel, undermounts are popular due to their clean line and practical wipe-down. However, owners note that rims on drop-ins collect grime faster, and undermounts need a good seal and sometimes resealing after years of use. These lived-in details can help you pick what fits your habits.
A short “splash test” video—matching faucet reach to bowl geometry—can make the decision even clearer.
FAQs
1. What type of sink is best for a bathroom?
The best bath room sink depends on your space, budget, and style. Undermount sinks work well for modern designs with solid-surface countertops, offering a clean, seamless look and easy wipe-down maintenance. Drop-in sinks are the go-to for quick DIY upgrades or laminate counters since they’re easy to install and replace. Wall-mounted or pedestal sinks save space in small bathrooms, while vessel sinks add a bold, decorative touch for powder rooms. The right choice balances appearance, usability, and upkeep.
2. What is better, a drop-in or undermount sink?
The choice between drop-in and undermount sinks depends on installation goals and countertop type. Undermount sinks sit below the counter, giving a smooth, modern finish and easier cleaning. They’re ideal for stone or solid-surface tops but need professional installation and sealing. Drop-in sinks rest on the counter rim—cheaper, faster to install, and great for DIYers or older vanities. However, the rim can collect grime. In short, undermount wins on aesthetics and cleaning, drop-in on cost and convenience.
3. Can I install a bathroom sink myself?
Yes, you can often install a drop-in bath room sink yourself with basic tools and patience. It’s the most DIY-friendly option—simply place it into the counter cutout, apply sealant, and reconnect plumbing. Undermount and wall-mounted sinks, however, are best left to pros since they require support brackets, sealing, or wall reinforcement. Before starting, shut off water, test-fit the sink, and ensure your drain and faucet holes align. With the right prep, a drop-in replacement can refresh your bathroom in one afternoon.
4. What is the average cost to replace a bathroom sink?
Replacing a bath room sink typically costs between $160 and $550 for a drop-in, including sink and labor. Undermount sinks range higher—around $350 to $1,000, since installation involves sealing and counter support. Vessel and integrated sinks fall in between, depending on materials and faucet setup. If you add new plumbing, valves, or counter cutouts, expect extra charges. DIY replacements save labor costs, while professional installs ensure a watertight finish and clean alignment with existing plumbing.
5. Is a ceramic or porcelain sink better?
Both ceramic and porcelain are excellent for bath room sinks, but porcelain offers slight advantages. Porcelain is a type of ceramic fired at higher temperatures, making it denser, smoother, and more resistant to stains, chips, and scratches. Ceramic sinks are more affordable and still durable for everyday use but may have a slightly softer glaze. If you want a glossy, long-lasting finish with easy cleaning, choose porcelain. For budget projects or guest baths, ceramic remains a solid, stylish option.


Leave a comment
This site is protected by hCaptcha and the hCaptcha Privacy Policy and Terms of Service apply.