


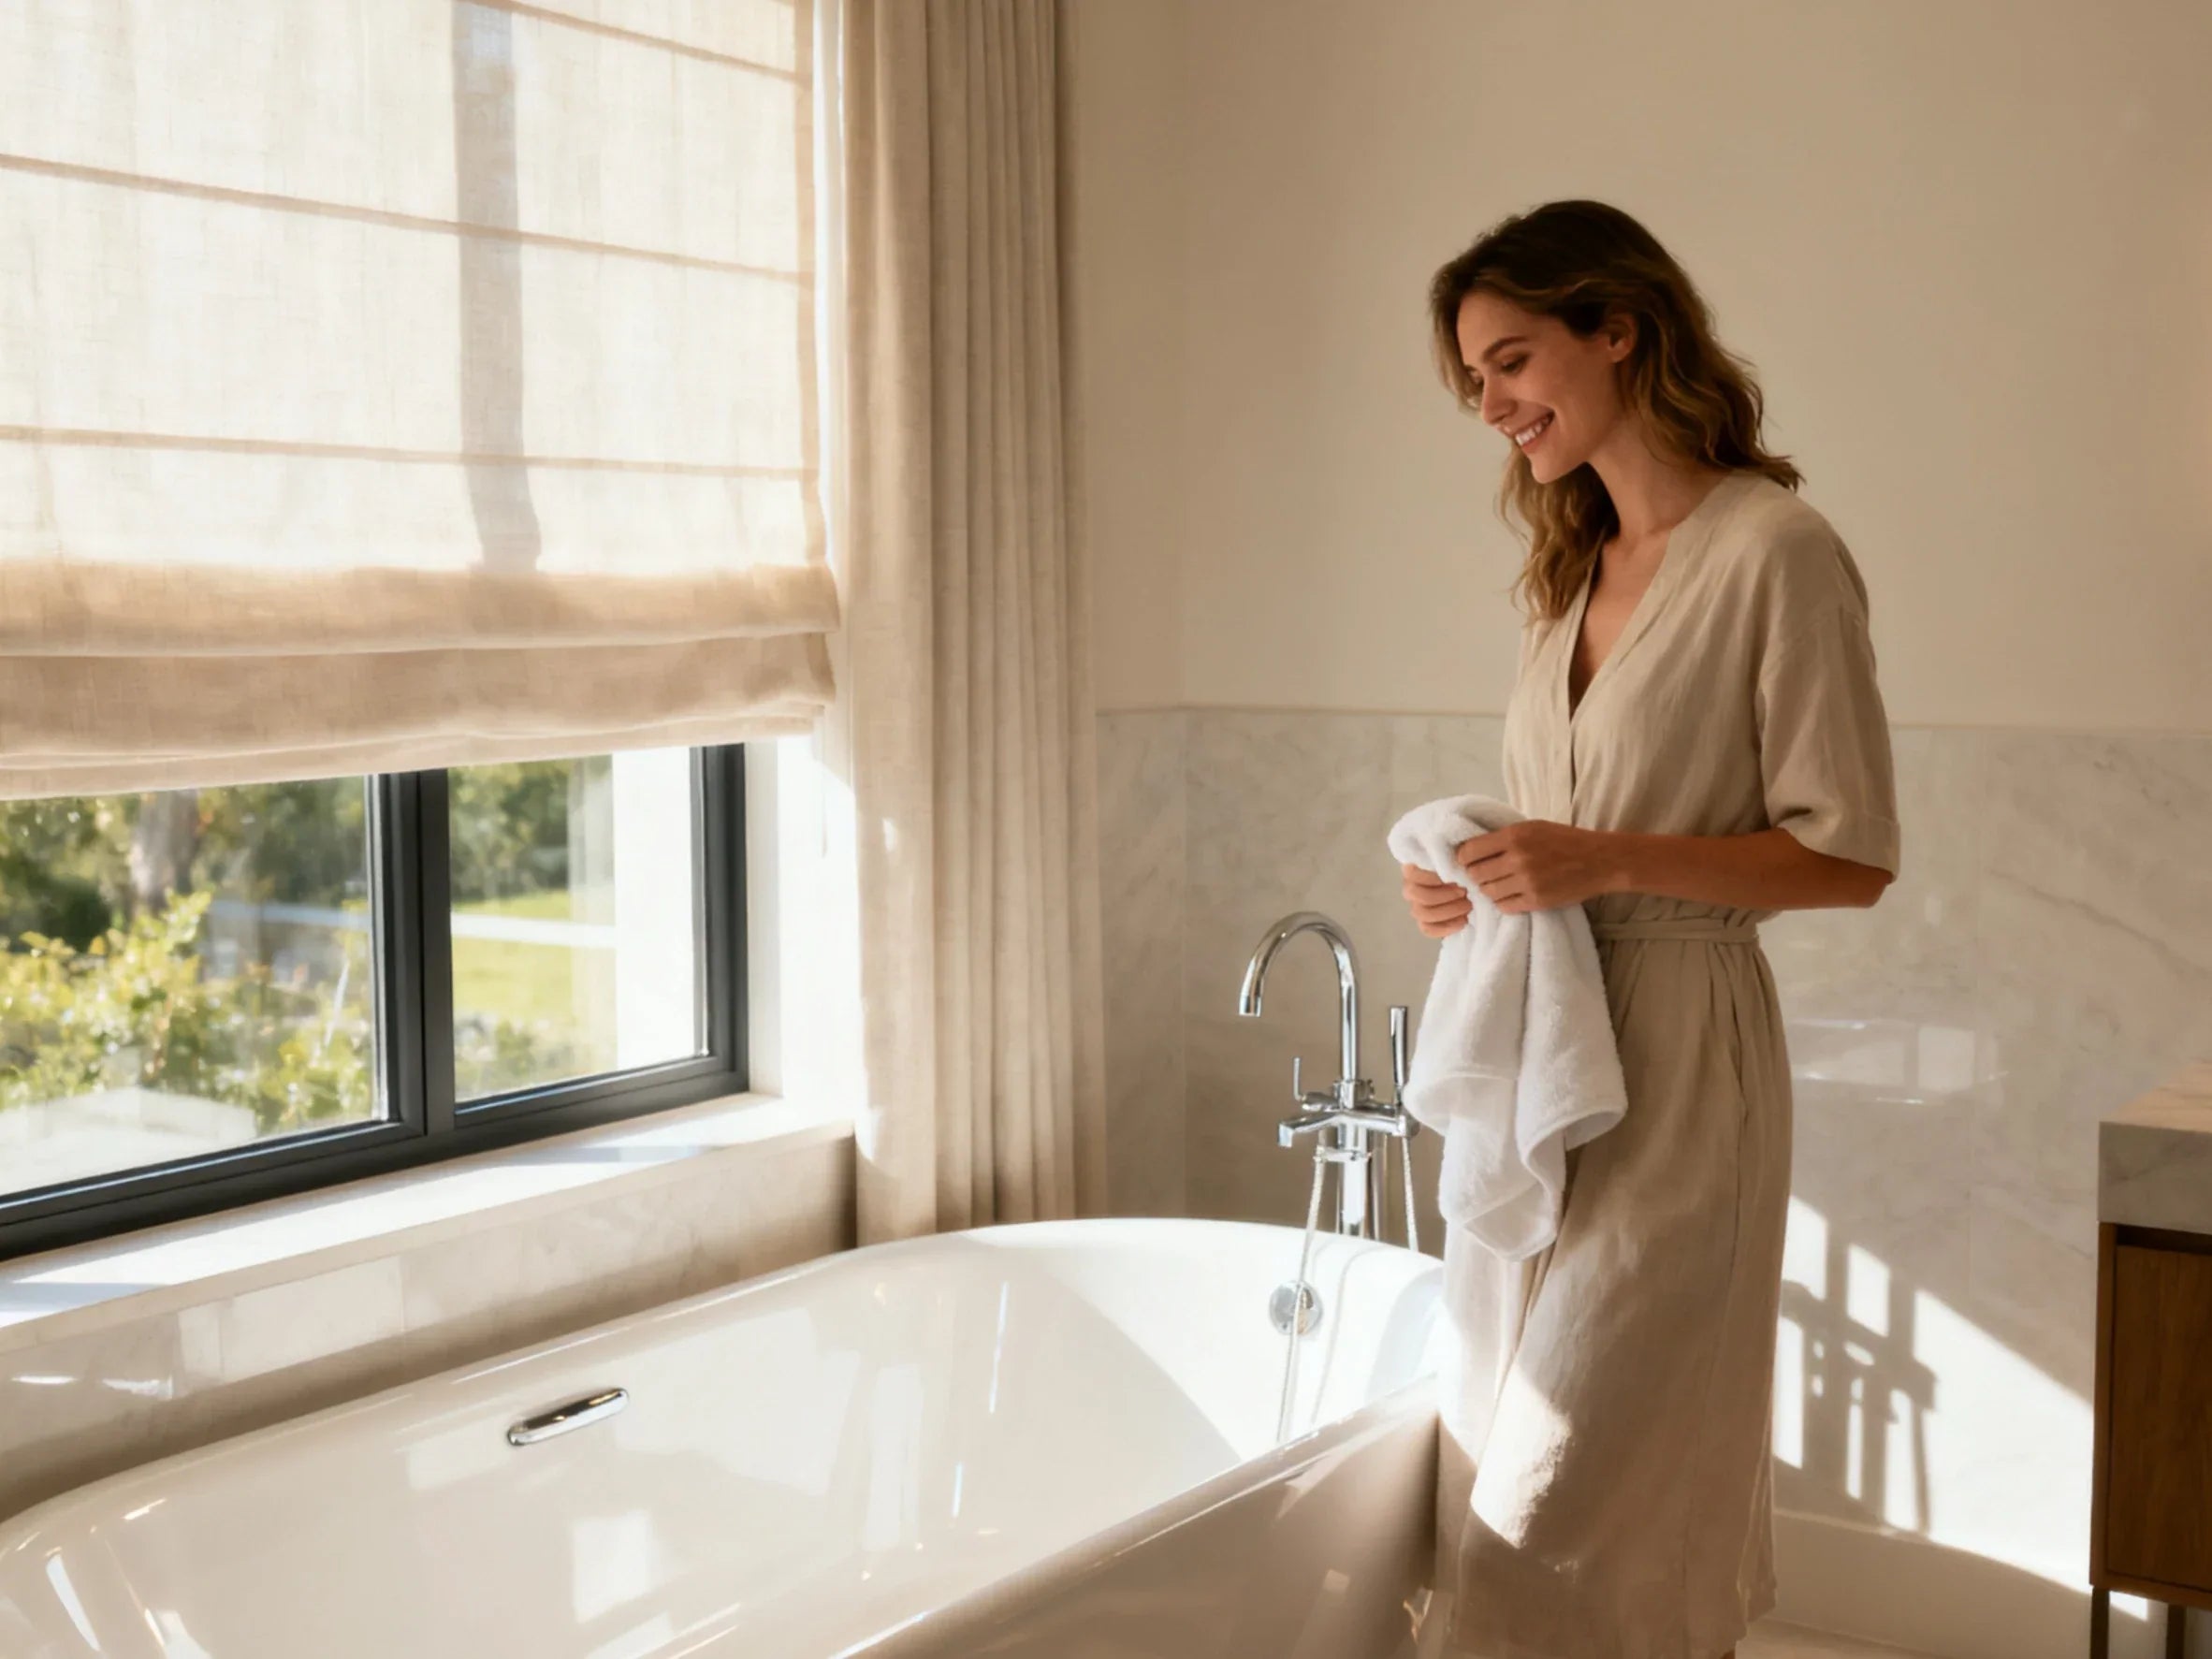
If you’re planning a bath remodel in a tight space, an alcove tub is often the best fit for cost, comfort, and long-term value. It slides between three walls, has a skirted apron on the front, and usually shares plumbing with your shower. Bathtubs are typically designed for function, but alcove tubs stand out for their space-saving design, especially when looking at drop-in vs alcove tub layouts or corner tubs. The advantages and disadvantages are clear: they save floor area and money, but may not feel as spacious as other bathroom fixtures.
This guide starts with essentials—sizes, costs, and benefits—then covers measuring, materials, and tub installation. You’ll also see how bathtubs come in different styles and are available in many options, from acrylic to cast iron. We’ll explain maintenance by material, code basics, and troubleshooting tips.
Along the way, we’ll compare alcove vs drop-in tubs, discuss if a 3-wall alcove works in a 5×8 layout, and whether a freestanding tub fits in a recess.
Alcove Tub at a Glance
What is an alcove tub?
An alcove bathtub (sometimes called an alcove installation tub) is a built-in tub designed to fit between three surrounding walls with a finished front apron you can see. The hidden sides of the tub sit near studs, with a tile flange at the rim to keep water from sneaking into the wall. Most models accept a shower on top, so your tub-shower combo stays in the same footprint as a standard bath. If you’ve heard people ask, “What is an alcove bathtub?”—that’s it: a space-saving, three-wall tub with a front skirt.
The opposite setup is a drop-in bathtub—that’s a tub that drops into a separate deck or platform, so the rim is set into a deck opening and the sides are finished with tile or solid surface. We’ll compare types in detail later, but the key idea is this: a tub in alcove uses the walls as its surround; a drop-in needs a built platform and more floor space.
Essential facts & stats
- Most common alcove tub sizes are about 60 inches long by 30 inches wide with a 14–18 inch overall depth.
- They are space-efficient and fit small bathrooms well, including 5×8 layouts and vintage homes with tight doors.
- Installation is straightforward because there’s no deck to build; the tub mounts to framing with a ledger/stringer and screws through its flange.
- Alcove tubs are budget-friendly to purchase and install compared to many drop-ins or freestanding tubs.
- Maintenance is simpler because there’s less exposed structure to clean. Properly installed, they’re durable and easy to upgrade with a new showerhead or door.
- Families like them for safe bathing of kids; seniors and renters like the low step-in and easy-to-add grab bars on surrounding walls.
Cost ranges and value: purchase, install, total project ROI
Use this table to set realistic budgets for a standard-sized, three-wall alcove bathtub with a shower:
| Item | Low | Mid | High |
|---|---|---|---|
| Tub shell (acrylic/fiberglass/steel/cast iron options) | $250 | $600–$1,000 | $1,500+ |
| Rough plumbing (drain kit, valve, overflow) | $100 | $200–$350 | $600+ |
| Waterproofing + backer (3 walls) | $150 | $350–$600 | $900+ |
| Finish (tile/panels, grout/caulk) | $200 | $600–$1,200 | $2,500+ |
| Labor (licensed pro; region-dependent) | $700 | $1,500–$3,000 | $4,000+ |
| Total typical project | $1,400 | $3,250–$6,150 | $9,500+ |
- A basic swap with modest tile repair may land near the low end. Full tear-out with new waterproofing and tile usually falls in the mid-range.
- Compared to drop-ins or custom deck builds, alcove projects often cost less and wrap up faster, which is why they’re common in rentals and guest baths.
Is an alcove tub worth it in a small bathroom?
Yes. In a small bathroom, an alcove tub is usually the best value. You get a full bath and shower in one small footprint, lower costs, and a simple maintenance path. If you need a deeper soak, you can pick a “deep soak” model, but keep an eye on floor load and height for safety (Source: International Residential Code, 2024)

Alcove Tub Sizes, Specs, and Materials
Standard tub size, water capacity, and weight by material
Most standard-sized alcove tubs are 60 in (L) x 30 in (W) with total depth around 14–18 in, though you’ll find widths up to 32–36 in and lengths up to 66 in. For bathers who like to soak, check the “water depth to overflow,” which often falls in the 12–16 in range.
Water weighs about 8.34 lb per gallon, so even a small change in capacity can change total weight. Use the table below to plan for floor load and handling during install.
| Material | Typical Empty Weight (60×30) | Typical Capacity to Overflow | Water Weight (approx.) | Filled Weight (empty + water, no person) |
| Fiberglass | 40–70 lb | 35–50 gal | 290–420 lb | 330–490 lb |
| Acrylic | 60–100 lb | 40–60 gal | 335–500 lb | 395–600 lb |
| Enameled Steel | 70–120 lb | 35–50 gal | 290–420 lb | 360–540 lb |
| Cast Iron | 250–350 lb | 40–60 gal | 335–500 lb | 585–850 lb |
- Add the bather’s weight to estimate the live load in use.
- Many homes support these loads, but if you’re installing a heavy cast iron tub on an upper floor, consider a structural check and use proper support under the base (mortar bed or manufacturer-approved pads).
Material comparison: acrylic vs enameled steel vs cast iron vs fiberglass
Every material trades weight, cost, and feel a bit differently. Here’s a side-by-side snapshot so your design preferences line up with daily functionality.
| Feature | Fiberglass | Acrylic | Enameled Steel | Cast Iron |
| Durability | Fair; can scratch or flex | Good; repairable surface | Very good; hard surface | Excellent; very long life |
| Heat retention | Fair | Good | Fair | Excellent |
| Weight | Very light | Light to medium | Medium | Heavy |
| Price range (tub only) | Low | Low–Mid | Mid | Mid–High |
| Sound/feel | Hollow, may squeak if under-supported | Warm, quiet | Hard, cool-to-touch | Solid, quiet, premium feel |
| Ease of install | Easiest to carry | Easy; common choice | Easy to moderate | Hard; two people + |
| Repair | Patchable but shows | Surface repair kits available | Chips need enamel repair | Chips rare; pro repair if needed |
Tip: If you want a warmer soak and quieter feel without the weight of cast iron, acrylic is a strong middle ground. If you need a rock-solid tub that will likely outlast the house, cast iron wins but demands more muscle and floor planning.
Drain location (left/right), tile flange, and skirted apron basics
Alcove tubs come in left-drain and right-drain versions. Match the drain to your existing plumbing to avoid moving pipes. A tile flange is the small upturned lip along the back and sides of the tub rim that keeps water from wicking into the wall. Make sure your tub has an integral flange or an approved add-on. The visible front apron (or skirt) hides the framing and gives a clean, built-in look.
Visual/Interactive: Spec table + weight/water calculator
Quick calculator:
Water weight = gallons × 8.34 lb
Filled weight = empty tub + water + bather(s)
Example: 60×30 acrylic tub (80 lb), 50 gallons to overflow, one 170 lb person
- Water = 50 × 8.34 = 417 lb
- Filled = 80 + 417 + 170 = 667 lb
Use this to check floor support in older homes or for second-floor baths.

How to Choose the Right Alcove Tub
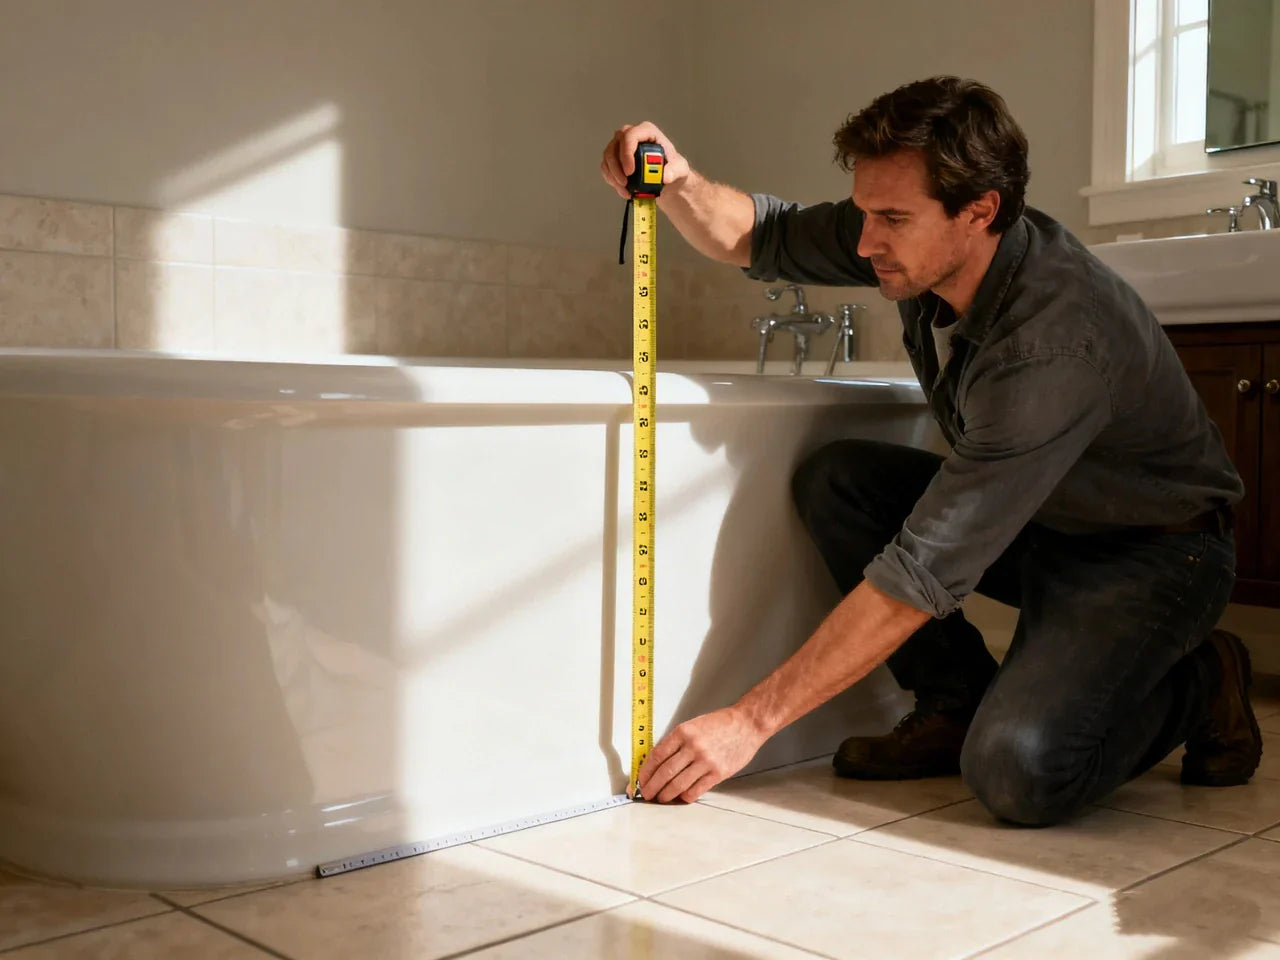
Step-by-step measurement guide
Accurate measuring prevents heartbreak on installation day. Follow these steps:
- Measure length and width, stud-to-stud, after removing old finishes or using a stud finder. Standard fits are 60×30, but verify your exact rough-in.
- Measure access. Check door width, turns in hallways, and stair clearances. Plan how you’ll carry the tub in without damage.
- Check drain orientation. Confirm left or right drain so you order the correct shell.
- Confirm valve and spout positions. Measure valve height, tub spout height above the rim, and showerhead height. Note if you’re using a pressure-balancing or thermostatic valve for anti-scald protection.
- Verify wall depth and surround. Choose cement board or foam backer for wet walls, not standard drywall. Add thickness of tile or panels when checking fit.
- Confirm ledger/stringer height. Manufacturer instructions specify a support board height under the tub rim.
- Inspect subfloor. Check level and plan a mortar bed or manufacturer-approved support under the tub bottom if required.
- Map the waste/overflow centerline. Dry-fit the drain shoe, overflow, and P-trap alignment before permanent set.
- Plan door/curtain. If using a swinging shower door, ensure enough clearance around the toilet and vanity. If using a shower curtain, confirm rod placement and splash coverage.
Comfort and user needs
Comfort is more than size. Look at:
- Soaking depth to overflow and the backrest angle. A softer lumbar angle and a 14–16 in water depth feel nicer for a long soak.
- Shower-tub combo details. A textured floor and grab bars help with safety. Check showerhead height that works for the tallest user.
- Families with kids. A lower rim height is easier and safer for bath time. Choose a tub with a sturdy apron and non-slip base.
- Seniors and mobility. Add grab bars, a slide bar for a hand shower, and a low step-in. Consider a transfer bench or built-in seat in the surround.
- Renters/landlords. Pick a durable finish and a tub that’s simple to clean. A white acrylic or enameled steel tub with a panel surround is easy to maintain and swap later if needed.
Code and standards
Building and plumbing codes vary, but most areas follow versions of the International Plumbing Code (IPC) or Uniform Plumbing Code (UPC). Key checkpoints:
- Many codes require a pressure-balancing or thermostatic mixing valve for tubs/showers to limit scalds (Source: International Plumbing Code, 2024).
- Traps and drain lines need proper slope (often about 1/4 in per foot) and a vent. Keep a P-trap under the tub; avoid S-traps.
- Use approved waterproofing in wet areas. Cement board, foam board, and sheet or liquid membranes are common. Avoid regular drywall in direct splash zones.
- For accessibility, ADA/ANSI A117.1 has specs for tub transfer type units, grab bar placement, and clear floor space. In a home, use it as a guide for safer design even if not required.
- The NKBA offers planning suggestions on clearances, control heights, and storage that make daily use easier and safer.
Always follow the tub manufacturer’s manual; it often includes flange fastening, ledger height, and setting instructions that serve as your first rulebook.
What size alcove tub fits a 5×8 bathroom?
A 60×30 alcove tub almost always fits a 5×8 bath because that layout is built around this footprint. Verify the stud-to-stud length is at least 60 inches plus wall finish thickness. If the space is shorter, look for 54-inch options; if it’s longer, you can fill gaps with furring, extra backer, or built-in shelving at one end.

Installation: DIY vs Pro, Timeline, and Costs
Pre-install checklist
- Subfloor flat and level
- Ledger/stringer height marked and fastened
- Drain kit and overflow dry-fit into the tub
- Adequate support under the pan (mortar bed or approved pads)
- Moisture barrier plan: sheet membrane or liquid membrane with proper seams
- Wall backer rated for wet areas
- Confirm stud plumb and square on all three walls
- Ensure fan ventilation and safe electrical clearances near the tub
- Protect the tub surface with a drop cloth during tile or panel work
Step-by-step overview
- Dry-fit the tub. Confirm it slides into place, clears the door, and aligns with the waste/overflow.
- Set the ledger/stringer on the back wall to support the tub rim, at the height in the manual.
- Pre-assemble the drain shoe and overflow on the tub. Use the right gaskets; do not overtighten.
- Prepare the bed. Spread mortar or approved foam/glue pads under the pan if the manufacturer calls for it.
- Place the tub. Seat it gently, check level both ways, and press the pan into the bed.
- Secure the flange to studs with corrosion-resistant fasteners. Do not fasten through the horizontal deck unless the manual allows.
- Connect the drain and P-trap. Check for leaks with a water test before closing walls.
- Install the wall backer down to the flange. Use gapped boards per manufacturer instructions; do not bury backer behind the flange.
- Apply waterproofing. Tape seams, corners, and the tub-to-wall transition with the approved system.
- Finish the surround with tile or panels. Slope horizontal ledges slightly toward the tub.
- Seal with 100% silicone at the tub-to-wall joint and around fixtures. Let it cure per tube.
- Install the valve trim, spout, showerhead, and test. Add door or shower curtain rod.
Time, labor, and tools: DIY vs licensed pro
| Factor | DIY | Licensed Pro |
| Timeline | 2–4 days (demo to caulk cure) | 1–3 days (crew-dependent) |
| Tools | Levels, drill/driver, hole saws, wrenches, trowels, caulk gun, tile tools | Same, plus specialty tools, fast workflow |
| Risks | Leaks from poor drain/overflow seals, out-of-level set, weak waterproofing, voided warranty | Fewer callbacks; warranty often includes workmanship |
| Best for | Experienced DIYers or simpler swaps | Full remodels, heavy tubs, code-heavy cities, rentals |
Visual/Interactive: Install flowchart + cost estimator
| Cost Component | Typical Range |
| Demo & disposal | $150–$500 |
| New tub shell | $250–$1,500+ |
| Drain/overflow kit | $50–$250 |
| Valve/trim set | $150–$600 |
| Backer + waterproofing | $150–$900 |
| Tile or panels | $200–$2,500+ |
| Labor (plumber + tile) | $700–$4,000+ |
| Permits (where required) | $50–$300 |
Tip: In some areas, moving the drain or changing valves needs a permit and inspection. Keep receipts and manuals for warranty claims.

Design, Styling, and Shower-Tub Combos
Tile surround, waterproofing , niches, and trim
Good waterproofing is the line between a lasting bath and a hidden leak. Use cement or foam backer board for the three walls, and pair it with a sheet or liquid membrane system rated for showers. Bring your backer down to just above the tub’s flange, then bridge that gap with your waterproofing per the system’s instructions.
If you’re adding a niche for soaps, slope the bottom toward the tub. Wrap every niche edge with waterproofing tape. For trim, use bullnose or metal edge profiles to protect corners. In small bathrooms, lighter tile and minimal grout lines make the alcove feel larger.
Fixtures and fittings
Choose a pressure-balancing or thermostatic valve for steady temperatures. Place the tub spout high enough to clear the rim with a good, non-aerated flow for filling. For the showerhead, look for EPA WaterSense models to save water without feeling weak. Hand showers on a slide bar help with rinsing the walls and make caregiving easier.
Glass doors keep spray contained and add a crisp look, but they need enough room to open or slide. Shower curtains are flexible, add softness, and are easy to replace when you want a new color.
Aesthetic upgrades in small bathrooms
Small spaces benefit from good light. Add a damp-rated ceiling light over the tub, use soft white bulbs, and consider a light grout with mid-tone tile for contrast. If your tub apron has a sleek profile, it can feel modern. Open shelves or a recess at the end of the alcove store towels without crowding the room. A soft, neutral palette grows the space; matte blacks or warm metals deliver modern contrast.
Can an alcove tub look modern and high-end?
Yes. With clean tile, a slim edge profile, a frameless panel or door, and a calm color story, a standard-sized alcove can look seamless and luxurious. The key is crisp waterproofing, sharp tile lines, and a simple fixture set.
Maintenance, Cleaning, and Durability
Care schedules by material
Acrylic
- Weekly: Rinse and wipe with mild soap. Use a soft cloth.
- Monthly: Check caulk lines and drain stopper function.
- Annual: Polish with non-abrasive cleaner; touch up hairline scratches with an approved kit.
Fiberglass
- Weekly: Mild soap; avoid abrasive pads.
- Monthly: Inspect for flex or squeaks; confirm secure stringer support.
- Annual: Reseal caulk and check for dull spots that may need gel-coat touch-up.
Enameled Steel
- Weekly: pH-neutral cleaner; rinse well.
- Monthly: Check for chips; fix small chips with enamel repair.
- Annual: Inspect overflow and drain gaskets for seepage.
Cast Iron (porcelain enamel)
- Weekly: Non-abrasive cleaner; soft cloth.
- Monthly: Inspect grout and caulk in the surround.
- Annual: Deep clean grout; check for any enamel wear around the rim.
Mold/mildew prevention
Keep humidity in check. Run the bath fan during showers and for 20 minutes after. A practical airflow target is 50 CFM intermittent or follow your local ventilation standard. Seal cementitious grout as directed by the product, and re-caulk joints when you see cracking or gaps. Wipe standing water off the tub ledge and corners after use.
Finish protection
Use non-abrasive cleaners on all materials. Avoid steel wool, harsh acids, or colored scrubbing pads that mark surfaces. For acrylic or fiberglass, use manufacturer-approved scratch repair kits. For porcelain enamel (steel or cast iron), small chips can be spot-repaired; deeper damage may require a pro.
Visual: Cleaning do/don’t matrix by material
| Material | Do | Don’t |
| Acrylic | Mild soap, soft cloth, non-abrasive polish | No bleach soaking, no abrasive pads |
| Fiberglass | pH-neutral cleaner, soft sponge | No harsh solvents, no scouring powder |
| Enameled Steel | Gentle bathroom cleaner | Avoid dropping heavy objects; no metal scrubbers |
| Cast Iron (Porcelain) | Non-abrasive cream cleaner | No acidic etching products; avoid sharp impacts |

Troubleshooting and Common Issues
Leak points
If you spot water stains below the bath, check the overflow first. Many leaks come from a loose overflow gasket or drain shoe connection. Fill the tub above the overflow and watch underneath. If the walls get wet, inspect the tile flange joint and caulk lines at all corners and along the tub-to-wall seam.
Squeaks, flex, and support fixes
A hollow feel or squeak often means the pan isn’t supported well. Many tubs require a mortar bed or approved foam pads. If the ledger is set too high or low, the tub can rock or pinch. Reset with correct support and re-level the rim.
Drain performance
Slow drains often come from hair buildup in the stopper. Add a hair trap or clean the stopper threads. If the tub gurgles or drains poorly after cleaning, check for proper slope and a well-placed vent. The P-trap should be below the drain and aligned; avoid long, flat trap arms that collect debris.
How long should an alcove tub last with regular use?
- Fiberglass: about 5–15 years
- Acrylic: about 10–20+ years
- Enameled steel: about 15–25 years
- Cast iron: about 30–50+ years
Good waterproofing, gentle cleaning, and timely caulk and grout maintenance can stretch the upper end of these ranges.
Alcove versus Drop-In, Freestanding, and Walk-In Tub
Space, cost, and installation
| Type | Space Need | Purchase Cost | Install Complexity | Fits Small Baths |
| Alcove | Minimal; three walls | Low–Mid | Low–Mid | Excellent |
| Drop-in | Needs deck/platform | Mid–High | Mid–High | Fair–Poor |
| Freestanding | Open space all around | Mid–High | Mid | Poor in tiny rooms |
| Walk-in (with door) | Larger footprint | Mid–High | Mid–High | Fair if planned carefully |
Comfort and accessibility trade-offs
- Alcove: Balanced comfort, easy to add grab bars, lower step-in. Ideal for shower-tub combo.
- Drop-in: Often deeper and wider for soaking. Deck edges can help with seated entry, but more space and cost.
- Freestanding tubs: High on style, strong soak, but less practical for a daily shower without extra splash planning.
- Walk-in tubs: Safer entry with low thresholds and powered jets in some models, but longer fill/drain times and high cost.
When to choose each type
- Renters/landlords: Alcove for quick installs and simple upkeep.
- Forever homes: Alcove for daily showering; add a second freestanding or drop-in for long soaks if space allows.
- Luxury remodels: Consider a drop-in in a deck with warm stone, or a centerpiece freestanding bathtub if the room is large.
- Mobility concerns: Alcove with grab bars and bench, or a walk-in unit if bathing safety is the top goal.
Visual: Side-by-side comparison matrix
- Alcove: Best cost-to-function ratio and easiest to maintain.
- Drop-in: Best custom look for larger rooms.
- Freestanding: Best aesthetics when space is abundant.
- Walk-in: Best accessibility where step-in height is critical.
Brands, Trends, Tools, and Resources for 2025
Top brands and model highlights
Rather than chasing names, focus on spec sheets:
- Material and shell thickness. Heavier acrylic and reinforced fiberglass feel more solid.
- Tile flange design and fastener instructions.
- Warranty terms. You’ll see coverage from 1 year up to lifetime on certain shells; read the fine print on labor.
- Safety and accessibility options like textured floors, integral armrests, and deck space for grab bar blocking on the surrounding walls.
Market trends: small-space remodeling, quick installs, ADA-friendly features
For 2025, small-space and budget-smart remodels lead the market. Homeowners want quick installs, durable surrounds, and WaterSense showerheads. More people ask for ADA-friendly layouts—even when not required—because clearances, grab bar backing, and simple controls help all ages.
Tools
- Pre-install checklist: Measurements, drain side, access path, fan CFM, backer choice, waterproofing system, ledger height, support method, valve/trim list.
- Sizing worksheet: Note your stud-to-stud length and width, door widths, ceiling height, and bather comfort needs (soak depth, back angle).
- Quick quiz: If you shower daily and only soak sometimes, choose alcove. If you love deep baths and have space for a deck, consider drop-in. If style is the priority and you have room all around, freestanding may fit.

FAQs
1. Can I put a freestanding tub in an alcove?
You can place a freestanding tub in a recess or alcove, but it may not be the best option for everyday use. Waterproofing around a freestanding tub is more challenging compared to alcove tubs, and splash control becomes difficult if you also want a shower. Cleaning around the exterior can be tricky because the tub may sit close to the walls, limiting access. In terms of pros and cons, freestanding tubs offer style and variety of materials, from acrylic to stone resin, and they often look striking. However, for smaller bathrooms, alcove tubs often prove more functional since they combine a bath and shower in one footprint. Freestanding tubs require more open bathroom space to shine, so in a compact remodel, they may not be the best balance of cost and convenience. Always consider long-term maintenance and daily needs before choosing.
2. Are drop-in bathtubs out of style?
Drop-in tubs are not out of style, but their use depends on bathroom space and design goals. They require a built deck or platform, which means more labor and cost during installation compared to alcove tubs. In terms of pros and cons, drop-in tubs deliver a luxurious soaking experience and design flexibility since the deck can be tiled or finished in stone. However, for smaller bathrooms, this style may not be the best choice because the deck consumes extra space. Alcove tubs often fit better in compact layouts, balancing cost, function, and maintenance. The pros and cons of alcove tubs include easy installation with stringers, affordability, and space efficiency. Drop-in tubs still appeal for luxury remodels or larger spaces, especially when made from premium options like cast iron or stone resin. Ultimately, they’re far from outdated, but less practical for tight footprints.
3. Do I need a tile flange on an alcove tub?
Yes, a tile flange is essential on alcove tubs because it prevents water from seeping into the walls during showers. Without it, leaks and mold could damage your bathroom space. Alcove tubs often come with an integral flange, but you can also find add-on kits. The tub may also require stringers underneath for stability, depending on the manufacturer’s instructions. In the pros and cons of alcove designs, one of the biggest pros is that a flange ensures long-term durability and easy waterproofing, while a con is that the look is less customizable compared to drop-in tubs. Still, in smaller bathrooms, alcove tubs often prove the most practical. Models are available in a variety of materials, including acrylic, fiberglass, or even stone resin. Overall, skipping the flange may not be the best choice, since it’s a small detail that protects your remodel investment.
4. Can I install an alcove tub on the second floor?
Yes, you can install an alcove tub on the second floor if the structure is sound, but consider weight carefully. The tub may become quite heavy when filled with water and a bather, especially if it’s cast iron or stone resin. Alcove tubs often require support with stringers and sometimes a mortar bed to distribute weight evenly. In terms of pros and cons of alcove units, one pro is their efficient use of bathroom space, while a con is that heavy materials may strain upper floors. For smaller bathrooms, lighter acrylic or fiberglass models in a variety of materials may be the best choice. The pros and cons here are clear: cast iron or stone resin lasts decades but is harder to move and may not be the best for older homes with weaker floors. Always check structural limits before you install.
5. What caulk should I use around the tub?
For alcove tubs, you should use 100% silicone caulk around the joint where the tub meets the wall surround. This creates a watertight seal and prevents leaks into your bathroom space. Alcove tubs often pair with tile or panels, and a good silicone bead keeps water out of the wall cavity. The tub may also rely on stringers for proper support during installation, so sealing is just as important as structural stability. Looking at pros and cons, silicone is flexible, long-lasting, and mold-resistant, though it may not be the best choice if improperly applied, since sloppy beads can look messy. In smaller bathrooms, where splashes are frequent, reliable sealing matters even more. Unlike drop-in tubs, where the deck edge gets caulked, alcove tubs often require continuous silicone along the flange area. Choose a high-quality product suitable for wet areas for the best results

Leave a comment
This site is protected by hCaptcha and the hCaptcha Privacy Policy and Terms of Service apply.