


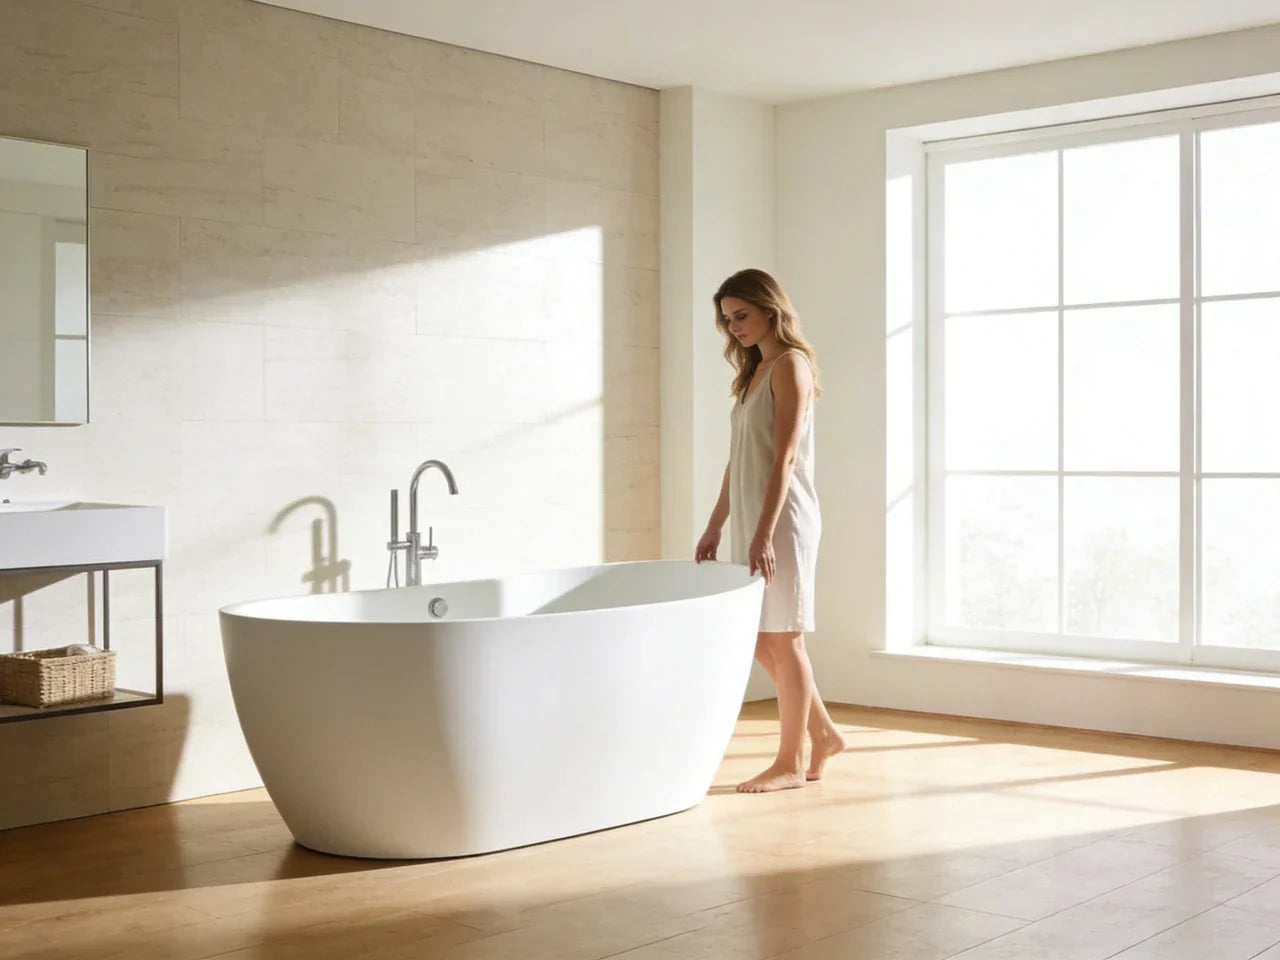
A 59 inch freestanding bathtub is right on the edge of “standard” without being a true drop-in replacement for common built-in tubs. On paper, 59" sounds close enough to a 60" alcove tub that it should be easy. In real bathrooms, it’s the clearances, drain accuracy, floor flatness, and faucet rough-in that decide whether it’s a smooth install or a slow, expensive regret.
If you’re looking at an oval 59 inch soaking tub (often acrylic, glossy white or matte white, sometimes matte black), treat it like a small “island” fixture. It needs room to breathe, precise plumbing, and a floor that won’t let it rock or hold water around the base.
Decision Snapshot for a 59 inch freestanding bathtub
Before making a final choice, it’s important to visualize how the 59" freestanding tub will sit in your master bath. Modern bathrooms often favor elegant freestanding bathtubs with high-quality acrylic construction, sometimes reinforced with fiberglass for durability. Consider the tub’s capacity, integrated slotted overflow, and chrome pop-up drain, as well as how the white acrylic or contemporary design complements your space. Even an inch-free standing tub requires enough clearance around it—not just for cleaning, but also to ensure easy installation and maintain a comfortable traffic flow. Planning for a freestanding soaking tub now can save headaches later, especially in tight bathroom layouts or when opting for a natural stone or acrylic and reinforced combination bathtub.
Hard Stop / Proceed Mini-Gate (confirm before you buy):
✓ You have taped the tub’s full footprint on the floor AND marked a realistic clearance zone around it.
✓ Your rough-in drain center is marked and lands within about ±1/2" of the tub’s drain location.
✓ You have a verified P-trap service plan (accessible from below, or through an access panel).
✓ You have measured the delivery path — doorways, hall turns, stairs — and confirmed at least 32–36" clear width plus handling space.
If any box is a “no,” pause and resolve it before proceeding.
Choose it when you have 6–12" end clearance, ~2–4" side clearance, and a true 30" traffic aisle that won’t be pinched by the tub
A 59-inch freestanding tub tends to work well when:
-
You can place the tub so there’s at least 6–12 inches of open space at both ends (not a wall, not a vanity toe-kick, real space you can clean and walk through).
-
You can keep about 2–4 inches minimum on the long sides (more is better, but this is where people get squeezed).
-
You still have a real 30" walkway on the main path (door → vanity → toilet/shower). If the tub steals that aisle, the bathroom feels “tight” every single day, even if the tub technically fits.
Avoid or reconsider when the drain can’t align (about ±1/2" tolerance), the floor can’t be leveled without height changes, or you can’t access the P-trap area
A 59" freestanding install becomes painful when:
-
Your floor drain is not within about ±1/2 inch of the tub’s drain location, and you don’t have easy access below to move the trap.
-
Your floor isn’t flat/level and fixing it means building up the area. Raising the tub even a little can complicate the drain and overflow connection and can create a “floating tub” look.
-
You can’t service the P-trap without breaking finished tile or ceiling below. Freestanding tubs hide problems until they’re serious.
Retrofit vs. new-build reality checks:
-
Slab-on-grade homes (retrofit): Moving a drain usually means cutting concrete, relocating pipe, and patching the slab—messy, noisy, and costly. If you’re more than ±1/2" off and don’t want demolition, a freestanding tub may not be the right choice for this spot.
-
Slab-on-grade homes (new build): Drain location can be planned precisely before the slab is poured, which makes freestanding placement far easier and cleaner. This is the ideal scenario for tight drain tolerances.
-
Wood-framed floors with unfinished space below (retrofit): You often have some flexibility to shift or rebuild the trap from underneath, making small drain moves and leveling fixes more practical. Access is the deciding factor.
-
Wood-framed floors with finished ceiling below: Any drain move or trap adjustment likely means opening drywall, patching, and repainting. If that level of disruption isn’t acceptable, reconsider the tub location or type.
Red-flag conditions that cause regret: tight door swings, narrow carry path (< tub width + handling clearance), low ceilings for freestanding fillers, or “fits on paper” layouts that block daily movement
Before committing, add this required checklist line:
✓ Measure the tightest turn and clear opening on the full carry path (including removing door slab/casing if needed) and compare against the packaged tub width plus handling clearance—typically 32–36 inches.
Here’s where people usually run into trouble:
-
The tub fits the floor plan, but the bathroom door hits it, or your knees hit it at the vanity.
-
The tub fits the room, but it can’t be carried into the room (tight hallway turn, narrow door, stair landing).
-
You planned a freestanding tub filler, but you don’t have the vertical space, underfloor access, or the right rough-in location, so you end up patching floors—or settling for a wall-mount faucet you didn’t plan for.
-
The tub’s oval shape “steals” more usable space than a rectangle. The curve looks soft, but it can pinch the walkway.
Who this size is for / not for (based on your home’s constraints)
A high-quality acrylic freestanding bath tub combines modern elegance with durable acrylic and reinforced fiberglass construction. Think about the tub’s capacity, the integrated overflow and pop-up drain, and how the inch-free standing footprint interacts with your bathroom space. Even with a stylish modern design, a freestanding tub is made to sit as an island fixture—so you need enough clearance for cleaning, service access, and comfortable movement. Evaluating these details now ensures that your freestanding bath tub not only looks elegant but also functions smoothly in your space.
Works best in bathrooms where a “standard size freestanding tub” footprint still leaves service access and cleaning space behind/around the tub
A 59-inch freestanding bathtub tends to be the sweet spot when you want a freestanding look but don’t have room for 67–71". It works best if:
-
Your bathroom is large enough that the tub is not in the main traffic lane.
-
You can leave cleaning space around it without turning the room into an obstacle course.
-
You can access plumbing from below (unfinished basement) or from an adjacent wall (future access panel).
It also fits many “master bath” remodels where the old built-in tub was 60" but the new design gives the tub a little “stage” area with clearance.
Usually a poor fit for retrofits with unknown subfloor access (finished tile/concrete) where drain rerouting is likely
A 59 inch freestanding tub is often not the easy retrofit people hope it is, especially when:
-
You’re on a slab (concrete) and the drain is wrong. Moving it can mean cutting concrete.
-
The floor below is finished and there’s no clean way to open it for a trap move.
-
You don’t know what the subfloor looks like (soft spots, patchwork around the old tub, uneven underlayment). Freestanding tubs don’t hide floor issues.
Not ideal if your delivery path can’t handle it: hallways/doorways narrower than a typical 32–36" tub width plus maneuvering clearance
Most 59-inch freestanding tubs are not 59" x 30" in a neat rectangle. They’re usually oval and commonly around:
-
59" length
-
30–32"+ width at the widest point
-
Tall packaging and bulky corners that don’t “pivot” well
If your hallway is tight or you have a sharp turn into the bathroom, the problem isn’t the tub length—it’s the ability to rotate it through the opening without damaging drywall, door trim, or the tub.
A practical rule: if your path includes a tight turn and your clear opening is close to the tub’s max width, plan on removing the door slab and possibly the casing. If you still can’t create room, you may need a different tub size/shape.
Quick Fit Checklist:
-
Best fit: Wood-framed floor with underfloor access, tub sits outside main 30" traffic aisle, clearance for cleaning and service.
-
Usually poor fit: Slab floor with partially finished subfloor, limited underfloor access, tub encroaches slightly into main traffic path.
-
Not ideal: Fully finished slab or wood floor with no trap access, tub sits in primary 30" traffic aisle, tight delivery/carry path that cannot accommodate 32–36" width plus handling clearance.
Key trade-offs you accept with a 59-inch freestanding, oval soaking tub
A 59-inch freestanding bathtub often hits the sweet spot between visual impact and practical sizing, which is why options like an acrylic 59" master bath tub or a 59 inch freestanding bathtub are so popular in modern bathroom designs. But while the overall length sounds compact and manageable, these tubs behave very differently from alcove models once you factor in clearance, plumbing, and real soaking performance. Before committing to the look, it’s worth understanding the trade-offs that come with choosing this style and size.

Space trade-off: freestanding look requires real perimeter clearance, not just a 59-inch wall-to-wall measurement
People measure wall-to-wall, see “60 inches,” and assume a 59-inch freestanding tub will slide right in. The problem is that freestanding tubs need space around them for:
-
Cleaning
-
Faucet access
-
Drain service realities
-
Visual balance (a tub jammed against a wall reads like a mistake)
If you put a freestanding tub in a tight alcove, you often end up with:
-
A dirt-catching gap you can’t reach
-
A tub that looks off-center because it’s forced to one side for drain alignment
-
A faucet placement that feels awkward (or impossible)
Plumbing trade-off: freestanding tub filler placement can force supply line moves and exact centering that alcove tubs don’t require
With an alcove tub, the plumbing is in the wall and you get some forgiveness. With a freestanding tub, especially with a floor-mounted tub filler, you need:
-
Hot and cold supplies brought up through the floor (or a wall-mount alternative)
-
Precise location so the spout reaches the tub deck where it’s supposed to
-
Enough space so the filler isn’t a shin-banger in the walking path
If the filler ends up too far from the tub, you get splashing and slow fill. If it’s too close, it can interfere with entry/exit and cleaning.
Performance trade-off: “deep soaking” expectations depend on soaking depth and overflow height, not just tub length
A 59-inch tub can be sold as a deep soaking tub, but the soak is limited by the overflow height, not marketing language. Planning for a 59-inch freestanding bathtub also involves considering hot water capacity. According to the U.S. Department of Energy, sizing a new water heater should account for your household’s daily hot water needs and peak usage to avoid running out during bath time. Two tubs with the same outside dimensions can feel totally different because of:
-
How high the integrated overflow sits
-
Whether the tub has a slotted overflow or a low overflow
-
How steep the backrest slope is (slipper and double slipper shapes reduce flat bottom length)
If you want a true soaking bathtub experience, focus on:
-
Soaking depth to overflow
-
Bottom length where your body actually sits
-
The slope and width at shoulder level
What extra work and cost this size can trigger (especially in retrofits)
Even when the footprint seems modest, a 59 inch freestanding bathtub can trigger more downstream work than many homeowners expect—especially in retrofit bathrooms where floors, drains, and supply lines were never planned around a freestanding layout. What looks like a simple tub swap often turns into a series of small adjustments that stack up in labor, time, and cost once the old fixture is removed and real conditions are exposed.
Floor prep and leveling: shims, mortar bed, or backer board can add labor and unexpected height changes at the drain connection
Freestanding acrylic bathtubs are light enough to handle (compared to cast iron or solid surface), but they are unforgiving on a bad floor. If the floor is out of level, you can get:
-
A tub that rocks
-
Slow draining because the tub’s internal slope no longer points toward the drain
-
Water “staying” around the base after cleaning, leading to grime lines
Fixing it might mean:
-
Shimming adjustable feet (if the tub has them)
-
Setting the tub in a mortar bed (more common with some designs)
-
Flattening the subfloor under tile, which is messy once the floor is finished
The hidden cost is that leveling solutions can change the tub height, which can turn a close-enough drain connection into a stressed or leaking connection.
Drain relocation and underfloor access: rerouting P-trap/tailpiece, vent implications, and the risk of “no access without demo”
A freestanding tub drain is not like a standard alcove tub where the drain lands roughly where it always lands. On a freestanding tub, the drain location is dictated by the tub design.
If your existing drain is even slightly off and you don’t have access below, you may be forced into:
-
Cutting finished flooring
-
Opening the ceiling below
-
Rebuilding the trap arm connection
The most annoying version of this failure is when the tub “almost” lines up, so someone tries to force it with a flex drain or offset parts. That can work, but if it’s under stress, it becomes a slow leak later—often after the caulk line hides the first signs.
Water supply changes for a tub filler: rough-in positioning, flexible vs rigid connections, and leak risk when reach is marginal
A floor-mounted freestanding tub filler is a common plan with a 59" modern freestanding tub. The catch is that supply lines and mounting must be rock solid.
Common issues that add cost:
-
Supplies stubbed up in the wrong spot, so the filler base doesn’t cover the hole cleanly
-
Not enough room for valves or connections below the floor
-
A filler placed where the spout barely reaches the tub, causing splashing and slower fills (because you keep the flow low to avoid spray)
If you’re on a slab, running supplies to the right location can become a bigger project than the tub itself.
Will it actually fit in your bathroom layout (not just on a spec sheet)?
A 59 inch freestanding bathtub can look perfectly proportioned on paper, but real bathrooms are defined by doors, aisles, fixtures, and how people actually move through the space. Before diving into clearance math and layout checks, it helps to shift from thinking in terms of nominal dimensions to thinking in terms of lived-in space—because a tub that technically fits can still feel oversized once it’s placed.

Clearance math that prevents crowding: add 6–12" at both ends, confirm 30" access aisle, and account for base/feet footprint
Start with the tub’s outer length (59 inches), but don’t stop there. For a freestanding install that doesn’t feel cramped:
-
Plan 59" + 6–12" at each end That’s 71" to 83" of “visual/runway” length if the tub is in an open zone.
-
Plan for a true 30" aisle at the tightest point where you walk past the tub.
-
When taping the layout, verify the full tub footprint—including base, feet, and any levelers—not just the rim—using the manufacturer’s exact dimensions. This ensures the tub won’t pinch aisles or collide with walls once installed.
-
Check the base footprint. Many oval tubs have a smaller base than the rim. That can help with floor contact, but it does not create more walking space—the rim is what your body hits.
If you’re trying to place it in a space that is exactly 60" long wall-to-wall, the tub might technically fit, but you’re giving up the ability to:
-
Clean behind it
-
Center it
-
Service plumbing without pulling it out
Will this work in a small bathroom if it technically fits wall-to-wall?
Sometimes, but this is where regret is most common.
A 59 inch freestanding bathtub in a small bath usually fails in one of three ways:
-
The tub becomes the hallway. You end up sideways-walking past it.
-
The door can’t swing freely. Even if it clears, it feels bad every day.
-
The vanity/toilet clearances get compromised. You don’t notice on a plan until you’re living with it.
If your bathroom is “just big enough,” a built-in tub or a tighter-footprint shower often works better because it returns usable floor area and gives you walls for plumbing and storage.
Door swing and traffic-flow failures: when a 59-inch freestanding tub blocks entry, vanity use, or toilet clearance despite fitting dimensions
This is a real-world check that catches problems early:
-
Open the bathroom door fully. Does it hit where the tub would go?
-
Stand at the vanity. Can you step back without bumping the tub rim?
-
Sit on the toilet (or measure it). Do you have enough knee/leg room without touching the tub?
A freestanding tub rim is often higher and thicker than expected. Even light contact becomes annoying because it’s always in the way.
Also watch out for towel bars, radiators, and baseboard heaters. A tub that “fits” can still block these.
Visual check: taped floor footprint + marked drain location + cardboard template for the oval 59 inch soaking tub curve
Before you buy, do a mock layout:
-
Tape the tub outline on the floor using the manufacturer’s overall dimensions.
-
Add a second tape outline for your “no-regret clearance zone” (your end and side clearances).
-
Mark the drain center on the floor where the tub drain needs to land.
-
If possible, make a simple cardboard curve template for the widest part of the oval. The widest point is what steals aisle space.
Step-by-step tape outline + drain mark procedure:
-
Tape the full tub footprint on the floor using the manufacturer’s overall length and width dimensions.
-
Add a second tape outline representing your “no-regret clearance zone” at both ends and sides.
-
Mark the exact center of the drain on the floor, ensuring alignment with your rough-in ±1/2".
-
Create a simple cardboard template of the tub’s widest oval curve. Place it over the footprint to identify the aisle pinch point where the tub intrudes into walkways.
-
Walk the path as you normally would—door to vanity to toilet—to confirm the tub and clearance zones feel open. Adjust tape or layout if it already feels cramped.
If that taped outline already feels tight when you walk through, it will feel worse when the tub is there and your brain treats it as an obstacle.
Can your floor, drain, and faucet setup support a freestanding install without chronic problems?
Before diving into drain alignment, subfloor strength, and faucet routing, it’s worth starting with the most basic requirement: a level, stable floor. Even a well-planned free standing tub install can develop daily annoyances if the surface beneath it isn’t truly flat, which is why floor conditions are usually the first checkpoint.
Level check procedure
Before buying, use a spirit level to check the floor in multiple directions—lengthwise, widthwise, and diagonally—across the area where the tub will sit. Identify any high or low spots. Decide in advance how you will level the area (using shims, mortar, or a backer board) before finishing the tile or floor surface.
Floor flatness thresholds: how small tilts create pooling, slow draining, wobble—and when shims/mortar become mandatory
Freestanding tubs don’t like uneven floors. Small tilts cause big annoyances:
-
Water line looks crooked when filling
-
Residual water pools on one side
-
The tub creaks or rocks, especially when someone shifts weight
In practice:
-
If you can feel the tub rock when empty, it will usually get worse over time as the feet settle and caulk compresses.
-
If the floor has a slope (common in older homes), you may need to level only the tub area—not the whole room—but that still changes heights at the drain.
If you have tile already installed, shimming can work, but it needs to be done so the tub sits solidly without point-loading the acrylic base. Point loads are how you get stress cracks later.
Make sure to complete your level check and decide your leveling method before tile or flooring is finished—retroactively shimming or mortaring after tiling is much harder and can compromise stability.
What happens if my rough-in drain is 1/4" to 1/2" off the tub’s drain hole?
This is one of the biggest fork-in-the-road moments.
If you’re off by a little, you may be tempted to “make it work” by:
-
Pulling the tub slightly off center
-
Using a flexible drain connection
-
Tweaking the trap alignment under the floor
What tends to happen in practice:
-
If the tub is off center, the eye catches it, especially with an oval tub.
-
If the connection is forced, it may not leak on day one. It leaks after the tub has been filled dozens of times, the gasket compresses, or someone bumps the tub while cleaning.
Concrete stop/continue threshold: If your rough-in is within ±1/2", only continue if the drain connection is unstressed and passes a water-test. If it fails this test, or if the offset is beyond ±1/2", stop and plan for drain relocation with proper access.
A rough tolerance of about ±1/2 inch is often where installers stop and decide whether to open the floor. This threshold now serves as a clear decision point: do not attempt to force connections beyond this limit.
Subfloor and trap realities: reinforcement needs, P-trap adjustment space, and why poor sealing causes backups or vacuum effects
A 59-inch acrylic freestanding bathtub is not usually heavy by itself, but the total load matters:
-
Tub weight (often roughly 70–120 lb, depending on acrylic thickness and reinforcement)
-
Water weight (8.34 lb per gallon)
-
Person (often 150–250+ lb)
A “comfortable soaking” fill could easily push the total into the 600–900 lb range in one spot of the floor. Most homes can handle this, but problems show up when:
-
The tub lands parallel to joists in a weak area
-
There’s an old subfloor patch from the previous tub
-
The floor is already bouncy
Drain/trap issues are the other hidden problem. You need enough room under the tub for:
-
A correctly sloped trap arm
-
A vented connection (per local code)
-
A trap that can be serviced if something goes wrong
When the trap is jammed into a tight cavity or connected under stress, you can get slow drain, gurgling, or a seal that doesn’t hold.
Can I use a freestanding tub filler here if ceiling height or joists block the riser (typ. 7–8 ft clearance rule-of-thumb)?
A floor-mounted tub filler needs:
-
A stable mounting point
-
Correct supplies
-
Enough vertical room so the fixture doesn’t conflict with nearby obstructions
Ceiling height isn’t usually the direct blocker (many bathrooms have 8' ceilings), but framing can be. If you’re drilling through the floor into a joist bay that’s packed with:
-
Joists running the wrong direction
-
HVAC
-
Electrical
-
Blocking
You may not be able to bring supplies up where you want without opening more of the floor.
Also consider user experience:
-
A tall filler next to a tub in a tight space becomes something you catch with your hip.
-
If you plan a hand shower on the filler, you need enough room to hang it and enough reach to rinse without spraying the floor.
If your space is tight, a wall-mounted tub faucet or deck-mounted option (on a nearby ledge) may be a better fit, but that changes the whole rough-in plan.
Long-term ownership: what fails first, what leaks quietly, and what’s hard to maintain
Once you’re confident the tub can be installed correctly, the next question is what happens after the first few months and years of use. Freestanding tubs tend to reveal small weaknesses slowly, so understanding the most common long-term failure points helps you avoid surprises later.

Leak pathways unique to freestanding tubs: overflow and drain seals that must be water-tested before finishing
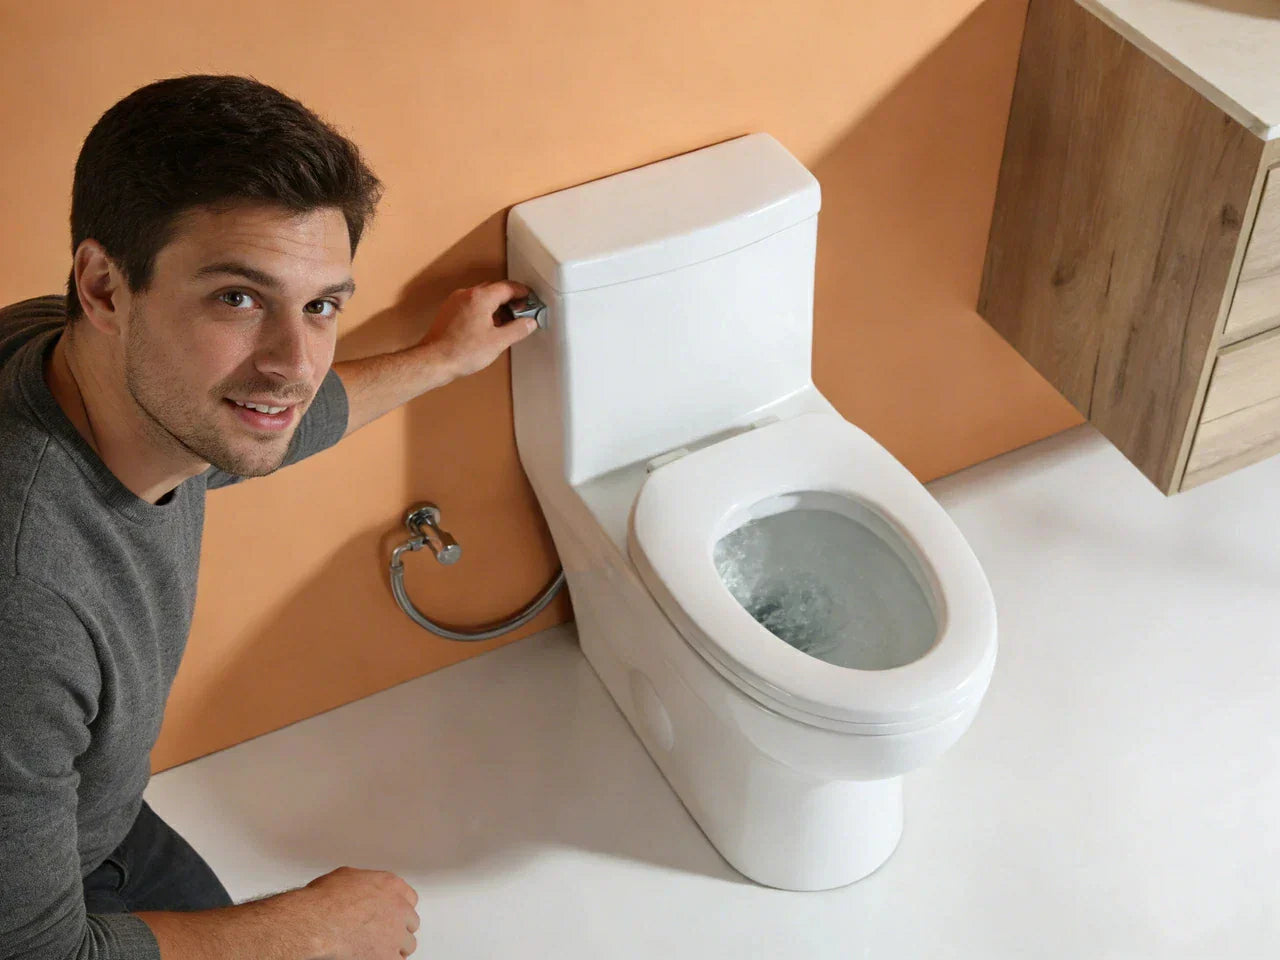
Freestanding tubs often use an integrated overflow (sometimes a slotted overflow) and a pop-up drain. These are common leak points if they’re not seated and tested.
The failure pattern is predictable:
-
Everything looks fine dry.
-
The tub is used a few times.
-
A slow seep shows up under the tub, and you don’t see it until the floor smells musty or grout changes color.
Before you consider the install “done,” the tub should be filled to the overflow and held, then drained, while someone checks:
-
Under the tub
-
Any accessible plumbing below
-
The overflow connection area
This matters more in a freestanding setup because fixing it later can mean lifting or sliding a heavy tub and risking floor damage.
Base-edge sealing and hidden rot: silicone gaps that let water wick under the tub and show up months later
Many people assume a freestanding tub should not be caulked at the base because it “floats.” In real bathrooms, water ends up on the floor. If it can run under the tub, it will.
Here’s what becomes a problem:
-
Dust and hair collect under the tub and stay damp.
-
Small spills wick under the base and never fully dry.
-
Over time, you get odor, staining, and in bad cases, subfloor damage.
If you do seal the base, it needs to be done carefully:
-
Clean, dry floor
-
Continuous bead where appropriate
-
No big gaps where water can enter but not escape
There isn’t one perfect approach for every tub design and floor type, but ignoring the water path is how you end up with hidden rot.
Settling and wobble over time: why feet should be set ~1/8"–3/16" high before filling, and how settling misaligns the drain
Acrylic tubs often have adjustable feet or a support base. The tub may feel solid empty, then change when filled because:
-
Weight compresses pads/shims slightly
-
Caulk compresses
-
The floor system deflects a bit
That’s why installers often account for settling (a small pre-adjustment can help). If the tub settles after the drain is connected, the drain joint can be put in tension. That’s when you get:
-
A hairline leak at the drain shoe
-
A slow seep that only happens when someone is in the tub
The key point is that “it drained fine once” isn’t the same as “it will stay sealed for years.”
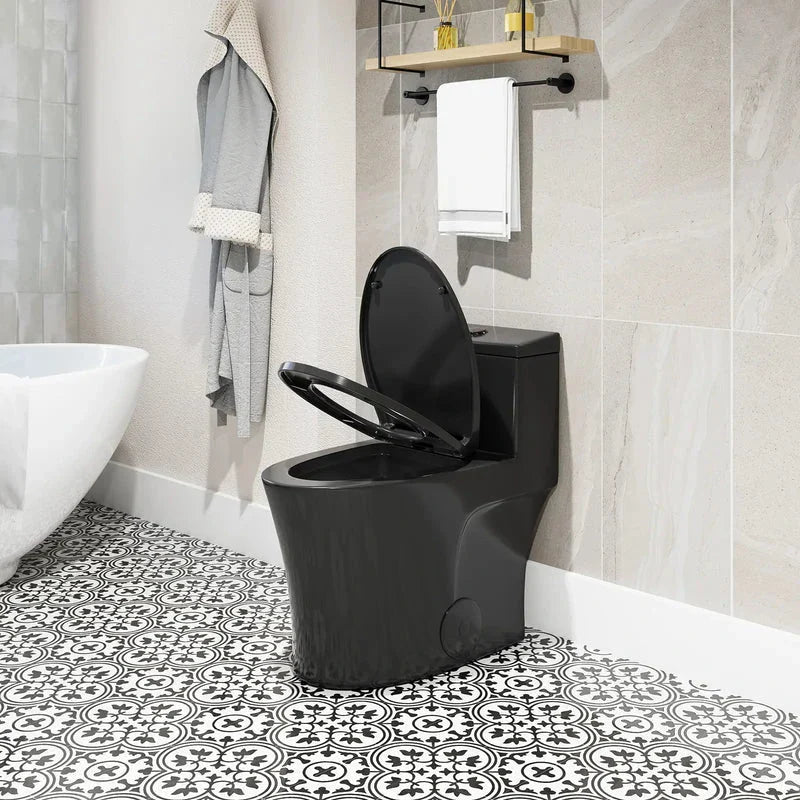
Acrylic finish realities (glossy white, matte white, matte black): scratching, cleaning access around the tub, and when “quality acrylic” still needs extra care
Acrylic is popular because it’s warm to the touch, lighter, and usually easier to install than stone resin or solid surface. But finishes behave differently:
-
Glossy white finish: shows swirl marks less than you’d think, but it shows soap scum and water spots depending on your water hardness.
-
Matte white: can look great, but it can hold onto grime in texture and may show scuffs from belts, rivets, or abrasive pads.
-
Matte black: shows mineral spots and dust quickly. If your bathroom doesn’t have strong ventilation, you’ll clean it more often than you expect.
The bigger reality: freestanding tubs are harder to clean around. If you only leave 1–2 inches behind the tub, you’ll end up with:
-
A permanent dust line you can’t reach
-
A mildew-prone gap
-
A reason you stop using the tub because it’s annoying to maintain
If you’re choosing a 59-inch freestanding acrylic soaking tub mainly for the look, make sure you’re not creating a cleaning problem you’ll hate.
Before You Buy checklist
-
Measure your real walkway past the tub location: 30" minimum where you actually walk, not just in open floor areas.
-
Confirm you can leave 6–12" clearance at both ends of the 59-inch tub (or accept that cleaning and centering will be compromised).
-
Map the drain: mark the tub drain centerline on the floor and confirm the existing drain is within about ±1/2" or you have access below to move the trap.
-
Verify you have a service plan for the P-trap (unfinished ceiling below, access panel option, or realistic ability to open/repair later).
-
Check floor flatness with a long level in multiple directions; plan your leveling method before tile is finished.
-
Dry-run the delivery path: measure door openings and tight turns; don’t assume a 59-inch tub will pivot through a standard doorway.
-
If using a freestanding tub filler, confirm rough-in location and supply routing won’t land on joists or require major demo.
-
Plan cleaning access: if you can’t fit a hand/tool behind it, you’re agreeing to live with buildup—or move the tub.
-
Verify all drain parts are present, including the drain nut and gaskets, before setting the tub in place. Missing pieces can halt installation or require tub removal later.
-
Protect the tub surfaces during handling and installation with blankets, cardboard, or foam pads to prevent scratches, dents, or chips.

FAQs
1. Is 59 inches a standard bathtub size?
You’ll often see 59-inch freestanding tubs described as “standard,” but that mostly applies to freestanding styles—not built-in alcove tubs. Traditional alcove tubs are typically 60 inches and designed to fit tightly between three walls. A 59-inch freestanding tub is more about visual balance and interior comfort than matching wall-to-wall framing. Because it stands on its own, it usually needs extra breathing room around it and more precise drain positioning. So while 59 inches is a very common size in the freestanding category, it shouldn’t be treated as interchangeable with a true 60-inch alcove tub.
2. Will a 59-inch tub fit in an alcove space?
Technically, a 59-inch tub can slide into a 60-inch opening, but that doesn’t mean it’s a good idea. When a freestanding tub is pushed tight between walls, you lose cleaning access, the tub can look slightly off-center, and even small drain misalignments become harder to correct. Freestanding tubs are designed to have some open space around them, both for aesthetics and serviceability. If you’re working with an alcove, it’s usually better to choose a tub specifically designed for alcove installation rather than forcing a freestanding model into that footprint.
3. Is it long enough for a 6-foot person?
For many people around six feet tall, a 59-inch tub can feel on the short side. The reason is that the interior soaking length is much shorter than the outside measurement because of sloped backs and thick walls. You may still fit, but you’ll likely be more seated than stretched out. Some taller users are fine with this, especially if they prefer a deeper soak, while others find it less relaxing. If full-body stretching is important to you, looking at longer tubs or checking the interior length specification is a smart move.
4. How heavy is a 59-inch acrylic tub?
On its own, a 59-inch acrylic freestanding tub is usually fairly manageable, often in the range of about 70 to 120 pounds. The real weight concern is when it’s filled. Water is heavy, and once you add a person, the total load in one spot can climb into the 600–900 pound range. Most modern floors can handle this, but weak subfloors, old joists, or bouncy areas can become issues. That’s why floor condition and proper support matter just as much as the tub’s empty weight.
References

Leave a comment
This site is protected by hCaptcha and the hCaptcha Privacy Policy and Terms of Service apply.