



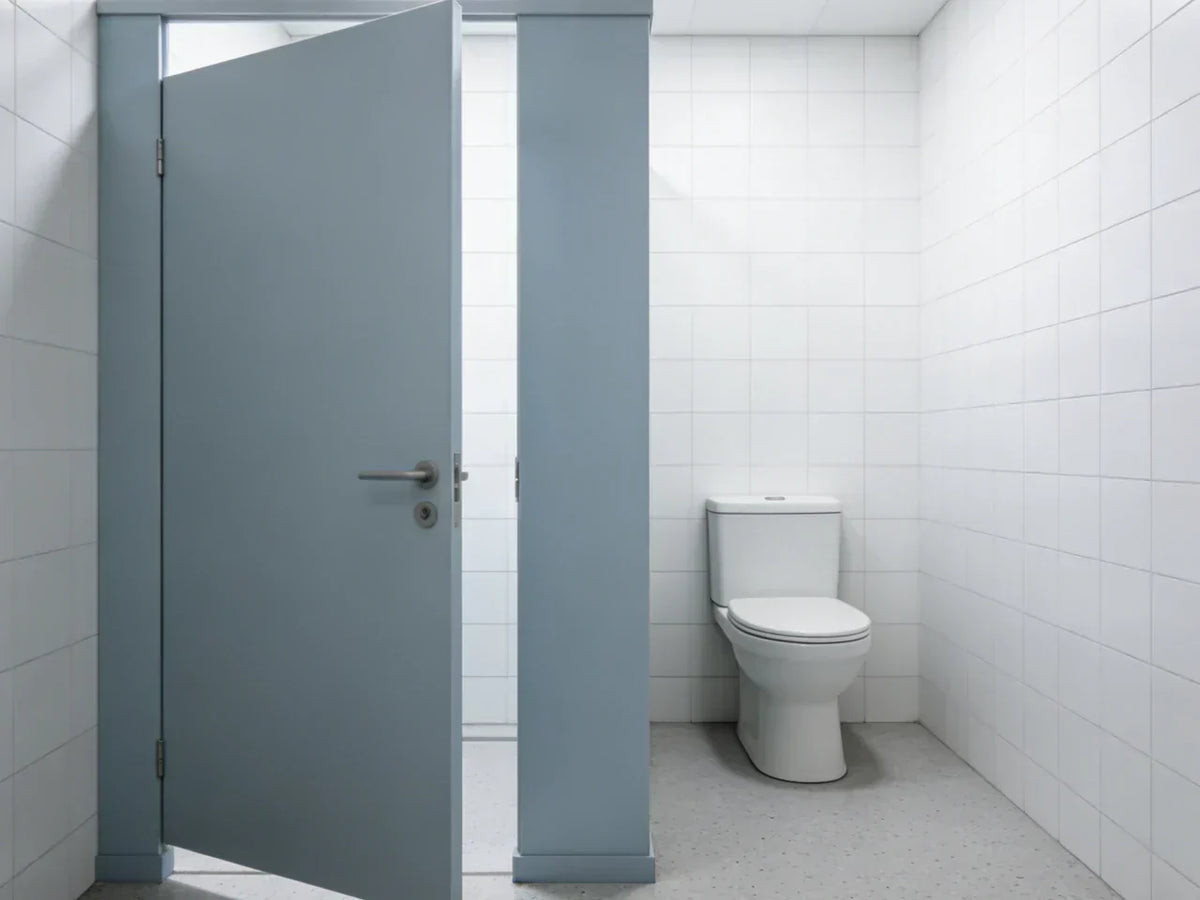
A 10-inch rough-in toilet is designed for a bathroom where the toilet flange sits closer to the finished wall than a standard 12-inch rough-in. The rough-in measurement tells you where the drain is located, but it does not tell you whether the complete toilet will fit the room.
Before ordering, measure from the finished wall to the center of the closet bolts or flange, then check the toilet's full dimensions against baseboards, supply lines, doors, vanities, and other nearby obstacles.
This guide focuses on that installation process: confirming the rough-in, checking a small bathroom layout, identifying common fit problems, and using the exact product drawing before installation.
Decision Snapshot: Does a 10-Inch Rough-In Toilet Fit Your Bathroom?
Start with the drain position, then evaluate the complete room. A confirmed 10-inch rough-in is only the first step. The toilet must also clear the finished wall, trim, water supply, door swing, vanity, and usable floor area.
Confirm the Rough-In First
Measure from the finished drywall or tile surface to the centerline of the closet bolts or toilet flange. Do not use the baseboard, the back of the existing toilet, or the edge of the flange as your reference point.
If the measurement is close to 10 inches, compare it with the installation drawing for the exact toilet you are considering. Product geometry varies, so the model-specific specification should determine whether the fixture fits.
Check for Rear Obstructions
A correct rough-in measurement does not guarantee that the back of the toilet has a clear installation path.
Thick baseboards, radiator pipes, heater covers, tiled ledges, protruding shutoff valves, and uneven walls can interfere with the tank or toilet body.
Compare these obstacles with the toilet's official dimensions before installation rather than relying on a universal rear-clearance rule.
Check the Front and Sides Too
Rough-in size describes the drain location, not the toilet's total projection into the room.
Check whether the bowl interferes with a swinging bathroom door, vanity drawers, nearby walls, or comfortable standing and sitting space.
In a small bathroom, the overall dimensions of the toilet can matter just as much as the rough-in measurement.
How to Measure a 10-Inch Toilet Rough-In Correctly
Accurate measurement is the most important first check before choosing a 10-inch rough-in toilet.
Measure From the Finished Wall to the Flange Center
Place the end of your tape measure against the finished wall surface behind the toilet.
Measure straight out to the centerline of the closet bolts. If the toilet has already been removed, measure to the center of the flange.
Do not measure from the baseboard, wall trim, the rear of the old toilet, or the outside edge of the flange.
Thick trim and uneven walls can make the available installation space smaller than the rough-in measurement suggests. Where necessary, use a straight reference edge above the baseboard to identify the finished-wall plane.
Account for Wall Finishes and Uneven Surfaces
Added tile, wall panels, wainscoting, or other finish layers can change the effective distance between the wall and the flange.
If the wall bows or leans, check the available space at both flange level and at the height of the rear portion of the toilet.
When the measurement does not clearly match the model's installation requirements, use the exact specification drawing or ask a qualified installer to confirm the fit before ordering.
Two HOROW 10-Inch Rough-In Toilets to Compare
Once you confirm that your bathroom requires a 10-inch rough-in, compare the complete dimensions and installation drawing of the exact model with your available space. The two models below are examples; for the full selection, use the HOROW 10-inch rough-in collection.

HOROW T0338W-10
The T0338W-10 is a white one-piece toilet designed for a 10-inch rough-in installation. Check its official product drawing against your wall, trim, supply connection, door swing, and available floor space before installation.

HOROW T0338B-10
The T0338B-10 provides a black one-piece option for a confirmed 10-inch rough-in. Use the complete product dimensions rather than rough-in size alone when checking fit in a compact bathroom.
Small-Bathroom Fit Checks Beyond the Rough-In
A 10-inch rough-in can solve a drain-position problem, but it does not automatically make a toilet compact. Use the full product dimensions to check how the fixture occupies the bathroom.
Check Bowl Projection
Bowl projection determines how far the toilet extends into the room. This is especially important when the toilet faces a door, vanity, tub, or narrow walkway.
A toilet can match a 10-inch rough-in and still be too long for the available floor plan.
Check Bidet Seat and Connection Space
If you plan to add a bidet seat, check the seat manufacturer's compatibility requirements as well as the toilet dimensions.
A bidet seat may require additional room around the rear mounting area, water connection, hose routing, and—in the case of an electric model—a suitable electrical connection.
Make sure hoses and cords can be routed without being pinched, sharply bent, or placed where they interfere with normal bathroom use.

Room Clearance Checks for a 10-Inch Rough-In Toilet
After confirming the drain position, check whether the complete toilet fits the way the bathroom is actually used.
Check the Door Swing
A 10-inch rough-in does not automatically solve a door-clearance problem.
Compare the toilet's total projection with the full arc of the bathroom door. Also open nearby vanity doors and drawers while checking the layout.
Check the Widest Part of the Toilet
Side-space problems often occur around the bowl or seat area rather than at the tank.
Confirm that the fixture clears the vanity, wall trim, water shutoff, and other nearby surfaces throughout its full width.
Use a Cardboard Footprint for Tight Layouts
For a tight bathroom, a simple cardboard mockup can make the product drawing easier to visualize.
Use the toilet's official width and projection to mark its footprint on cardboard or painter's tape.
Position the template at the installation area and test the door swing, vanity access, and standing space around it.

Common Installation Issues to Check Before Setting the Toilet
Rear Obstructions
Baseboard heaters, pipes, trim, wall ledges, and other projections can interfere with the rear of the toilet even when the rough-in measurement is correct.
Compare every obstruction with the product drawing before lowering the toilet onto the flange.
Uneven Floors
The toilet should sit firmly on the finished floor without rocking.
If the floor is uneven, correct the instability during installation rather than relying on caulk to hold the fixture in place.
Flange Condition
Inspect the flange before installing the new toilet. It should be secure and free from obvious cracks, severe corrosion, or movement.
Flooring changes can also affect flange height. If the flange condition or position is questionable, correct it before setting the new toilet.
Water Supply and Hose Routing
Check that the shutoff valve remains accessible after the toilet is installed.
Supply hoses should have enough room to connect without sharp bends, rubbing against the toilet body, or becoming trapped between the fixture and wall.
When a Plumbing Change May Be Necessary
If the existing rough-in does not match the toilet you want, do not assume an adapter or forced installation will solve the problem.
Relocating a closet flange may be practical during a larger bathroom renovation, while an existing finished floor can make the work more involved.
When drain relocation is being considered, have a qualified plumbing professional evaluate the existing drain, flange, floor construction, and venting before work begins.
Electrical Planning for an Electric Bidet Seat
An electric bidet seat adds another installation requirement that is separate from the toilet rough-in.
Confirm the electrical requirements of the exact seat and make sure the outlet and cord can be positioned appropriately for the bathroom.
If new bathroom electrical work is required, use a qualified electrician and follow applicable electrical requirements for the installation location.
After Installation: Watch for Fit and Plumbing Problems
After installation, verify that the toilet remains stable, the supply connection stays dry, and the base shows no signs of leakage.
Rocking or Movement
Movement after installation can stress the toilet-to-flange connection. If the fixture rocks, correct the underlying floor or installation issue rather than ignoring it.
Drain or Vent Symptoms
Repeated clogs, slow clearing, or gurgling from nearby fixtures can point to a drain or vent problem rather than a rough-in problem.
If these symptoms continue after installation, have the plumbing system inspected instead of repeatedly changing the toilet position or seal.
Before You Buy
-
Measure from the finished wall to the centerline of the closet bolts or flange.
-
Compare the exact measurement with the installation drawing for the toilet you are considering.
-
Check the toilet's full projection and width against the door swing, vanity, walls, and other nearby fixtures.
-
Inspect the flange, finished floor, shutoff valve, and supply-line routing before installation.
-
If adding a bidet seat, confirm its toilet-fit, water-connection, and electrical requirements separately.

FAQs
1. Can I install a 12-inch rough-in toilet on a 10-inch rough-in?
A toilet designed for a 12-inch rough-in may not fit a bathroom with a 10-inch rough-in because the fixture can interfere with the finished wall before it aligns correctly with the flange. Do not assume an adapter will make a specific toilet compatible. Check the toilet manufacturer's installation requirements and the available room dimensions first.
2. How do I measure a toilet rough-in?
Measure from the finished wall behind the toilet to the center of the closet bolts. If the toilet has been removed, measure to the center of the flange. Do not measure from the baseboard or from the back of the existing toilet.
3. Does a 10-inch rough-in toilet save bathroom space?
A 10-inch rough-in changes where the toilet connects to the drain, but it does not by itself determine how much floor space the toilet uses. Compare the complete width, depth, and projection of the exact toilet with your bathroom layout.
4. What should I check before buying a 10-inch rough-in toilet?
Confirm the finished-wall-to-flange measurement, review the exact model's installation drawing, check wall and floor obstructions, test the door and vanity clearances, inspect the flange and water supply, and verify any additional requirements for a bidet seat or other accessory.



Leave a comment
This site is protected by hCaptcha and the hCaptcha Privacy Policy and Terms of Service apply.