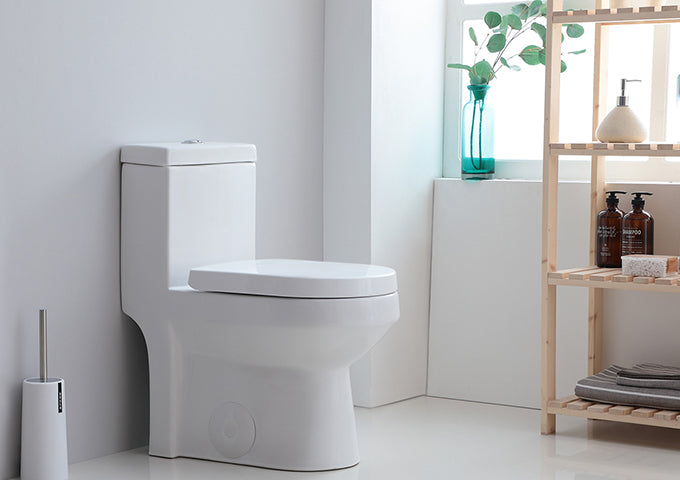
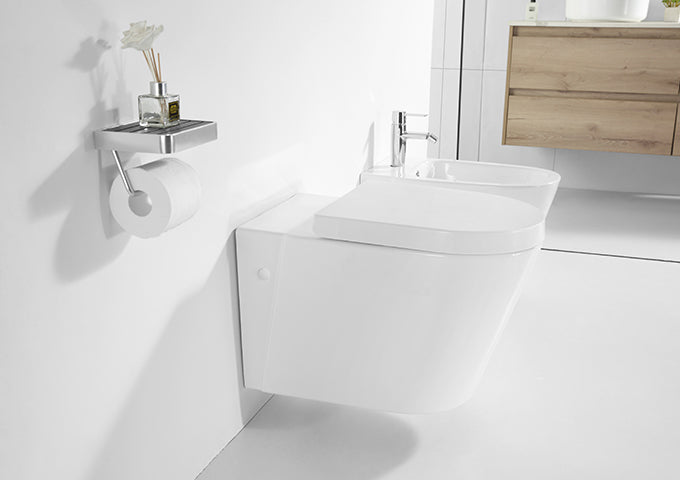
Introduction:
Installing a new elongated toilet seat might seem like a daunting task, but with the right approach, it can be a straightforward and hassle-free process. In this guide, we'll explore some shortcuts and tips to make the installation quick and easy, ensuring a perfect fit for your bathroom.
1. Gather Your Tools:
Before you begin, gather all the necessary tools and materials. You'll typically need a screwdriver (either flathead or Phillips, depending on the screws), adjustable wrench, and possibly a measuring tape if you're uncertain about the size of your toilet bowl.
2. Measure Twice, Install Once:
Ensure you have the correct measurements for your toilet bowl before purchasing a new elongated toilet seat. Measure the length and width of the bowl to guarantee a proper fit. Most elongated seats are designed to fit standard elongated bowls, but it's always wise to double-check.
3. Prep the Area:
Start by cleaning the toilet bowl and surrounding area to remove any dirt or debris. This will provide a clean surface for installation and prevent any grime from getting trapped under the new seat.
4. Remove the Old Seat:
Using your screwdriver, loosen and remove the screws or bolts attaching the old toilet seat to the bowl. Lift the old seat off and dispose of it properly. Take note of any hardware that may need to be reused for the new seat.
5. Position the New Seat:
Place the new elongated toilet seat onto the bowl, aligning it properly with the holes for the screws or bolts. Ensure that the seat is centered and sits flush against the bowl.
6. Secure in Place:
Insert the screws or bolts through the holes in the hinges of the toilet seat, then tighten them securely using a screwdriver or wrench. Be careful not to overtighten, as this could damage the seat or the toilet bowl.
7. Test for Stability:
Once the seat is securely attached, gently press down on the front and sides to ensure it's stable and doesn't wobble. If necessary, adjust the tightness of the screws or bolts to achieve a snug fit.
8. Finishing Touches:
Give the newly installed elongated toilet seat a final wipe down to remove any fingerprints or smudges. Admire your handiwork and enjoy the comfort and convenience of your upgraded bathroom fixture.
Conclusion:
By following these simple shortcuts and tips, installing an elongated toilet seat can be a quick and painless process. With just a few tools and some basic know-how, you can give your bathroom a fresh new look and enjoy the added comfort of an elongated seat. So don't delay—take the easy way to a better bathroom today!


Leave a comment
This site is protected by hCaptcha and the hCaptcha Privacy Policy and Terms of Service apply.