


How Plumbers Prepare Bathrooms for HOROW Smart Toilet Installation
Smart toilets are becoming a standard upgrade in modern homes, and HOROW smart toilets with bidet are among the most popular choices for comfort, hygiene, and efficiency. However, installing a smart toilet is very different from replacing a traditional toilet. Before installation, professional plumbers carefully prepare the bathroom to ensure safety, performance, and long-term reliability.
This guide explains how plumbers prepare bathrooms for HOROW smart toilet installation, what homeowners should expect, and why proper preparation is essential for a successful upgrade.
Why Bathroom Preparation Matters for Smart Toilets
Unlike standard toilets, HOROW smart toilets require electricity, stable water pressure, accurate rough-in measurements, and proper drainage alignment. Without professional preparation, issues such as leaks, electrical hazards, weak flushing, or bidet malfunction can occur.
Plumbers don’t simply install the toilet—they evaluate the entire bathroom system to ensure it’s ready for smart technology.
Step 1: Checking Bathroom Layout and Rough-In Size
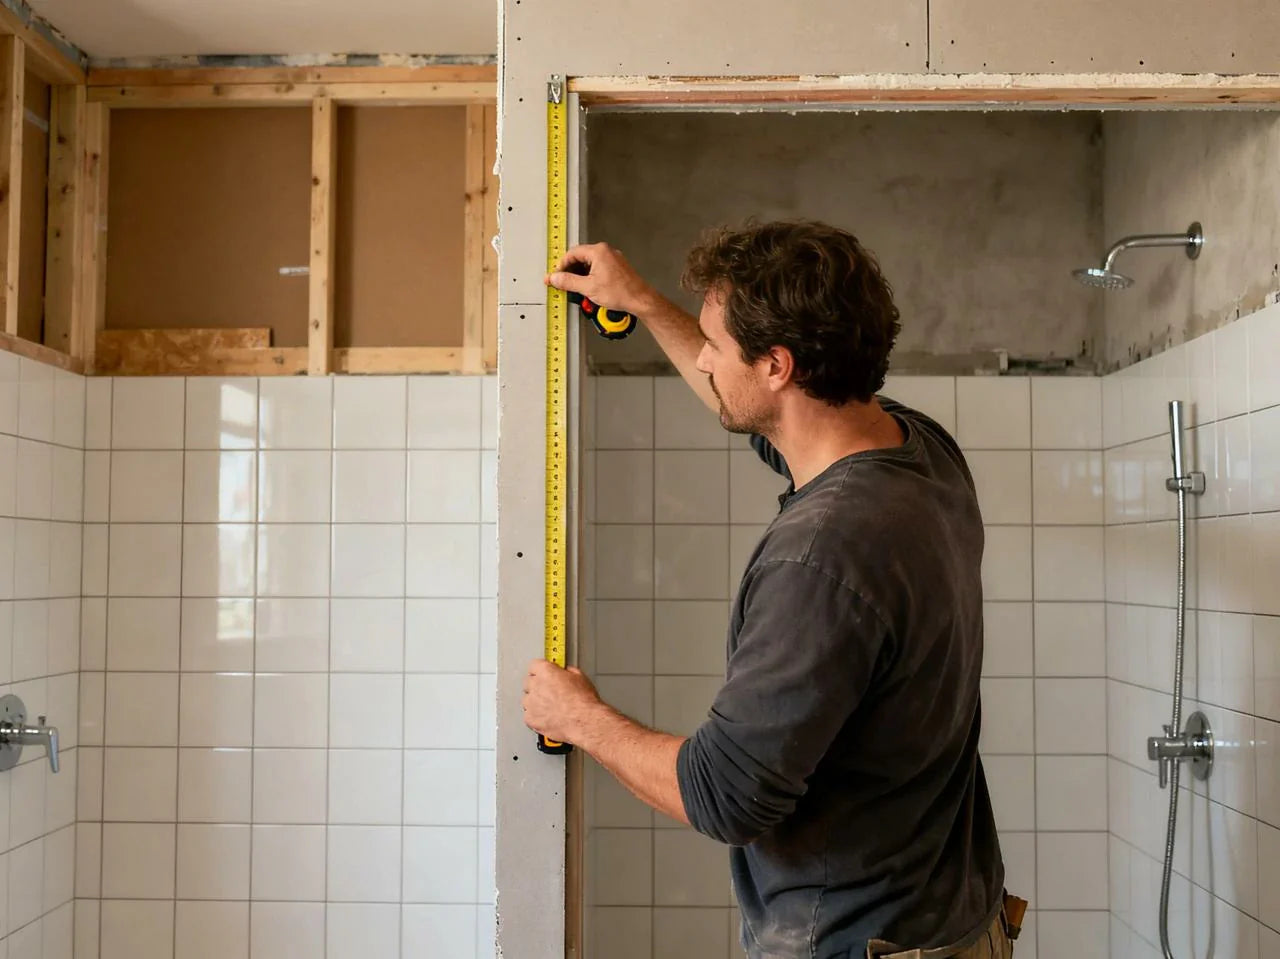
Plumbers begin by measuring the bathroom rough-in, which is the distance from the finished wall to the center of the drain flange. Most HOROW smart toilets are designed for a 12-inch rough-in, while select models support 10-inch rough-in bathrooms commonly found in older or compact homes.

They also inspect the floor level and surrounding wall space, ensuring the bathroom can support the weight and dimensions of a one-piece smart toilet.
Step 2: Inspecting the Drain and Toilet Flange
The toilet flange is critical for proper sealing and drainage. Plumbers check for cracks, corrosion, and correct flange height. If the flange sits too low or is damaged, it must be repaired or replaced before installing a HOROW smart toilet.
This step prevents leaks, odors, and long-term floor damage.
Step 3: Water Supply and Pressure Assessment
Reliable water pressure is essential for consistent flushing and bidet performance. Plumbers test water pressure and flow rate to ensure compatibility with the selected HOROW model.
For homes with low water pressure, plumbers may recommend a HOROW smart toilet with a built-in tank or pump system to ensure reliable operation.
Old shut-off valves are often replaced with modern quarter-turn valves for safety and easier maintenance.
Step 4: Electrical Preparation for Smart Toilets
HOROW smart toilets require a 110–120V GFCI-protected outlet to power features such as heated seats, warm water bidet functions, air dryers, auto flushing, and sensor lids.
Plumbers coordinate with licensed electricians when necessary to install or upgrade outlets according to local building codes. GFCI protection is mandatory in bathrooms for electrical safety.
Step 5: Space and Clearance Planning
Smart toilets require sufficient clearance for comfort and sensor operation. Plumbers verify:
- Front clearance for seated comfort
- Side clearance for accessibility
- Wall distance for rear connections
- Lid opening space for automatic lids
This is especially important in small bathrooms, condos, and older homes.

Step 6: Removing the Existing Toilet
Before installation, plumbers shut off the water supply, drain the old toilet, and remove it carefully. They inspect the subfloor for hidden water damage, mold, or leaks and resolve any issues before proceeding.
Step 7: Preparing the Mounting Surface
The drain area is cleaned thoroughly, and a new wax ring or rubber gasket is installed. The toilet must sit perfectly level to ensure proper sealing, accurate sensor function, and user comfort.
Plumbers use shims if necessary to achieve precise alignment.
Step 8: Installing the HOROW Smart Toilet
Once preparation is complete, the plumber installs the HOROW smart toilet by securing it to the flange, connecting the water supply, and plugging it into the GFCI outlet. HOROW toilets are designed for efficient installation, but precision remains essential.
Step 9: System Testing and Calibration
Professional plumbers test every function, including:
- Flush strength
- Bidet spray accuracy
- Water temperature control
- Heated seat and air dryer
- Automatic flushing and lid sensors
Settings are adjusted to ensure optimal comfort and performance.
Step 10: Final Safety and Leak Inspection
Before completing the installation, plumbers inspect all connections for leaks, verify electrical safety, and confirm proper drainage. Homeowners are shown how to operate and maintain their new HOROW smart toilet.
Why Professional Preparation Makes the Difference
Proper bathroom preparation ensures that a HOROW smart toilet delivers its full benefits—cleaner hygiene, greater comfort, and long-term reliability. Professional plumbers prevent costly mistakes and help homeowners get the most value from their smart toilet investment.
Final Thoughts
Installing a HOROW smart toilet is one of the smartest bathroom upgrades available today. With proper preparation by experienced plumbers, homeowners can enjoy a seamless installation and years of dependable, luxurious performance.
If you’re planning a smart toilet upgrade, preparation isn’t optional—it’s the foundation of success.


Leave a comment
This site is protected by hCaptcha and the hCaptcha Privacy Policy and Terms of Service apply.