


HOROW Smart Toilet Plumber Guide: What You Need to Know Before Installation
Installing a smart toilet is one of the most impactful bathroom upgrades you can make—but it’s also one of the most misunderstood. This plumber-style guide explains exactly what you need to know before installing a HOROW smart toilet, so you can avoid common mistakes and enjoy a smooth, long-lasting installation.
Whether you’re a homeowner, contractor, or renovator, this guide covers rough-in sizes, electrical requirements, water pressure considerations, and real-world plumber insights.
Why HOROW Smart Toilets Are Different from Traditional Toilets
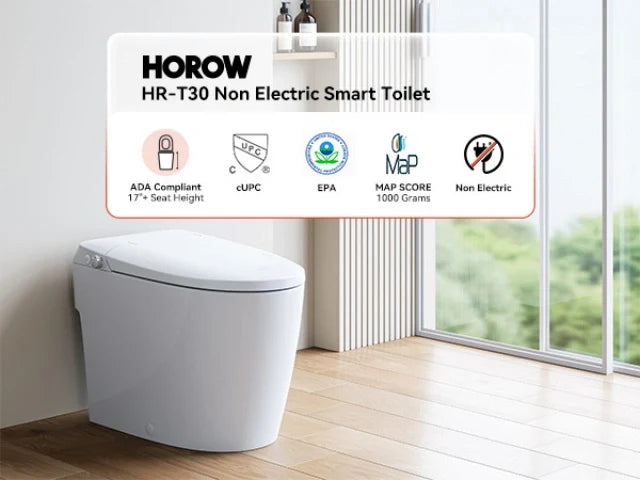
A traditional toilet only needs cold water and a drain. A HOROW smart toilet adds advanced features like heated seats, warm-water bidet washing, automatic flushing, and touchless sensors. That means proper preparation is essential.
- Bidet wash with instant warm water
- Heated seat and warm air dryer
- Automatic or hands-free flushing
- Smart controls and sensors
The good news? HOROW smart toilets are designed specifically for North American plumbing standards, making installation easier than many imported smart toilets.

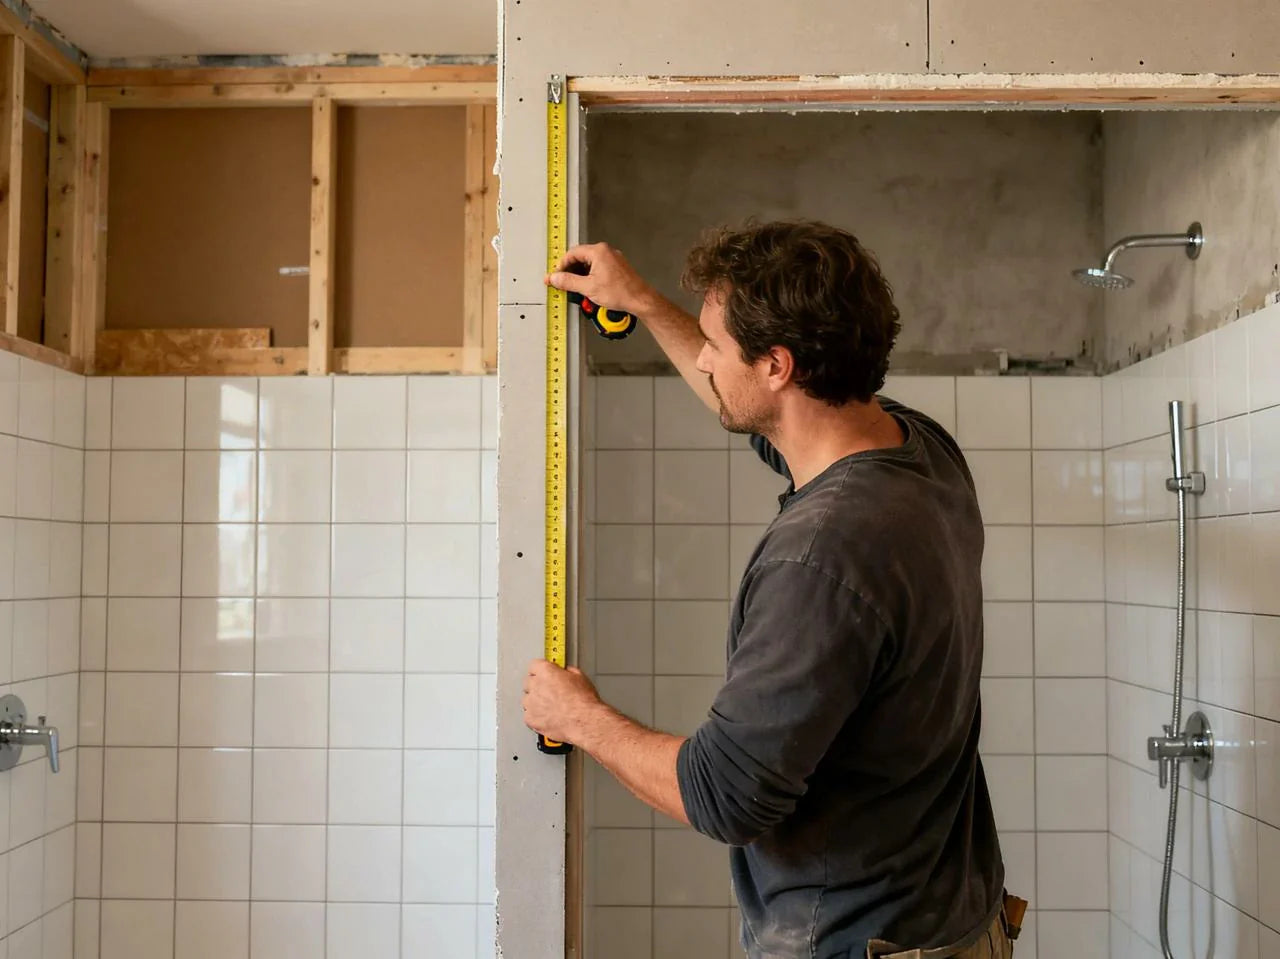
Step 1: Confirm Your Rough-In Size
From a plumber’s perspective, rough-in measurement is the most important step before buying a smart toilet. The rough-in is the distance from the finished wall to the center of the floor drain.
- 12-inch rough-in: Most common in North America
- 10-inch rough-in: Older homes, condos, and small bathrooms
- 14-inch rough-in: Rare but possible
HOROW offers models designed for both 12-inch and 10-inch rough-in bathrooms—something plumbers greatly appreciate. Always measure before purchasing.

Step 2: Check the Toilet Flange and Floor Condition
Smart toilets are heavier than standard toilets due to internal electronics and ceramic construction. Plumbers always inspect the flange before installation.
- Flange should be firmly anchored
- No cracks or corrosion
- Flush with the finished floor
An uneven flange can cause leaks or rocking, which is especially problematic for smart toilets. Replacing an old flange during installation is often recommended.

Step 3: Electrical Requirements for HOROW Smart Toilets
HOROW smart toilets require a standard 110–120V electrical outlet. This is one of the most commonly overlooked requirements.
- GFCI outlet recommended
- Outlet located behind or beside the toilet
- No extension cords
If your bathroom doesn’t already have an outlet near the toilet, a licensed electrician should install one. HOROW toilets are fully compatible with North American electrical systems.
Step 4: Water Supply and Pressure
HOROW smart toilets use cold water only and heat it internally. Plumbers typically check the following:
- Standard ½-inch shut-off valve
- Clean, leak-free supply line
- Water pressure between 30–80 PSI
For homes with low water pressure, some HOROW models include built-in tanks or pumps to ensure reliable flushing.

Step 5: Drainage and Venting
While smart toilets use traditional drainage systems, proper venting and clear drains are essential for optimal performance.
- Standard 3- or 4-inch drain works well
- No partial blockages
- Functional vent stack
Even the best smart toilet cannot compensate for poor plumbing conditions.
Step 6: Floor Leveling and Weight Support
Because smart toilets are heavier, plumbers check for a level, solid floor before final installation.
- No flex in the subfloor
- Tile fully supported underneath
- Minimal use of shims
A level base ensures proper sealing, sensor accuracy, and long-term durability.
Step 7: Space and Clearance Requirements
HOROW smart toilets often feature elongated bowls and automatic lid functions. Proper clearance is important.
- 15 inches from centerline to side wall
- At least 24 inches of space in front
- Enough rear space for cords and hoses
Auto-open lids require vertical clearance to function correctly.
DIY vs Professional Installation
Many homeowners can install a HOROW smart toilet themselves if the bathroom is already prepared. However, professional installation is recommended when:
- Electrical work is required
- Plumbing is old or modified
- The floor is uneven
- Local building codes apply (condos, apartments)
Plumbers agree that HOROW smart toilets are among the easiest smart toilets to install in North America.
Maintenance Tips from Plumbers
- Clean filters every 6–12 months
- Use mild, non-abrasive cleaners
- Avoid harsh chemicals
- Follow the manufacturer’s maintenance schedule
With proper care, a HOROW smart toilet will provide years of reliable performance.
Final Thoughts
From a plumber’s perspective, HOROW smart toilets combine advanced features with practical installation design. By preparing your bathroom correctly and choosing the right model, you’ll enjoy a smooth installation and a premium bathroom experience.
If you’re planning a smart toilet upgrade, HOROW is a plumber-approved choice for modern homes.


Leave a comment
This site is protected by hCaptcha and the hCaptcha Privacy Policy and Terms of Service apply.