


Wondering how toilet parts affect leaks, repairs, and upgrade costs? Whether your toilet is running, leaking, or failing to flush, understanding each component can save you hundreds. This guide simplifies repairs, part selection, and cost-saving tips—all verified by plumbing experts and the latest research.
Toilet Parts: The Fundamentals
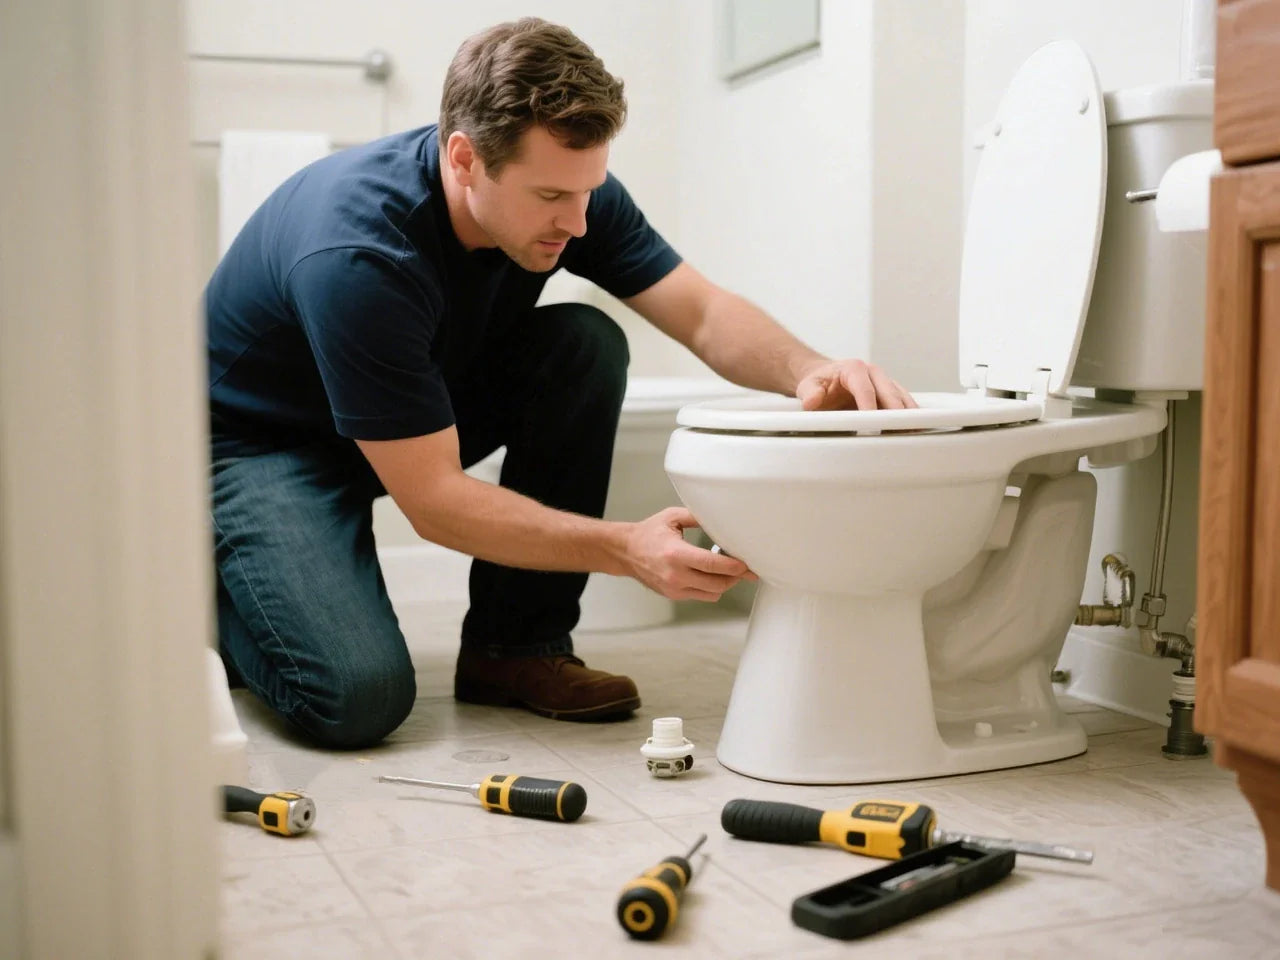
To fix or maintain a toilet, it’s important to know the basic toilet parts names. From the tank and flapper to the wax ring and supply line, understanding each part helps you identify issues and make simple repairs on your own.
Visual Overview: Core Toilet Parts and Their Functions
Imagine your toilet is made of two main parts: the upper toilet tank and the lower toilet bowl. Most of the mechanical action happens inside the tank. If you take off the toilet tank lid, you will see the core components that make a toilet work.
Here are the main parts of a toilet you should know:
- Tank and Bowl: The tank holds the water used for flushing, and the bowl holds water and waste before flushing. The connection between the tank and the bowl is sealed with a large gasket.
- Fill Valve: This is the tall assembly, usually on the left side of the tank. Its job is to refill the tank with water after you flush the toilet. A toilet float is attached to it, which rises with the water level and tells the fill valve when to shut off.
- Flapper (or Flush Seal): This is the rubber or silicone piece that covers the opening at the bottom of the tank. When you press the handle, the toilet chain lifts the toilet flapper, allowing water from the tank to rush into the toilet bowl. A worn-out flapper is a very common cause of a running toilet.
- Flush Valve: This is the entire assembly in the middle of the tank that includes the overflow tube and the seat for the flapper. The overflow tube prevents water from spilling out if the fill valve fails.
- Toilet Handle (or Trip Lever): The handle on the side of the tank connects to the toilet chain, which lifts the flapper.
- Wax Ring: This is a sticky, ring-shaped seal located at the base of the toilet. Its job is to create a watertight and airtight seal between the toilet base and the drainpipe in the floor. A failing toilet wax ring often causes leaks and a rocking toilet.
- Toilet Bolts (or Closet Bolts): These bolts secure the toilet to the floor, passing through the toilet flange.
- Supply Line: This flexible hose connects the main water supply to the toilet fill valve.

Why Knowing Your Toilet Parts Matters
Have you ever heard a toilet that just won't stop running? That sound is often the first sign of a broken toilet. According to the U.S. Environmental Protection Agency (EPA), a leaking toilet can waste up to 200 gallons of water per day, contributing significantly to unnecessary water consumption and higher utility bills.
Knowing the names and functions of your toilet parts is the first step in any home repair toilet project. Based on information from the Portland, Michigan municipal guide, understanding the function of key toilet components such as the fill valve, flapper, and wax ring is essential for effective troubleshooting and timely repairs. It empowers you to:
- Diagnose the problem quickly and accurately.
- Buy the correct repair parts the first time.
- Perform simple toilet repairs yourself, avoiding the cost of a plumber.
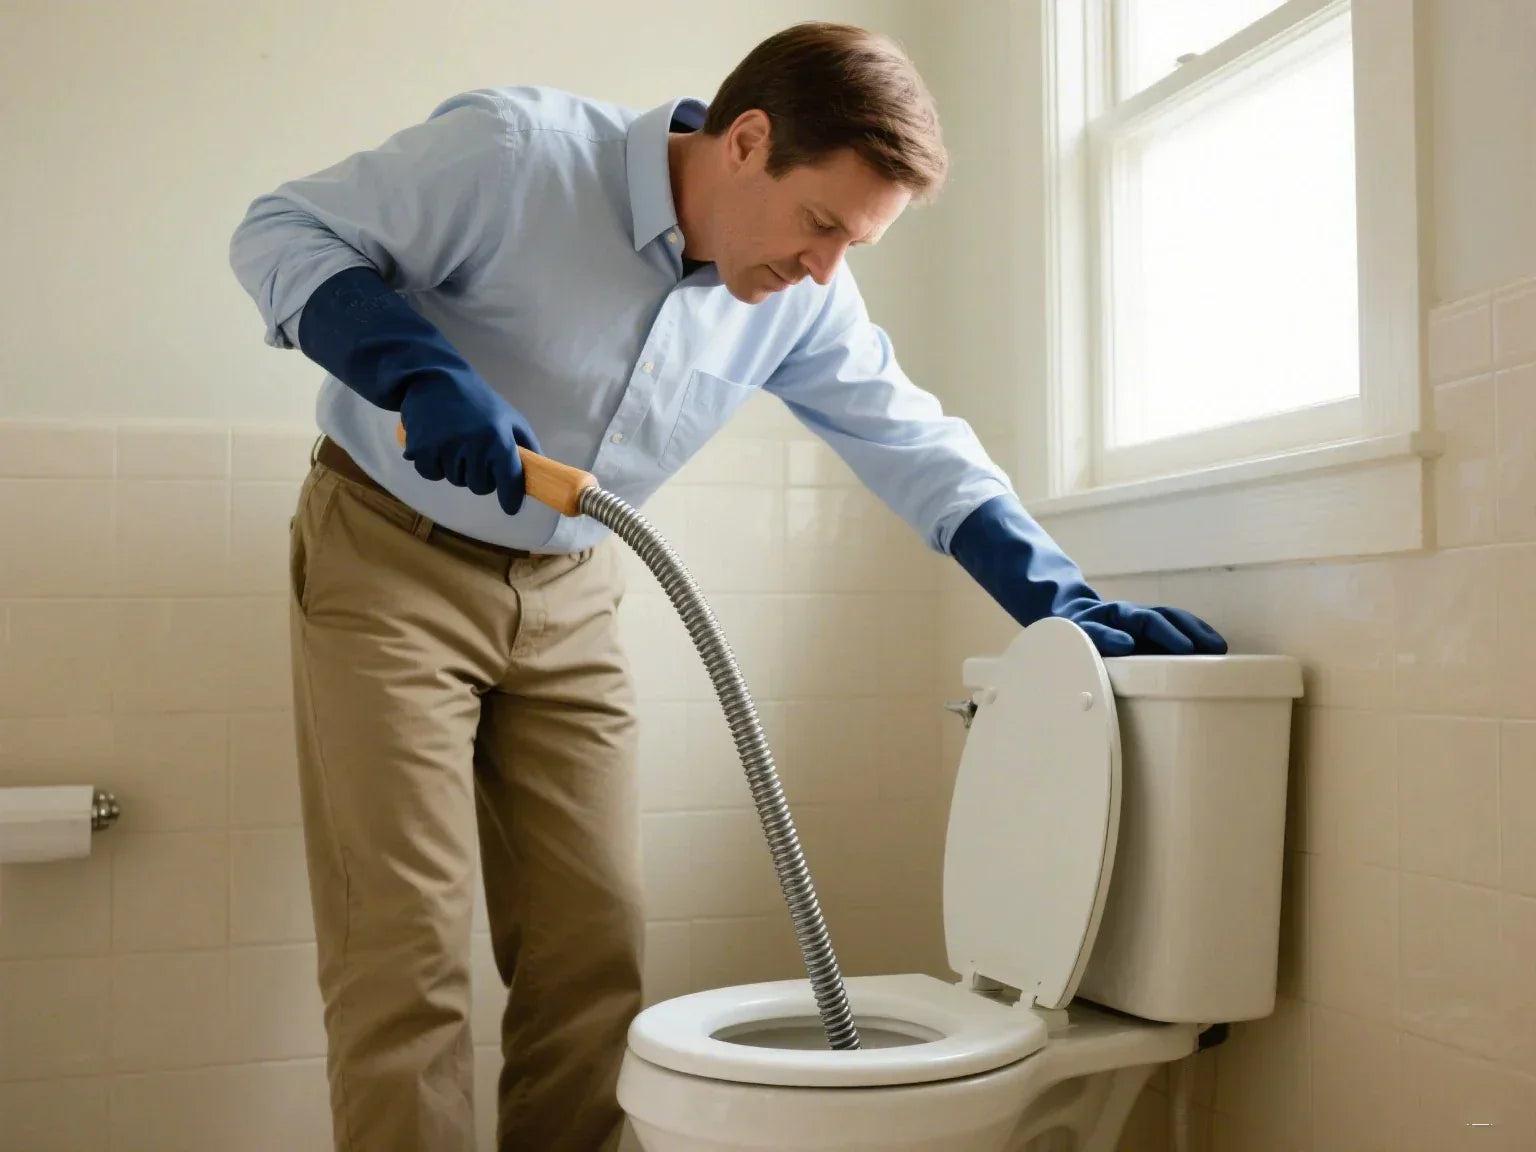
Troubleshooting & Diagnosis: What’s Wrong With My Toilet?
Before you can fix your toilet, you need to figure out which part of the toilet has failed. You can often identify the problem with your toilet by observing the symptoms.
Toilet Keeps Running (Water Constantly Flows Into the Bowl)
If you hear water constantly trickling into the bowl, it usually means one of the following:
- The toilet flapper is worn out or not sealing properly. This is the most common cause of a running toilet. Fix: Replace the flapper.
- The water level is too high. This can happen if the float is set incorrectly. Fix: Adjust the float mechanism to lower the water level.
- The fill valve is leaking or broken. An old or faulty valve can allow water to keep flowing. Fix: Replace the fill valve.
Water Leaking at the Base of the Toilet
A puddle around the base of the toilet usually points to a seal or structural issue:
- The wax ring seal has failed. This ring seals the connection between the toilet and the drain.
- The mounting bolts are loose. This can allow movement and water to leak out.
- The toilet bowl is cracked. A visible or hidden crack can cause slow leaks. Fix: Remove the toilet and replace the wax ring. Tighten the bolts. Replace the toilet if it's cracked.

Toilet Tank Fills Slowly
If the tank takes much longer than normal to refill after a flush:
- The shutoff valve is not fully open. This limits water flow into the tank.
- The supply line is clogged. Debris or buildup inside the hose can reduce flow.
- The fill valve is clogged or worn. It may not be allowing enough water through. Fix: Make sure the shutoff valve is fully open. Clean or replace the supply line. Clean or replace the fill valve if needed.
Phantom Flush (Toilet Flushes by Itself)
When a toilet seems to flush randomly on its own, it's usually due to a slow leak from the tank to the bowl:
- The flapper is leaking slowly. Water gradually drains from the tank into the bowl, triggering the fill valve.
- Fix: Check the flapper and replace it if it’s worn or warped.
Toilet Rocks or Moves When You Sit
A toilet that shifts or wobbles when you sit on the toilet seat may have one or more of the following problems:
- Loose mounting bolts. The toilet isn’t secured tightly to the floor.
- A failed wax ring. It may be compressed or incorrectly installed.
- An uneven floor or damaged flange. This can prevent a stable installation.
- Fix: Tighten the bolts. Replace the wax ring. Use toilet shims or repair the flange if necessary.
Weak or Incomplete Flush
If the toilet flush is weak or leaves waste behind:
- The tank water level is too low. There's not enough water to flush effectively.
- The chain has too much slack. The flapper may not open fully during a flush.
- The siphon jet holes are clogged. These holes under the rim can get blocked with mineral deposits.
- Fix: Adjust the float to raise the tank water level. Shorten the chain so it has about half an inch of slack. Use a wire to clean the siphon jet holes.
Quick Diagnostic Table: Part Failure vs. Common Symptoms
For a faster diagnosis, use this table to match common problems with toilet performance to their likely causes. This is often the first step to repair the toilet.
| Symptom | Likely Cause(s) | How to Fix It |
|---|---|---|
| Running Toilet (water constantly trickles into the bowl) | Worn toilet flapper not sealing properly. Water level is too high (float misadjusted). Fill valve is leaking or broken. | Replace the flapper. Adjust the float mechanism. Replace the fill valve. |
| Leak at the Base of the Toilet | Failed wax ring. Loose toilet bolts that secure the toilet to the floor. Cracked toilet bowl. | Remove the toilet and replace the toilet wax ring. Tighten the bolts. Replace the toilet if cracked. |
| Slow-Filling Tank | Partially closed shutoff valve. Clogged supply line. Clogged or failing fill valve. | Fully open the water supply valve. Clean or replace the supply line. Clean or replace the fill valve. |
| Phantom Flush (toilet flushes on its own) | A slow leak from the toilet flapper. Water seeps from the tank into the toilet bowl, causing the fill valve to turn on. | Check and replace the flapper. |
| Rocking Toilet (toilet moves when you sit on it) | Loose toilet bolts. Failed wax ring. Uneven floor or broken toilet flange. | Tighten bolts. Replace wax ring. May need shims or flange repair. |
| Weak or Incomplete Flush | Water level in tank is too low. Toilet chain has too much slack. Clogged siphon jet holes under the bowl rim. | Adjust float to raise water level. Adjust chain to have ~1/2 inch of slack. Clean holes with a wire. |
Toilet Parts Compatibility & Selection Guide
Not all toilet parts are universal. Using the wrong toilet part can lead to poor performance or leaks.
How to Match the Right Toilet Replacement Parts
When you need a new part, finding the right one is key. Here’s how to do it:
- Identify Your Toilet Model: Look for the model number stamped inside the toilet tank or on the underside of the toilet lid.
- Take the Old Part With You: The easiest way to get an exact match is to bring the old, broken part to the hardware store. For example, flappers come in 2-inch and 3-inch sizes.
- Measure and Photograph: If you can't bring the part, take clear photos and measurements. Measure the diameter of the flush valve opening to determine your flapper size. Measure the length of the toilet handle lever.
- Look for Universal Kits: Many manufacturers offer universal toilet repair kits that fit a wide range of models. These are great for common fixes like replacing the fill valve or flapper.
Compatibility Table: Find Parts for Major Toilet Brands
While specific brand names are not listed here, most major manufacturers have distinct designs. This conceptual table shows how you would match toilet components.
| Toilet Brand Style | Common Fill Valve Type | Common Flapper Size | Notes |
| Standard American Builder-Grade | Standard Float-Cup Style | 2-inch | Most common style found in homes from 1990s-2010s. |
| High-Efficiency Models | Compact Float-Cup or Tower Style | 3-inch or Canister Seal | 3-inch flappers provide a faster, more powerful flush. |
| Premium/Designer Models | Varies (Tower, Canister, etc.) | Often a proprietary canister seal | These often require specific repair parts from the manufacturer. |
| Older Toilets (Pre-1994) | Ballcock Style with a large float ball | 2-inch | These are less common now but many are still in use. |
In-Depth Repair How-Tos: Step-by-Step for Common Toilet Problems
According to the Centers for Disease Control and Prevention (CDC), proper sanitation and toilet maintenance are critical components of global health efforts to reduce disease transmission and improve hygiene worldwide. Here are detailed guides on how to repair a toilet by replacing its most common failing parts. This knowledge is essential for any home repair toilet project.
Safety First! Before starting any toilet repair, always turn off the water supply. The shutoff valve is usually located on the wall behind the toilet. Flush the toilet once to drain the water in the tank.
How to Replace a Toilet Flapper
A faulty toilet flapper is the main cause of a running toilet. This is one of the easiest and most common toilet repairs.
Symptoms of Failure: You hear water running long after you flush; the toilet "ghost flushes" by itself.
Step-by-Step Instructions:
- Turn off the water supply and flush the toilet to empty the tank.
- Unhook the toilet chain from the trip lever (the arm connected to the toilet handle).
- Gently unclip the flapper’s two "ears" from the pins at the base of the overflow tube on the toilet flush valve.
- Remove the old flapper.
- Clip the new flapper onto the same pins.
- Connect the new chain to the trip lever. Leave about half an inch of slack in the chain. Too little slack will keep the flapper open; too much will prevent it from opening fully.
- Turn the water back on and let the tank refill. Test the toilet to ensure it flushes and stops running correctly.
How to Replace a Toilet Fill Valve
If your tank fills very slowly, makes strange noises, or won't stop filling, you may need to replace the fill valve.
Symptoms of Failure: A constant hissing sound; the tank fills slowly or not at all; water continues to run into the overflow tube even after the tank is full.
Step-by-Step Instructions:
- Turn off the water and flush to drain the tank. Use a sponge to remove any remaining water.
- Disconnect the supply line from the bottom of the old fill valve. Have a small bucket ready to catch drips.
- Unscrew the locknut on the underside of the toilet tank that holds the fill valve in place.
- Lift the old fill valve out from inside the tank.
- Insert the new fill valve and tighten the new locknut by hand, plus a quarter-turn with a wrench. Do not overtighten.
- Attach the small refill tube from the new fill valve to the overflow tube. This tube is crucial, as it helps refill the toilet bowl after a flush.
- Reconnect the water supply line.
- Turn the water on. Adjust the float on the new fill valve to set the correct water level—usually about an inch below the top of the overflow tube.

How to Replace a Toilet Flush Valve
This is a more involved repair because it requires you to remove the tank from the bowl. You would do this if the flush valve itself is cracked or leaking.
Symptoms of Failure: A constant leak from the tank into the toilet bowl that isn't fixed by a new flapper; visible cracks on the valve assembly.
Step-by-Step Instructions:
- Turn off the water, flush the toilet, and sponge the tank completely dry.
- Disconnect the water supply line.
- Unscrew the bolts that connect the tank and the bowl. These are usually found on the underside of the tank.
- Carefully lift the tank off the bowl and set it on a protected surface.
- Unscrew the large locknut on the bottom of the toilet tank that holds the flush valve in place.
- Install the new flush valve with its gaskets and tighten the new locknut.
- Place a new tank-to-bowl gasket over the locknut.
- Carefully place the tank back onto the bowl, ensuring the bolts line up. Tighten the bolts, alternating between them to ensure even pressure.
- Reconnect the water supply, turn it on, and check for leaks between the tank and bowl.
How to Replace a Toilet Handle
A broken or loose toilet handle is a simple fix that can make a big difference in how well your toilet flushes.
Symptoms of Failure: The handle is loose, floppy, or disconnected; you have to jiggle it to stop the toilet from running.
Step-by-Step Instructions:
- Open the toilet tank lid.
- Unhook the chain from the handle's lever arm.
- Unscrew the mounting nut that holds the handle to the tank. Note that this nut is often reverse-threaded, meaning you turn it clockwise to loosen.
- Remove the old handle.
- Insert the new handle and tighten its mounting nut.
- Reconnect the chain with the proper amount of slack.
How to Replace a Toilet Wax Ring
If you see water pooling around the base of the toilet bowl or your toilet to rock, the wax ring has likely failed. This repair requires you to remove the toilet to access the ring.
Symptoms of Failure: Water leaking at the toilet base; a foul sewer gas smell; a toilet that moves or rocks.
Step-by-Step Instructions:
- Turn off the water and flush to drain the tank and bowl. Use a cup or sponge to remove all remaining toilet water.
- Disconnect the water supply line.
- Use a wrench to remove the nuts from the toilet bolts at the base.
- Gently rock the toilet side to side to break the old wax seal.
- Lift the toilet straight up and away from the toilet flange. A toilet is heavy, so you may need help.
- Place the toilet on its side on a protected surface.
- Use a putty knife to scrape the old wax off the base of the toilet bowl and the flange on the floor.
- Place the new toilet wax ring directly onto the flange or onto the bottom of the toilet.
- Carefully lift and lower the toilet from the floor back over the flange, aligning the bolts that secure the toilet with the holes in its base.
- Press down firmly to set the wax ring. Do not twist the toilet.
- Re-attach the nuts to the bolts and tighten them, but do not overtighten, as you could crack the porcelain. The toilet should be stable and not rock.
-
Reconnect the water supply, turn it on, and test the toilet for leaks around the base.
Expert Insights: Pro Plumber Tips & Real-World Data
You can handle many toilet repairs yourself, but what do the professionals know that you don't?
Licensed Plumber Quote: "The number one service call I get is for a running toilet. In nine out of ten cases, it's just a bad toilet flapper that has become waterlogged or warped. It's a five-minute fix that saves people a fortune on their water bill."
Most Common DIY Mistake: Overtightening connections. The nuts for the supply line, fill valve, and especially the bolts that secure the toilet should be snug, not forcefully cranked. Overtightening can crack the porcelain, turning a small repair into a full replacement toilet project.
Reliability Data: Social media and plumbing forums show that the most frequent complaints are related to flapper leaks and loose toilets. While most tank-related issues have high DIY success rates, users often recommend calling a professional for wax ring replacement, especially if the toilet to rock issue persists.

Toilet Repair Costs & ROI Tools
Toilet repairs can range from quick DIY fixes to costly professional jobs. Understanding typical toilet repair costs and knowing when it makes sense to replace instead of repair can save you money and hassle.
Typical Repair Costs (2025 Data)
What is the average cost to repair a toilet? Costs can vary, but this table gives you a general idea. Many of the parts themselves are inexpensive, but labor drives up the price.
| Issue Type | Typical DIY Cost | Typical Pro Cost (2025 USD) | Notes |
| Leak Repair | $5 - $25 | $100 – $600 | Depends on the location and severity of the leak. |
| Clog Removal | $0 - $15 | $85 – $600 | Minor clogs are easily fixed with a plunger or auger. |
| Wax Ring Replacement | $5 - $15 | $50 – $200 | A very common fix for a leaking or rocking toilet. |
| Fill Valve Replacement | $15 - $30 | $60 – $200 | A straightforward part to replace. |
| New Toilet Installation | $150 - $400 | $400 – $800 | Necessary for a cracked or unfixable toilet. |
Repair vs. Replace Calculator
Should you repair or replace your old toilet? Ask yourself these questions:
- How old is the toilet? If it's a pre-1994 model that uses 3.5 gallons per flush, replacing it with a new high-efficiency model can save significant water and money over time.
- How much will the repair cost? If the cost of the repair parts and your time (or a plumber's fee) is more than half the cost of a new toilet, replacement might be a better option.
- Is it a recurring problem? If you are constantly fixing the same issue, it may be time for a replacement toilet.
Sustainability & Water-Saving Toilet Upgrades
You can upgrade your existing toilet to be more efficient. Modern toilet parts can reduce water usage and lower your utility bills.
- Dual-Flush Conversion Kits: These kits replace your standard flush valve and handle. They allow you to choose between a full flush for solid waste and a half of the toilet naturally flush for liquid waste, saving water with every use.
- Water-Saving Fill Valves: Some modern fill valve designs can detect leaks and can be calibrated to use the minimum amount of water needed to refill the toilet bowl.
- Eco-Friendly Flappers: Look for adjustable flappers that let you control how much water is used per flush.
FAQs About Toilet Parts and Repairs
1. What are the parts of a toilet called?
The two main parts are the tank and the bowl. Key toilet components inside the tank include the fill valve, flush valve, flapper, toilet float, and toilet handle. Underneath the toilet, you have the wax ring and toilet bolts.
Main Structural Parts of a Toilet:
Tank
- Located at the back of the toilet, it stores water for flushing.
- Contains the internal components that control the flush and refill processes.
Bowl
- The part you sit on, designed to collect waste and direct it into the drain.
- Includes an S-shaped trap that holds water to block sewer gases.
Key Internal Components Inside the Tank:
Fill Valve
- Controls the flow of water into the tank after each flush.
- Automatically stops filling when the desired water level is reached.
Toilet Float
- Rises and falls with the water level in the tank.
- Signals the fill valve to shut off when the tank is full.
- Comes in different styles such as float balls or float cups.
Flush Valve
- Releases water from the tank into the bowl when the toilet is flushed.
Flapper
- A rubber seal that covers the flush valve opening.
- Lifts during a flush to let water out, then reseals to hold water in the tank.
Flush Handle
- Located on the outside of the tank.
- When pressed, it pulls a chain connected to the flapper to initiate a flush.
- Parts Located Below the Bowl or Hidden from View
Wax Ring
- Sits between the toilet base and the floor flange.
- Creates a watertight and airtight seal to prevent leaks and odors.
Toilet Bolts (Closet Bolts)
- Secure the toilet firmly to the floor.
- Usually hidden under plastic caps at the toilet base.
2. How do I fix a toilet fill valve?
Repairing the toilet inlet valve is really not that difficult, we have a few basic tools in the hands of the average homeowner, you can do it yourself. The role of this water valve can be critical, every time you flush the toilet, all rely on it to refill the water tank. If your toilet has been running water, tank filling slow, or there is a strange movement of these problems, change a water valve can most likely be solved. Here are the steps for you in detail:
1.Turn the water off and empty the tank.
Find the water shutoff valve near the bottom of the toilet and turn it off. Then flush the toilet to get most of the water out of the tank. The rest of the water may have to be soaked up with a sponge so it doesn't spill out when you take things apart.
2.Take the water supply line apart.
Use an adjustable wrench to loosen the water supply line that connects to the bottom of the tank and remove it. Remember to put a small bucket or towel underneath to catch the rest of the water.
3.Remove the old water inlet valve.
Unscrew the plastic locking nut that holds the inlet valve from the bottom of the tank, loosen it and then take the old valve out from the top. Before installing the new valve, look at the bottom of the tank to see if there is any debris or sediment, and clean it out if there is.
4.Install the new water inlet valve.
Insert the new inlet valve into the original opening, adjusting the height according to the size of your tank. Secure it from underneath with the locking nut that came with the new valve, making sure to keep the rubber washer well in place to prevent leaks.
5.Reconnect the water supply line and adjust the float.
Connect the water supply line back up and tighten it by hand first and then finally with a wrench. Open the water shutoff valve and let the tank refill. Adjust the float arm or knob on the water inlet valve to keep the water level in place, usually about an inch below the top of the overflow pipe.
6.Test for leaks and proper function.
Flush the toilet a few more times and take a close look around the valves or connections to see if there are any leaks. Make sure that the tank fills to the correct level and that the valve closes properly.
This repair method doesn't cost much, but it is an effective solution to many common toilet filling problems. If the problem persists after the replacement, there may be a problem with the flush valve or the entire tank configuration is faulty.
3. How do I fix a toilet bowl that moves?
When the toilet wobbles, most likely the bolts are loose or the wax ring is worn out. Remove the plastic bolt cover from the base and gently tighten the bolt. Don't tighten it too hard or the ceramic seal will crack. If the toilet still wobbles after this, it may be time to replace the wax seal. To solve this problem, turn off the water supply, flush the toilet to empty the tank, and then disconnect the water supply line. Unscrew the bolts and lift the toilet off the floor. Scrape off the old wax ring, put a new one on the flange, and carefully put the toilet back down. Press down a bit to get it sealed, then tighten the bolt evenly. If you need to, a plastic spacer will keep the toilet level, and a dab of caulk around the base will also add stability.
4. What is the most common toilet repair?
The most common repair for a toilet is to replace a worn out baffle, which will stop the toilet from flushing all the way down the toilet. The problem is usually that the rubber baffle in the tank doesn't line up with the flush valve and doesn't seal tightly, so the water in the tank leaks all the way down the toilet. Over time, the flapper can become old due to mineral buildup, chemical cleaners, or natural wear and tear. solves this problem quickly and inexpensively. Start by turning off the water supply and flushing the toilet to empty the tank. Then remove the old baffle from the overflow pipe and remove the chain from the flush handle. Install the new flapper, set it in its original position, and adjust the length of the chain so that it opens and closes fully. Turn the water back on and try to see if it seals properly. This simple repair will not only fix the annoying water flow sound, but it will prevent you from wasting so much water. In some cases, it can save hundreds of gallons of water a month. Because it doesn't cost much to fix a baffle, uses few tools, and is easy to replace, it's the go-to solution for many toilet performance issues.


Leave a comment
This site is protected by hCaptcha and the hCaptcha Privacy Policy and Terms of Service apply.