


Different toilets have shared components. Knowing all the parts of a toilet is essential for quick repairs, routine maintenance, and making better choices when upgrading your bathroom. The more you know about the ins and outs of your toilet—like which part actually clears the bowl and which keeps water from leaking—the easier it is to fix common issues, spot problems in advance, and avoid accidents with your plumbing. Understandding what are the main parts inside the toilet and how they work would absolutely benefits you.
At a Glance – Essential Parts of a Toilet
While seemingly simple on the outside, a toilet is actually a highly efficient and ingeniously designed system that uses very little water to process waste. Pressing the flush handle triggers a series of internal mechanisms to work in unison.
How it works: First, the flush is activated. Pressure from the toilet handle pulls a chain to open the flush valve, allowing water in the tank to flow into the bowl. Second, waste is flushed out. Water entering the bowl creates a siphon effect, draining it into the sewer. Third, the water is replenished. Once the tank is empty, the various valves activate to allow water to flow in and refill the tank. Fourth, the mechanism will refill the toilet bowl for the next flush. Each component of a toilet ensures leak-free flushing and refilling, relying on multiple factors to ensure reliable flushing.
Main Parts of a Toilet: Quick List of Toilet Parts Name
- Tank
- Bowl
- Flush valve
- Fill valve
- Float
- Flapper
- Handle/lever
- Overflow tube
- Tank bolts and gasket
- Toilet seat
- Toilet lid
- Wax ring
- Flange
- Water supply line
- Shut-off valve
- Anchor bolts (hold toilet to floor)

Parts of a Toilet and Their Functions
Let’s get inside your toilet and learn more about toilet parts in tank and the bowl. Each part has a job. Knowing the name, location, and function will help you quickly solve most toilet problems, find the exact replacement part, or confidently talk to a plumber.
Parts of Toilet Tank
Flush Valve & Flapper
- Where: Bottom of the toilet tank
- Function: When you press the handle, the chain lifts the flapper. This opens the toilet flush valve, letting water in the tank rush into the bowl.
- Typical Issues: Flapper worn or not sealing = running toilet & wasted water
- Repair Difficulty: 2/5 (easy)
- Average Cost: $5–$15
- Repair Summary: Turn off water, empty tank, unhook old flapper, snap new flapper on, reconnect chain.
Fill Valve (& Float)
- Where: Left side, inside the tank
- Function: Refills tank after a toilet flush. The float (ball or cup) sits on it, rising with water to stop the fill at the right level.
- Typical Issues: Toilet fill valve won’t shut off? Water keeps filling to overflow—often a sticky float or worn seal.
- Repair Difficulty: 3/5 (basic tools)
- Average Cost: $10–$30
- Repair Summary: Water off, unscrew supply, remove old valve, insert & clip in new valve, reconnect supply, set float height.
Handle/Lever and Chain
- Where: Exterior and inside of tank
- Function: You add pressure to the handle, pull a chain (or rod), lift the flapper/flush valve to start a flush.
- Typical Issues: Broken handles, loose chain, or chain disconnected = weak/no flush.
- Repair Difficulty: 1/5
- Average Cost: $5–$20
Overflow Tube
- Where: Vertical tube in center of tank
- Function: Prevents tank from overflowing by redirecting excess water into the bowl.
- Typical Issues: Damaged tube = risk of flooding or low water level.
- Repair Difficulty: 3/5
- Average Cost: $5–$15
Tank Bolts & Gasket
- Where: Underneath tank connecting to bowl
- Function: Secure tank to the bowl. Gasket seals joint, stopping leaks.
- Typical Issues: Rusty bolts, worn gasket = water leaks between tank and bowl.
- Repair Difficulty: 3/5
- Average Cost: $5–$15

Anatomy of a Toilet Bowl
Bowl
- Where: Lower main part; receives waste, holds water.
- Function: Directs waste through internal trapway using gravity flush from tank.
- Typical Issues: Cracked bowl, hard-to-clean stains (replace bowl if damaged).
- Repair Difficulty: 5/5 (heavy, needs detachment from floor)
- Average Cost: $80–$300
Rim
- Where: Top inner edge of bowl
- Function: Distributes water from tank to rinse bowl after each toilet flush
- Typical Issues: Clogged rim holes = weak flush or poor bowl rinsing
- Repair Difficulty: 1/5 for cleaning
Trapway (Siphon) & Outlet
- Where: Curved passage inside bowl, leads to the base.
- Function: Holds water in bowl, blocks sewer gases, and “siphons” waste away when enough water rushes through.
- Typical Issues: Partial clogs = slow flush or standing water. Full clogs need a plunger or auger.
Anchor Bolts
- Where: At base, secure toilet to flange/floor.
- Typical Issues: Loose toilet = tighten or replace bolts/washers.
Seals, Connectors, and External Parts of a Toilet
Wax Ring
- Where: Between bottom of toilet and floor flange
- Function: Seals joint to prevent leaks and sewer gas
- Common Issues: Foul smell or wetness around the toilet base = bad wax ring
- Repair Difficulty: 4/5 (requires removing entire toilet)
- Average Cost: $5–$15
Flange
- Where: Floor drain opening, under toilet
- Function: Connects toilet base to drainpipe AND anchors toilet
- Typical Issues: Broken toilet flange = rocking toilet, leaks
- Repair Difficulty: 5/5 (cutting/drilling may be needed)
- Average Cost: $10–$30
Water Supply Line & Shut-off Valve
- Where: Behind or beside toilet
- Function: Brings fresh water from pipe to tank
- Typical Issues: Leaks, loose fittings, or old valves
- Repair Difficulty: 2/5
- Average Cost: $5–$20
Seat & Lid Hardware
- Where: Top of bowl, attached to rear
- Function: Comfort, hygiene. The lid prevents debris falling in.
- Upgrade Option: Soft-close—no more slamming!
- Repair Difficulty: 1/5
- Average Cost: $10–$40 (more for premium)
Modern Innovations
- Dual-Flush Buttons: Separate controls for liquid/solid flush, saves water

- Eco Features & High-Efficiency Fill Valves: As low as 1.28 gallons per toilet flush
- Bidet Add-ons: For hygiene
- Soft-Close Lids: Quiet and kid-friendly
Parts of a Toilet Table: Summary at a Glance
| Part | Location | Function | Difficulty | Avg. Cost | Signs of Failure | Repair / Replacement |
|---|---|---|---|---|---|---|
| Flush valve/flapper | Inside tank base | Releases water into bowl | 2/5 | $5–$15 | Running toilet, can’t stop refilling | Change flapper or valve |
| Fill valve | Inside tank, left | Refills tank after flush, shuts water | 3/5 | $10–$30 | Tank won’t fill, “hissing”, overflows | Replace fill valve |
| Handle/chain | Tank front/side | Triggers flush, lifts flapper | 1/5 | $5–$20 | Loose handle, weak flush | Tighten/replace handle, fix chain |
| Overflow tube | Tank center | Prevents tank overflow | 3/5 | $5–$15 | Water in bowl constantly | Replace tube |
| Wax ring/flange | Toilet base/floor | Seals toilet to waste pipe | 4-5/5 | $5–$30 | Water at base, foul smell, loose bowl | Remove toilet, install new ring |
| Seat/lid | Bowl, top | Comfort, closes bowl off | 1/5 | $10–$40 | Loose seat or cracked lid | Tighten or replace hardware |
| Bowl | Lower section | Holds/flushes waste | 5/5 | $80–$300+ | Cracks, leaking | Replace bowl |
Toilet Repair & Maintenance – DIY Guides
Do you want to fix a running toilet, a weak flush, or a leaky bowl? These sections break down each key repair with simple steps, tools, and tips.
How to Replace a Toilet Flapper
Replacing a toilet flapper is the simplest and most cost-effective way to fix a leaking toilet. A faulty flapper can waste a significant amount of water daily, so timely replacement is crucial.
Tools Needed:
- An adjustable wrench or pliers
- A towel (to catch the water)
- A new, compatible flapper replacement
Steps:
- Turn off the shut-off valve: Locate the valve behind or next to the toilet and turn it clockwise to shut off the water flow.
- Drain the tank: Release water into the toilet, flush the toilet to empty the tank.
- Disconnect the toilet chain: Inside the tank, remove the pull chain from the flush lever.
- Remove old flapper, slide it off the side pin at the bottom of the overflow pipe.
- Snap the new valve onto the pin, making sure it fits tightly against the valve seat.
- Reattach the toilet chain: Attach the chain back to the lever, leaving about half an inch of slack.
- Water Test: Open the water valve to fill the water tank, and test flush it several times to ensure it is sealed tightly.
Time estimate: 10–15 minutes
Toilet maintenance tips: Check the components monthly, remove any buildup (avoid harsh detergents), and listen for leaks. Regular maintenance will help your toilet last longer, reduce water waste, and keep it running smoothly.
Fixing/Replacing a Fill Valve
The toilet fill valve controls the flow of water into the toilet tank after each flush. If the toilet fills slowly, keeps running, or makes unusual noises, the fill valve may be clogged, worn, or malfunctioning. Replacing it is not difficult though.
Tools Needed:
- Adjustable wrench
- bucket, or towel (to collect residual water).
Steps:
- Shut off water supply: Tighten the valve clockwise to shut off the water flow.
- Flush to empty tank: After flushing, soak up any remaining water with a sponge.
- Disconnect water supply line: Use a wrench to loosen the water supply line under the water tank.
- Remove the old valve: Unscrew the nut under the tank before remove the old valve.
- Install the new valve: Install the new valve into the tank opening and tighten the nut to secure it.
- Connect the water line and adjust the float: Connect the water line, flow water, and adjust the float to determine the water level.
Time estimate: 20–30 minutes
Maintenance Tip: Clean the toilet fill valve and float annually, check the pipes and connections, listen to any hissing noises, and test the valve occasionally.
Fixing a Toilet Handle or Chain
Typical Problem: The handle feels loose, or the flush is weak.
Tools:
- Small adjustable wrench
Steps:
- Carefully remove the toilet tank cap and store it securely to avoid damage.
- Inspect the handle and chain inside the tank to see if they are loose, disconnected, or tangled.
- Tighten the nut by securing the handle. Remember, this nut is usually reverse-threaded (tighten counterclockwise).
- Adjust the toilet chain length to allow about half an inch of slack. Too tight and the flush valve cover won't seal properly, but too loose and the valve cover won't lift completely.
- Test for smooth action. Press the handle and check if the flush valve opens and closes smoothly. Don't let it get stuck. If it does, the flushing will definitely not be normal, so you need to check it carefully.
- If the flushing is still abnormal after tightening and adjusting, then replace the worn or damaged parts. Don't delay, otherwise the problem will not be solved.
This simple repair method can quickly make the flush more powerful and prevent water from being wasted. It's very practical and you should master it.
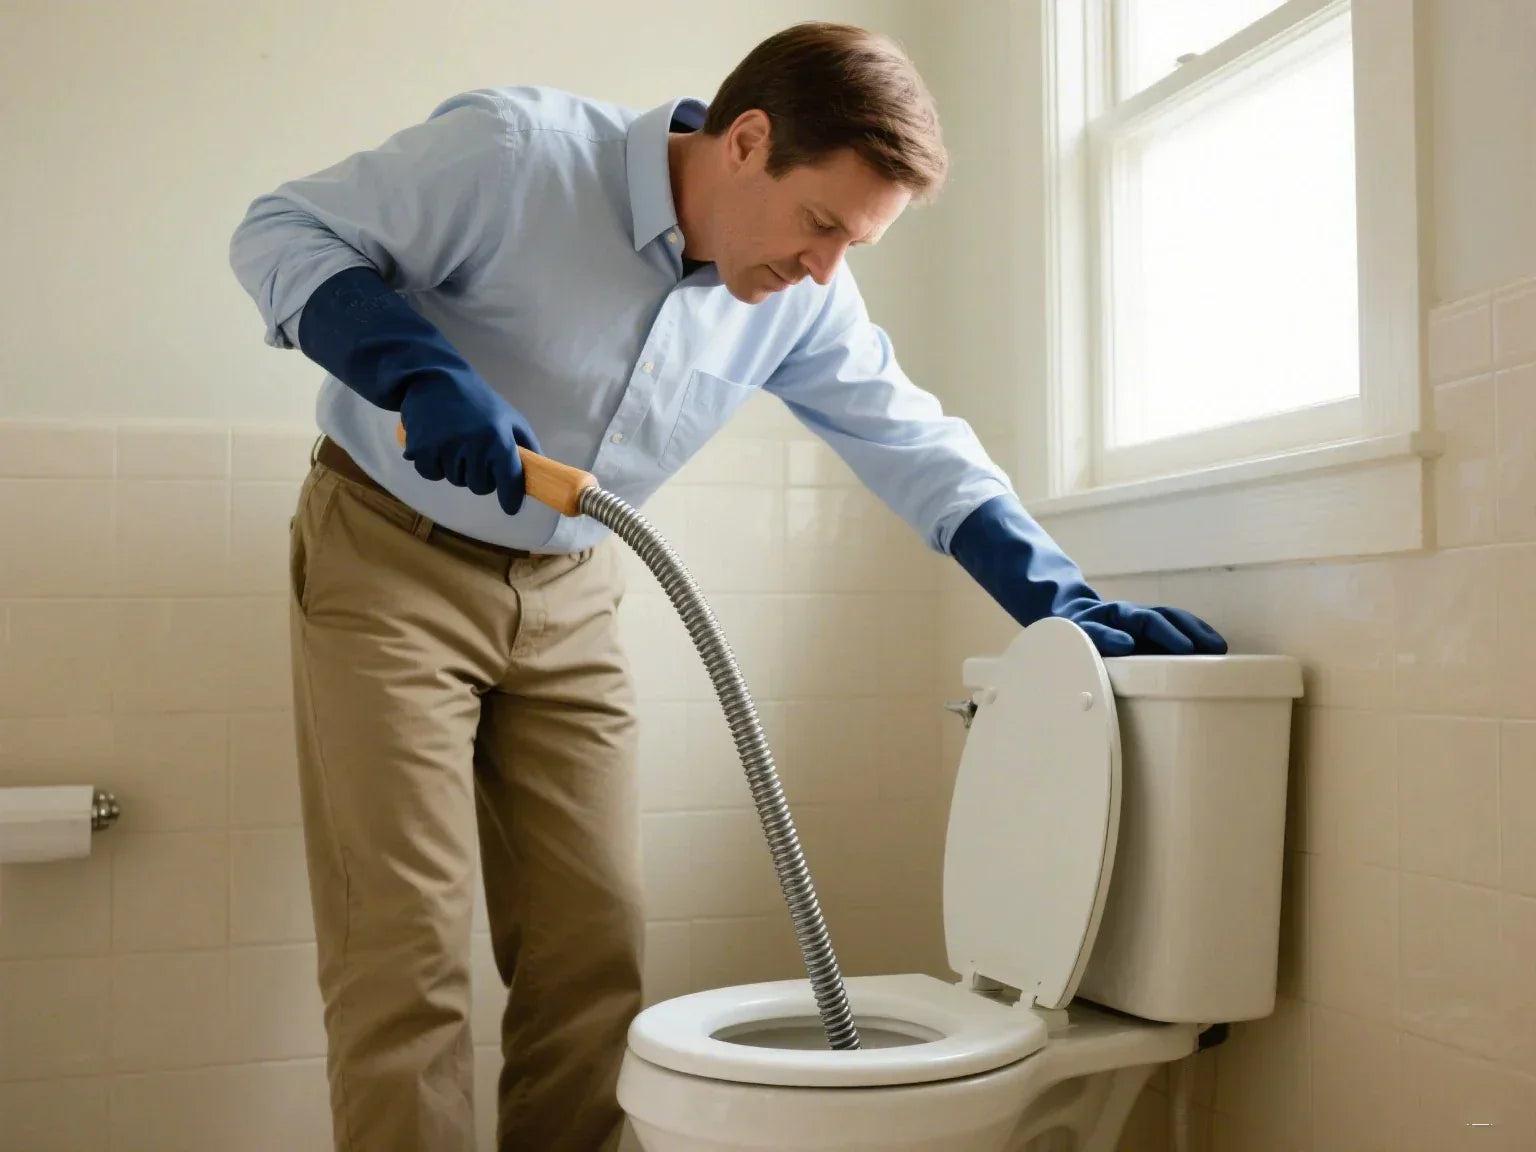
Replacing a Wax Ring (Leaking at Base)
Warning: This is a relatively messy job and requires removing the toilet.
Tools:
- A monkey wrench
- Putty knife
- Sponge/towel
- A new wax ring or wax-free seal
Steps:
- Turn off the water first.
- After flushing, use a sponge to absorb any remaining water.
- Loosen the nuts securing the bottom of the toilet and gently rock it to lift it.
- Use a putty knife to clean the old wax ring, ensuring the flange surface is clean.
- Install the new wax ring, align it, and replace the toilet.
- Tighten the bolts, reconnect the water supply, and run the water to check for leaks.
Time estimate: The entire process takes about 45 to 60 minutes.
Daily Maintenance Tips: Check the water level and seal in the water tank monthly, and clean the drain valve every six months. Avoid throwing foreign objects such as paper towels and wet wipes into the toilet to prevent clogs. Keep the flush water temperature below 45°C to prevent degradation of the sealant. Use soft cloth and mild detergent to avoid scratching the toilet surface. Remember to replace broken parts of toilets promptly.

Compare Different Toilet Parts, Costs & Replacement Options
What’s the best choice for installing a new toilet or repairing one? Not all parts are alike. Some last longer or save water, others are cheaper but may need replacement sooner.
|
Type |
Features |
Pros |
Cons |
Cost |
Lifespan |
|
Fill Valve - Ballcock |
Old, large float; brass or plastic |
Cheap, fits old toilets |
Noisy, can stick |
$10–$15 |
3–5 years |
|
Fill Valve - Float Cup |
Quieter, smaller; easy install |
Water-saving, durable |
May not fit ancient models |
$15–$30 |
5–7 years |
|
Flapper - Rubber |
Standard, soft rubber |
Cheap, easy to find |
Wears out in hard water |
$5–$10 |
3–5 years |
|
Flapper - Silicone |
Stiffer, resists chlorine |
Lasts longer, less swelling |
A few dollars more |
$7–$15 |
5–8 years |
|
Wax Ring |
Traditional, soft wax |
Seals tightly, cheap |
Can melt/distort in heat |
$5–$10 |
5–10 years |
|
Wax-Free Ring |
Rubber or foam |
Easy install, cleaner, reusable |
Higher cost, fit varies |
$7–$15 |
10+ years |
|
Dual-Flush Upgrade |
Two buttons (liquid/solid), water-saving |
Big water savings |
Retrofit may be tricky |
$25–$50 |
Varies |
This comparison table shows different types of each part of a toilet and more about their detailed information.
Water inlet valves come in two types: ballcock and float cup. ballcocks are suitable for older toilets, but they are inexpensive but noisy and prone to sticking. The float cup is suitable for new toilets, is quieter to use, and saves water. It is comfortable and cost-effective to replace it.
Water rings come in two types: waxed and non-waxed. Waxed rings are inexpensive but sensitive to heat; non-waxed rings are easy to install and reusable, but are more expensive. Choose the right one based on your toilet and budget.
Upgrading to a dual flush can save water, but requires professional installation.
When purchasing accessories, consider the age of the toilet and your actual needs. Clean the toilet regularly with special tools, check the flushing system, clean and disinfect the bottom joints and buttons, and maintain them well to save water.
Components of a Toilet: Water-Saving & Modern Upgrades
Thinking about the future? Modern toilets use only 1.28 gallons per flush or less—new parts mean savings for you and the planet.
- EPA WaterSense fill valves and flush valves
- Dual-flush conversion kits (can cut water use by 20–40%)
- Soft-close seats and antimicrobial add-ons
Expert Tips & Most Common Problems (2025)
Top 3 Toilet Issues
Flapper not sealing:
- Symptoms: Constant running water, high water bill
- Quick Fix: Change flapper (10 min, under $15)
Fill valve failures:
- Symptoms: Tank overflows, never fills, noisy
- Quick Fix: Replace fill valve (30 min, $10–$30)
Handle/chain/linkage problems:
- Symptoms: Handle loose, flush weak or doesn't work
- Quick Fix: Adjust/tighten or replace ($5–$20)
Reddit & YouTube User Insights
- Most home DIYers find flapper and chain repairs the easiest.
- Fill valve can be switched in 30 minutes with a wrench.
- Removing a toilet for a wax ring swap is harder (heavy lifting, messier).
- Advanced users suggest soft-close seats and water-saving fill valves are worthwhile.
Pro Tips for DIYers
- Use genuine or high-quality replacement parts—generic may not last as long.
- Always test for leaks with dry tissue after every repair.
- Essential tools: Wrench, pliers, sponge, towels, bucket, rubber gloves.
- Avoid over-tightening bolts to prevent cracking porcelain.
- Label the parts as you remove them if you’re new to inside toilet tank parts.
Conclusion
Understanding the parts of a toilet puts you in control—whether you’re facing a leak, a running tank, or simply planning an upgrade. With the diagrams above, stepwise repair guides, troubleshooting flowchart, and expert-backed tips, you’ll have everything you need to solve problems now and prevent bigger headaches later. Regular maintenance and quick repairs will not only save water and money, but also keep your bathroom safe and comfortable for years. Refer to the downloadable guides—and check the FAQ below—to stay ahead of the most common toilet troubles.
FAQs: Parts of a Toilet
1. What are the parts in the toilet tank called?
The main toilet tank components include the flush valve/flapper, fill valve, float, trip handle or flush button, overflow tube, tank bolts, and the gasket. These components of a toilet tank are crucial to its proper function. All of these components work together and any malfunction can cause problems, so regular maintenance is crucial to the longevity of your toilet system.
2. What do you call the bottom of a toilet?
This is usually called the base of the toilet, also known as the pedestal or foot. It secures the toilet to the floor and is crucial for its stability and functionality. It connects to the anchor flange, which connects to the drainpipe. The wax ring acts as a seal to prevent water leakage between the base and the flange. This is essential for the normal discharge of waste and to prevent leakage. Over time, the wax ring can deteriorate, leading to leaks and odors, so inspect it and replace it if necessary. The base provides support for the toilet, allowing it to function properly and remain stable.
3. What are the two components that fail most often in a toilet tank?
The flapper and the fill valve are most likely to wear out or fail. A flapper is a rubber seal that controls the flow of water. After using it for a long time, it may deform, crack, and accumulate dirt, which will cause water leakage or weak flushing.The fill valve is used to replenish water to the water tank after flushing. Water pressure and sediment can cause it to wear out and that the water may be filled slowly or keep running. These two parts are cheap and easy to replace, so they are often replaced when repairing the toilet.
4. How can I tell if it’s the toilet flange or the wax ring leaking?
Water at the toilet’s base may signal either. Signs of a bad flange include an unstable toilet that wobbles, or leaks due to damage, improper installation, or rust. As for the wax ring, if water accumulates after every flush, it could be a problem; it may be deteriorating or shifting. You can confirm this by checking whether the toilet is stable and when it leaks. Pinpointing the problem will make repairs more efficient and remember to fix a toilet floor flange or a wax ring as soon as possible.
5. Can I upgrade to water-saving features without replacing the whole toilet?
Yes, you can upgrade your toilet to a water-efficient model without replacing your entire toilet. Many ordinary toilets can be equipped with dual-flush valves, so that liquid excreta can be flushed with a small amount of water, and solid excreta can be flushed with a large amount of water, which can greatly reduce water consumption. Another simple upgrade is to install a modern, adjustable water fill valve, which controls how much water is added to the tank after each flush. These accessories are widely available and affordable, and they fit most toilet models. By making these simple changes, your toilet can be more water-efficient and environmentally friendly.

Leave a comment
This site is protected by hCaptcha and the hCaptcha Privacy Policy and Terms of Service apply.