


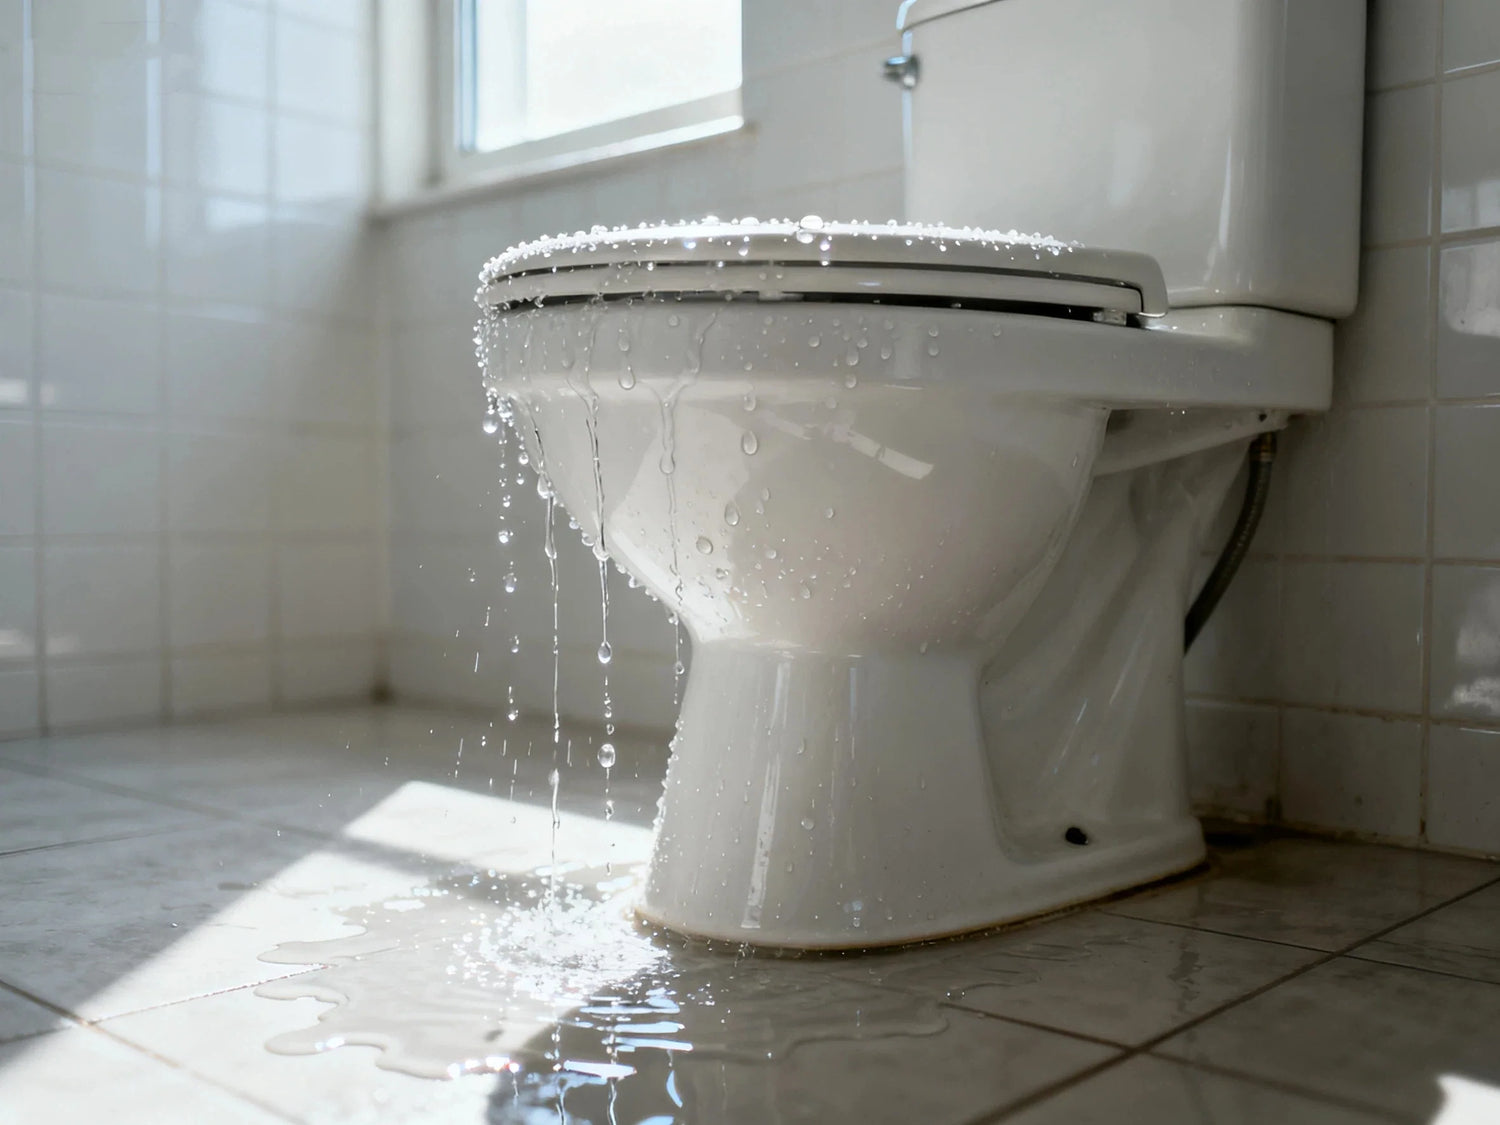
Toilet leaking is one of the fastest ways to waste water, spike bills, and ruin floors (EPA, 2025). If you’re spotting water around the base, hearing the toilet refill on its own, or seeing a sudden jump on your water bill, you’re in the right place. This step-by-step guide shows you exactly how to diagnose the leak, fix it today, and prevent it from coming back. You’ll get quick actions to stop damage, leak-by-location diagnosis, proven repairs for the flapper, wax ring, tank-to-bowl gasket, and supply line, plus when to call a pro. Expect data-backed tips, simple checklists, and a practical cost guide to help you save money and protect your home.
Toilet leaking: quick diagnosis and next steps
Before diving into detailed fixes, let’s start with what to do the moment you notice a toilet leak. Acting fast can prevent water damage, mold, and high bills—here’s your immediate plan
Immediate actions to minimize damage
A small leak can turn into subfloor rot or ceiling stains fast. Take these steps right away:
-
Turn off the shutoff valve at the wall by the toilet (clockwise) to stop the water supply.
-
Flush the toilet to drain the tank. Hold the handle down to empty as much tank water as possible.
-
Mop or vacuum any standing water. Place a towel around the base to catch drips.
-
Ventilate the room with a fan or open window to lower humidity and reduce mold risk.
-
If water is leaking from the bottom of the toilet (at the base), stop using it. A base leak can damage the subfloor and should be treated as urgent.
Wondering what’s most common? The number one internal reason a toilet leaks is a worn flapper that lets tank water run into the bowl. The top external reason is a failed wax ring at the base.
Symptom Selector + Quick Reference Table
Choose what you see to jump to likely causes:
-
Base leak
-
Tank-to-bowl leak
-
Running/phantom leak (refills on its own)
-
Supply line or shutoff leak
-
Condensation (“sweating” tank)
-
Other/unknown
Use this quick table to set your plan.
| Leak location | Common causes | DIY difficulty | Tools | Time |
| Base (around the floor) | Failed wax ring, loose closet bolts, cracked flange | Moderate | Wrench, putty knife, new wax ring or wax-free seal, shims | 60–90 min |
| Between tank and bowl | Worn tank-to-bowl gasket, loose or corroded tank bolts/washers | Moderate | Wrench, screwdriver, new tank-to-bowl gasket and bolts | 60–90 min |
| Running/phantom leak (inside bowl) | Worn flapper, warped flapper seat, high water level, bad fill valve, refill tube inserted too far | Easy–Moderate | Flapper, fill valve, pliers, sponge | 20–45 min |
| Supply line or shutoff | Loose connection, cracked braided line, bad cone washer or ferrule, failing shutoff valve | Easy–Moderate | Adjustable wrench, new supply line/washer | 15–30 min |
| Condensation | Humid room, cold tank water, poor ventilation | Easy | Fan/dehumidifier, anti-sweat valve or tank liner (optional) | 10–30 min |
| Cracks (tank or bowl) | Hairline or structural porcelain crack | Moderate–Advanced | Flashlight, mirror, replacement toilet (if structural) | 30–120+ min |
Urgency meter and safety notes
-
Base leak (wax ring): Emergency. Stop using the toilet until fixed to prevent subfloor rot.
-
Tank-to-bowl or supply line leak: High urgency. Shut water off and repair soon to prevent flooding.
-
Running/silent leak: Moderate urgency. Fix within days to stop high water waste.
-
Condensation: Low urgency, but address to avoid mold.
Safety tips:
-
Porcelain cracks under pressure. Do not overtighten bolts or nuts.
-
If water has spread beyond the bathroom, shut off power to nearby outlets until dry.
-
Use gloves and eye protection when scraping old wax or working near corroded parts.

Fast tools and materials checklist
-
Adjustable wrench and screwdriver set
-
Putty knife and utility knife
-
Bucket, sponge, rags, and towels
-
Replacement flapper (correct size for your flush valve)
-
Tank-to-bowl gasket and rubber bolt washers
-
Wax ring or wax-free seal, closet bolts, and caps
-
Braided stainless supply line, cone washer, and Teflon tape (if needed)
-
Shims for leveling wobbly toilets
-
Flashlight and food coloring for dye tests
Key facts, causes, and risks
Once the situation is under control, it’s time to understand what’s actually happening. Knowing the root causes of a toilet leak helps you choose the right fix and avoid repeating the problem.
The cost of a leaking toilet (stats you can use)
Toilet leaks are common, quiet, and costly. Data shows:
-
About one in five toilets leaks at any given time.
-
The average home wastes around 10,000 gallons of water per year from leaks, and toilets are a top source.
-
Minor toilet leaks can waste 30–250 gallons per day. Major leaks can waste up to 4,000 gallons per day.
-
Water rates have risen sharply in many areas, so leaks hit your bill fast.
In plain terms, a running toilet can add hundreds of dollars to your bill each year. A base leak can cost far more in hidden floor repairs than any part you’ll replace today.
Common causes by component
-
Flapper and seat: The flapper is a rubber seal in the tank. With age, chlorine and hard water make it warp, crack, or go slimey. A bad flapper lets tank water leak into the bowl, causing a “phantom” refill. A warped seat or rough mineral buildup can also stop a tight seal.
-
Fill valve and overflow: A misadjusted or sticking fill valve can set the water level too high, sending water down the overflow tube. The refill tube tip pushed into the overflow can siphon water and keep the toilet running.
-
Tank-to-bowl gasket and bolts: Rubber parts flatten and crack. Bolts corrode. This leads to a toilet leaking between the tank and bowl or a toilet tank leaking from the bottom at the bolt holes.
-
Wax ring and flange: The wax ring seals the bottom of the toilet to the drain. Rocking, age, or a damaged closet flange can break the seal and let water leak at the base.
-
Supply line and shutoff valve: Loose nuts, a tired cone washer, or a brittle hose can let water seep or spray. Old shutoff valves can weep at the stem.
-
Cracked porcelain: Less common but serious. Hairline cracks may seep; structural cracks can fail without warning.
Health and property risks
Water plus time equals damage. A slow leak leads to mold growth, soft subfloor, and even joist rot. In multi-level homes, a toilet leak can stain or collapse ceilings below. Wet floors are a slip hazard, and water near outlets creates electrical risk. Tackle leaks early to protect your home and your health.

Diagnose the leak: location-by-location
Different leak points call for different repairs. Use the following visual and step-based guide to pinpoint exactly where the water is coming from—whether it’s the base, tank, or internal parts.
Base vs. bowl vs. tank: what you see and hear
-
Base leak (bottom of the toilet): You see water pooling around the base or a damp ring after each flush. You may catch a musty odor. This points to a failed wax ring or loose bolts.
-
Internal bowl leak: The bowl looks calm, but you hear the tank refill every so often, or the water level in the tank drops on its own. The dye test reveals colored water in the bowl without flushing. This is a flapper or overflow issue.
-
Tank exterior leak: Drips from under the tank near the bolts or the center gasket area mean the tank-to-bowl gasket or bolt washers are worn. Water may collect under the tank and run to the floor.
-
Supply line leak: You see beads of water on the hose or around the shutoff valve. Paper towel wrapped around the fittings quickly shows wet spots.
Dye test and meter/bill checks
Use the dye test to confirm an internal leak:
-
Lift the tank lid. Add 8–10 drops of food coloring to the tank.
-
Do not flush the toilet. Wait 30 minutes.
-
If colored water appears in the bowl, your flapper or seat is leaking. If tank water level rose and spilled into the overflow tube, adjust or replace the fill valve.
Smart water monitors can spot tiny flows (as low as 0.01 gpm), which helps catch silent leaks. Also check your water bill for unexplained spikes or your water meter for movement when all fixtures are off.
Interactive flowchart: Where is water appearing?
-
Water on the floor only after a flush? Think wax ring or tank-to-bowl gasket. Dry the area, flush, and follow with a flashlight to see where it starts.
-
Water beads at hose or valve? Tighten or replace the supply line or shutoff valve packing.
-
Color in bowl without flushing? Replace the flapper, check the seat, and set the water level below the overflow.
-
Water on the outside of the tank that feels cool and not slippery? Likely condensation, not a leak. Reduce humidity or insulate the tank.
How do I tell if it’s a wax ring vs. condensation?
Condensation forms when warm room air hits a cold tank, making the outer tank sweat. It feels cool to touch and usually appears on the sides of the tank, not at the base. A wax ring leak shows as water seeping from the base after a flush, sometimes with a musty smell. To test, dry everything, place a dry tissue at the base, flush, and watch for water appearing at the floor. You can also wrap the tank in a towel for an hour. If the base still leaks after a flush with a dry tank exterior, it’s not condensation—your wax ring likely failed.
Fix a toilet leaking at the base (wax ring)
If your toilet leaks where it meets the floor, the wax ring is almost always to blame. This section shows you how to replace it step by step and avoid costly subfloor damage.
Step-by-step: Replace the wax ring or wax-free seal
If your toilet is leaking from the bottom at the base, replace the seal. This is a moderate DIY job.
-
Turn off the water supply at the shutoff valve. Flush the toilet and hold the handle to empty the tank. Sponge out remaining water from tank and bowl into a bucket.
-
Disconnect the water supply line from the fill valve under the toilet tank. Loosen by hand or with a wrench.
-
Pop the bolt caps at the base. Remove the nuts from the closet bolts that hold the toilet to the floor.
-
Gently rock the toilet to break the old wax seal. Lift the toilet straight up and set it on cardboard or a towel. If it’s heavy, get help.
-
Scrape off all old wax from the bottom of the toilet horn and the closet flange on the floor with a putty knife. Clean to bare surfaces.
-
Inspect the flange. If it’s cracked or corroded, install a flange repair ring or consult a professional plumber.
-
Set the new wax ring (or a wax-free seal) centered on the flange. For taller gaps, use an extra-thick ring or a stackable wax-free seal as directed by the manufacturer.
-
Lift the toilet and lower it straight down over the bolts and onto the ring. Aim carefully to avoid smearing the seal. Press firmly to seat it.
-
Check for wobble. If the toilet rocks, insert plastic shims at the base until solid, then trim them later.
-
Tighten the nuts onto the closet bolts evenly. Alternate sides and stop when snug. Do not overtighten or you can crack the base.
-
Reconnect the water supply line. Turn on the water. Let the tank fill.
-
Flush and check for leaks around the base. Dry everything and watch for new water. Caulk around the front and sides (leave a small gap at the back so hidden leaks can show).

Tools, parts, and pro tips
-
Parts: wax ring or wax-free seal, new closet bolts, bolt caps, optional flange repair ring, shims
-
Tools: adjustable wrench, screwdriver, putty knife, utility knife, sponge, bucket, towels
-
Pro tips:
-
Test-fit before you commit. Make sure the toilet sits flat and doesn’t rock before final tightening.
-
If the home has a thick tile floor, a standard ring may be too low. Use an extra-thick or stackable seal.
-
Caulk after leak testing. Caulk helps keep mop water out, but leave a small rear gap to reveal future leaks.
-
Case study: Subfloor damage from a slow base leak
A homeowner noticed a musty smell and a slight soft spot by the toilet. The leak was small and only showed after flushing. Months later, the vinyl peeled and the floor felt spongy. The wax ring had failed, and water soaked into the OSB subfloor and part of a joist. The repair required removing the toilet, replacing the wax ring, tearing out damaged flooring, drying the area, and sistering the joist—far more costly than a simple ring swap. The lesson: if water appears around the base even once, stop using the toilet and fix it right away.
Fix leaks between tank and bowl + internal running
When leaks happen higher up—between the tank and bowl or inside the system—the solution is usually a new gasket, flapper, or valve adjustment. Here’s how to stop the constant dripping or refilling.
Tank-to-bowl bolts and gasket (stop water at the seam)
Leaks that show up under the tank or at the bowl’s rear after a flush usually trace back to the bolts or the center tank-to-bowl gasket.
-
Turn off water and drain the tank fully. Sponge out remaining tank water.
-
Disconnect the supply line from the fill valve.
-
Remove the tank-to-bowl nuts under the bowl. If corroded, use penetrating oil and hold the bolt heads inside the tank with a screwdriver while loosening nuts below.
-
Lift the tank straight up and set it on a towel.
-
Remove old bolts, rubber washers, and the large tank-to-bowl gasket. Clean the tank’s bolt holes and the flush valve outlet.
-
Install new bolts with new rubber washers inside the tank. Rubber goes inside to seal water. Metal washers and nuts go under the bowl.
-
Press on a new tank-to-bowl gasket over the flush valve outlet.
-
Set the tank back on the bowl, guiding bolts through the holes.
-
Tighten the nuts evenly, alternating sides, until the tank is level and stable. Do not overtighten; porcelain can crack.
-
Reconnect the supply line, turn on water, and test for drips. Dry and re-check after a few flushes.
Flapper and seat repair (stop phantom flushes)
The most common reason a toilet leaks is a worn flapper. If the tank refills on its own or you fail the dye test, fix the flapper and seat.
-
Turn off water, flush to lower tank water to below the flapper.
-
Unhook the chain and slide the old flapper off the pegs or ring.
-
Inspect the seat (the ring the flapper rests on). Clean mineral buildup with a scrub pad. If rough or warped, consider a seat repair kit.
-
Install a new flapper that matches your flush valve size (most are 2-inch; some are 3-inch).
-
Adjust the chain so there’s a little slack (about one bead). Too tight and it might hold the flapper open; too loose and it won’t lift fully.
-
Turn on water. Do the dye test again after 30 minutes. No color in the bowl means you’re sealed.
Fill valve and overflow adjustments
If the water level is set too high, it will slip into the overflow tube and mimic a leak.
-
Check the “water line” mark on the tank or set the water level about 1 inch below the top of the overflow tube.
-
Adjust the fill valve: turn the adjustment screw or slide the float collar down to lower the water level.
-
Ensure the refill tube is clipped above the overflow and not pushed down inside it (which can siphon water).
-
If the fill valve chatters, sticks, or takes too long to fill, replace it. It’s a 30–45 minute job requiring only basic tools.

Supply line, shutoff, and cracks: special cases
Not every leak fits the usual pattern. If water seeps from the supply line, shutoff valve, or a cracked toilet, these special cases require a different approach. Let’s walk through them safely.
Supply line and shutoff valve leaks
If you see water on the floor that isn’t tied to flushing, check the supply line and shutoff valve first.
-
Tighten the compression nut at the shutoff valve and at the fill valve a quarter turn at a time. Do not overtighten.
-
If the braided hose is more than 5–7 years old, replace it with a new stainless line. Swap the cone washer if it looks flattened.
-
If the shutoff valve leaks around the stem, try tightening the packing nut slightly. If it still leaks, replace the valve.
Porcelain cracks (tank or bowl)
-
Hairline vs. structural: A hairline crack may seep and can sometimes be managed short-term, but it may spread. Structural cracks (long, deep, or across stress points) require replacing the toilet. Epoxy is a temporary patch and not safe for pressurized or load-bearing areas.
-
Safety: A cracked tank can split suddenly and release gallons of water. If you see a crack with active seepage, shut off water and replace the part (or the complete toilet) as soon as possible.
Why does my toilet leak only after flushing?
This usually points to the tank-to-bowl gasket/bolts or the wax ring. Dry the area, place tissue around suspected spots, and flush while watching with a flashlight. Drips under the tank seam suggest the gasket. Water at the floor base points to the wax ring. Trace the very first point of moisture to pinpoint the cause.
DIY vs pro: repair costs, timelines, and safety
Some leaks are perfect for DIY repair, while others call for a professional. This section helps you compare costs, time, and risks—so you know when to grab a wrench and when to grab the phone.
Decision tree: When to call a plumber
Call a professional plumber if any of these apply:
-
Persistent base leak or signs of rot in the subfloor
-
Cracked porcelain or a wobbly toilet that won’t shim solid
-
Seized or corroded shutoff valve you can’t close or replace safely
-
Unknown leak source after basic tests
-
Multi-story home with ceiling stains below the bathroom
-
You’re not comfortable lifting the toilet or working with water shutoffs
Cost and time estimates (DIY vs. pro)
| Repair | Typical DIY parts cost | Typical DIY time | Typical pro cost (labor + parts) |
| Flapper | $8–$20 | 20 minutes | $90–$180 |
| Fill valve | $15–$40 | 30–45 minutes | $130–$250 |
| Tank-to-bowl gasket/bolts | $10–$25 | 60–90 minutes | $150–$300 |
| Wax ring (base) | $6–$30 | 60–90 minutes | $180–$400 |
| Supply line | $8–$20 | 15–30 minutes | $100–$180 |
| Shutoff valve | $10–$35 | 45–90 minutes | $150–$350 |
Prices vary by region and access. Even at the high end, a quick DIY fix can pay for itself in a single billing cycle if your toilet is running.

Risk matrix and warranty considerations
-
Porcelain breakage: Overtightened bolts or uneven stress can crack tanks and bowls. Tighten slowly and evenly.
-
Improper seating: A mis-seated wax ring can leak under the floor. Always test for rocking and shim before final tightening.
-
Cross-threaded supply fittings: Start threads by hand before wrenching.
-
Rental/HOA: Some rules require licensed plumbers for water shutoff or fixture replacement. Check your lease or bylaws.
-
Insurance: Report and document water damage early. Photos of the leak source and repair help if you need a claim.
Repair cost calculator (quick math you can use)
To estimate wasted water cost:
-
Estimate leak rate:
-
Slow runner: 0.1–0.3 gpm (144–432 gallons/day)
-
Fast runner: 0.5–1.0 gpm (720–1,440 gallons/day)
-
-
Multiply gallons/day by your local cost per gallon (find on your bill).
-
Example: 200 gallons/day at $0.01/gallon ≈ $2/day, about $60/month. A $15 flapper pays back in days.
Prevention: maintenance, upgrades, smart monitors
Once your toilet is leak-free, a little prevention goes a long way. Regular maintenance and smart upgrades can help you avoid another leak, save water, and protect your bathroom for years.
Routine inspection schedule
-
Quarterly:
-
Do a flapper dye test.
-
Check the water level in the tank and refill tube position.
-
Inspect the supply line and shutoff for seepage.
-
Look for wobble at the base and tighten loose bolt caps if needed.
-
-
Annually:
-
Exercise the shutoff valve (turn off and on) so it doesn’t seize.
-
Clean or replace the fill valve if it’s noisy or slow to shut.
-
Recheck tank-to-bowl bolts for snugness (do not overtighten).
-
Inspect caulk line around the base and refresh if missing.
-
Upgrades that reduce leak risk
-
Wax-free seals: They resist rocking and temperature swings and are easier to reset.
-
High-quality flappers: Chlorine- and chemical-resistant materials last longer, especially in hard water.
-
Stainless braided supply lines: Less prone to bursting than old plastic or rubber lines.
-
WaterSense toilets: Use less water per flush and reduce stress on parts.
-
Anti-sweat valves or tank liners: Warm incoming water or insulate the tank to stop condensation in humid rooms.
Smart water monitors and alerts
Whole-home water monitors can detect tiny continuous flows and send phone alerts. Many can see changes as low as 0.01 gpm. You can also place a small leak alarm on the floor behind the toilet. Set thresholds and use vacation mode when you’re away to catch leaks early.
How can I stop a toilet from leaking again?
-
Use quality parts and match sizes (flapper and gaskets).
-
Keep water level set below the overflow.
-
Leave a little chain slack on the flapper.
-
Avoid leaning or rocking on the toilet; shim if needed.
-
Keep humidity in check to avoid mistaken “leaks” from tank sweat.
-
Fix drips promptly—small issues often lead to bigger ones.

FAQs
1. What is the most common reason a toilet leaks?
The most common reason a toilet leaks is a worn flapper or a damaged tank to bowl gasket. Over time, these rubber parts harden, crack, or warp, allowing water to escape into the bowl or floor. A leaky toilet may also come from a loose fill valve or a bad seal at the bottom of toilet leaking points like the wax ring. Regular inspection and replacing old seals are key to preventing leaks and wasted water.
2. What do I do if my toilet is leaking?
If you notice a leaky toilet, turn off the shutoff valve immediately to stop water flow. Next, identify the leak source—whether it’s the toilet leaking from tank, at the base, or between tank and bowl. For minor issues, fixing the toilet fill valve or replacing the toilet gasket may solve it. For a toilet tank leaking from bottom or water pooling around the base, reseal or replace the wax ring to stop the leak and protect your floor.
3. How to figure out where a toilet leak is coming from?
To find where a toilet leak starts, first dry all surfaces. Flush and observe carefully. If water appears under the tank, it’s likely the tank to bowl gasket or bolt washers. Water on the floor after flushing points to the bottom of toilet leaking from the wax ring. A dye test helps detect internal leaks caused by a bad flapper or fill valve. Spotting these patterns helps with how to repair a leaking toilet before damage spreads.
4. How to tell if a wax ring is leaking?
A wax ring leak shows as water pooling around the base after a flush or a musty odor. To confirm, dry the floor and flush—new water appearing at the bottom of toilet leaking spots means the wax ring failed. This happens when the toilet rocks, the flange is cracked, or the seal has aged. Replacing the wax ring or installing a wax-free toilet gasket is the best fix to restore a tight seal and stop floor damage.
5. Why is my toilet tank leaking from the bottom?
If your toilet tank leaking from bottom or dripping at the rear, the tank to bowl gasket or bolt washers may be worn. These rubber parts flatten over time, letting water escape between the tank and bowl. Fixing the toilet fill valve won’t help if water leaks from the bolts or gasket area. Replacing the tank-to-bowl gasket, washers, and bolts will seal the tank securely and stop toilet leaks from tank joints.
6. How do I know if my toilet tank gasket is bad?
You’ll know your toilet tank gasket is bad if water drips from the seam where the tank meets the bowl or if you see moisture centered under the tank. This means the toilet leaking between tank and bowl is due to a compressed or cracked gasket. Replacing the tank to bowl gasket and rubber bolt washers restores the seal, preventing a toilet tank leaking from bottom and protecting floors from hidden water damage.
7. Is it safe to use a toilet with a leaking tank?
Using a leaky toilet is unsafe. A toilet leaking from tank or bottom can cause water damage, mold, and even porcelain cracks that may burst. A toilet tank leaking from bottom can also leak onto electrical outlets or flooring. Always turn off the shutoff valve, dry the area, and repair before reuse. Whether you’re fixing the toilet fill valve or replacing a gasket, act quickly to avoid costly repairs later.
8. How to replace gasket on toilet tank?
To replace a toilet tank gasket, first shut off water and flush to drain the tank. Disconnect the supply line, remove the tank bolts, and lift the tank off. Take out the old tank to bowl gasket and clean the area. Install a new gasket snugly around the flush valve opening, insert new bolts with rubber washers, then reattach the tank. Tighten evenly and test for drips—this is the key to how to repair a leaking toilet safely.
References


Leave a comment
This site is protected by hCaptcha and the hCaptcha Privacy Policy and Terms of Service apply.