


Installing an acrylic bathtub works if the bathroom opening is truly square, the floor is solid and level, the drain lines up without forcing the tub, and you can test plumbing before the walls are closed. It does not work well when the subfloor is weak, the drain is even slightly off without access to move it, or the tub is set only on its feet with no proper underside support. Most problems show up later as flexing, squeaks, cracked caulk, and hidden drain leaks.
Acrylic tubs can be a good retrofit choice, but only when the room and rough-in match the tub closely. If your bathroom has old framing, uneven floors, or no access to the drain connection, this becomes a higher-risk install than many homeowners expect.
Installing an acrylic bathtub looks simple because the tub is light. That is exactly why people underestimate it. A steel or cast tub often tells you right away when the framing or floor is wrong. Acrylic can be carried in easily, dropped into place, and seem fine at first. Then six months later, the bottom feels soft, the apron squeaks, the caulk line opens up, or water stains appear below the overflow.
That is the real decision here. Not “Can an acrylic tub fit through the door?” but “Will this tub stay rigid, drain correctly, and remain serviceable in this bathroom without opening finished walls again?”
This guide is written for that decision.
Decision Snapshot
Learn practical tips to install acrylic tub easily, watch related video guides for smooth soaker tub installation.
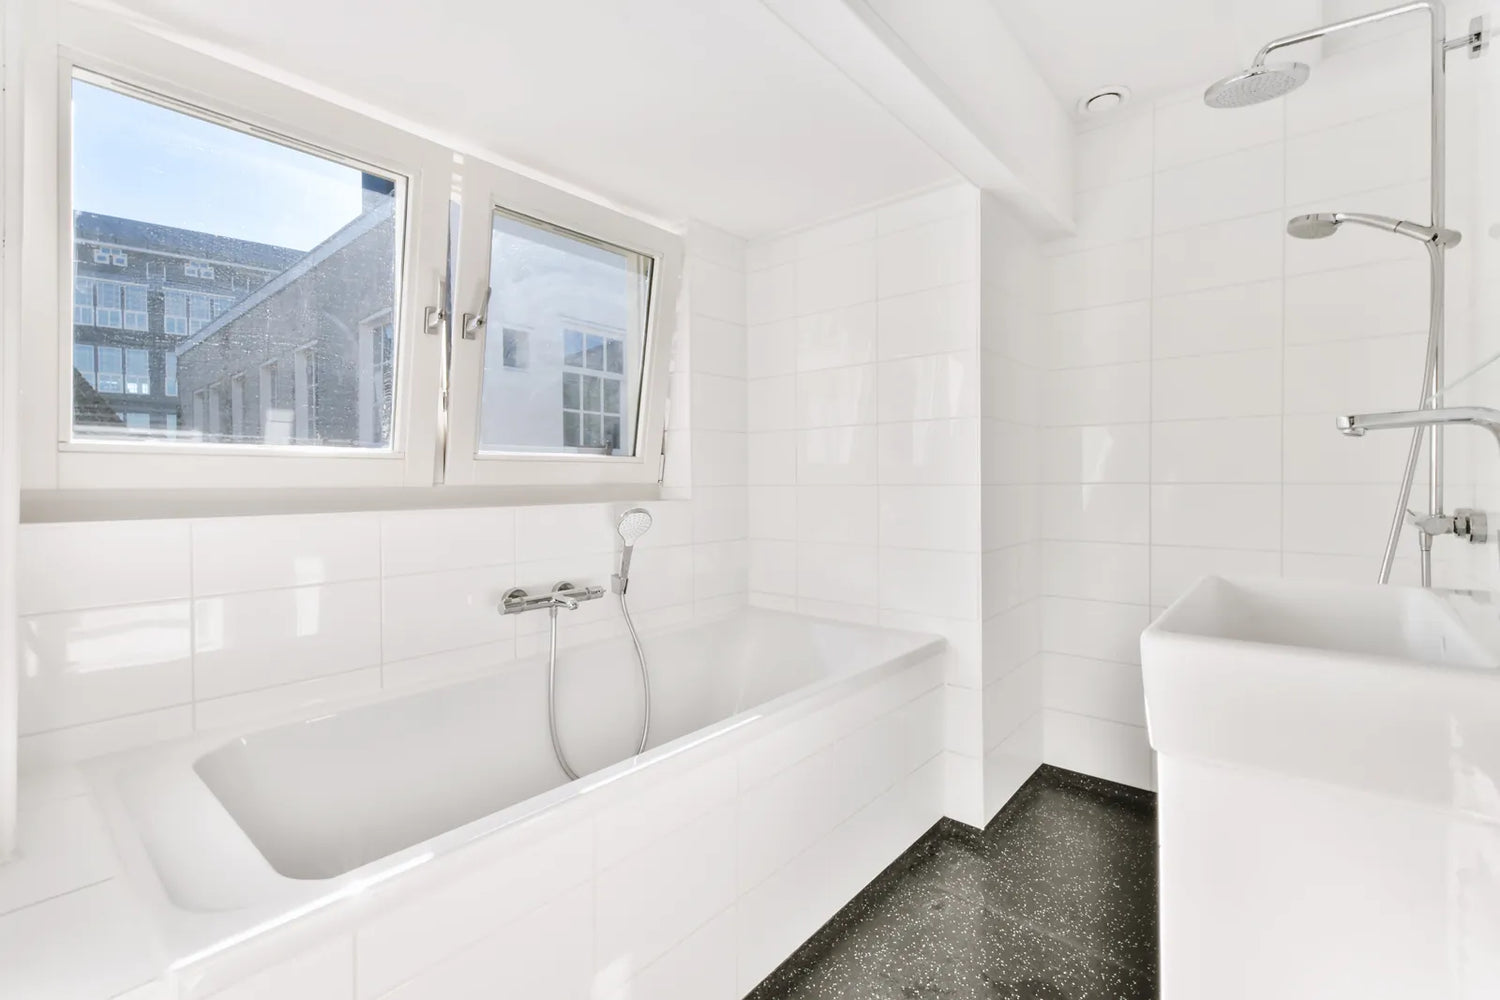
Works best on level, accessible floors
This setup works best in a standard alcove with a sound subfloor, level framing, and direct plumbing access from below or behind. If you can dry-fit the tub, connect the drain without strain, and support the base properly, acrylic is often a practical replacement tub.
Avoid it on weak or uneven framing
Acrylic is not rigid enough to forgive a bad floor. If the bathroom has old water damage, sagging joists, patchwork subfloor, or visible dip across the opening, the tub may technically fit but still fail in use. That usually shows up as movement at the drain and repeated caulk failure.
Reconsider if drain alignment is off
Drain alignment matters more than many buyers think. A small offset can force the waste shoe or overflow assembly into a bind. Once that happens, seals do not sit flat, the tub may not fully seat, and leaks can start behind finished walls. If the rough-in is off and access is poor, this is where project cost rises fast.
DIY only with open plumbing access
Acrylic bathtub installation instructions for diy remodel work best when the drain and trap are visible during setup and testing. If you have to connect the drain blind, through a small cutout, or by feeling alone, the odds of a callback-worthy leak go up sharply.
Who Should Choose This Installation
Know ideal scenarios to install acrylic tubs and avoid unnecessary installation risks.
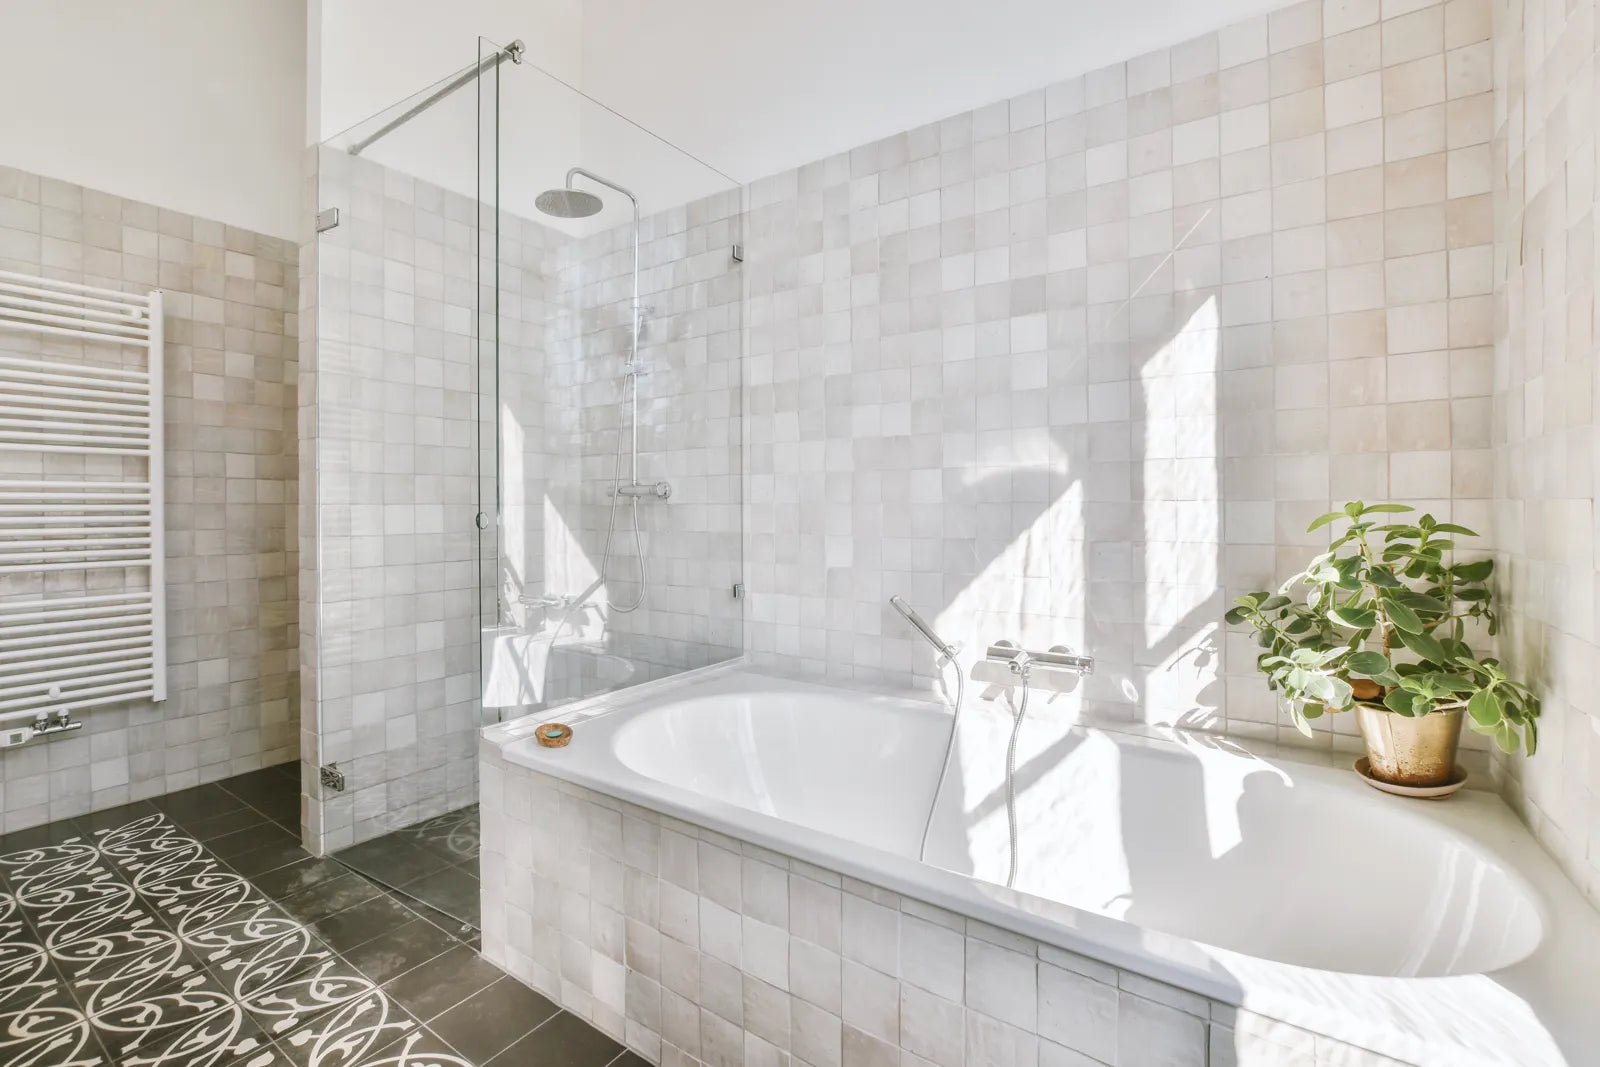
Best for alcove replacements with matching rough-in
The best case is a straightforward tub replacement in an alcove where the new tub matches the old rough-in closely. Same drain side. Similar apron height. Similar length and width. Walls are already open or getting new surround panels. Floor confirmed solid.
That is the situation where installing an acrylic bathtub makes sense. The lighter weight helps with handling, and the installation can stay fairly contained.
Risky in older homes with hidden floor damage
In older homes, especially where an old steel or cast tub has been leaking for years, tub removal often exposes soft subfloor near the drain end. That changes the job immediately. If the floor under one end has sunk even a little, the new acrylic shell will flex more than the old tub did.
This is where most people get it wrong: they compare the old tub’s fit to the new tub’s needs. The old one may have survived because it was stiffer. Acrylic will show the weakness sooner.
Poor fit for no-access drain locations
If there is no practical way to inspect the trap, overflow, and waste connection during testing, the installation gets much riskier. You can still do it, but the margin for error is small. If your setup looks like this, it won’t work well as a casual weekend project.
What Trade-Offs This Choice Creates
Master key trade-offs before you install acrylic tub in your bathroom space.
Lighter tub means more underside support
Acrylic is easier to move, but that does not mean it is easier to install correctly. The shell itself is lighter and more flexible, so support under the bathing well matters more. Many models need a mortar bed or another approved base support, especially thin-shell units. Do you need a mortar bed for an acrylic tub? Often yes, or at least some form of continuous support if the manufacturer allows it.
Flexible shell amplifies leveling errors
A small floor dip that would barely matter under a rigid tub becomes obvious under acrylic. Water may pond instead of draining cleanly. The tub may rock slightly when stepped into. The drain seal sees more movement. Acrylic does not hide installation errors. It magnifies them.
Easier carrying can hide harder fitting
People focus on getting the tub into the bathroom. The hard part is often getting it to sit exactly where it needs to sit while the drain, ledger, flange, and apron all line up at once. That is especially true when learning how to install an acrylic bathtub in an alcove. Light weight helps with handling, but fitting is still exacting.
Acrylic needs ongoing caulk maintenance
Acrylic tubs move slightly with use. That means the tub-to-wall and apron-to-floor joints often need more attention than homeowners expect. Caulk is not just cosmetic. It is a maintenance item. If you want something you can install and ignore for years, acrylic can become annoying.
What Costs Rise During Retrofit Work
Figure out extra retrofit costs and proper size fit for installing an acrylic bathtub easily.
Old tub removal can expose wall repairs
Replacing an old tub with an acrylic bathtub often starts as a simple swap and turns into a wall repair job. Tile damage during demo, wet backer board, broken flange lines, and out-of-plumb studs are common. Those are not tub costs, but they are install costs.
Drain relocation quickly changes project cost
How much do plumbers charge to install a bath? For a simple replacement with matching rough-in, labor may stay moderate. Once the drain or trap has to move, the cost rises fast because the floor or ceiling access changes, and now the plumber is doing more than hookup. Drain relocation is often the line between “reasonable remodel” and “why did this get expensive?”
Subfloor repair adds hidden labor fast
Subfloor patching near the tub drain is common. Full subfloor replacement under the tub area is not rare. This can add carpentry, drying time, and floor leveling work before the tub even goes in.
Mortar bed prep slows DIY remodels
Installing an acrylic bathtub with a mortar bed takes more time than buyers expect. You must protect the floor, mix and place the mortar correctly, set the tub before it skins over, and avoid making the bed too high. It is not complicated, but it slows the project and reduces your chance to keep pulling the tub in and out.

Will Installing an Acrylic Bathtub Fit?
Before buying, stop thinking in nominal tub size only. A “60-inch tub” may not behave like your old 60-inch tub if the walls are out of square or the apron profile is different.
Check opening width at three heights
Measure the width of the alcove at the floor, at tub rim height, and about 18 inches above that. Bathrooms are often wider at one point and tighter at another. If the opening narrows upward because the walls are not plumb, the flange can bind before the tub fully seats.
Measure wall square before final sizing
Check diagonal corner-to-corner measurements across the alcove. If the diagonals differ a lot, the room is not square. Also place a long level or straightedge against the back wall and end walls. A tub can fit the opening but still leave one flange tight and another floating.
A useful rule: if the walls are off enough that one end of the flange wants to sit more than about 1/4 inch away from framing, treat that as a framing correction issue, not a caulk issue.
Verify apron height against finished floor
Apron height matters more than buyers think. If the finished floor tile is thicker than before, the apron may sit too high or too low. Too low and it can bridge an uneven floor and flex. Too high and you may end up with a visible gap you did not plan for.
Will this work in a small bathroom?
Maybe, but access matters. You need enough room to rotate and lower the tub without scraping the surface. You also need enough room to make the drain connection. Small bathrooms often make dry fitting awkward, and surface damage often happens here, not during use.
Fit and requirement summary
Before buying, confirm these basics:
-
Opening length and width match the tub’s real measured size, not just the label
-
Walls are close enough to plumb and square for the flange to sit flat
-
Subfloor is solid, dry, and level enough to support the tub evenly
-
Drain side and rough-in location match the tub exactly
-
Overflow depth will not hit framing or blocking
-
You have access to test the drain and overflow before closing walls
-
The floor can handle tub weight, water, and user load without excess deflection
A filled tub is heavy. Tub weight plus water plus one adult can approach or exceed 700 to 900 pounds depending on size and use. If the floor already feels bouncy, fix that first.
Rough-In and Drain Alignment Limits
Follow standard drain specs to align pipes for smooth acrylic tub plumbing setup.
Standard drain location must match exactly
Standard tub drain dimensions for acrylic bathtub installation are not a license to “make it work.” Many common tubs use a nominal 1 1/2-inch waste and overflow system, but location matters more than pipe size. The center of the drain opening in the tub must align with the trap position below without pulling the assembly sideways.
If the rough-in is off enough that you need to force the shoe into place, stop. That preload often turns into a leak later.
Overflow kit depth can hit framing
How to connect the overflow drain on an acrylic bathtub depends on more than the faceplate and gasket. The assembly depth behind the tub can interfere with studs, blocking, or existing pipes. This is often missed during planning because buyers measure the opening but not the cavity behind the overflow.
What happens if rough-in is off?
If rough-in is off, one of four things happens:
-
The tub does not seat fully.
-
The drain connects under strain.
-
The trap gets moved, which adds labor and cost.
-
The installer cuts framing or forces parts, creating a future failure point.
None of those are good if discovered after finishing work starts.
Test drain and overflow before walls close
How to plumb an acrylic bathtub drain correctly comes down to alignment, support, and testing. Fill the tub high enough to test the overflow. Watch the shoe, overflow connection, trap, and all joints. Let it stand. Then drain it while checking for leaks under flow, not just standing water. This is usually where installation fails when people rush.
Floor Support and Leveling Requirements
Ensure solid floor support and perfect leveling for stable acrylic bathtub installation
Out-of-level floors cause flex and leaks
Acrylic bathtub installation code requirements vary by jurisdiction, but level support and sound structure are basic expectations everywhere. If the floor slopes enough that the tub has to be aggressively shimmed at one edge, the load may no longer transfer as intended.
Mortar bed becomes necessary under thin tubs
What is supposed to stabilize an acrylic bathtub? Not just the flange. Not just the feet. In many cases, the real stabilizer is full base support under the tub floor. Installing an acrylic bathtub with a mortar bed is one of the most reliable ways to reduce flex and squeak, provided the tub model allows it and the bed does not lift the tub off its designed support points.
A proper bed fills voids under the bathing well. It is not there to glue the tub down. It is there to support it once occupied.
Feet alone rarely support a filled tub
This is one of the biggest misunderstandings. Factory support feet or rails may position the tub, but they often do not give enough broad support for long-term use, especially on thinner tubs. If a person stands in one area and the floor of the tub gives even slightly, the drain and caulk lines feel that movement.
How much floor dip is too much?
There is no single universal number, but if you can see the tub rock during dry fit, or if a long level shows noticeable dip across the support area, treat that as a correction issue. In practice, more than about 1/8 inch out of level across the tub support area starts to matter, and more than 1/4 inch usually means you should stop and fix the floor rather than shim your way through it.

Installation Failure Points That Cause Regret
Avoid common pitfalls to ensure long-lasting acrylic bathtub installation results.
Surface damage often happens during dry fit
How to avoid damaging an acrylic bathtub during installation starts before the tub enters the room. Protect door frames, floor edges, and tools. Keep the factory film on as long as possible. Do not slide the tub across tile or subfloor grit. Acrylic scratches and chips are easier than many buyers expect.
This is also the time to inspect for thin spots, hairline cracks, drain hole defects, and finish irregularities. Once installed, proving the defect was not caused on site gets harder.
Missed leak tests trap water behind walls
A dry drain connection is not enough. A quick fill is not enough. You need a full leak test before surround panels, backer board, or drywall close the cavity. Water from a slow overflow leak can run for weeks before anyone sees it.
Bad drain sealing ruins finished surrounds
The drain assembly is a high-consequence detail. Wrong gasket orientation, overtightening, undertightening, or using the wrong sealant can all cause trouble. What is the best adhesive for acrylic tubs? Usually, adhesive is the wrong focus. For setting, use only support methods and sealants the tub maker allows. For the drain, use the proper plumber’s sealant or gasket arrangement specified for that drain type. Random construction adhesive is not the answer.
What fails first over time?
Usually one of these:
-
caulk joint opens at the wall
-
tub bottom flexes and begins squeaking
-
drain begins slow seep under movement
-
apron edge loses clean contact with floor
-
finish gets scratched and becomes hard to keep clean
The first visible symptom is often not the true cause. A cracked caulk line may be telling you the tub is moving.
How to check before you buy
If you want a practical pre-purchase test, do these in order.
First, measure the alcove at multiple points. Do not trust the old tub size.
Second, verify the drain side and rough-in center location from fixed walls.
Third, inspect the floor structure. Probe for softness near the drain end. Look below if possible.
Fourth, check level front to back and side to side.
Fifth, confirm whether the tub requires a ledger, mortar bed, or both. Many buyers skip the actual install sheet until after delivery.
Sixth, make sure the overflow cavity has room.
Seventh, plan access for leak testing.
If any one of these is uncertain, do not buy the tub yet.
Step-by-step install logic
This is not a full manufacturer substitute, but it reflects how to install an acrylic bathtub step by step without skipping the failure points.
Inspect the tub first
Unbox early. Check finish, corners, flange, apron, drain opening, and underside. Set a light across the surface to catch defects. If something looks off, resolve it before install day.
Open the wall and floor enough
If replacing an old tub with an acrylic bathtub, expose enough framing and plumbing to work cleanly. Trying to save one extra strip of wall often creates a bad drain connection.
Repair and level the base
Replace damaged subfloor. Add blocking if needed. Correct major floor dip now. Do not assume mortar will fix structural weakness.
Dry-fit the tub
This is where most useful information appears. Set the tub in place without final fastening. Check apron contact, flange alignment, drain position, overflow clearance, and level. This is how to check fit before installing an acrylic bathtub in a way that actually prevents mistakes.

Preassemble waste and overflow
Bench-assemble as much as possible. Standard tub drains are usually built around a 1 1/2-inch waste and overflow system, but verify the exact parts. Cut nothing twice. Confirm gasket direction.
Install support system
If the instructions call for a ledger, install it accurately. If they call for a mortar bed, place it now. Mortar should support, not distort. Do not make the bed so tall that the tub floats above its intended support points.
Set the tub carefully
Lower it into place without dragging the shell. Seat it fully. Check level again. If the tub changed position from dry fit, find out why before fastening.
Secure the flange properly
How to secure an acrylic bathtub properly depends on flange design. Usually this means fastening through flange locations as allowed, not crushing the flange and not driving fasteners through the visible shell. Overtightening creates stress and noise later.
Connect drain and overflow
How to connect the overflow drain on an acrylic bathtub is one of the most detail-sensitive steps. Align everything naturally. No forced angles. Tighten evenly. Support piping so the tub connection does not carry pipe weight.
Water test before closing
Fill the tub. Test the overflow. Let it sit. Drain it. Watch every joint during both fill and drain. If you cannot see the joints, you are not ready to close the wall.
Finish wall system correctly
Do not rely on caulk as your waterproof system. The wall surround or tile assembly must be built correctly first. Caulk only seals the final change-of-plane joints.
Acrylic tub vs steel tub installation differences
Acrylic tub vs steel tub installation differences matter during planning. Steel is stiffer and often less sensitive to small flex-related movement, though it has its own drawbacks. Acrylic is quieter and warmer underfoot, but less forgiving of poor support. A floor that was “good enough” under a steel tub may not be good enough under acrylic. That is why a simple one-for-one replacement can still fail.
When this is unnecessary
If your existing tub is sound and the only issue is worn caulk, stained finish, or dated wall surround, replacing the whole tub may be unnecessary. Also, if the bathroom has no practical plumbing access and the old drain location is questionable, a full tub swap may be the wrong first move. Sometimes repairing walls, refinishing, or changing the surroundings is the lower-risk path.
Common mistakes when installing an acrylic bathtub
The mistakes that cost the most are not dramatic. They are small shortcuts.
Buying by nominal size only.
Skipping floor correction because the tub seems to sit “close enough.”
Assuming feet alone support the tub.
Forcing the drain connection into place.
Closing walls before a full leak test.
Using generic adhesive or sealant where a proper support method or gasketed connection is needed.
Treating caulk as the waterproof layer instead of maintenance sealant.
If your setup looks like this, it won’t work: uneven floor, unknown drain alignment, no test access, and a thin acrylic tub with no planned base support.
Before You Buy checklist
Use this to prevent the usual regrets:
-
I measured the alcove at multiple heights and checked for square
-
I confirmed apron height works with my finished floor
-
I checked whether the drain side and rough-in location match exactly
-
I know the overflow assembly has enough cavity depth
-
I inspected the subfloor for rot, softness, or sag near the drain end
-
I checked floor level and know whether correction is needed
-
I read the actual installation sheet for support requirements
-
I know whether the tub needs a mortar bed, ledger, or both
-
I have a plan to see and test all drain connections before walls close
-
I inspected the tub for defects before installation day
-
I understand that caulk will need maintenance over time
-
I know whether this is truly a simple replacement or a framing-and-plumbing job in disguise

FAQs
Do acrylic tubs need to be set in mortar?
Most acrylic tub installations benefit greatly from a solid mortar bed during setting, especially slim soaker-style acrylic tubs in alcove bathroom spaces. Beyond basic factory feet support, this material fills uneven gaps and cuts down installation process issues, follow local building codes to complete safe placement.
What are common bathtub installation mistakes?
Many DIY home improvement projects make careless errors while installing an acrylic bathtub, such as forcing misaligned drain pipes and skipping pre-install fit checks. Failing to fully soak test water flow before closing walls and ignoring old tub remove residue issues are also frequent problems, these oversights will easily cause later structural damage and daily maintenance troubles.
What is supposed to stabilize an acrylic bathtub?
Reasonable securing the tub is the core of firm acrylic bathtub installation, it needs flat wall framing, matched flange fixation and continuous bottom support to work together. Simple support feet cannot meet long-term use demands, users can follow detailed steps to install and adjust balance, so as to keep the whole bathtub stable in daily use.
What is the best adhesive for acrylic tubs?
In formal acrylic tub installation work, professional designated sealants are more suitable than ordinary universal adhesives, which can well fit bathtub edge gaps and overflow connection positions. Users should choose products matching bathtub materials strictly according to installation instructions, avoid wrong adhesives affecting overall bathroom remodel effect and use safety.
How much do plumbers charge to install a bath?
The labor cost of professional plumbers to plumb and finish acrylic bathtub installation varies with on-site conditions. Simple standard size bathtub replacement has lower fees, once needing drain position adjustment or subfloor repair, the overall project budget will rise obviously, early on-site condition check can effectively control construction expenses.
What is the size of a standard tub drain?
Standard tub drain dimensions are mostly unified as 1.5-inch caliber, which is applicable to most common acrylic bathtubs and traditional steel bathtubs. In actual installation, besides confirming pipe specifications, you must focus on drain position alignment, accurate size matching can effectively avoid later pipeline connection failures.
References


Leave a comment
This site is protected by hCaptcha and the hCaptcha Privacy Policy and Terms of Service apply.