


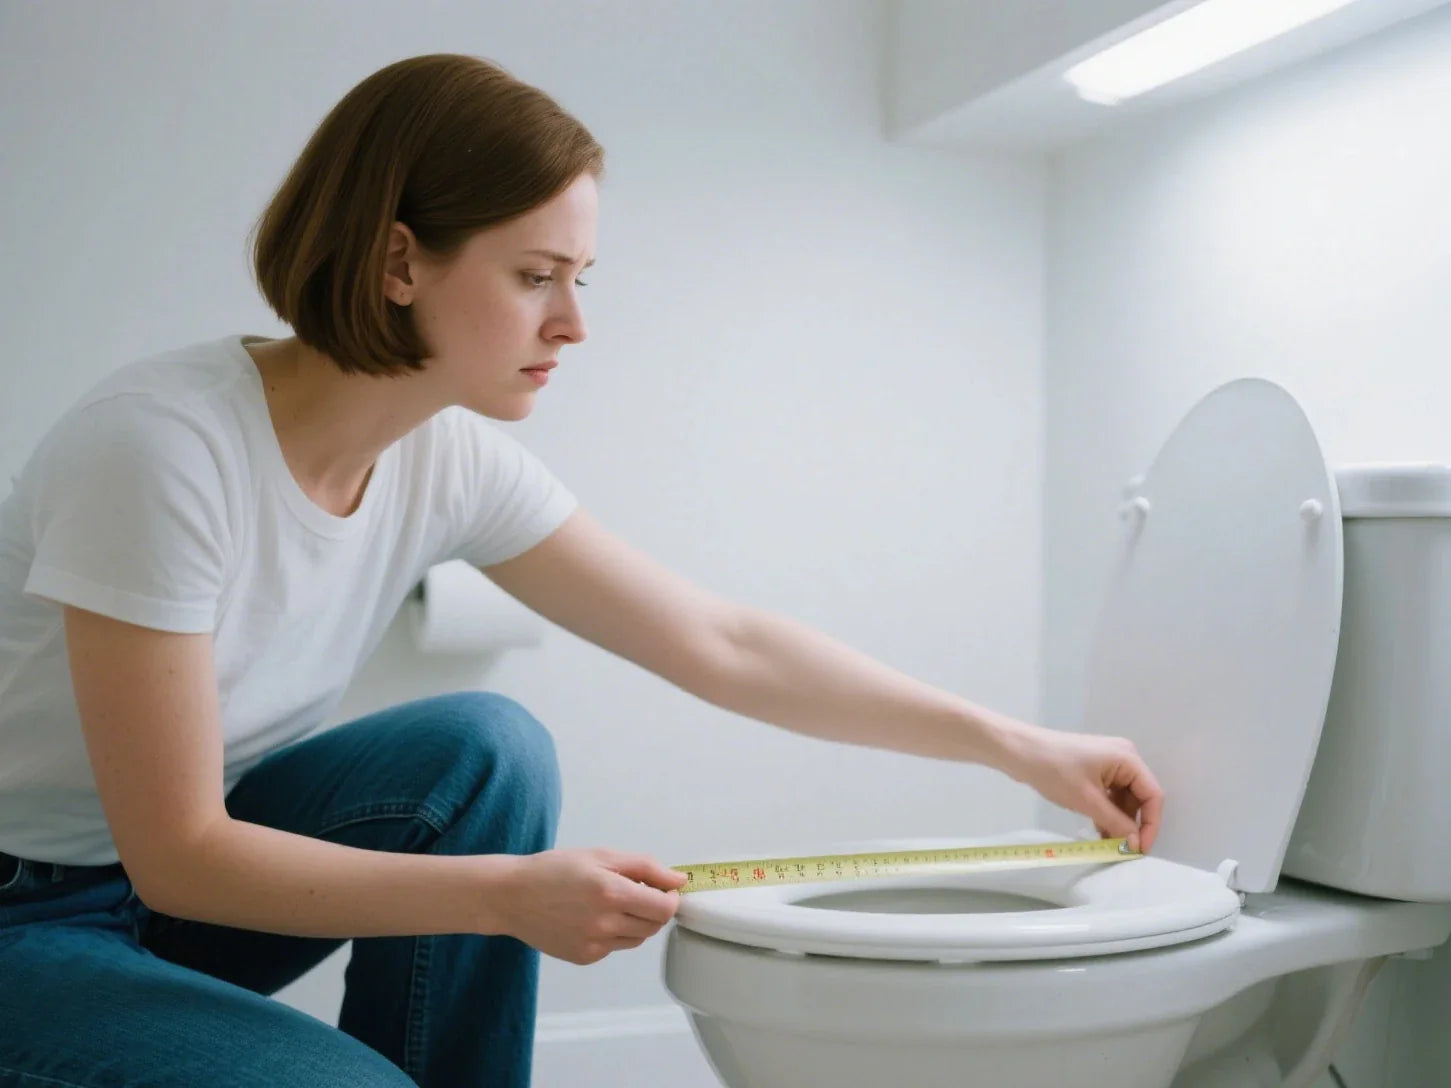
A loose or wobbly toilet seat is more than just a minor annoyance; it can be uncomfortable and even unsafe. That constant shifting and sliding can disrupt your peace and make you feel unsteady. The good news is that learning how to tighten toilet seat hardware is one of the simplest and quickest home repairs you can perform. You don't need to call a plumber or buy a whole new toilet to see if the seat can be fixed. Whether your toilet has top-mount screws hidden under plastic caps or bottom-mount bolts you can feel underneath; once you locate the bolts, you can restore stability in minutes.
This comprehensive guide will walk you through every step of the process. We will cover the tools you need, the different types of toilet seat bolts, and how to fix a loose toilet seat for good. Say goodbye to that wiggle and hello to a sturdy, stable seat.
How to Tighten Toilet Seat: The Basics
Before you start twisting screws, it’s helpful to understand why a tight toilet seat matters and what you’ll need to get the job done right. This isn’t just about comfort; it's about keeping your bathroom safe and hygienic.
Why a Tight Toilet Seat Matters
A wobbly toilet seat might seem like a small issue, but it can lead to bigger problems.
- Safety: A seat that shifts unexpectedly can cause slips and falls, especially for children and the elderly. A stable toilet seat provides a secure point of contact.
- Comfort: No one enjoys the feeling of a toilet seat sliding sideways. A properly tightened seat provides the comfort and stability you expect.
- Hygiene: A loose seat creates gaps between the seat hinges and the toilet bowl. These gaps can trap moisture, grime, and bacteria, making the area harder to clean effectively.
- Prevents Damage: Constant wiggling puts stress on the toilet seat bolts and the porcelain of the toilet bowl itself. Over time, this can wear out the hardware or even lead to a need to crack the toilet bowl if not addressed. Knowing how to fix a loose toilet seat now prevents costly repairs later.
Tools and Materials Needed To Replace a Toilet Seat
You won't need a massive toolbox for this task. Most toilet seats can be tightened with a few common household items. Here is a handy checklist of what to gather before you begin your toilet seat tightening project for removing the old toilet seat.
Screwdriver
Purpose: Used to remove or tighten the screws that secure the toilet seat to the bowl. These screws are usually located under protective caps at the back of the seat to help you locate the bolts.
Advantages:
Provides precise control when working with a flathead screwdriver on plastic or metal screws to ensure the seat sits level.
Helps avoid damage to porcelain surfaces.
Best Use: Ideal for loosening or securing seat bolts during installation or removal to tighten the bolts evenly.
Adjustable Wrench or Pliers
Purpose: Designed to grip and turn the nuts underneath the toilet bowl, especially when they are too tight or rusted to turn by hand.
Advantages:
Adjustable jaws fit various nut sizes.
Pliers can grip stripped or slippery nuts.
Best Use: Essential when dealing with stubborn bolts or working in tight, hard-to-reach areas.
Replacement Mounting Kit
Purpose: A set of new bolts, nuts, washers, and sometimes rubber pads used when old hardware is missing, damaged, or worn out. Ensures a secure and stable seat installation.
Advantages:
Restores full functionality with brand-new parts to ensure your toilet seat is a simple fix.
Often includes anti-slip rubber washers to prevent loosening.
Best Use: Perfect when switching to a new seat or when old mounting components can no longer hold the seat in place properly.
Cleaning Rag
Purpose: Used to wipe down the toilet rim, bolt area, and surrounding surfaces before and after installation to ensure a clean work area.
Advantages:
Reusable and absorbent.
Helps remove dust, moisture, and debris for better adhesion and hygiene before you install a new toilet seat.
Best Use: Ideal for prepping the area before installation and cleaning up afterward.
Cleaning Spray
Purpose: Helps sanitize the toilet surface, soften grime or mineral deposits, and remove stubborn stains around the toilet bowl.
Advantages:
Disinfects and breaks down buildup for easier cleaning, ensuring that the toilet seat is easy to maintain.
Enhances hygiene when working in contact-prone areas, especially around the top of the toilet bowl.
Best Use: Recommended before installation or repair, especially in bathrooms with visible buildup, mildew, or odor.
| Tool/Material | Purpose | Notes |
|---|---|---|
| Screwdriver | To tighten the screws from the top. | You will need either a Phillips-head or a flat-head screwdriver. Check your toilet seat screws first to see which one you need. |
| Adjustable Wrench or Pliers | To hold the nut steady underneath the toilet. | This is essential for bottom-mount bolts. An adjustable wrench gives you a better grip and is less likely to strip the nut than pliers. |
| Rubber or Fender Washers | To add friction and prevent future loosening. | These are optional but highly recommended if your seat keeps coming loose. |
| Replacement Mounting Kit | For stripped, rusted, or damaged parts. | If your existing toilet seat bolts are in poor condition, a new kit is an inexpensive and effective solution. |
| Cleaning Rag and Spray | To clean the area under the hinge covers. | This is a great opportunity to clean a hard-to-reach spot. |
Step-By-Step Guide: How to Fix a Wobbly Toilet in Four Simple Steps
Ready to get started? Following these four simple steps will help you tighten your toilet seat Use washers onto the bolts to eliminate that annoying wobble. The entire process usually takes less than 10 minutes.
Step 1: Locate and Open the Hinge Covers
First, you need to access the mounting bolts. These are almost always located at the back of the toilet seat, where the seat and lid connect to the toilet bowl.

- Look for two covers, usually made of plastic, that conceal the tops of the toilet seat screws.
- These plastic caps can typically be opened in one of two ways. Some have a small notch on the side or back where you can insert a flat-head screwdriver to gently pry them open.
- Others are designed to be lifted or snapped open with your fingers. Lift the back of the cover and it should pop open, revealing the screw head underneath.
- Pro Tip: Before moving to the next step, use a cleaning spray and rag to wipe down the area under the hinge covers. This spot is a prime location for dirt buildup around the toilet.
Step 2: Identify and Tighten the Screws
With the screws exposed, you need to determine what type of fastening system your toilet has. There are two main types.

Top-Mount Screws (The Easiest Fix)
Many modern toilet seats, especially soft-close toilet models, use a top-fixing system. This means you do everything from above the toilet bowl.
- You will see the head of a screw inside the hinge, which can help expose the bolts.
- Take your Phillips or flat-head screwdriver and insert it into the screw head.
- Turn the screwdriver clockwise to tighten the screw. You should feel it getting tighter as you adjust the bolts that hold the seat in place.
- Continue to tighten these bolts until the seat feels snug. Don't use excessive force; stop when you feel solid resistance.
- Repeat the process for the screw on the other side. Try to tighten both sides evenly to align the seat correctly.
Bottom-Mount Screws (The Classic Method)
This is the most common type of fastening for traditional toilet seats. It involves a bolt that goes all the way through the porcelain and is secured by a nut underneath the toilet bowl.
- From the top, you will see the head of a bolt, which may be metal or plastic. You might be able to use a screwdriver to tighten it, or it may have a shape that requires you to hold it in place.
- Reach underneath the seat hinges at the base of the toilet and feel for the nuts. These are often plastic wing nut style fasteners that can sometimes be tightened by hand. If they are metal or too tight, you will need your adjustable wrench or pliers.
- The key here is to work on both sides at once. Use one hand to hold the nut underneath the toilet firmly in place with the wrench.
- With your other hand, use the screwdriver to tighten the bolt from above. Turning the screw will pull the nut tighter against the toilet bowl rim.
- Continue tightening until the seat is firmly attached. Make sure the seat is centered before you apply the final turns.
Step 3: Check for Stability
Once you believe the seat is tightened, it's time to test your work. Don't skip this step!
- Lower the toilet seat and lid.
- Grab the sides of the seat and try to jiggle it from side to side.
- Try to push it forward and backward.
- If the seat still moves or wobbles, you need to go back to Step 2. You may need to tighten the nuts a little more.
- If one side is tighter than the other, the seat might shift diagonally. Ensure both toilet seat bolts are tightened to a similar degree to ensure the seat in place remains secure. A perfectly stable toilet seat should have almost no give.
Step 4: Replace the Hinge Covers
Once you are satisfied that the seat is tight and no longer wobbles, the final step is to close the hinge covers.
- Simply snap or press the plastic caps back down over the bolts that secure the seat in place.
- You should hear a click, letting you know they are secure.
- This gives your toilet a clean, finished look and protects the toilet seat screws from moisture and grime.
Congratulations! You now know the basic way to tighten any loose toilet seat.
When a Loose Toilet Seat Is More Than Just a Nuisance
What happens if you follow all the steps, but your toilet seat keeps coming loose after a few days or weeks, will you need to check if the seat is a simple installation? This is a common frustration, but there are solutions. A recurring wobbly toilet often points to an underlying issue with the hardware.

Identifying the Problem with Your Soft Close Toilet Seat
If you find yourself constantly having to fix a loose toilet seat, the problem likely isn't how you are tightening it, but what you are tightening.
- Add Rubber Washers: The bolts on many toilet seats are secured with just a metal or plastic washer and a nut. Over time, the smooth surfaces can slip. The best fix is to add a rubber washer between the toilet bowl and the nut. The rubber provides extra friction and compression, which helps keep the seat from wiggling loose.
- Replace Worn Hardware on the old toilet seat: Toilet seat bolts and nuts don't last forever. They can corrode from moisture or the threads can strip from repeated tightening, so be careful not to over-tighten. If your bolts are rusty or the nuts no longer grip, it's time for a replacement. A universal toilet seat tightening kit is available at any hardware store and is very affordable for keeping the seat centered.
- Check for Cracks: In rare cases, the issue isn't the seat but the toilet itself. Carefully inspect the area around the mounting holes on the porcelain toilet bowl. If you see any hairline cracks, stop immediately. Overtightening a bolt on cracked porcelain can shatter the toilet. This is a situation where you should call a professional plumber to assess the shape of your toilet.
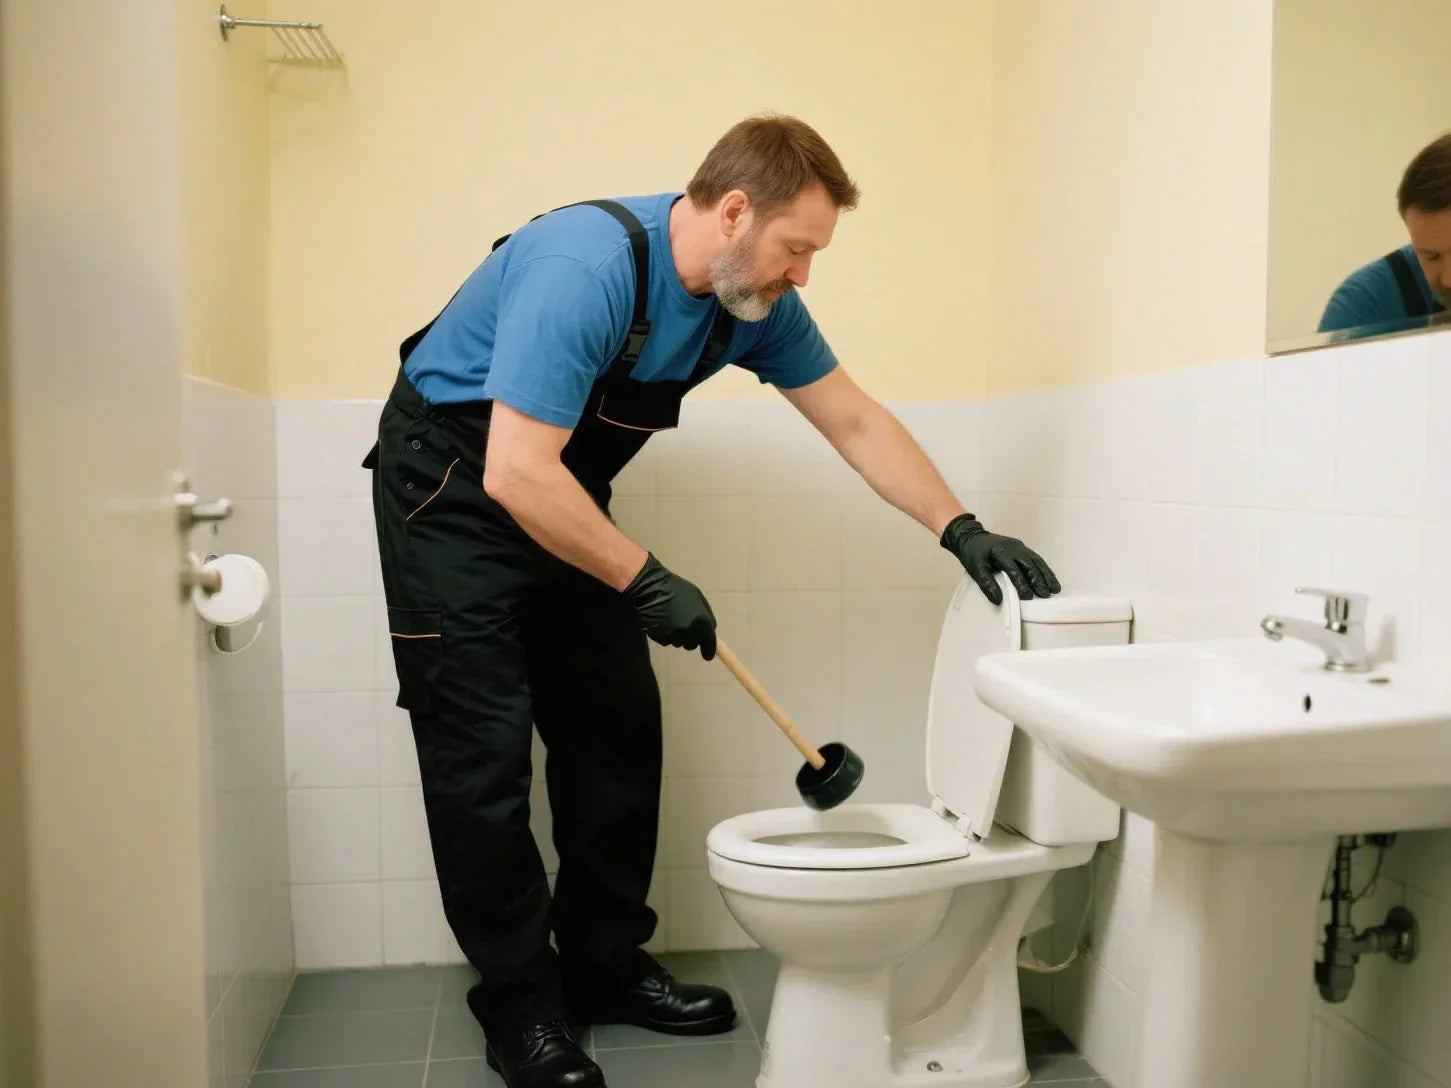
When to Call a Professional
Knowing How to tighten a toilet seat in a home improvement project is a valuable DIY skill, but there are times when it's best to seek professional help.
- Rusted-in-Place Bolts: If the old bolts are so corroded that you cannot remove them with a wrench, a plumber has specialized tools to cut them off without damaging the toilet bowl.
- Damaged Ceramic: As mentioned, if you suspect the porcelain around the mounting bolts is cracked, do not proceed until you lift the seat and lid to inspect the area. A plumber can assess the damage and recommend a safe solution.
- Stripped or Damaged Mounting Holes: If the holes in the porcelain have been chipped or worn away, the bolts may no longer have a stable surface to clamp against. There are repair kits, but a professional can provide a more permanent fix.
- If You're Uncomfortable: If you're not confident in your ability to fix a wobbly toilet or handle the tools, there is no shame in calling for help. It's better to be safe and ensure the job is done correctly.
Specific Toilet Seat Types and Adjustments
While the general principles are the same, different types of toilet seats can have unique features that affect how you tighten them, especially when you need to remove the old seat and replace the nuts from underneath the bowl.
Plastic vs. Wood Seats
The material of your toilet seat can influence how tight it needs to be.
- Plastic Toilet Seats: These seats have some natural flex. When tightening a plastic toilet seat, be careful not to overtighten the screws when securing the seat back onto the bolts from underneath. Applying too much force can crack the plastic hinges or even the seat itself. Tighten until it is snug and doesn't wobble, but no further.
- Wood (or Molded Wood) Seats: These are much more rigid. They often have more robust metal hinges and bolts. You can generally apply a bit more torque when tightening a wood seat to ensure a rock-solid fit, make sure to tighten the mounting bolts properly. A firm connection is key to extending the lifespan of your toilet seat.
Quick-Release vs. Traditional Hinges
Modern toilet seats often come with features designed for convenience, which can slightly alter the tightening process onto the bolts to keep the seat tight.
- Quick-Release Hinges: Many soft-close models feature quick-release buttons. These allow you to remove the entire seat for easy cleaning by simply pressing a button or two. The mounting posts that remain are what you need to tighten. Usually, these are top-mount systems. You just pop a cover off the base of the post and use a screwdriver to tighten it.
- Traditional Hinges: These are the standard, non-removable hinges we've discussed. They are simple and durable but may require more frequent checks to Make sure the seat stays secure while you tighten the bolts that hold it properly on the bowl. put, as there are no special locking mechanisms to remove the seat easily.
Safety Tips and Maintenance
Learning how to tighten a toilet seat is just the beginning. Practicing good maintenance and safety will ensure your seat remains stable for years to come if the nuts from the mounting bolts are checked regularly.
Avoid Overtightening
This is the most important safety tip when working on home improvement projects. It can be tempting to tighten the nuts as hard as you can to prevent future loosening, but this is a mistake.
- Cracking the Toilet: The porcelain of a toilet bowl is strong but brittle, especially when used to secure the right toilet seat to the top of the bowl. Excessive pressure from a bolt can easily crack the toilet, turning a simple repair into a full toilet replacement if the bolts at the back are not addressed.
- Stripping the Screws: You can also strip the threads on the toilet seat screws or nuts, especially if they are plastic or nylon. Once stripped, they will never hold tight again, and you'll need to buy a new mounting kit.
- The Rule of Thumb: Tighten until the seat doesn’t wobble, then give it one last quarter-turn. That's usually enough.
Preventative Measures
A little bit of preventative maintenance can save you from dealing with a wobbly toilet seat again.
- Regular Checks: Every few months, just give your toilet seat a quick jiggle. If you feel any movement, take two minutes to tighten the screws before it becomes a bigger issue.
- Use Quality Parts: If you ever need to replace your toilet seat boltsTo avoid future issues, invest in a quality hardware kit to fix loose toilet seats without tightening excessively. Stainless steel bolts and nuts with included rubber washers will provide a much more durable and long-lasting fix than cheap plastic parts.
- Clean Regularly: Keeping the hinge area clean prevents grime from working its way into the threads, which can contribute to loosening over time. When you clean your toilet, lift the hinge covers and wipe underneath.
Conclusion and Next Steps
You no longer have to put up with a wobbly, shifting toilet seat. Knowing how to tighten this simple piece of hardware is a fundamental DIY skill that empowers you as a homeowner. By identifying your toilet seat type, using the right tools, and following our step-by-step guide, you can create a stable toilet seat that is safe, comfortable, and secure.
Remember to perform regular checks every few months to keep your toilet seat in top condition. If you face persistent issues, don't hesitate to upgrade to better hardware with rubber washers for a long-term solution. With these tips, that annoying wiggle will be a thing of the past.
FAQs: Your Questions Answered
Here are answers to some of the most common questions people have about how to fix a loose toilet seat.
1. Why does my toilet seat keep coming loose?
Dealing with a toilet seat that won't stay put is an annoyance for many people and usually stems from wear and tear over time as well as problems with the initial installation and regular usage habits in daily life. As the seat gets constantly moved up and down during use, on a basis it can cause small movements that eventually lead to the nuts loosening up gradually. If the seat wasn't installed correctly from the start. Like when bolts weren't tightened properly or washers were missing. It will tend to wobble easily over time. Moreover the components securing the seat in particular those crafted from plastic may. Weaken over time resulting in a decrease, in their capacity to remain firm.Switching to rubber washers can be beneficial as they increase friction and minimize movement enabling the seat to stay steady.For a lasting solution it's advisable to replace components or utilize a toilet seat tightening set that consists of non slip washers and locking bolts for enhanced traction.
2. What size are toilet seat screws? Are they all the same?
The size of toilet seat screws varies but most follow a standard measurement. The majority of toilet seats require bolts with a diameter of 5/16 inches. The bolts differ in length while the head types between Phillips and flat-head remain distinct. A "universal" kit available for purchase will match the standard toilet hardware requirements for most standard toilets.
3. How do you stop a toilet seat from moving sideways?
A seat sliding sideways is a classic sign of uneven tightening. To fix it, loosen both bolts slightly. Place the seat exactly in the middle of the toilet bowl. Then, tighten the nuts on both sides a little at a time, alternating between them. This helps apply even pressure and will hold the seat firmly in place without it shifting to one side.
4. How do you replace a toilet seat screw?
The process of replacing a screw or bolt remains straightforward. Start by removing the entire nut from the bolt from below the toilet, which sits beneath the toilet bowl. You will probably need a wrench to keep it in place. After removing the nut you can extract the old bolt by pulling it straight up from the top. To install the new bolt simply place it into the hole before threading the new nut from underneath and securing the toilet seat through regular tightening procedures.

Leave a comment
This site is protected by hCaptcha and the hCaptcha Privacy Policy and Terms of Service apply.