


Ready to update your bathroom or finally fix that persistent leak? Learning how to replace a toilet can feel like a major undertaking, but it is a perfectly manageable DIY project for most homeowners. A successful toilet installation not only improves your bathroom's look and function but can also save you significant money on water bills and professional labor.
This expert-backed, step-by-step guide will walk you through the entire process. We cover everything from preparation and budgeting to the final seal and cleanup. With the right tools and a little patience, you can confidently install a new toilet and enjoy a leak-free, efficient commode for years to come.
How to Replace a Toilet – Complete DIY Preparation
Before you even think about how to change toilets, proper preparation is the key to a smooth and stress-free installation. Taking a few minutes to gather your tools and understand the safety basics will prevent last-minute trips to the store and potential messes.
Quick Tool & Supply Checklist
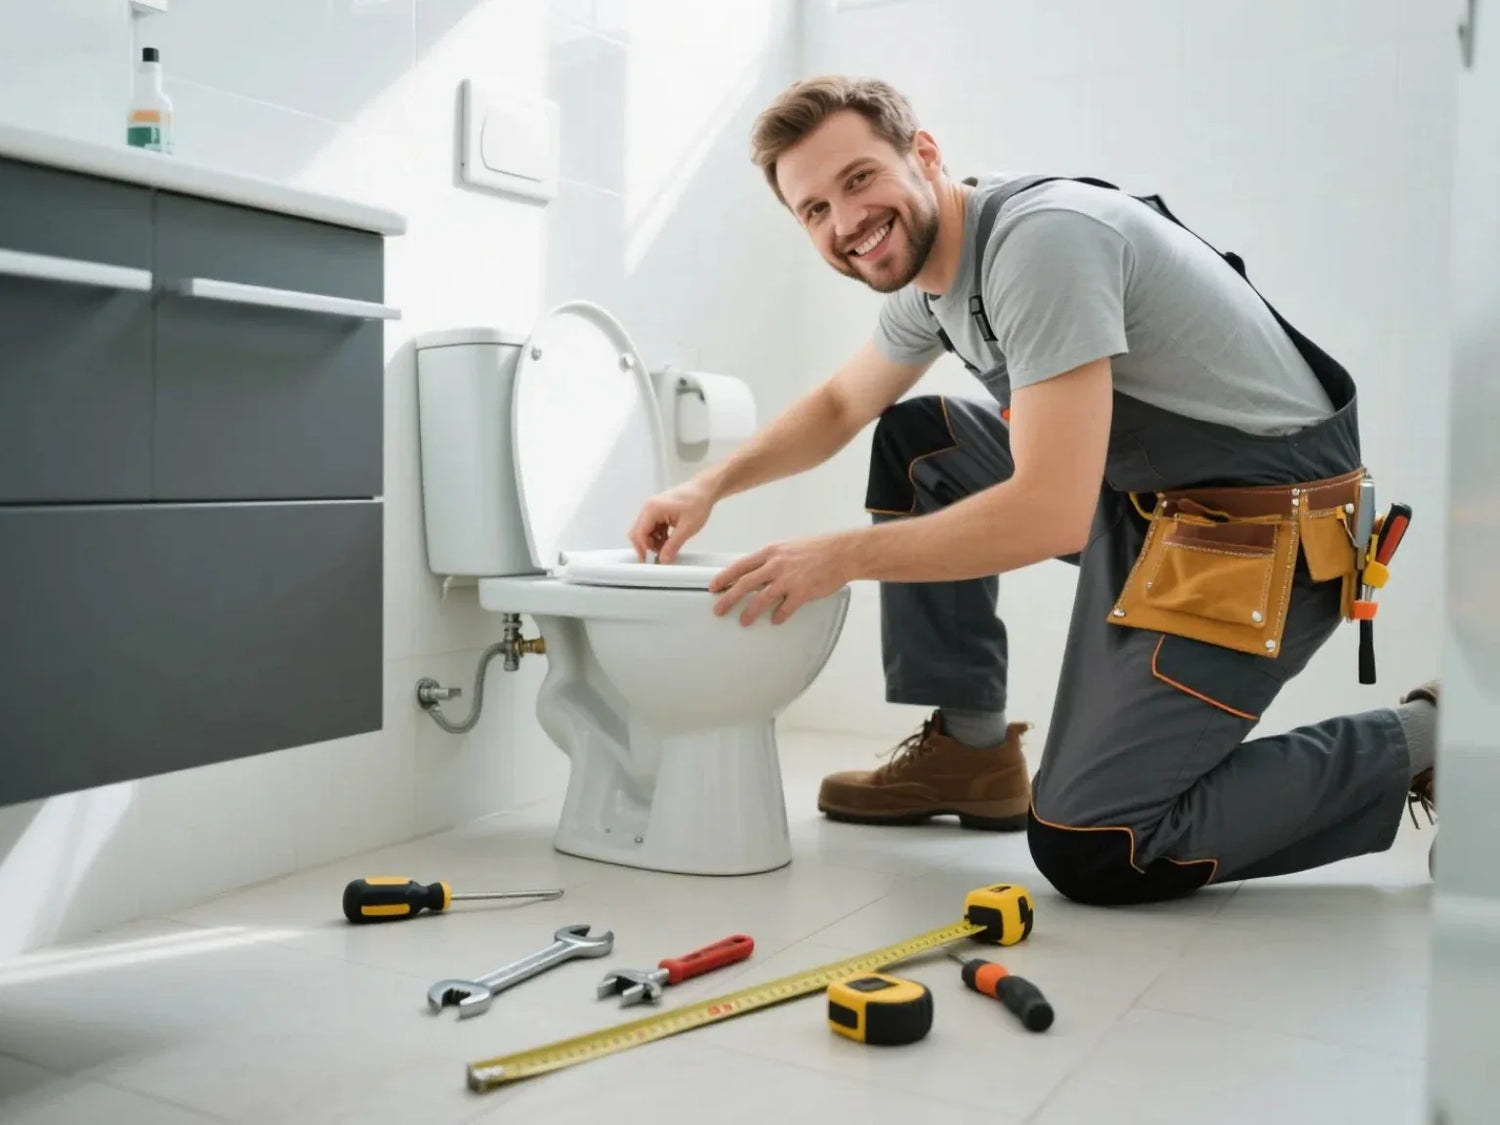
Having everything you need within arm's reach makes the job go much faster. Here's a list of what you will likely need to remove and install a toilet:
Tools:
- Adjustable wrench or socket set
- Pliers
- Flathead screwdriver
- Putty knife or plastic scraper
- Bucket and large sponge
- Old towels or rags
- Level
- Utility knife
- Tape measure

Supplies:
- New toilet (check that the tank and bowl are included if it's a two-piece toilet)
- New toilet bowl wax ring or a modern wax-free gasket
- New closet bolts and hardware (often included with the new toilet)
- New flexible water supply line
- Caulk and caulk gun (optional, depending on preference and local codes)
- Disposable rubber gloves
- Heavy-duty trash bags for disposal
Safety Must-Knows
Safety should always be your first priority. Keep these points in mind before you start:
- Lift with Your Legs: Toilets are heavy and awkward. The porcelain is dense, and even an empty toilet bowl can weigh over 50 pounds. A full one-piece toilet can easily exceed 90 pounds. It's always best to ask for help when lifting the old toilet out and setting the new toilet in place.
- Protect Yourself: Wear rubber gloves. The area around the base of the toilet can be unsanitary, and you'll be handling an old, used wax seal.
- Ventilate the Area: Open a window or turn on the bathroom fan. This helps dissipate any unpleasant odors from the drainpipe once the old toilet is removed.
- Water Management: Double-check that the water shutoff valve is fully closed before you begin. Have your bucket and sponge ready to catch any residual toilet water.

How to Replace a Toilet: Measuring, Selecting, and Budgeting
Not all toilets are created equal. Before you buy, you need to take a critical measurement and decide on the right type of toilet for your space and needs.
Measure the Rough-In Dimension
The most important measurement for a toilet replacement is the "rough-in." This is the distance from the center of the drainpipe (or the center of the two closet bolts) to the finished wall behind the toilet.
- How to Measure: Take your tape measure and run it from the wall (not the baseboard) to the center of one of the closet bolts holding your current toilet to the floor.
- Standard Size: The standard rough-in in the United States is 12 inches. Most toilets are designed for this.
- Non-Standard Sizes: Some older homes may have 10-inch or 14-inch rough-ins. It is crucial to measure yours before buying. Purchasing the wrong size is a common mistake that can bring your project to a halt.
So, do all toilets fit the same hole? No. The rough-in measurement is the key factor that determines if a new toilet bowl will fit correctly in your bathroom.
Choosing the Right Toilet Base and Style
Once you know your rough-in size, you can choose a new toilet that fits your style, comfort, and efficiency goals.
| Feature | Standard Round Bowl | Elongated Bowl | ADA "Comfort Height" |
|---|---|---|---|
| Description | Classic, compact design ideal for smaller bathrooms. | Oval-shaped bowl that provides more seating room and comfort. | Taller bowl height (17-19 inches from floor to seat) for easier sitting and standing. |
| Pros | Saves space. Generally lower cost. | More comfortable for most adults. Considered more hygienic. | Accessible for taller individuals and those with mobility issues. |
| Cons | Less comfortable for some users. | Requires more space (about 2 inches more than a round bowl). | May be too tall for children or shorter adults. |
When choosing a toilet bowl, consider space, comfort, and convenience:
- Standard round bowls are compact, space-saving, and affordable, making them suitable for small bathrooms and those on a budget. However, they may not be comfortable over time.
- Elongated bowls offer a larger seat, are comfortable and hygienic, and are suitable for most adults. They require approximately 2 inches of additional space and are recommended for those who prefer larger bathrooms.
- ADA "Comfort Height" bowls have a higher seat, suitable for taller people or those with limited mobility, but may not be suitable for children or shorter adults.
You need to consider the size of the bathroom and who will be using it.
Water Efficiency: Look for models with the EPA WaterSense label. These toilets use 1.28 gallons per flush (GPF) or less, compared to older models that can use 3.5 to 7 gallons. Upgrading can save an average family thousands of gallons of water per year.
2025 Cost Overview for Toilet Replacement
How much does it cost to replace a toilet? The answer depends on whether you do it yourself or hire a professional plumber.
| Item / Service | DIY Cost Range | Professional Cost Range |
| New Toilet (Mid-Range) | $225 - $800 | $225 - $800 |
| Supplies (Wax Ring, Bolts, etc.) | $25 - $100 | Included in Labor |
| Labor (Plumber) | $0 | $150 - $400+ |
| Disposal of Old Toilet | $0 - $50 | Often included in Labor |
| Total Estimated Cost | $250 - $900 | $375 - $1,200+ |
How long does it take to replace a toilet? A straightforward DIY toilet replacement with no complications usually takes 1 to 3 hours. A professional can often complete the job in about an hour.
Step-by-Step Process: How to Replace a Toilet
With your preparation done and your new toilet waiting, it's time to get to work. Follow these steps carefully for a secure, leak-free installation.
Turn Off Water and Drain the System
First, you need to stop the water supply to the toilet.
- Locate the shutoff valve on the wall or floor behind the toilet. It's usually a small, oval-shaped handle.
- Turn the handle clockwise until it stops. Do not force it. If it is stuck, you may need to shut off the main water supply to your house.
- Flush the toilet to drain the water from the toilet tank. Hold the handle down until as much water as possible is gone.
- Use a sponge or a small cup to remove the remaining water from the tank and the toilet bowl. This is a crucial step to prevent a watery mess when you remove the toilet.
Remove the Old Toilet and Base
Now you already know how to remove toilet bowl first, you are ready to remove the old toilet.
- Use pliers or a wrench to disconnect the water supply line from the bottom of the toilet tank. Have a small bucket ready to catch any drips.
- Pry off the plastic caps covering the closet bolts at the base of the toilet.
- Use a wrench to remove the nuts from the bolts. They may be rusted, so some lubricant spray can help.
- If the base is sealed with caulk, use a utility knife to carefully cut through the caulk around the base.
- Gently rock the toilet back and forth to break the wax seal. You should feel it come loose from the toilet flange.
- With a helper, lift the entire toilet straight up and away. Place it on old towels or a tarp out of the way.
Pro Tip: To prevent sewer gas from entering your home, stuff a large rag into the open drainpipe (the toilet flange) while you work. Just don't forget to remove it before you install the new toilet!

Prepare the Flange and Floor
The toilet flange is a circular fitting on the floor that connects the toilet to the drainpipe. It's the foundation of your installation.
- Use a putty knife to scrape away the old wax ring. Scrape the old wax off both the flange and the bottom of the old toilet you just removed.
- Inspect the toilet flange for any cracks or damage. If it's broken, corroded, or sits below the level of the finished floor, it must be repaired or replaced. This step is critical; a bad flange guarantees a future leak.
- Clean the floor area around the flange, removing any old caulk or residue. Make sure the bathroom floor is solid and level.
Choosing a New Wax Ring: You have two main options for your new toilet seal:
- Traditional Wax Ring: Inexpensive and reliable. They create a watertight and airtight seal. Some come with a built-in plastic horn for better alignment.
- Wax-Free Gasket: A more modern option made of rubber or foam. They are less messy, can be repositioned, and are often more forgiving if the flange height isn't perfect.
Install the New Toilet Base
This is the moment of truth. It's time to install the toilet, including how to replace toilet bowl:
- Insert the new closet bolts into the slots on the toilet flange, with the threaded ends pointing up.
- Place the new wax ring on the toilet flange or press it firmly onto the circular outlet on the bottom of your new toilet bowl. The instructions with the ring will specify the best method.
- With your helper, carefully lift the new toilet bowl and lower it onto the flange. Align the holes in the base of the toilet with the bolts.
- Press down firmly on the toilet bowl with your body weight. This will compress the wax ring and create the seal. Do not twist or rock the toilet once it is set, as this can break the seal.
- Use your level to check that the toilet bowl is level from front to back and side to side. If it's not, you can use thin plastic shims to level it.
- Place the washers and nuts onto the closet bolts and tighten them by hand. Then, use a wrench to tighten them alternately, making only a half-turn at a time on each side. Be very careful not to overtighten, as this can crack the porcelain base. The toilet should feel secure and not wobble.
- If needed, you can now attach the tank to the bowl, following the manufacturer's instructions. This usually involves a large gasket and a set of bolts that connect the bottom of the tank to the back of the bowl.
Reconnect Supply Line and Test for Leaks
You are almost done! The final steps ensure your toilet installation is successful.
- Connect the new flexible water supply line to the fill valve at the bottom of the tank and to the shutoff valve on the wall. Hand-tighten the connections, then give them a slight quarter-turn with pliers.
- Remove the rag from the drainpipe if you use one.
- Slowly turn on the water supply by turning the valve counter-clockwise.
- Listen for the tank to fill. As it fills, check for any signs of a leak at the supply line connections, the bolts connecting the tank and bowl, and especially around the base of the toilet.
- Once the tank is full, flush the toilet several times. After each flush, carefully inspect all connection points and the floor around the base for any water. A single drop is a sign of a problem that needs to be fixed immediately.
Seal and Finalize
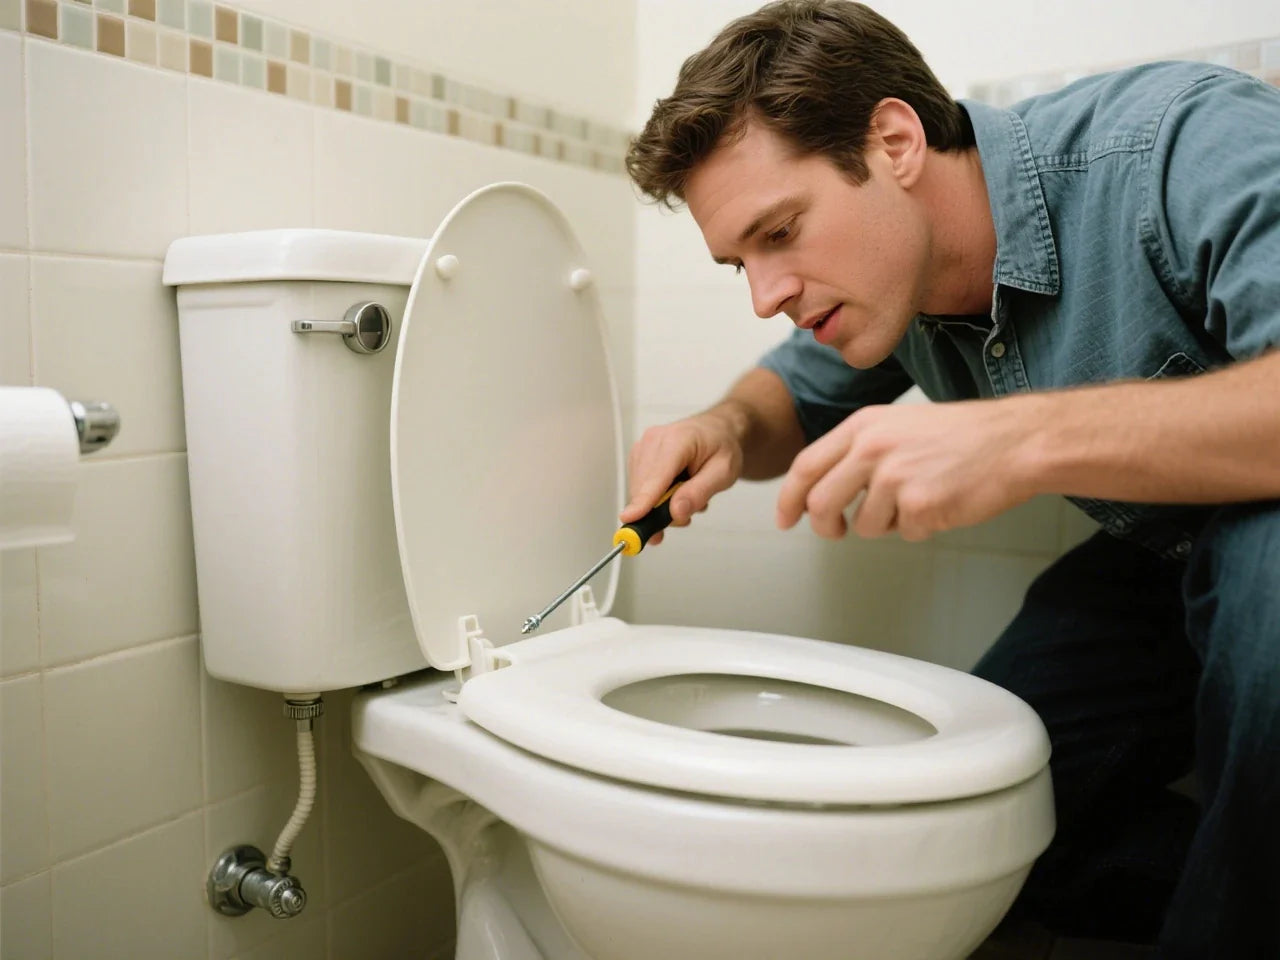
The final touch is to secure the toilet seat and seal the base.
- Install the toilet seat according to its instructions.
- Apply a neat bead of bathroom-grade caulk around the base where the toilet meets the floor. This provides a finished look and prevents mop water or spills from getting underneath the toilet. Some plumbers recommend leaving a small gap at the back of the base so that if a leak from the wax seal ever develops, the water can escape and you'll notice it.
Troubleshooting & Post-Installation Support
Sometimes, even with careful work, issues can arise. Here's a quick guide to solving common problems after you install a new one.
| Symptom | Possible Cause | Solution |
| Water leaks from the base after flushing. | The wax seal is not seated correctly or is damaged. The closet bolts are not tight enough. The toilet flange is damaged. | You must remove the toilet and install a new wax ring. Check bolt tightness. Inspect and repair the flange if needed. |
| The toilet rocks or wobbles. | The floor is uneven. The closet bolts are loose. The wax ring was too thick, preventing the base from sitting flat. | Tighten the closet bolts gently. If it still wobbles, use plastic shims to stabilize the base, then trim them and caulk around the base. |
| Weak or incomplete flush. | The water level in the tank is too low. The chain connecting the flush handle to the flapper is too loose. The fill valve is not adjusted correctly. | Adjust the float on the fill valve to raise the water level in the tank. Tighten the flapper chain, leaving only a little slack. |
| Water drips from the tank-to-bowl connection. | The bolts connecting the tank and bowl are loose, or the gasket is misaligned or damaged. | Empty the tank and bowl, then carefully tighten the tank bolts. If it still leaks, you may need to replace the tank-to-bowl gasket. |
When to Call a Professional Plumber
Can I replace a toilet myself? Yes, for most people, a standard toilet replacement is a very doable DIY project. However, you should call a licensed plumber if you encounter:
- A cracked or broken toilet flange.
- A soft or rotten subfloor around the toilet.
- A shutoff valve that is seized, broken, or leaking.
- Persistent leaks that you cannot solve after troubleshooting.
Responsible Cleanup and Disposal of Old Toilets
Your job isn't finished until the area is clean and the old toilet is gone.
- Best Practices: Make sure all toilet water is removed from the old toilet. Seal the toilet waste outlet with a plastic bag and duct tape to prevent spills and contain odors during transport.
- Eco-Tips: Check with your local sanitation department for guidelines on disposing of a toilet. Some municipalities offer bulk pickup, while others require you to take it to a transfer station. In some areas, porcelain can be recycled.
- Cleaning: Thoroughly clean and disinfect all your tools, the work area on the bathroom floor, and wash your hands.
Key Takeaways for How to Replace a Toilet Base
Replacing a toilet base and tank is a rewarding project that can improve your home and save you money.
- Proper preparation and having the right tools are essential for success.
- Always measure your rough-in distance and check your floor condition before you start.
- A properly seated wax seal is the most critical step for a leak-free installation.
- A typical toilet installation takes 1-3 hours and can cost between $400 and $1,000, depending on the toilet and whether you hire a pro.
- When facing major plumbing issues like a broken flange or rotten floor, don't hesitate to contact a licensed plumber.

Frequently Asked Questions & Pro-Level Tips
Here are quick answers to some of the most common questions about how to replace toilets.
1. How long should a toilet last?
A properly maintained toilet can last for more than fifteen years without any problems but replacing toilet components inside, such as flappers and fill valves, is necessary every five to seven years. It depends on how often you use it, and the quality of the water. The toilet itself is quite sturdy, but if it is cracked, often blocked or always leaks, it will break down soon.
Many people change their toilets either because they want to switch to water-saving ones to save some water bills, or because they like the new style and feel refreshed after the change. Generally, regular maintenance can make it last much longer and as long as it works fine, there's no need to replace it.
2. Can I replace a toilet myself?
Absolutely. If you have basic hand tools like wrenches and pliers and can follow instructions, you can successfully learn how to replace a toilet. Many homeowners do the work, especially when replacing a new toilet with the same size and model. The steps are to turn off the water, remove the old toilet, replace the wax ring, and then fix the new toilet in place. If you follow these steps well, the job is mostly done.
But be careful, the toilet is heavy and difficult to move. The wax ring must be sealed tightly to prevent water leakage, and it is particularly important to align it with the flange. If you're unsure, you can hire someone professional. For many, this is a cost-effective and rewarding weekend job.
3. Do you need to be a plumber to replace a toilet?
No, you do not need to be a licensed plumber for a standard toilet removal and installation. In most cases, a plumber isn't necessary to replace a toilet. The basic process is simple, requiring basic tools and a step-by-step guide. Many homeowners can perform it themselves, including removing the old and installing the new, and replacing the wax ring.
However, if you need to modify pipes, relocate, or replace flanges, you'll need to hire a licensed plumber. These tasks require specialized knowledge and adhere to regulatory requirements. Before you start, you have to consider whether you are capable of doing it. Many people prefer security and would rather hire a professional to do it.
4. How much does a plumber charge to replace a toilet?
On average, a plumber's labor cost for replacing a toilet typically ranges from $150 to $400. However, there is no exact number for this price. Different locations, different levels of installation difficulty, and whether or not to repair water pipes or move the floor will all lead to a significant difference in the price. If a damaged flange requires replacement, the cost will increase by $50 to $200. If you change to a toilet with a different pit distance, or choose a high-end model, the labor cost will definitely go up, and it will cost a lot more. This fee does not include the toilet itself, which can range from $100 to over $1,000. Overall, it is recommended to ask for a detailed quotation in advance so that you can have a clear idea in mind and avoid any problems and unpleasantness later.
5. Do all toilets fit the same hole?
No, not all toilets fit the same mounting holes. The key is the "rough-in" measurement, which is the distance from the wall to the center of the drain hole. A common spacing is 12 inches, but older homes may have a spacing of 10 or 14 inches. If you choose the wrong distance, there will be a lot of trouble to the installation. You may even have to move additional water pipes. Therefore, be sure to measure carefully before buying, and make sure the baseboards and other items are not in the way.

Leave a comment
This site is protected by hCaptcha and the hCaptcha Privacy Policy and Terms of Service apply.