


Are you facing constant leaks, an outdated bathroom look, or just ready to lower your water bill? Are you wondering "What do I need to install a toilet"? Learning how to change a toilet, especially how to install toilets by yourself is one of the most impactful home fixes. This full guide makes toilet installation straightforward, whether you're new to DIY or have a few repairs under your belt.
You'll learn how to take off a toilet, how to install a toilet by yourself, what tools you'll need, and how to solve the most common problems—all in simple terms.
How to Change a Toilet: Quick Summary
Many people wonder when and how to change a toilet: Should I replace my 20-year-old toilet? Can I replace a toilet myself? If your toilet is leaking, cracked, doesn't flush well, or your bathroom needs a refresh, replacing an old toilet is a smart move.
Key facts:
- You can change a toilet in 1–2 hours on average.
- Typical cost: $100–$400 for the new toilet, plus some supplies.
- A plumber usually charges: $200–$300+ for installation.
- Upgrading to a water-saving model can help a family save over 13,000 gallons per year.
Changing a toilet involves removing the old, prepping the area and flange, installing the new unit, and testing. For most homes, this can be done as a simple weekend project.
How to Change Toilets: Before You Begin
Printable Checklist
- Measure the rough-in: Wall to closet bolts (usually 12"). Older homes may have 10" or 14".
- Bowl shape & size: Elongated (more comfortable, needs more space) or round (fits smaller rooms).
- Seat height: Standard or comfort height/ADA (taller is easier for adults).
- Check clearance: Around the toilet bowl and door swing.
- Accessibility needs: Consider seat height or grab bar options.
- Code requirements: Check local rules before starting.
- Warranty and return policy: Make sure your new toilet can be returned if it doesn't fit.
Choosing Your New Toilet
Toilet Comparison Table
| Feature | One-piece | Two-piece | Comfort Height | Standard Height | WaterSense/Eco |
|---|---|---|---|---|---|
| Cleaning Ease | Easier (no seam) | Standard | Easy to stand | Lower for kids | Lower water use |
| Installation | Heavier | Lighter | ADA/Older use | Smaller adults | Save $/year |
| Price | More expensive | Cheaper | Usually extra | Standard price | Small premium |
When comparing toilet types, consider factors like cleaning, installation, and price.
- One-piece toilets, with their seamless design, are easy to clean, but they're also heavier and more expensive.
- Two-piece toilets are lighter and cheaper comparatively, not too difficult to clean, and are very practical for many families, saving the trouble of using them.
- Toilets with comfort height is very suitable for the elderly or people with limited mobility. It saves effort when sitting down or standing up and reduces the risks of accidents.
- Standard height models are better suited for children or shorter individuals.
- If you want to save water, choose a WaterSense-certified or eco-friendly toilet, which uses less water per flush. While it may be more expensive initially, the reduced water bill makes it a worthwhile investment in the long run.
Tip: Choose according to the needs and space of your home, and you will definitely find the most suitable one and use it smoothly.
Other choices:
- Soft-close seat: Closes quietly without a clang, making it convenient for families with elderly or children, and also less disturbing when getting up at night.
- Bidet ready: Easy to install with bidet accessories or its own bidet cover. It is particularly suitable for people who want a more hygienic and comfortable experience.
- Choice of color/finish: Compatible with bathroom decor. Design-conscious homeowners or those looking for custom renovations will find this a great choice.
Tools & Materials Needed to Install a New Toilet
- Adjustable wrench
- Screwdriver
- New wax ring or rubber seal
- New closet bolts
- Bucket & sponge
- Gloves and safety glasses
- Putty knife
- Utility knife
- Silicone caulk
- Level
- Old towels or drop cloth
- Bathroom cleaner

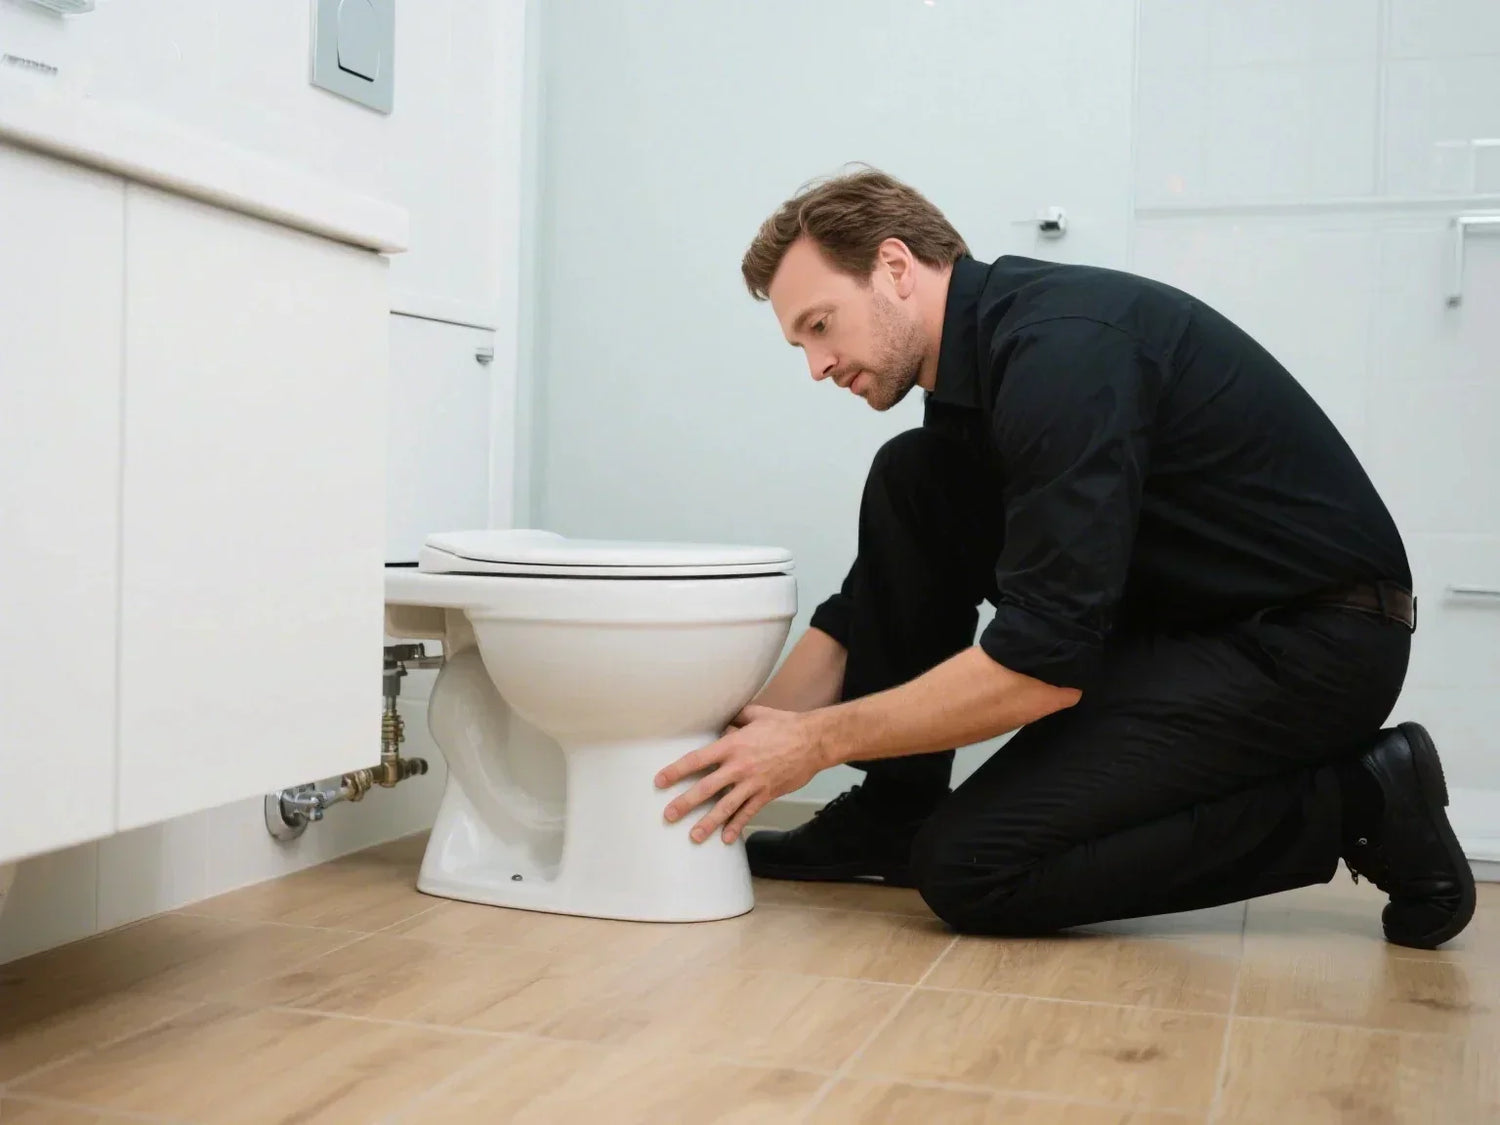
Removing the Old Toilet: Step-by-Step
Safety First
- Turn off the water: Find the shutoff valve, usually on the wall next to the toilet, and turn it fully clockwise to shut off the water. Press the flush button to drain the water from the tank. Use a sponge or towel to soak up any remaining water, leaving no standing water.
- Ventilation: Always wear gloves when handling this procedure. Open a window or turn on a bathroom fan to ensure adequate air circulation, which will reduce odors and any unpleasant smells. Dispose of the old toilet and dismantled materials properly; do not store them in a cluttered manner.
Removal Process
Shut off the water supply valve.
Flush the toilet to drain as much water as possible.
Soak up leftover water in the tank and bowl with a sponge or towel.
Disconnect the water supply line from the tank.
Remove caps and unscrew bolts at the base of the toilet.
If you're removing a two-piece toilet:
- Unscrew tank bolts inside the tank.
- Lift tank off the bowl.
- Remove toilet bowl carefully by rocking it slightly.
If it's a one-piece toilet, the tank and bowl come off together.
Carefully rock the toilet back and forth to break the seal. Lift off and set the toilet aside on an old towel or drop cloth.
Pro tip: Place a small tray or towel under the connection to catch any remaining drips from the water supply line.
Common Issues
- Rusted bolts: It would be difficult to remove. If they remain so after spraying oil and letting it sit, use a saw or extractor. Wear glasses when sawing for safety.
- Wax ring stuck: If it happens to the toilet bowl or flange, gently scrape it to prevent damage. If the wax is stubborn, replace the flange.
- Flange cracks: Replace it immediately. Purchase a kit or install gaskets to adjust the height to avoid future problems.
- Water leakage: It is most likely due to a problem with the wax ring, flange, or drain pipe. Before installing a new wax ring, be sure to check the sealing of the flange. This step cannot be taken lightly.
- Wobbly toilet: It may be caused by loose bolts or an uneven flange. Use gaskets to stabilize and level the new one.
Disposal & Recycling
- Many cities offer curbside pickup or recycling centers for porcelain toilets.
- If it's still usable, consider a donation for reuse.
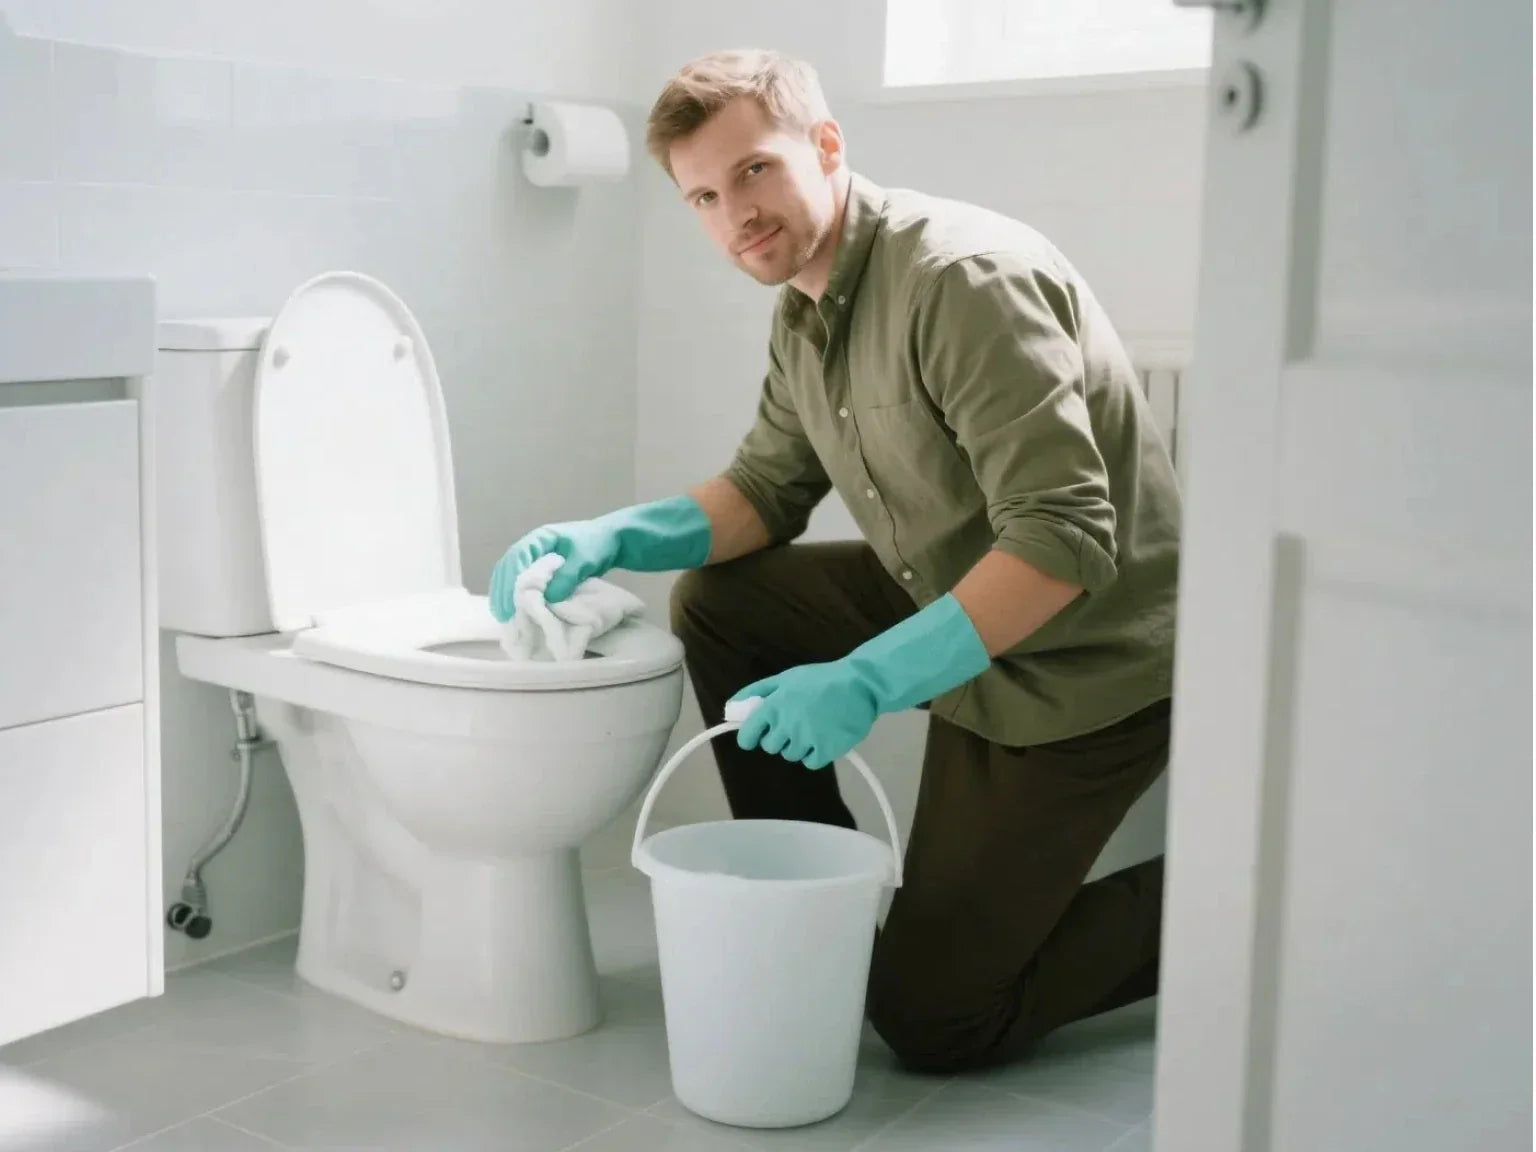
Prepping the Area
Clean and Inspect
- Remove all wax residue from the flange to ensure a tight seal.
- Clean the flange and surrounding areas.
- Inspect the floor for water damage and replace any bulges or mold to ensure stability and avoid future problems.
- Check the flange that it must be firm and flat. If damaged or too low, repair it or add an extender to level it with the floor.
Install Closet Bolts
- Insert the new closet bolts vertically into the groove of the flange, aligning it with the installation hole of the toilet. Be sure to install it firmly so that it is stable.
Choosing Your Seal
- Wax rings: Traditional wax seals offer a good seal and are inexpensive, but they are easily soiled and difficult to adjust.
- Wax-free seals: They are cleaner, easier to adjust, and more expensive. They are made of rubber or foam and are much easier to use.
Install a Toilet: Detailed Procedure
Replacing Toilet Bowl
- Press the new wax ring to the toilet's outlet (horn) or set it on the flange.
- Stand over the flange, lining up the holes on the base of the toilet with the closet bolts. This step is crucial when figuring out how to put in a toilet correctly.
- Lower the toilet bowl straight down, carefully aligning the bolts.
- Push down firmly to compress the wax ring and seal the pipe, ensuring a tight fit and leak-free installation.
Securing the Base
- Add washers and nuts.
- Tighten gently, alternating sides. Don't crank hard; you could crack the porcelain.
Assembling the Tank (If Two-Piece)
- Place the tank onto the bowl (use the provided gasket).
- Tighten tank bolts snugly but don't overtighten.
- Attach the toilet seat using the included bolts and nuts.

Connecting the Water Supply
- Attach water supply line to the bottom of the tank.
- Make sure all connections are hand-tight, then add a quarter-turn with a wrench.
Caulking the Base
- Run a line of bathroom-grade silicone around the base of the toilet.
- Leave a small gap at the back to spot leaks.
Visual Checklist
| Step | Visual Reference / Tip |
| Bowl on bolts | Line up holes, lower bowl straight onto flange |
| Bolt tightening | Alternate sides, stop when snug |
| Water supply connection | Hand-tighten, then a small wrench turn |
| Base caulking | Bead around front/side, leave back open |
| Seat install | Screw hinges into seat holes, lock down caps |
If possible, use diagrams from manufacturer instructions to follow along.
Testing, Troubleshooting, & Final Checks
Testing
- Turn on the water valve slowly.
- As the tank fills, check for leaks at all connections and around the base.
- Flush the toilet multiple times, watching for drips or movement.
- Try rocking the toilet. If it moves, slide shims under the base until sturdy. Re-caulk after shimming.
Common Post-Install Issues
- Leak at the base is most likely that the wax ring is aging or there is a problem with the flange. It must be dealt with quickly.The toilet needs to be disassembled and reinstalled with a new wax ring.
- Toilet shaking is often caused by uneven floors. Use shims to level the floor and reinforce the bottom with glue.
- Weak flushing may be due to insufficient water pressure or a blockage. Check the water supply and installation immediately.
- Odors at the base are usually due to a seal problem. Replace the wax ring or re-glue the base to remove the odor and make it more comfortable to use.
When to Call a Pro
- Rotten floors, badly damaged flange, or leaks that won't quit signal deeper problems best handled by a licensed plumber.

How to Change a Toilet: Cost & Time
DIY vs. Professional
| Option | Average Cost | Time |
| DIY | $100–$400 (toilet), $0–$75 supplies | 1–2 hours |
| Professional | $200–$300+ plus toilet | 1–2 hours |
| Flange/Floor fix | Extra (varies) | More time |
When budgeting for a toilet replacement, consider both explicit and implicit costs.
- A DIY toilet installation will cost $100-400 plus $0-75 in supplies and take 1-2 hours while hiring a contractor will cost $200-300+ (not including the toilet) and will be much smoother.
- Additional expenses may apply: Repairing damaged floors or flanges can cost $50-150+ and require additional time. Some cities also charge a disposal fee for old toilets.
Hidden costs: If you find water damage or need to fix the flange, your project may take longer and cost more. Some cities charge toilet disposal. It is recommended to leave an extra 15%-20% margin in the budget so that in case of unexpected situations, you can deal with them calmly without being in a panic.
Bonus: Pro Tips, Common Mistakes & Recap
Top 5 DIY Mistakes
- Over-tightening bolts (causes cracks in the toilet base).
- Guessing the rough-in distance (toilet won't fit properly).
- Skipping the flange check (risks repeat leaks).
- Poor caulking (lets odors and water escape).
- Messing up the wax ring (leads to persistent leaks).
Real-World Tips from Plumbers & Homeowners
- Double-check alignment: "I always line up the bolts with the bowl before lowering the toilet so I don't pinch my fingers or need to re-do the wax ring."
- Test fit first: "Dry-fit the toilet before setting the seal, just to be sure everything lines up."
- Don't rush caulking: "If you leave a small gap in the back, you'll spot leaks early and protect your floor."
Environmental Note
Switching to a high-efficiency toilet saves water, money, and reduces strain on local systems. Always dispose of the old unit according to city rules—some porcelain toilets are even recycled into road fill or new products.

Conclusion
Learning how to change a toilet means you can fix problems fast, save on labor, and upgrade your bathroom all at once. By removing the old toilet carefully and following these toilet installation steps, you'll know exactly how to change a toilet by yourself and effectively avoid leaks and enjoy reliable flushing for years. If surprises come up, or you find damaged flooring or tough plumbing, a professional plumber is your next best step.
FAQ
1. Does every toilet fit every bathroom?
No, not all toilets will fit in your bathroom, so be sure to check the key dimensions before buying and don't be careless.
- The most critical factor is the rough-in size, that is, the distance from the wall to the center of the toilet fixing bolts, which is usually 10, 12 or 14 inches.
- You should also consider the shape of the toilet seat: the elongated one is more comfortable to sit on, but it takes up space; the round one is smaller and perfect for small bathrooms.
- Finally, be careful about the height and depth of the water tank. Better not let it hit the shelf, wall, or sink. If space is tight, a wall-mounted or compact model is more suitable to save space.
2. Is it okay to reuse old parts?
Never reuse the old wax ring or damaged bolts which must be replaced to ensure a snug, leak-free install while it may be tempting to save money by doing so. The wax ring can form a seal between the toilet and the drain pipe to prevent water leakage, but once it is under pressure, it will easily seep water and emit an unpleasant oder. Old bolts can rust, become brittle, and even strip, making it difficult to secure the toilet. If not handled properly, the toilet could become loose or even get damaged in the future, causing significant trouble and frustration. By replacing the parts with new, especially high-quality ones, the toilet can be installed securely and leak-proof, so that you don't have to waste money on repairs later. Water supply pipes also need to be inspected and replaced if they show signs of corrosion or deterioration.
3. How long does a toilet last?
Today's toilets can generally be used for twenty to thirty years, especially those made of strong materials such as ceramics. If they are well maintained, they can last longer and are indeed durable. The ceramic cylinder body is indeed strong and durable, but the components inside, such as the valves and water inlet valves, need to be replaced every few years, which is inevitable. Old toilets consume more and more water as they are used. They may also crack, leak, and get stained. Even if they still work, replacing them with new, more efficient models can save much more water to reduce the bills. Always remember that frequent clogging, leaking water, wobbling, or incomplete flushing indicate the need for replacement and you need to take action promptly.
4. Can I replace my toilet myself, or do I need a plumber?
With basic DIY skills, the right tools, and the ability to follow the steps, you can replace a toilet yourself. The process typically involves turning off the water, draining the old toilet, disconnecting the water supply, removing the bolts, and carefully removing the old toilet. When installing a new toilet, you have to align it into position, secure it with bolts, seal it with a wax ring, and finally connect the water supply pipe back. The steps are not complicated and are easy to do.
However, you should check it out. If there is damage to the floor, water leakage or misaligned flanges, these problems may need to be handled by a plumber. Doing it yourself can easily cause problems. For corrosion, water damage, or complex plumbing, professional assistance can save time and prevent costly mistakes.
5. Do modern toilets flush better than old ones?
Yes, thanks to significant design improvements and rigorous performance testing, today's toilets flush much better than their predecessors and are genuinely satisfying to use. The old toilet used 3.5 gallons of water per flush and was always clogging, causing a lot of troubles. It's impressive how today's models, especially those WaterSense certified, can deliver more power and efficiency using only 1.28 gallons of water once. Improvements like larger, fully glazed drain channels, optimized bowl shapes, and pressure-assisted or gravity-flush systems make drainage much more efficient and are truly easier to use. Models featuring a dual flush function allow you to choose a light flush or a full flush as needed. These new designs not only make the flush more powerful, but also help the family save a lot of water bills and are more environmentally friendly, which is a wise decision for toilet replacement.
Reference


Leave a comment
This site is protected by hCaptcha and the hCaptcha Privacy Policy and Terms of Service apply.