


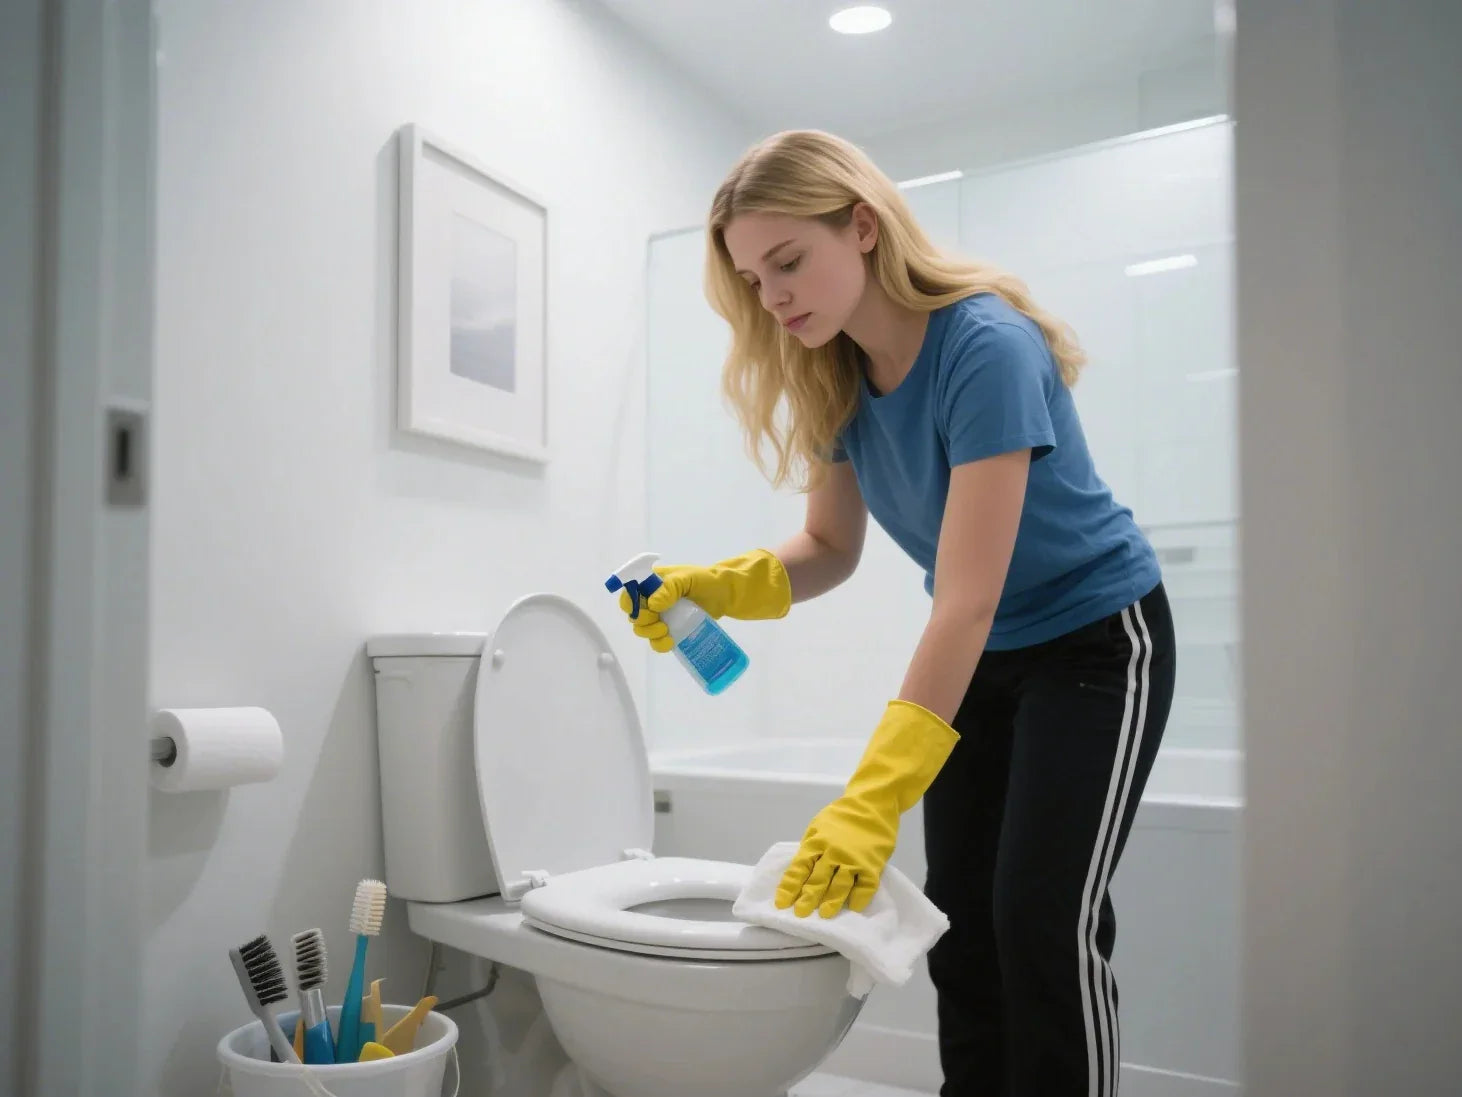
A clean toilet seat does more than just look good—it helps keep you and your family healthy. Whether at home, at work, or in a public restroom, the toilet seat is often exposed to all kinds of dirt and bacteria. While it might appear spotless, there could still be lots of germs hiding on its surface. If you've ever wondered, "What is the best way to clean a toilet seat?" or "How do I get those stubborn yellow stains off?"—you're not alone. This guide will show you how to choose and care for the best, easiest-to-clean seat, answer your questions, and help you keep your bathroom fresh and hygienic with simple step-by-step instructions.
The Science of Toilet Seat Hygiene
Ever asked yourself how germs stick around even after cleaning the toilet seat? Research shows that most bacteria and viruses living on bathroom surfaces, including the seat, aren’t always visible. Splashes from the toilet bowl or even a simple flush can send tiny drops all around the toilet—onto the lid, hinges, and the seat itself. That’s why routine disinfection is so important, especially in high-traffic bathrooms where a seat comes into contact with many people each day.
Public health experts have found that seats can spread not just bacteria, but also viruses and fungi. While the chance of catching something from a seat is low, persistent dirt, urine stains, and organic debris make it easier for germs to survive and multiply. Even if the seat looks clean, it could still harbor germs—this is why regular cleaning and the choice of seat materials matter so much.
Key points:
- Germs survive longer on rough, porous, or scratched surfaces.
- Visual checks don’t guarantee true cleanliness.
- Proper technique and frequency do more to reduce germs than expensive cleaners.
Toilet Seat Materials & Their Impact on Cleanliness
Did you know your toilet seat’s material affects how easy it is to clean the toilet seat and keep it free from stains and germs?

Plastic, Polypropylene, or Wood: What’s Best?
Plastic Seats (including polypropylene):
- Non-porous, so germs and stains have nowhere to hide.
- Smooth, easy to wipe.
- Polypropylene seats are especially resistant to stains—including tough ones like poop stains, yellow rings, and urine marks.
- Safe to use with stronger cleaners and frequent scrubbing, including mild bleach or hydrogen peroxide.
Wood Toilet Seats:
- Can absorb moisture and odors over time.
- Prone to cracking, swelling, and discoloration (those yellow stains on your toilet seat?).
- Tough to get fully clean, especially around hinges and inside micro-cracks.
- Not recommended for high-humidity or shared spaces.
Specialty and Coated Seats:
- Some have antimicrobial coatings, which help stop bacteria from growing between cleanings.
- Coatings are often found on high-end polypropylene seats and can make a big difference for busy homes and public restrooms.
Infographic:
| Material | Non-Porous | Easy to Clean | Resists Stains | Good for Disinfectants | Risk of Odor/Cracks |
|---|---|---|---|---|---|
| Polypropylene | ✔ | ✔ | ✔ | ✔ | ✖ |
| Plastic (Basic) | ✔ | ✔ | ✔ | ✔ | ✖ |
| Wood | ✖ | ✖ | ✖ | ✖ | ✔ |
Best choice for a clean toilet seat: Polypropylene or quality plastic with a smooth, coated surface.
Features That Make a Toilet Seat Easy to Clean
When shopping for a seat you can keep spotless with the least fuss, search for these smart touches:
- Removable (Quick-Release) Hinges: Allow easy detachment, so you can tackle those hard-to-reach areas around the hinges and edges.
- Smooth, Seamless Surfaces: Fewer seams and grooves mean fewer places for germs and dirt to hide.
- Antimicrobial Coatings: Passive protection that cuts down on bacteria growing between cleanings.
- Rounded, Contoured Design: No sharp corners to trap debris.
Table: Pros and Cons of Easy-Clean Features
| Feature | Pros | Cons |
| Quick-Release Hinges | Simple deep cleaning under/around seat | Slightly higher purchase price |
| Polypropylene Material | Ultra-hygienic, resists ugly stains and odors | Low-end models may discolor |
| Antimicrobial Coatings | Defend against bacteria between cleanings | Effect can fade over years |
| Seamless Contoured Design | Easy-wipe, stops buildup | Sometimes fewer style choices |
Step-by-Step: How to Clean a Toilet Seat (With Checklist)

Supplies You’ll Need
- Toilet seat cleaner spray (EPA-registered disinfectant)
- Disinfectant wipes
- Soft cloth or disposable paper towels
- Mild detergent for general cleaning
- Diluted hydrochloric acid or white vinegar for tough stains (use with care and gloves)
- Cleaning gloves
The Right Way to Clean a Toilet Seat
Are you wondering, how to clean toilet seat without ruining it? Here’s a routine you can use at home or at work.
1. Put on disposable gloves. Safety first!
Before handling any bathroom cleaning, always wear disposable gloves to protect your hands from bacteria, cleaning chemicals, and any potentially harmful residues. Gloves also help prevent the transfer of germs from the toilet to your skin. If you're using strong cleaners like bleach or acid-based products, gloves are essential for preventing skin irritation or chemical burns.
2. Remove loose debris. Wipe or sponge off any dust, hair, or splashes.
Begin by wiping down the toilet seat with a dry cloth, soft brush, or sponge to remove any visible debris like dust, hair, dried urine splashes, or water spots. This step ensures that the cleaner you apply later can work directly on the surface without interference from loose particles. Pay attention to the back of the seat and around the hinges where dust tends to collect.
3. Apply cleaner. Spray surface until thoroughly wet with your chosen disinfectant or bathroom cleaner.
Use a toilet-safe disinfectant spray, antibacterial cleaner, or a solution of water and white vinegar. Hold the bottle a few inches away and spray the entire top and bottom of the seat, making sure all surfaces are visibly wet. Be generous—especially if dealing with high-use or stained toilet seats. If using a natural cleaner like vinegar, you may want to pre-mix it in a labeled spray bottle for convenience.
4. Let the cleaner sit. Check the label for contact time—usually 2–10 minutes for germ-killing action.
Allow the cleaner to dwell for the amount of time recommended on the product label. Most disinfectants require a contact time of at least 2 to 10 minutes to effectively kill bacteria, viruses, and mold spores. Don’t rush this step—letting the cleaner sit maximizes its effectiveness and reduces the need for heavy scrubbing later.
5. Wipe the entire seat. Don’t forget the top, under the seat, the hinges, and the rim. After the cleaner has sat, use a soft microfiber cloth, disposable paper towels, or a non-abrasive sponge to wipe every part of the toilet seat. Start from the top surface, move underneath the seat, and pay special attention to the hinges where grime often builds up. If your toilet seat has a lid, clean both sides. Don’t forget to wipe the rim of the toilet bowl beneath the seat to maintain overall hygiene.
6. Disinfect hinges and hard-to-reach places. Use a cotton swab or an old toothbrush if grime is visible.
For stubborn grime or buildup around the hinges, use a cotton swab or an old toothbrush dipped in disinfectant. Scrub gently to loosen and remove dirt from tight spots, small crevices, or under decorative covers. This area is often overlooked but can harbor germs and bad odors if left uncleaned.
7. Deep clean for stains: If you see brown, yellow, or rust stains, gently rub with a solution of diluted hydrochloric acid or white vinegar. Rinse well immediately with plenty of water.
To address tough stains such as brown discoloration from urine, yellowing from age, or rust from old hardware, prepare a gentle acid solution. Mix 1 part hydrochloric acid or white vinegar with 4–5 parts water. Apply it with a sponge and gently rub the stained area. Rinse thoroughly with large amounts of water to neutralize any acid residue. Always ventilate the area and avoid splashing—these substances can be harsh on skin or eyes.
8. Dry completely. Use a clean soft cloth or new paper towel.
After cleaning, wipe down the toilet seat with a dry, clean microfiber cloth or disposable paper towels to remove any remaining moisture. Drying the surface helps prevent water stains, streaks, and the growth of bacteria or mildew. A dry surface is also less likely to attract dust or grime right after cleaning.
9. Reattach removable parts if you took off the seat or lid.
If you remove the seat or lid for a more thorough cleaning, carefully reattach them according to the manufacturer's instructions. Make sure all bolts are tightened securely but not overtightened, which could crack the plastic. Check that the seat is stable and properly aligned before finishing.
Best Cleaning Practices According to Experts
Want to know how often you should clean your toilet seat, or what not to use? Here are the basics everyone should know:
Frequency:
- Daily in shared or public bathrooms.
- Weekly for low-use private home bathrooms.
Use non-abrasive cleaners.
- Stay away from rough pads or steel wool—these can damage and scratch surfaces, making it easier for bacteria to stick.
Follow dilution guidelines.
- Always dilute bleach, hydrochloric acid, or hydrogen peroxide based on product instructions to avoid surface damage.
Don’t forget the hinges.
- Lift the seat and wipe around the hinge area to prevent buildup.
Never mix chemical cleaners.
- This can create toxic fumes.
Test on hidden spot if unsure.
- Especially for colored seats or specialty coatings.
Microbiologists say consistent cleaning with the right products and a bit of patience is more important than using the strongest chemical.
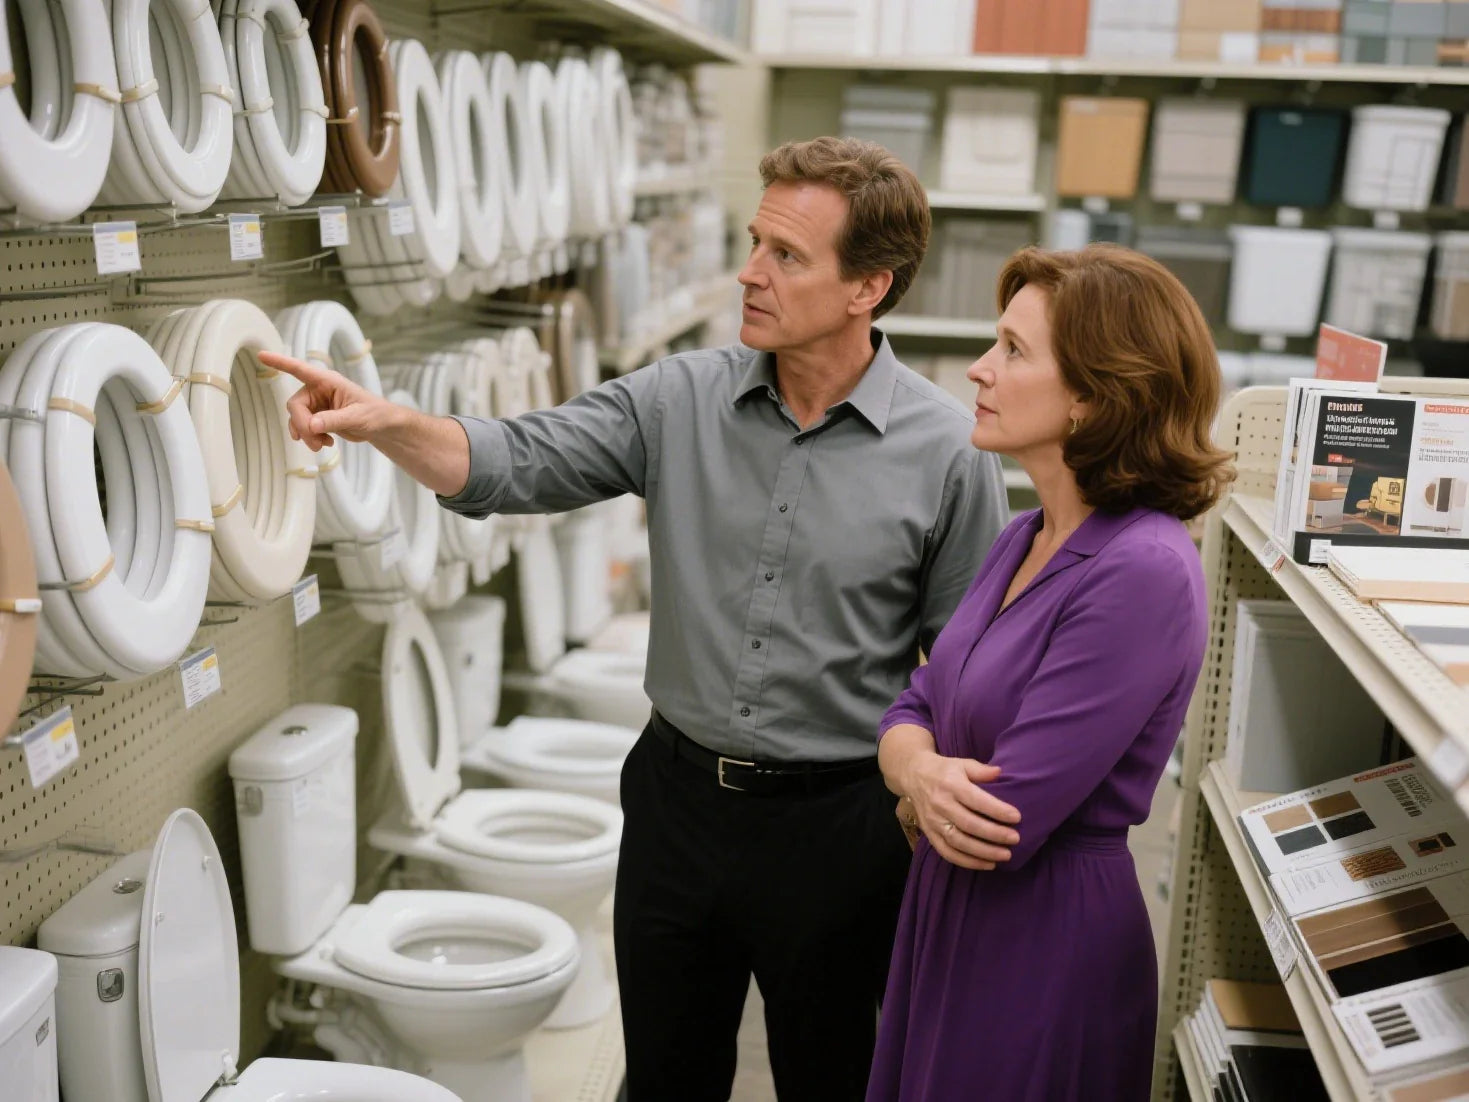
Choosing a Clean-Friendly Toilet Seat: What to Look For
How can you pick the best toilet seat for easy cleaning and long-term hygiene?
Buyer’s Checklist
- Is it made of smooth, non-porous plastic or polypropylene?
- Does it have quick-release hinges for simple removal?
- Any signs of certified antimicrobial treatment?
- Will the shape and size fully cover your toilet to protect the rim?
- Is it safe to use bleach and disinfectant sprays on the material?
Tip: A replacement seat is a small investment that saves time and effort on cleaning, and helps prevent the spread of germs—especially important if someone is sick at home.
Maintenance Schedule & Printable Calendar
Staying on track is key to a clean toilet seat and healthy bathroom. Use this easy schedule:

- Daily: Wipe and disinfect high-touch parts (seat, lid, flush handle) in high-traffic restrooms.
- Weekly: Clean entire seat in low-use, private bathrooms.
- Monthly: Deep clean—with removable seats, check under hinges, tackle stains, inspect for cracks or lingering smells.
- Replace seat: If scrubbing doesn’t remove stains, odors linger, or you spot a crack or warped area, swap it out.
Beyond the Bathroom: Safe Disposal & Eco-Friendly Cleaning
- Disposal: Check your city’s guidelines for recycling or trashing old toilet seats. Some plastic seats can be recycled.
- Green cleaning: Choose eco-friendly bathroom cleaners that are gentle yet effective. Reusable soft cloths can replace paper towels.
- Use only what you need: Overusing chemicals won’t help your seat get cleaner and could harm indoor air quality.
Key Takeaways
- Modern polypropylene toilet seats, especially those with quick-release hinges and antimicrobial surfaces, help make regular cleaning faster, easier, and more thorough.
- Consistent cleaning and the right cleaning products matter more than fancy gadgets. Focus on all surfaces—seat, lid, hinges, and around the bowl rim.
- Printable checklists and cleaning calendars can make routine maintenance almost automatic—grab yours from this guide and help everyone keep your bathroom germ-free.
Want to keep your bathroom fresh and inviting every day? Start with the right seat, use smart cleaning routines, and enjoy peace of mind knowing your toilet is hygienic—inside and out.
Common Myths
Have you heard these myths?
Myth: If it looks clean, it is clean.
Truth: Bacteria and viruses are invisible to the eye. A spotless look can still mean hidden germs, so stick to a regular cleaning schedule.
Myth: Wood seats are just as hygienic if you clean often.
Truth: Wood is porous and can soak up moisture, odors, and bacteria—even with frequent scrubbing.
Frequently Asked Questions
1. What is the best thing to clean toilet seats with?
The most effective and safest way to clean toilet seats—especially those made of plastic or polypropylene—is with a mild disinfectant spray, antibacterial wipes, or a non-abrasive bathroom cleaner. These options are gentle enough to prevent damage while still eliminating germs and odor. For occasional deep cleaning or to tackle stubborn grime, a diluted bleach solution (about one part bleach to ten parts water) or an enzyme-based toilet cleaner can be used. However, it’s crucial to always read the product label and follow your toilet seat manufacturer’s care instructions to avoid discoloration, warping, or surface damage.
2. How do you clean a badly stained toilet seat?
Begin the toilet seat cleaning process by applying bathroom cleaner or bleach solution directly to stained areas. The chemicals need at least 10 to 15 minutes to penetrate the grime or discoloration before you proceed with cleaning. Use a soft cloth or non-abrasive sponge to gently scrub the stain while avoiding any surface scratches. When the stain persists you can try using diluted white vinegar or a very mild hydrochloric acid solution for mineral deposits or long-term buildup. Always wear protective gloves while cleaning and maintain proper ventilation and thoroughly rinse the seat before completely drying it.
3. How do I get brown stains off my plastic toilet seat?
The main reasons for brown stains on plastic toilet seats include mineral deposits from hard water and urine residue and persistent mildew growth. Start by using a disinfectant spray to wipe down the seat for removing surface dirt and germs. A mixture of baking soda paste with water should be applied directly to stubborn brown marks before letting it sit for 15–30 minutes. Use a soft sponge or microfiber cloth to gently scrub the area. When dealing with difficult stains you can try using plastic-safe stain remover or hydrogen peroxide. The surface of the seat requires protection from abrasive tools and chemicals which could cause scratches or dullness.
4. What is the best way to clean a plastic toilet seat without scratching it?
The safe cleaning of plastic toilet seats requires using non-abrasive cleaning products such as mild liquid soap or diluted white vinegar or pH-neutral bathroom cleaners. The cleaning process should use a soft sponge or microfiber cloth or non-scratch cleaning pad to prevent damage to the finish. The surface will become scratched when using scouring powders or steel wool or hard brushes because these tools create bacterial accumulation areas through their grooves. Regular gentle cleaning maintains hygiene while protecting the seat from damage which extends its useful life without harming its appearance or structural integrity.
5. What should you NOT clean toilet seats with?
Plastic and MDF and coated wood toilet seats require only gentle cleaning methods because abrasive powders and steel wool and harsh scouring pads and undiluted bleach should never be used. The surface material will deteriorate when exposed to these substances which creates roughness and discoloration and bacterial retention in microscopic grooves. The use of strong chemical solvents such as acetone and ammonia and industrial degreasers should be avoided unless they specifically state they are safe for bathroom applications. Using these products incorrectly will both invalidate your toilet seat warranty and dramatically reduce its operational time. Choose cleaning products and tools that are specifically designed for toilet seats.
6. How to clean a discolored white plastic toilet seat?
The white plastic toilet seat develops discoloration because of aging processes and hard water mineral deposits and exposure to cleaning agents and urine. A thick paste made from baking soda and white vinegar should be applied directly to stained areas to restore brightness. The paste should remain on the surface for 20 to 30 minutes before you scrub it gently with a soft cloth or sponge. A diluted hydrogen peroxide solution functions as a gentle bleach that works safely on most plastic surfaces. Thoroughly rinse the seat before drying it with a clean cloth. The plastic seat requires replacement when discoloration continues to exist after multiple cleaning attempts because it has reached a point where restoration is no longer possible.


Leave a comment
This site is protected by hCaptcha and the hCaptcha Privacy Policy and Terms of Service apply.