Bidet Attachment vs. Alternatives: Which Solution Is Best?
Comparison Table: Bidet Attachment vs. Bidet Seat vs. Integrated Toilet
| Feature | Bidet Attachment | Bidet Seat | Integrated Bidet Toilet |
|---|---|---|---|
| Average Cost | $30 - $150 | $200 - $800+ | $1,000 - $5,000+ |
| DIY Installation? | Yes, usually under 30 mins. | Yes, usually under an hour. | No, requires a licensed plumber and electrician. |
| Electrical Outlet? | Almost never (non-electric). | Yes, for features like heated seat/water. | Yes, requires a dedicated GFCI outlet. |
| Common Features | Adjustable water pressure, nozzle positioning, self-cleaning nozzles. | All attachment features, plus heated seat, warm water, warm air dryer, remote control. | All seat features, plus auto-flush, nightlight, user presets, sleek design. |
| Pros | Very affordable, easy to install, great for renters, no electricity needed. | Excellent balance of features and cost, significant upgrade in comfort. | The ultimate in hygiene and convenience, adds luxury feel to bathroom. |
Who Is Each Solution For?
- Bidet Attachment: Perfect for those on a tight budget, renters, or beginners. They're affordable, easy to install without professional help, and require no electricity. They're a great option for anyone new to bidets who wants simple, effective DIY projects and simple hygiene improvements without the hassle or expense.
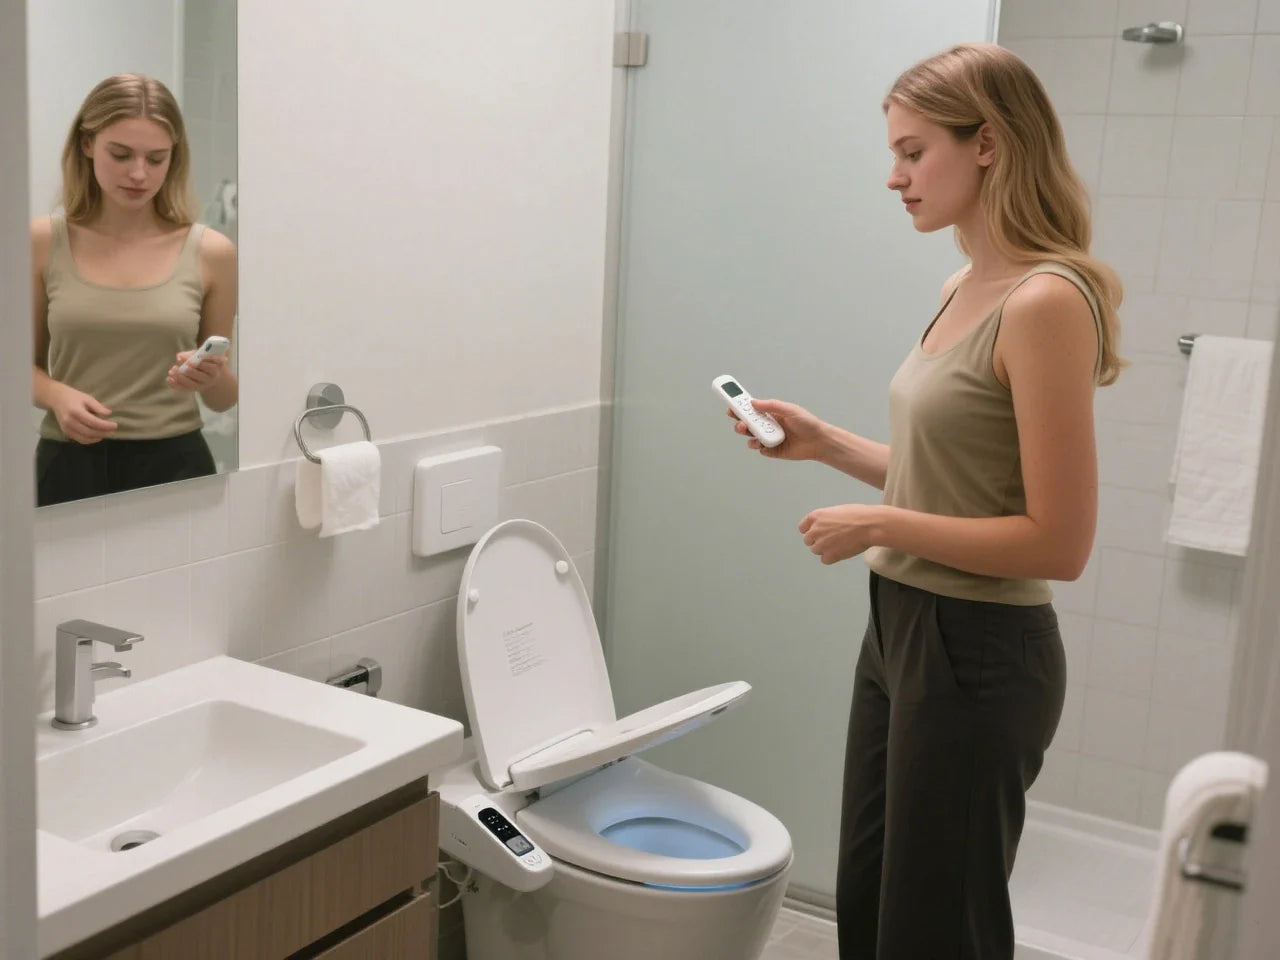
- Bidet Seat: Ideal for homeowners who want enhanced comfort with features like warm water, a heated seat, and a blow-dryer without having to replace the entire toilet. They're affordable and offer a significant improvement in user experience, but require access to an electrical outlet.
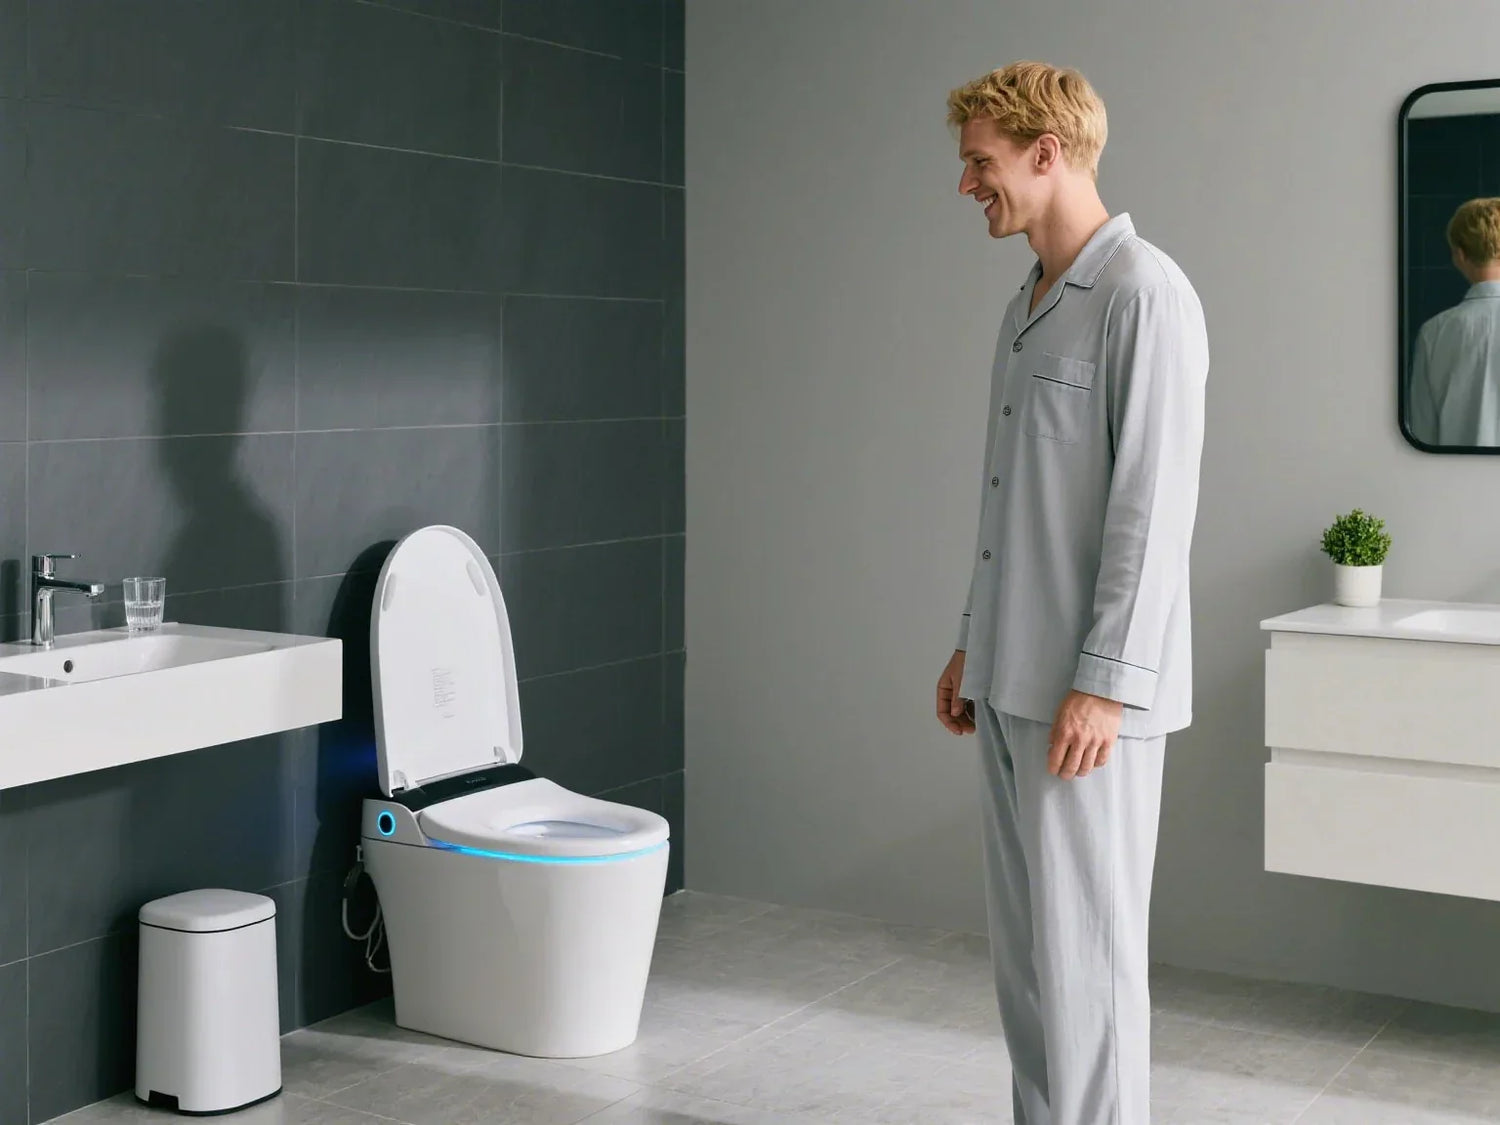
- Integrated Bidet Toilet: Designed for those remodeling their bathroom or building a new home and seeking a high-end, all-in-one solution. These options offer premium features like automatic flushing and user-defined settings, but they're more expensive and require professional installation.
How a Bidet Attachment Works
- Water Source: The bidet attachment connects to your toilet's existing clean water supply. This is the same water that fills your toilet tank after you flush.
- T-Valve Connector: A small T-shaped valve is included with your bidet attachment kit. You attach this valve to the water line that runs to your toilet tank. This valve splits the water flow, sending it to both the toilet tank and your new bidet.
- Control Panel: The water then runs through a small hose to the bidet attachment itself, which you've secured under your toilet seat. A dial or lever on the control panel allows you to operate the bidet.
- Nozzle Spray: When you turn the dial, a small nozzle extends from under the seat and directs a precise spray of water for cleaning. When you turn it off, the nozzle retracts. Most models have a self-cleaning function that rinses the nozzle before and after each use.

Top Bidet Attachment Models Compared
Data-Driven Comparison of Bidet Attachment Types
| Model Type | Price Range | Key Features | Best For |
| The Basic Workhorse | $30 - $60 | Single nozzle, ambient temperature water, adjustable pressure control. | First-time users, renters, and anyone on a strict budget. |
| The Dual-Nozzle Upgrade | $50 - $90 | Two nozzles (posterior and feminine wash), adjustable pressure, self-cleaning mode. | Individuals and families seeking more tailored cleaning options. |
| The Slim & Sleek | $60 - $120 | Ultra-thin design to prevent a gap under the toilet seat, dual nozzles, high-quality metal components. | Users with modern toilets or who prioritize aesthetics and durability. |
| The Temperature Control | $90 - $150+ | Connects to both cold and hot water lines (from a nearby sink) for adjustable temperature. | Those who live in cold climates or strongly prefer a warm water wash. |
Best Picks Overview
- Best for Budget: Look for a basic, non-electric single-nozzle model. It provides the core function of a bidet at the lowest possible cost.
- Best Premium (for an attachment): A slim-profile, dual-nozzle product with high-quality components offers a great experience. For true luxury, a warm water bidet attachment is the top choice, though its installation is more complex.
- Easiest DIY Install: Any standard non-electric bidet is designed to be easy to install. If you can use a screwdriver and a wrench, you can likely complete the installation in under 30 minutes.
- Most Eco-Friendly: All bidet attachments are environmentally friendly because they reduce toilet paper consumption. A simple, non-electric model has the smallest manufacturing and energy footprint.

How to Choose the Right Bidet Attachment
Quick Quiz: Is Your Bathroom Bidet-Ready?
- What type of toilet do you have? Most bidet attachments are designed for standard two-piece toilets (where the tank and bowl are separate). If you have a one-piece or skirted toilet, check for a "slim" or "universal fit" model.
- What shape is your toilet bowl? Most toilets in North America are either round or elongated. While most attachments fit both, some are designed specifically for one shape.
- Do you need warm water? If yes, you'll need a model that can connect to your sink's hot water line. Measure the distance from your toilet to the sink to make sure the included hose is long enough.
- Are you a renter? A non-electric bidet attachment is a perfect choice for renters. It's affordable, requires no permanent modifications, and you can easily remove the existing attachment to take with you when you move.
Checklists Before You Buy
- My toilet has a flexible water supply hose, not a rigid pipe. (Rigid pipes may need to be replaced with a flexible hose).
- I have at least 1-2 inches of clearance between the toilet tank and the mounting bolts for the toilet seat.
- The distance between the two mounting bolts on my toilet is the standard 5.5 inches.
- My home's water pressure is average. (Extremely low or high pressure may affect performance).
- I am comfortable with an ambient temperature water wash.
- I prefer a simple, manual control dial over a remote.
- My primary goal is to improve hygiene and reduce toilet paper use.
- I am looking for a DIY project that I can complete myself.

Installing Your Bidet Attachment: DIY Step-by-Step
Bidet Attachment Installation Guide
Tools You'll Need:
- Screwdriver (Phillips or flat-head)
- Adjustable wrench
- A small bucket or towel (to catch any leftover water)
Step-by-Step Written Guide:
Shut Off the Water Supply: The very first step is crucial. Find the shut-off valve on the wall behind or next to your toilet and turn it clockwise until it stops. This shuts off the water.
Flush and Empty the Tank: Flush the toilet to drain nearly all the water from the tank and bowl. This minimizes drips and spills.
Remove the Current Toilet Seat: Use your screwdriver to unscrew the mounting bolts holding your current toilet seat in place. Lift the seat off and set it aside. This is a good time to clean the toilet rim.
Place the Bidet Attachment: Place the bidet attachment on the back of the toilet bowl. Align its mounting holes with the holes in the toilet. The nozzles should be facing forward.
Re-attach the Toilet Seat: Place your toilet seat back on top of the bidet attachment. Insert the original mounting bolts through the seat and the bidet's brackets, then tighten them. Adjust the bidet's position as needed before fully tightening.
Disconnect the Water Supply Hose: Place a towel on the floor. Use your wrench to disconnect the flexible water supply hose from the fill valve at the bottom of the toilet tank. Be careful not to disconnect it from the wall. A little water might drip out.
Install the T-Valve: Your bidet kit comes with a T-valve. Make sure the small rubber washer is inside. Screw this T-valve onto the toilet tank's fill valve where you just disconnected the hose.
Reconnect the Hoses: Now, you'll have two connection points on the T-valve.
- Reconnect the main water supply hose to the bottom of the T-valve.
- Connect the new, smaller bidet hose (from your kit) to the side of the T-valve.
- Connect the other end of the bidet hose to the inlet on your bidet attachment.
- Hand-tighten all connections first, then give them a gentle quarter-turn with the wrench. Do not overtighten, as this can damage the plastic threads.
Common Mistakes to Avoid:
- Forgetting to shut off the water: This is the #1 mistake. Always turn off the water supply first.
- Overtightening connections: Plastic threads can crack under too much force. Snug is good enough.
- Not using the rubber washers: These small parts are essential for creating a waterproof seal.
Hygiene and Environmental Impact of Bidet Attachments
How Much Cleaner Is a Bidet?
Eco-Impact: Paper and Water Savings
- Toilet Paper Reduction: The average American uses around 140 rolls of toilet paper annually. A bidet can reduce that amount by 75% or more. This saves trees, water (used to manufacture paper), and energy used to transport it.
- Water Usage: Some worry about the water consumption of bidets, but the opposite is true. Each bidet uses only one-eighth of a gallon of water, while making one roll of toilet paper uses 37 gallons of water. Over a year, a bidet uses far less water than the amount needed to produce the toilet paper it replaces.
- Waste and Garbage: Using a bidet also reduces wastewater and garbage, alleviating pressure on sewage treatment plants and reducing pollution risks, while also reducing the carbon footprint.
Cost Analysis: Upfront vs. Ongoing Savings
- Upfront Cost: A quality bidet attachment can cost between $40 and $100.
- Ongoing Savings: A family of four can easily spend $300 or more on toilet paper annually. By cutting that expense by 75%, the bidet attachment can pay for itself in just a few months. Over its lifespan, it can save a household hundreds, if not thousands, of dollars.

Quick Recap and Recommendations
| If you are... | You should consider... | Key Benefit |
| A first-time user or on a tight budget | A basic non-electric bidet attachment. | Most affordable way to improve hygiene. |
| A renter | Any non-electric bidet attachment. | Easy to install and remove without damage. |
| Seeking more comfort and features | A dual-nozzle or slim-profile bidet attachment. | Better aesthetics and more cleaning options. |
| Living in a cold climate | A bidet toilet seat with a water heater. | The comfort of warm water. |
| Not comfortable with DIY | Hiring home services or a plumber. | Peace of mind and guaranteed results. |
Key Takeaways
- It provides superior cleaning compared to toilet paper, improving personal hygiene.
- It is an excellent DIY project that most people can install in under 30 minutes with basic tools.
- It is environmentally friendly, drastically reducing paper waste and saving water over its lifecycle.
- It is affordable and pays for itself quickly through savings on toilet paper.
- It is a perfect solution for renters and homeowners alike, offering a significant benefit without major renovation.


Leave a comment
This site is protected by hCaptcha and the hCaptcha Privacy Policy and Terms of Service apply.