


Is your bathtub looking worn, chipped, or out of style? Bathtub refinishing—also called reglazing or resurfacing—is growing in popularity in 2025. This is a cost-effective way to repair and update your tub’s surface without the mess and steep price of full replacement. Here you’ll learn about all your options, the process, up-to-date costs, safety, maintenance, and real homeowner results. If you’re considering a bathroom makeover, this is your comprehensive guide.
What Is Bathtub Refinishing?
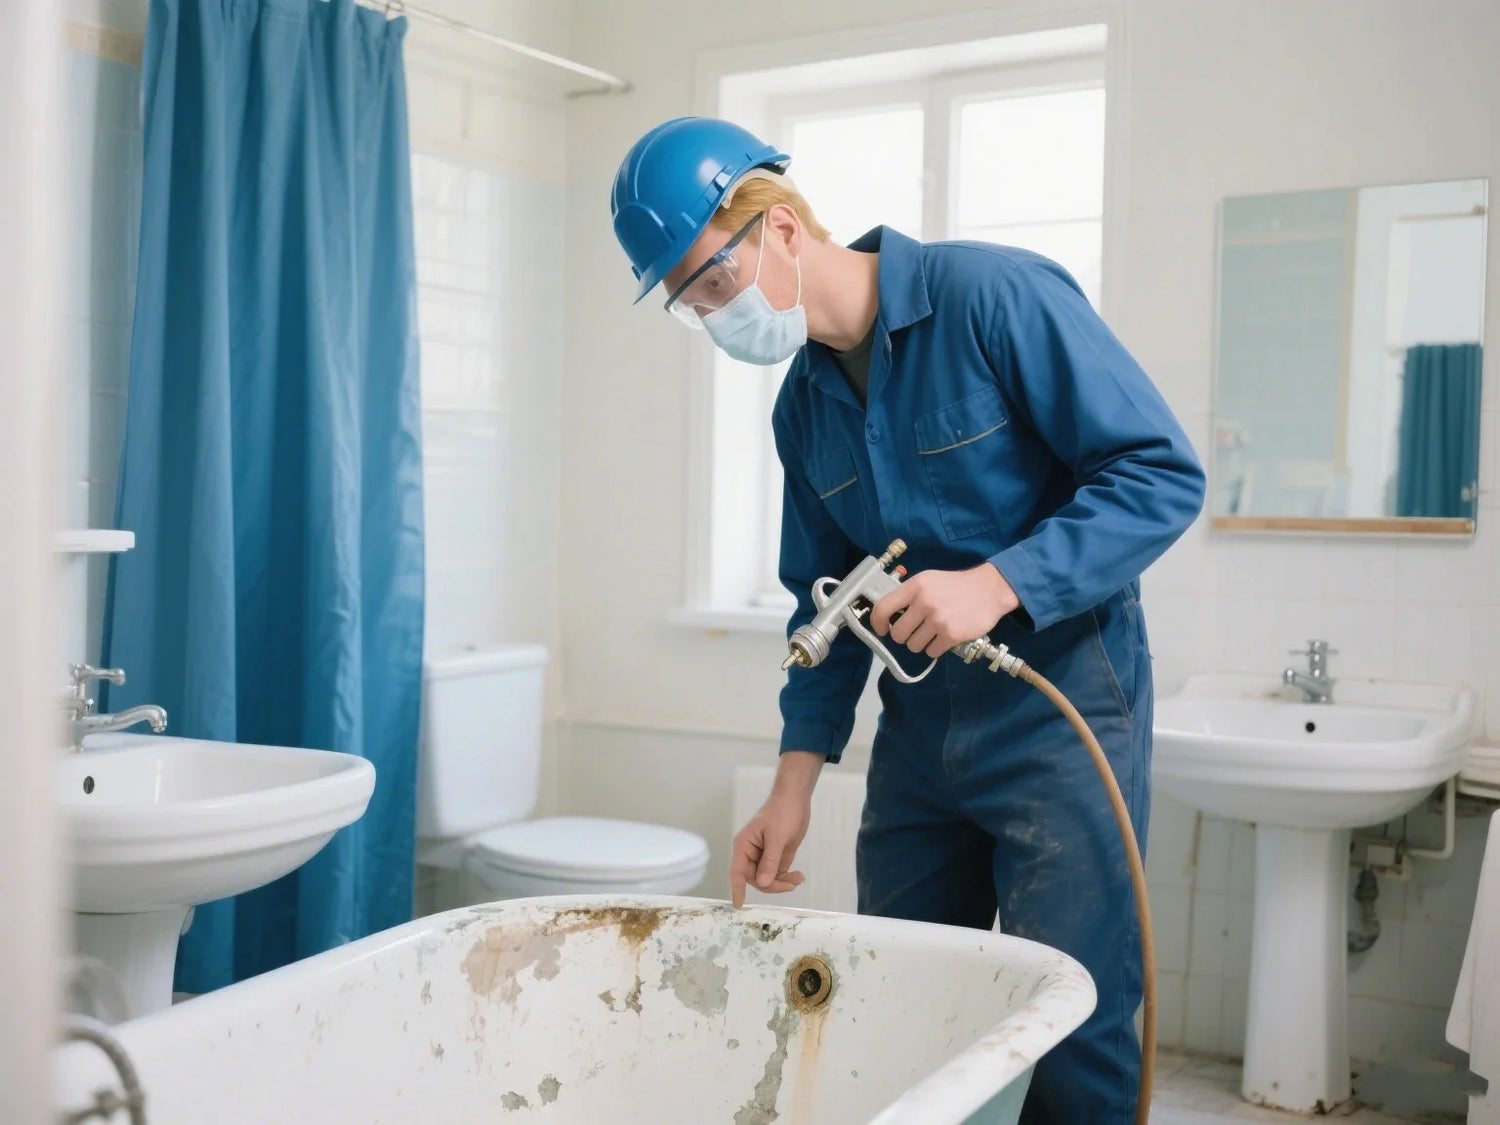
Bathtub refinishing refers to the process of restoring the surface of your tub by fixing chips, stains, and scratches, then applying a new coating for a fresh, glossy look. This works on materials like porcelain, cast iron, acrylic, or fiberglass, breathing new life into tubs that have seen better days. You might also hear it called bathtub reglazing or bathtub resurfacing—these terms are often used interchangeably.
If you’ve been asking how to change bathtub color or how to refinish the bathtub, refinishing is the perfect solution. Whether you want to restore a classic white finish or go bold with colors like black, refinishing makes it possible without replacing your tub.
Common Uses:
- Updating a dated or faded tub color (even switching to trendy colors like a black bathtub)
- Repairing chips, cracks, and small surface damages
- Improving look of the bathtub and the surrounding area during a bathroom renovation
- Matching or changing bathroom design without the need for a new bathtub
Simple Refinishing Process Flowchart:
Old Tub → Clean/Remove Caulk → Sand & Repair → Apply Bonding Agent → Spray/Roll Coating → Cure 24–48 Hours → Like-New Tub

Is Bathtub Refinishing Right for Me?
The answer depends on what kind of damage your tub has, your budget, your desired timeline, and whether you want to change color of bathtub. Refinishing is ideal if your tub has mostly cosmetic issues or if you're looking for an affordable way to update the tub’s appearance, including changing its color to refresh your bathroom’s style. If you’re curious how to change tub color, refinishing offers a practical and cost-effective solution to update your tub’s look, whether fixing minor flaws or switching to a new color altogether.
Quick Decision Guide
| Situation | Best Solution |
|---|---|
| Cosmetic chips, stains, minor wear | Bathtub refinishing |
| Heavy rust, deep cracks, soft spots | Tub replacement |
| Major leaks or can't hold water | Replacement needed |
| Interior surface is mostly intact | Refinishing or liner |
| Want to switch to a black bathtub | Refinishing or painting |
Ask yourself:
- Is your tub in pretty good shape? (minor surface flaws, no leaks)
- Is the cost of a new tub or demo too high?
- Want to change the bathroom look quickly and affordably?
- Looking to change the color of the bathtub (to white, black, or another shade)?
If yes, refinishing is generally a smart choice. For severe structural issues, major rust, or water leaks, installing a new tub is safer.
Bathtub Refinishing Cost Breakdown (2025 Data)
- How much does bath tub refinishing cost? Here’s the latest data:
- Professional refinishing: $250–$600 per standard tub (national average: $440)
- High-end/local contractors: $713–$1,441 (labor and materials)
- Tub/shower combos: $800–$1,200
- DIY refinishing kits: $40–$150
- Replacement tub (with demo, plumbing): $2,000–$5,000+
- Liner installation: $1,300–$2,500
Cost Comparison Table
| Option | Average Price | Lifespan | Disruption |
| Refinishing (Pro) | $250–$1,400 | 10–15 years | Minimal |
| Refinishing Kit (DIY) | $40–$150 | 2–5 years | Minimal |
| Liner Installation | $1,300–$2,500 | 7–15 years | Medium |
| Tub Replacement | $2,000–$5,000+ | 20+ years | High, demo |
Cost Savings: Refinishing can save you up to 75% versus replacing the entire tub.
Project Timelines
- Refinishing takes about 2–5 hours; the tub is ready for use in 24-48 hours.
- Replacement or liner can take several days, with added mess and plumbing costs.
Interactive Cost Estimator
(Visit official cost estimator tools for location-based pricing:)
homewyse.com
DIY vs. Professional Bathtub Refinishing
Thinking about a DIY refinishing kit? It’s cheaper up front, but there are trade-offs.
| Method | Avg. Cost | Durability | Application Time | Finish Quality |
| Professional | $250–$1,400 | 10–15 years | 2–5 hours + cure | High-gloss, uniform |
| DIY Kit | $40–$150 | 2–5 years | 4–8 hours + cure | Often less uniform |
DIY Pros:
- Lower price
- Can be done on a weekend
DIY Cons:
- Less durable
- Hard to get a glossy, even finish without experience
- DIY paints may peel, dull, or chip sooner
- Safety risks: strong chemical fumes
Professional Pros:
- Longer-lasting, like-new finish
- Better adhesion via professional prep and tools
- Surface warranties (3–10 years typical)
- Safer methods, especially with dangerous chemicals
Before and After Example: Many homeowners report their tub looking new for years after pro work, while some DIY kits develop peeling after a single year (especially if not prepped carefully).

How Long Does Bathtub Refinishing Last?
A well-done refinishing job, with proper care, will last 10 to 15 years. Professional refinishing creates a strong, glossy surface that resists daily wear when maintained correctly. To maximize its lifespan, it’s essential to avoid abrasive cleaners, rough scrubbing pads, or suction-cup bath mats, which can weaken the finish over time. DIY kits typically last around 2 to 5 years, as they often use less durable materials and may not bond as effectively without professional tools and experience.
Warranty Coverage
- Most pros offer 3–10 years warranty (covers bubbling, peeling, or major defects).
- Warranties won’t cover abrasive scrubbing, bath mats with suction cups, or dropping heavy tools in your refinished tub.
Real-World Lifespan Examples
- 1 year: Still glossy, easy cleaning
- 3 years: Minimal dulling, if you avoid abrasive cleaner use
- 5 years: Holds up with gentle cleaning. DIY jobs may start to show wear by this time.
Proper maintenance extends lifespan—many use their refinished tub for over a decade.
Health, Safety, and Environmental Factors
Some refinishing chemicals, especially methylene chloride, are highly toxic. Since 2000, at least 14 deaths have been linked to improper use indoors. Unprotected exposure can harm your lungs, nerves, or worse. According to the Occupational Safety and Health Administration (OSHA), methylene chloride is extremely hazardous, and even short-term exposure can cause dizziness, unconsciousness, or death in poorly ventilated spaces
Safety Tips (for Any Refinishing Job)
- Work in a well-ventilated room—open windows, run fans, seal off the rest of the house.
- Wear gloves, goggles, and a respirator.
- Always follow kit instructions—never skip safety steps.
- If pregnant, avoid fumes entirely.
Greener/Eco-Friendly Options
- Low-VOC and green-certified refinishing products are now available.
- Ask your pro for a non-methylene chloride product.
Do you have small kids or pets? Keep them far from the bathroom until smells are gone and the surface has cured.
Step-by-Step: How Bathtub Refinishing Works (Process Overview + Pro Tips)
Protect the Bath Area
Begin by removing any old caulk or silicone sealant around the edges of the bathtub. This helps prevent interference with the new finish later. Next, cover nearby fixtures, walls, floors, and tiles with protective plastic sheeting or painter’s tape to shield them from dust, chemicals, or accidental overspray during the process.
Clean Thoroughly:
Clean the entire tub surface to remove all dirt, grime, soap scum, and oils. Use a non-bleach cleaner or a solution specifically designed for bathtub cleaning to avoid damaging the surface. Any leftover residue can prevent the new coating from adhering properly.
Sand the Tub Surface
Sanding is a crucial step for a successful refinishing job. Using fine-grit sandpaper or an electric sander, thoroughly sand the tub to smooth out any rough spots, scratches, or peeling paint. This step also helps to roughen up the surface slightly, allowing the new coating to bond better.
Fix Any Damage
Inspect the bathtub for any chips, cracks, or deep scratches. Use a high-quality filler or repair compound to patch these damaged areas. Once the filler has dried completely, sand the patches smooth to ensure an even, seamless surface ready for refinishing.
Apply Bonding Agent or Etching Solution
Apply a bonding agent or etching solution as instructed by the product manufacturer. This chemical treatment is essential for proper adhesion—it creates a surface texture that helps the new coating stick securely. Skipping this step can lead to peeling or poor finish durability later on.
Spray or Roll On the Coating
Apply the new finish using a spray gun for a smooth, professional-grade look. Professionals typically spray on multiple thin coats for an even, high-gloss surface. If using a DIY kit, you’ll likely use a paint roller or brush to apply the coating, which may require more careful technique to avoid streaks or uneven spots.
Dry and Cure
Once the final coat is applied, allow the bathtub to dry and cure for up to 48 hours, depending on the product instructions and room conditions. This curing period is critical—the coating needs time to harden and bond fully to the surface. Avoid using the tub during this time to prevent warping, bubbling, or other finish defects.

Pro Tips:
- Never rush prep. The cleaner the tub, the better the finish will hold up.
- Always follow product directions for mixing and timing.
- Use a respirator if working with strong fumes.
- Check humidity and room temperature—these affect drying.
Common Mistakes:
- Poor ventilation
- Touching or using the tub before it’s fully cured
- Using abrasive cleaners after refinishing
Maintenance for a Refinished Bathtub
- Follow these care tips for a lasting, glossy finish:
- Use gentle, non-abrasive cleaners. Avoid bleach or harsh chemicals.
- Wipe the surface promptly—don’t let water, soaps, or hair dye sit.
- Don’t use suction-cup bath mats—they can damage the new finish.
- Remove standing water after each use.
- Avoid dropping objects or sharp tools.
- No aggressive scrubbing—this can scratch and dull the surface.
Keep warranty coverage: Follow the care recommendations your pro or kit gave. Using improper cleaners or mats may void the warranty.
Alternatives to Bathtub Refinishing
Maybe refinishing isn’t ideal. Here are your best alternatives:
| Option | Cost Estimate | Lifespan | Notes |
| Replacement | $2,000–$5,000+ | 20+ years | Big renovation, more mess |
| Tub Liner | $1,300–$2,500 | 7–15 years | PVC/acrylic shell, less seamless |
| DIY Touch-Up | $25–$60 | 1–2 years | For small chips only |
Refinishing vs lining vs new tub: Refinishing fixes the look and color of your existing tub; liners “cap” your tub with a custom shell; replacement is for major damage or big bathroom changes.
When updating your bathtub, you have three main options:
- Refinishing: This restores the look and color of your existing tub by repairing surface flaws and applying a new coating. It’s ideal for tubs with cosmetic damage and is the most affordable and quickest solution, but it doesn’t fix serious structural issues.
- Liners: A liner “caps” your old tub with a custom-fit acrylic or PVC shell. It covers damage and provides a fresh appearance but costs more than refinishing. Liners work well for worn tubs but may trap moisture if not installed properly.
- Replacement: This involves removing your old tub and installing a new one. It’s the most expensive and labor-intensive option but necessary for major damage, leaks, or full bathroom remodels.
Choose based on your tub’s condition, budget, and long-term plans.
Real Homeowner Stories & Trends
Homeowner Quotes:
- “My refinishing job made my old tub look new—no mess, much cheaper than a new tub. Three years later and still shiny!”
- “I tried a DIY kit. The process was straightforward, but my finish wasn’t as glossy, and it started peeling after about 18 months.”
- “I went with a matte black bathtub using black bathtub paint—easy to clean, but water spots are more visible.”
Color Trend Notes:
- Classic white and light neutrals remain most popular for resell and easy cleaning.
- Want to change your bathtub color? Modern refinishing allows you to choose almost any shade—including black, blue, or two-tone.
- Black bathtubs are stylish but may show mineral deposits or soap spots quicker. Use soft cloth to keep them clean.
Choosing a Reputable Bathtub Refinishing Pro
Checklist Before Hiring:
- Licensed and insured for your protection
- Written, clear quote (no surprises)
- Details the refinishing process (surface prep, chemicals, safety)
- Clear warranty terms (duration and what’s covered)
- Positive local references or reviews
Red Flags to Watch:
- No references or insurance
- Won’t explain safety steps (ventilation, chemical handling)
- No written warranty, or gives only verbal estimates
Tip: Get at least two quotes and ask about experience with your specific tub material (steel, cast iron, fiberglass).

Bathtub Refinishing FAQs
1. What is the average cost to resurface a bathtub?
Prices fluctuate wildly, ranging from $250 to $1,400, with a national average of $440. If the bathtub has a few small cuts and scratches, it won't cost much to refurbish it; but if there are big cracks and gaps, you'll have to repair them first, and the cost will skyrocket. And if you're looking for a good master craftsman, it's even more expensive. But no matter how to calculate, renovation is definitely more cost-effective than buying a new bathtub. If you don't have a lot of money and want to remodel your bathroom, you can consider refurbishing your bathtub! Spending a small amount of money can make the old bathtub restoration, but you also do not have to tear down the old and install new, saving time and money!
2. Is refinishing a bathtub worth it?
If there are no major problems with your bathtub, but it has a few minor cosmetic flaws or the color looks outdated, then consider refinishing your bathtub. This method of special savings, and direct replacement than can save more than 75% of the cost! Renovation speed is also fast, usually one or two days to get finished, as long as the usual good maintenance, after the renovation of the bathtub can be used for 10 to 15 years, with the new as bright. However, if the bathtub has serious structural problems, such as deep cracks, rust, or water leaks, then the refurbishment will not work. In this case, you have to get a new bathtub. Although it costs more, it is safer in the long run, and saves you the trouble of always having problems.
3. Can I refinish my bathtub myself?
Yes, you can buy a DIY bathtub renovation kit, which usually costs between $40 and $150. However, the effect and durability of a DIY bathtub renovation are far inferior to those of a professional. Common problems include uneven surfaces and brush marks, and a short lifespan - if used normally, a DIY paint will only last 2 to 5 years. And when using those repair materials, you must pay special attention to ventilation and protective measures. Safety comes first. DIY renovation can indeed save some money upfront, but it is only suitable for repairing minor bumps or temporary emergencies. If you want the bathtub surface to be smooth and durable and last longer, it is actually more cost-effective to hire a professional master to renovate it. Although it costs more money upfront, it is actually a money-saving and worry-free deal in the long run.
4. What’s the difference between reglazing and refinishing a bathtub?
Most of the time, reglazing and refinishing a bathtub are really the same thing: it's all about fixing the surface of the bathtub and bringing it back to life with a new protective coating. But when it comes down to it, reglazing is more of a reapplication of the bathtub's original glaze or enamel, and is generally used on older porcelain or ceramic bathtubs. Refinishing, on the other hand, in addition to re-glazing, involves sanding the surface, repairing damage, and sometimes etching or applying an adhesive so that it's less likely to come off when the new coating is applied. Although these two statements are a little different, but basically can be universal, as long as the work is done well, the final out of the effect is almost the same.
5. Can I paint my bathtub black? How do I change my bath color?
Yes. Whether you hire a professional or do it yourself, you can change the color of your bathtub. Professional renovation services have a wide range of colors to choose from, from classic white to bright black, and even custom colors to suit the style of your bathroom. They use high-end paints such as black bathtub paint that can be used on bathtubs made of materials such as acrylic, fiberglass, cast iron, and porcelain. The surface is shiny and bright after painting, and it will be fine for daily use for ten or eight years. You can also DIY and change bathroom tub color, but you must be careful to choose a paint kit specifically for bathtubs. The epoxy resin or acrylic paint in this kit can adhere firmly to the non-porous surface of the bathtub, otherwise it will quickly peel off when it comes into contact with water and moisture. If you want the color to be good and durable, it is best to find a professional master to do it. Although it costs more money, it will be less troublesome in the long run.
6. What type of paint is used?
The key to choosing a bathtub renovation kit is to pick the right paint. You have to choose a special coating based on acrylic or epoxy, which can withstand moisture, temperature differences and daily use, forming a hard and shiny surface, and is resistant to water and detergents. Ordinary wall paint and furniture paint will peel off when exposed to water, so don't use them. Epoxy paint has strong adhesion and is more durable, suitable for bathrooms with high frequency of use, but the construction requirements are high and the curing time is long; acrylic paint is easy to use, dries quickly, and has a smooth and translucent surface, but its life is slightly shorter under heavy loads. When buying, check whether the packaging is marked "Specially for bathtub renovation". It is best to bring sandpaper, adhesives and protective equipment with the kit. Choose the type of paint according to the frequency of use to avoid reworking waste.


Leave a comment
This site is protected by hCaptcha and the hCaptcha Privacy Policy and Terms of Service apply.