



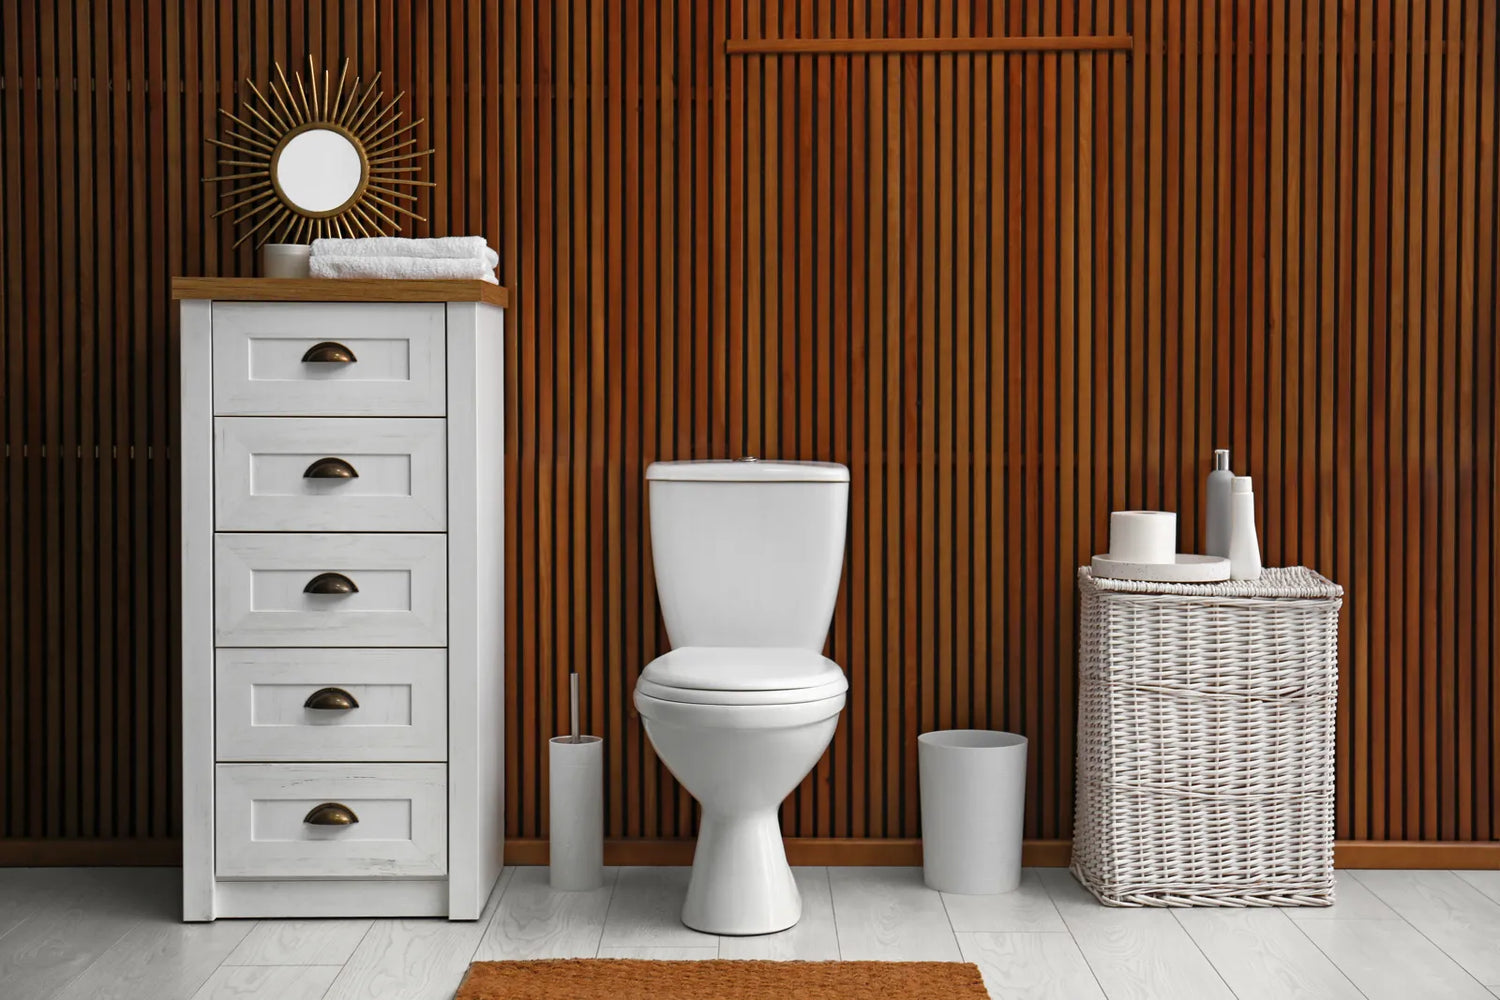
A 10-inch vs 12-inch toilet rough-in refers to the distance from the finished wall behind the toilet to the center of the closet flange or floor-bolt centerline. The key difference is two inches in the drain location, but the toilet still needs to match the rough-in specified for that exact model. Do not assume a 12-inch model will fit a 10-inch rough-in, or that a 10-inch model is automatically suitable for a 12-inch rough-in. If your measurement falls between nominal sizes, remeasure and check the manufacturer's specification drawing before ordering.
Decision Snapshot: 10 Inch vs 12 Inch Rough-In Toilet
The simplest rule is to match the toilet to the measured drain location. A confirmed 10-inch rough-in should be matched with a toilet specifically listed for 10-inch installation, while a confirmed 12-inch rough-in should be matched with a toilet listed for 12-inch installation.
Rough-in size describes the drain position. It does not tell you the toilet's overall depth or whether the entire fixture will fit the room. Before ordering, check the exact product drawing for rough-in compatibility, overall dimensions, rear clearance, shutoff-valve access, and nearby fixtures.
Do not choose a rough-in size based only on the age of the home, the size of the bathroom, what the store stocks, or how compact the toilet looks. A compact-looking toilet can still require a 12-inch rough-in.
The most common measurement and fit mistakes include:
- measuring from the baseboard instead of the finished wall
- assuming all toilets use the same rough-in size
- rounding an unusual measurement to the nearest nominal size without checking the product drawing
- trying to install a toilet whose specified rough-in does not match the drain location
- forgetting to check tank clearance, shutoff-valve location, side space, and door swing
If your bathroom is small, the rough-in size alone does not decide fit. You still need to check the toilet's full projection, body or tank shape, side clearances, door swing, and access to the water shutoff.
What if the rough-in is between listed sizes?
If your rough-in measures around 11 inches, 13 inches, or otherwise does not clearly match a listed rough-in size, do not automatically round the measurement to 10 or 12 inches.
Instead:
- remeasure from the finished wall to the center of the closet bolts or flange
- make sure baseboard, trim, tile, or an uneven wall is not changing the reference point
- compare the actual measurement with the specification drawing for the exact toilet
- check rear clearance and the toilet footprint rather than relying only on a nominal rough-in label
- have a qualified plumber verify the drain location if compatibility remains unclear
Who Should Match Size Exactly?
The rough-in measurement is used to match the toilet to the fixed drain location. It should not be treated as a shortcut for choosing a more compact toilet. Once you identify the actual rough-in, use the manufacturer's specification drawing to confirm compatibility.
True 10-Inch Rough-Ins
If the flange or closet-bolt center is about 10 inches from the finished wall, look for a toilet specifically designed for a 10-inch rough-in unless the plumbing will be modified.
A 10-inch rough-in does not automatically mean the toilet itself is shorter. Compare the full toilet dimensions separately if front clearance or door swing is a concern.
True 12-Inch Rough-Ins
If the measured rough-in is 12 inches, use a toilet listed for a 12-inch rough-in unless the exact product documentation states otherwise.
Matching the measured rough-in helps keep the toilet positioned as intended relative to the finished wall, drain, and mounting points.
Older Homes Can Hide Measurement Problems
Older bathrooms can make rough-in measurements harder to interpret because the visible wall and finished floor may have changed since the plumbing was installed.
- plaster or trim can distort the apparent wall line
- tile may have been added after the drain was installed
- the flange may not be centered or square to the wall
- the measured rough-in may fall between common nominal sizes
- the wall behind the toilet may not be perfectly straight
If the measurement is unusual, confirm the flange center and compare it with the exact product drawing instead of assuming the nearest nominal size will fit.
Small Baths Need More Than Rough-In
A 10-inch rough-in does not automatically create more usable space in front of the toilet. The actual result depends on the fixture's overall projection, bowl shape, tank or rear housing, and the surrounding layout.
If knee room, vanity clearance, or door swing is your main concern, compare the full toilet footprint and projection from the wall rather than rough-in size alone.
What Happens When the Rough-In Does Not Match?
Do not treat 10-inch and 12-inch rough-in toilets as interchangeable. A toilet designed around a different drain position may contact the wall, sit farther from it, or fail to align with the flange and mounting points as intended.
The exact result depends on the toilet's outlet position, rear body or tank shape, mounting geometry, and the clearances shown in its specification drawing.
- the outlet may not align with the flange as intended
- the rear of the toilet or tank may contact the wall
- the base may sit farther from the wall than expected
- mounting and sealing can become more difficult if alignment is poor
- shutoff-valve or supply-line access may become inconvenient

Odd Rough-Ins
Measurements that fall between the rough-in sizes listed for available toilets require more checking. Do not assume that being close to a nominal size is enough.
Check the manufacturer specification drawing for:
- distance from the finished wall to the bolt or flange centerline
- rear body or tank clearance
- bowl outlet position
- base footprint and overall projection
Rear-Wall Access Issues
Even when a toilet can be positioned in the room, poor rear clearance can make maintenance more difficult. Check where the shutoff valve and supply connection will sit after installation.
Pay extra attention when:
- the shutoff valve is close behind the toilet
- the supply line exits where the tank or rear housing will sit
- a bidet T-valve or other fitting adds hardware behind the toilet
- the tank lid or service components need rear access
How to Measure Toilet Rough-In Correctly
Accurate measurement is the first step in choosing between a 10-inch and 12-inch rough-in toilet. The reference points matter as much as the number on the tape.
1. Start at the Finished Wall
Measure from the finished wall behind the toilet, not from the baseboard, trim, or exposed framing.
If base trim is present, use the finished wall surface behind it as the measurement reference.
2. Measure to the Closet-Bolt Center
With the toilet installed, measure straight from the finished wall to the center of one of the closet bolts that secures the toilet to the floor.
The bolt center provides a practical reference for estimating the centerline of the closet flange while the toilet is still installed.

3. Confirm at the Flange if Needed
If the measurement is unclear, borderline, or affected by an uneven wall or previous remodeling, remove the old toilet when appropriate and confirm the distance from the finished wall to the center of the closet flange.
An additional check is especially useful when the bathroom has:
- thick tile added during a previous remodel
- plaster or uneven wall surfaces
- large or uneven baseboards
- an older or damaged flange
- an existing toilet that is not square to the wall
4. Do Not Round a Borderline Measurement
If your measurement falls between the rough-in sizes listed for the toilet you are considering, record the actual number instead of rounding it.
Then compare that number with the exact manufacturer's specification drawing. Rear clearance, outlet position, and mounting geometry can differ from one toilet to another.
If the drawing does not clearly support your measured installation, choose another model or have a qualified plumber evaluate the drain location before ordering.
Why the Specification Drawing Matters
A tape measurement tells you where the drain is. The specification drawing tells you how the exact toilet is designed to sit around that drain.
Compare at least these points:
- finished-wall-to-bolt or flange center distance
- rear body or tank clearance
- overall toilet projection and base footprint
- water-supply and shutoff-valve location
A nominal rough-in label alone should not be used as the final compatibility check.
Fit Summary
Before buying, check the installation in four stages.
Stage 1 — Rough-In and Flange Alignment
- confirm the measurement from the finished wall to the closet-bolt or flange center
- compare the measurement with the exact product drawing
- stop if the product documentation does not support the measured drain position
Stage 2 — Room Clearance
- check rear clearance using the product drawing
- confirm the toilet does not interfere with the wall, vanity, tub, or door
- check the full projection instead of relying on rough-in size alone
Stage 3 — Service Access
- keep the shutoff valve accessible
- make sure the supply hose can be routed without kinking
- allow access to parts that may require future maintenance
Stage 4 — Floor and Flange Condition
- make sure the toilet base will sit on a stable floor
- check the flange for visible damage or unusual height
- address rocking or uneven flooring as part of the installation

Will the Toilet Fit the Whole Bathroom?
Matching the rough-in only confirms one part of the installation. The toilet also has to fit the wall, floor, vanity, door, water connection, and usable space around the fixture.
Tank and Rear Clearance
Use the exact product drawing to check how the rear of the toilet will sit relative to the finished wall. Leave enough usable access for the shutoff valve, supply connection, tank lid, and service points that apply to the model.
A toilet may be a poor fit if:
- the rear housing or tank interferes with the wall
- the shutoff valve becomes inaccessible
- the supply hose must bend sharply
- the tank lid or service components cannot be accessed properly
Side Clearance
A correct rough-in does not guarantee that the toilet has enough room beside a vanity, wall, tub, or other fixture.
Where applicable, check local requirements for toilet clearances as well as the dimensions of the exact fixture and the surrounding bathroom.
Door Swing
Do not assume a 10-inch rough-in toilet automatically saves two inches in front of the bowl. Rough-in and overall toilet depth are different measurements.
If the door already passes close to the existing toilet, compare the new toilet's full footprint or mark it on the floor before ordering.
Small Bathroom Reality
For a small bathroom, start by matching the toilet to the actual rough-in. Then compare:
- overall wall projection
- bowl and rear-housing shape
- front and side clearance
- door and vanity interference
- access for cleaning and maintenance
The useful question is not simply “10-inch or 12-inch?” It is whether the exact toilet works with your drain location and the rest of the bathroom layout.
When a Rough-In Mismatch Becomes Plumbing Work
If the drain location needs to be changed to install the toilet, the project is no longer a straightforward fixture replacement. The amount of work depends on the existing flange, pipe material, floor structure, drain path, and local requirements.

Offset Flanges and Drain Adjustments
Offset fittings may be considered in some installations, but they should not be treated as a universal way to convert one rough-in size into another.
Whether an adjustment is appropriate depends on the existing drain configuration, flange condition, available floor structure, permitted fittings, and the amount and direction of movement required.
Have a qualified plumber evaluate the installation when modifying the waste connection or moving the toilet drain.
Older Cast-Iron Plumbing
Older cast-iron plumbing can make drain or flange changes more involved than a normal toilet replacement.
Possible work may include:
- flange repair or replacement
- work on existing cast-iron or older drain connections
- opening the finished floor
- subfloor repair
- repositioning the waste connection
If an older home's measurement is unusual, confirm the drain position before buying rather than assuming the installation can be adjusted easily afterward.
Floor and Flange Damage
Removing an old toilet may reveal conditions that need repair before the replacement toilet is installed:
- damaged or weakened subfloor
- a loose or damaged flange
- a flange positioned improperly relative to the finished floor
- cracked tile around the flange
- an uneven floor surface
The rough-in measurement can still be correct even when the floor or flange condition needs to be repaired.
When the Specification Fits but the Layout Does Not
A toilet can match the rough-in and still be inconvenient because of the surrounding layout. Check service access and floor conditions before treating rough-in compatibility as the final fit decision.
Tight Rear Access
A close-to-wall installation may limit access to the shutoff valve, supply hose, tank hardware, or other service components.
- confirm the shutoff valve remains reachable
- check whether the tank lid or rear cover can be removed
- leave enough room for required hoses and fittings
Uneven Floors Can Cause Rocking
An uneven floor can cause movement even when the rough-in is correct. Check the finished floor and flange condition before final installation.
Movement can place unnecessary stress on:
- closet bolts
- the toilet seal
- tank-to-bowl connections on applicable models
- the caulk line around the base
Bidet Toilets and Bidet Seats in Tight Spaces
A bidet toilet or bidet seat can add installation checks beyond the rough-in measurement.
- check rear space for hoses and fittings
- keep the shutoff valve accessible
- confirm any electrical requirements for the exact powered model
- leave enough space to remove or service applicable components
Long-Term Fit and Service Considerations
A poor fit can remain inconvenient long after installation. Rear gaps can make cleaning harder, while overly tight placement can limit service access.
Good installation planning should consider both initial fit and future access.
- keep the shutoff valve accessible
- avoid supply-line routing that creates sharp bends or interference
- make sure the toilet sits firmly on a stable floor
- leave practical access for cleaning and maintenance
How to Decide in Your Home
Use the measured plumbing position first, then verify the exact toilet.
- If your rough-in measures about 10 inches, compare toilets specifically listed for a 10-inch rough-in.
- If your rough-in measures about 12 inches, compare toilets specifically listed for a 12-inch rough-in.
- If the measurement falls between listed sizes, do not round it automatically.
- Check the manufacturer's specification drawing before treating any model as compatible.
- If the plumbing must be moved, have a qualified plumber evaluate the installation rather than trying to force a mismatched toilet into place.
For older homes, uneven floors, unusual measurements, or very tight bathrooms, treat toilet replacement as a complete fit check rather than a rough-in measurement alone.
Before You Buy
Use this checklist before ordering:
- Measure from the finished wall, not the baseboard.
- Measure to the center of the closet bolts.
- If the reading is unclear or unusual, confirm the center of the flange when appropriate.
- Record the actual measurement rather than rounding it.
- Compare the measurement with the specification drawing for the exact toilet.
- Check the toilet's full projection from the wall.
- Check side clearance to a vanity, tub, wall, or other fixture.
- Check door swing against the new toilet footprint.
- Confirm the shutoff valve will remain accessible.
- Check supply-line routing.
- Inspect the floor and flange condition before final installation.
- If older drain piping must be modified, have a qualified plumber evaluate the work.
- If adding a powered bidet toilet or seat, confirm the exact model's installation and electrical requirements.
- For a very small bathroom, mark or mock up the toilet's full footprint before ordering.
FAQs
1. How do I know if I have a 10-inch or 12-inch rough-in?
Measure from the finished wall behind the toilet to the center of the closet bolts. If the toilet is removed, measure to the center of the closet flange. Record the actual measurement and compare it with the specification drawing for the toilet you are considering.
2. Can I replace a 12-inch rough-in toilet with a 10-inch model?
Do not assume the two sizes are interchangeable. A toilet designed for a different rough-in can sit differently relative to the wall and drain, and compatibility depends on the exact outlet position, mounting geometry, and rear clearance. Check the product drawing before treating a different rough-in size as compatible.
3. What should I do if my rough-in measures 11 or 13 inches?
Measure again from the finished wall to the closet-bolt or flange center and do not automatically round the result to 10 or 12 inches. Compare the exact measurement with the manufacturer's specification drawing. If compatibility is still unclear, have a qualified plumber verify the drain location before ordering.
4. Where can I compare HOROW toilets by rough-in size?
After confirming your measurement, compare HOROW 10-inch rough-in toilets or 12-inch rough-in toilets. Before ordering any model, use its exact specification drawing to confirm installation compatibility with your bathroom.
References



Leave a comment
This site is protected by hCaptcha and the hCaptcha Privacy Policy and Terms of Service apply.